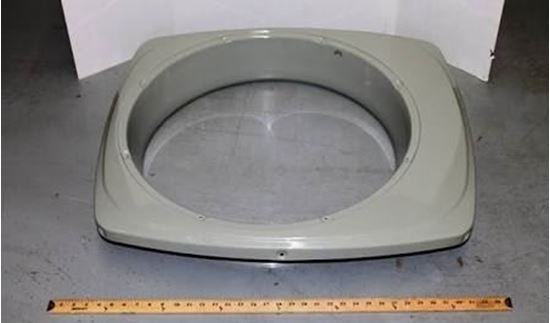
Trane Air Conditioning Unit Covers
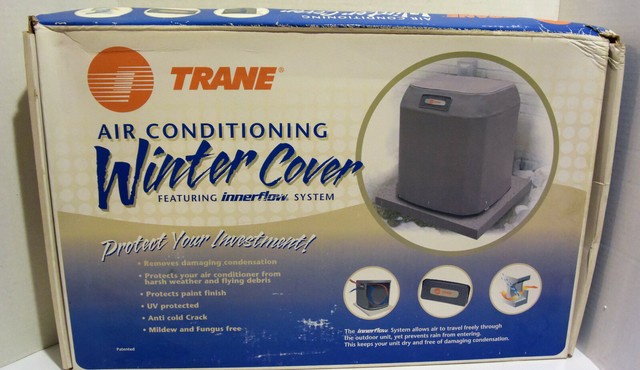
A common household frustration is when your air conditioning unit suddenly stops cooling. Before calling a costly repair technician, it's worthwhile to explore some simple troubleshooting steps yourself. Often, the issue can stem from something easily addressed around the exterior of the unit, specifically concerning the Trane AC unit's covers.
Understanding Trane AC Unit Covers and Their Importance
The covers on your Trane AC unit are more than just aesthetic; they play a critical role in protecting the delicate components within. There are typically two main types of covers you'll encounter:
- The Main Access Panel: This larger panel usually provides access to the unit's core components like the compressor, fan motor, and electrical connections.
- The Fan Grille/Top Cover: This protects the fan blades and prevents debris from entering the top of the unit.
Problems with these covers, such as being loose, damaged, or blocked, can lead to performance issues and even damage to the internal components. This article focuses on addressing problems related to these covers as an initial step in AC troubleshooting.
Safety First! Before You Begin
Safety is paramount when dealing with any electrical appliance. Before you start any troubleshooting, ensure you take the following precautions:
- Turn Off the Power: Locate the circuit breaker that controls your outdoor AC unit and switch it to the "OFF" position. This is the most crucial step.
- Wait a Few Minutes: After turning off the breaker, wait at least 5 minutes to allow any residual electricity to dissipate.
- Wear Appropriate Gear: Wear work gloves to protect your hands from sharp edges or debris.
- Work in Daylight: Ideally, perform these checks during daylight hours. If not, use a bright work light.
- When in Doubt, Call a Professional: If you're uncomfortable with any of these steps, or if you suspect a more complex issue, contact a qualified HVAC technician.
Troubleshooting Steps: A DIY Guide
Let's go through some common issues related to Trane AC unit covers and how you can address them safely:
1. Checking for Obstructions Around the Unit
Airflow is critical for proper AC operation. Obstructions around the unit can significantly reduce its efficiency and even cause it to overheat.
Step 1: Visual Inspection: Walk around your outdoor AC unit and look for any obstructions within 2-3 feet. Common culprits include:
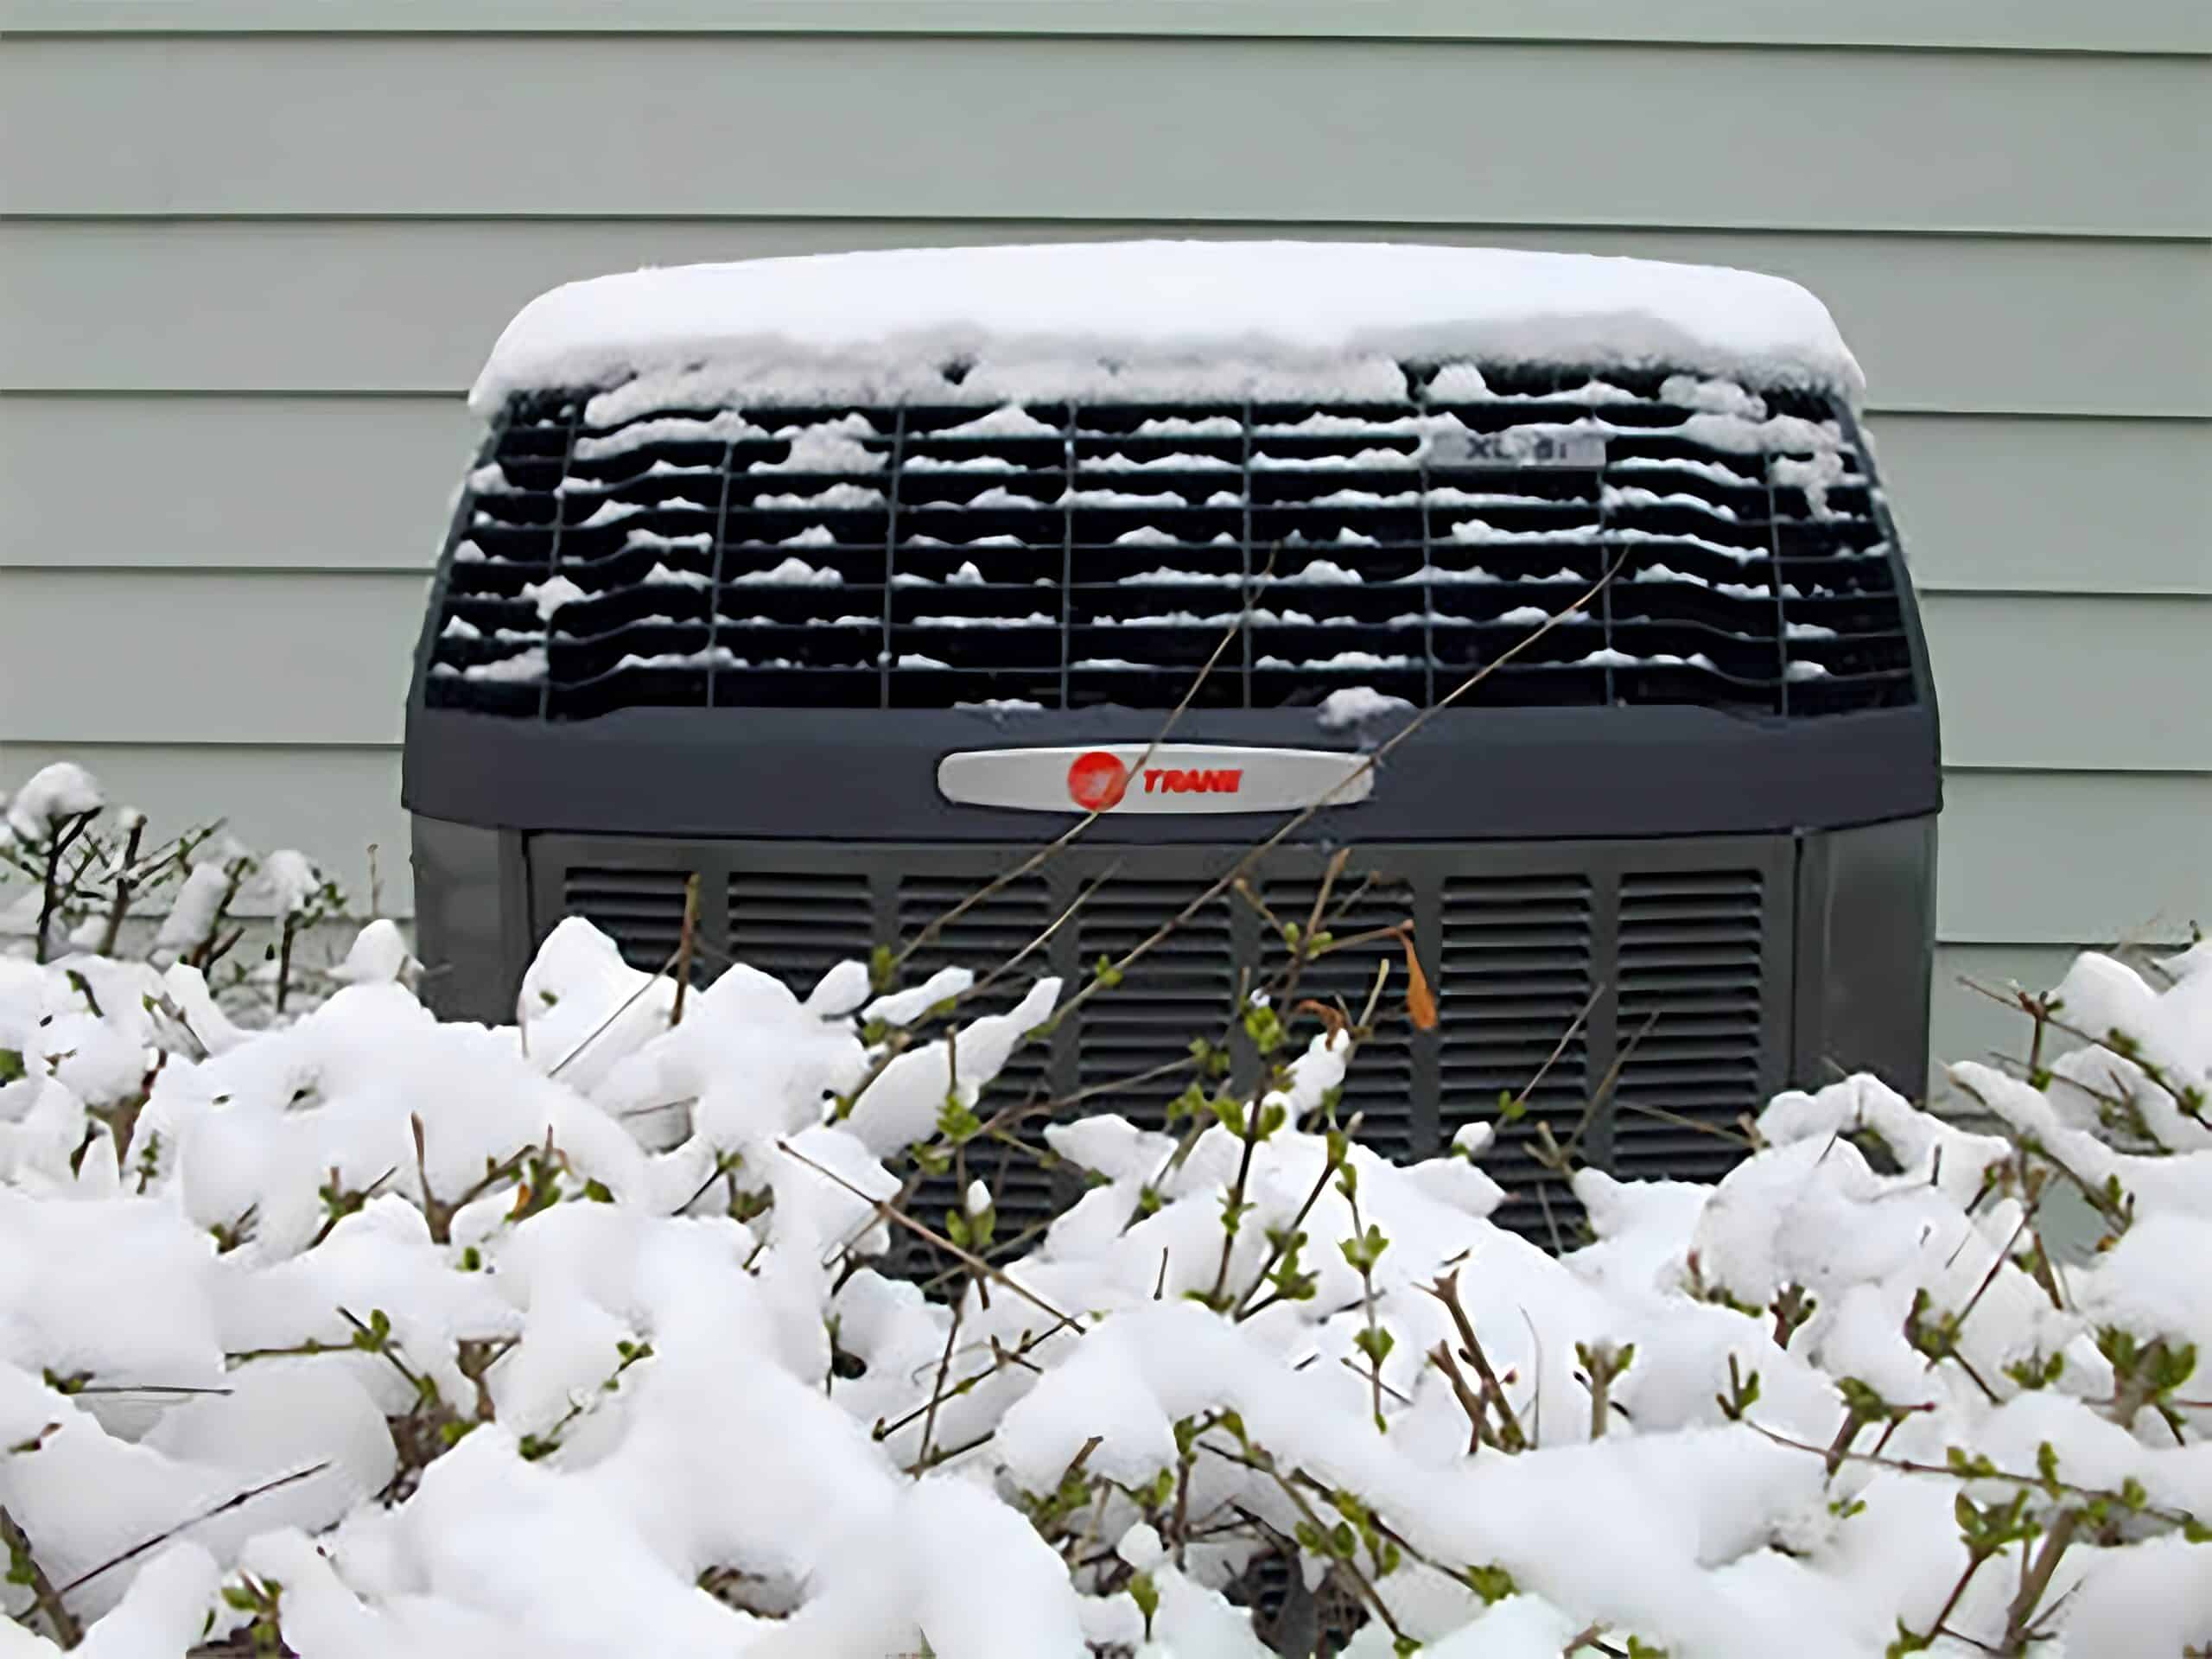
- Shrubs and Bushes: Overgrown vegetation can block airflow to the sides and top of the unit.
- Debris: Leaves, grass clippings, branches, and other debris can accumulate around the base and on top of the unit.
- Objects Leaning Against the Unit: Hoses, tools, or other items leaning against the unit can restrict airflow.
Step 2: Clearing Obstructions:
- Trim Overgrown Vegetation: Use pruning shears or a hedge trimmer to cut back any vegetation that is too close to the unit. Maintain a clearance of at least 2-3 feet on all sides.
- Remove Debris: Use a broom, rake, or your hands (with gloves) to remove any debris from around the base and on top of the unit. A shop vacuum can be helpful for removing smaller debris from inside the unit (after removing the covers - see below).
- Ensure Adequate Clearance Above: Make sure there's at least 5-6 feet of clear space above the unit for proper ventilation.
2. Inspecting and Cleaning the Fan Grille/Top Cover
The fan grille protects the fan and allows air to flow freely. A dirty or damaged grille can impede airflow.
Step 1: Locate the Fan Grille: This is typically a metal or plastic grille covering the top of the AC unit.
Step 2: Remove the Grille: Most grilles are held in place by screws or clips. Carefully remove the fasteners and lift off the grille. Note how it's attached so you can easily reassemble it later.
Step 3: Inspect for Damage: Look for any cracks, dents, or broken pieces on the grille. A severely damaged grille may need to be replaced.
Step 4: Clean the Grille: Use a brush and mild soap and water to clean the grille. Rinse thoroughly and allow it to dry completely before reattaching it.
Step 5: Inspect the Fan Blades: While the grille is off, take a look at the fan blades. If they are visibly dirty, carefully clean them with a brush or damp cloth. Be gentle to avoid bending the blades. If the fan blades are damaged or bent, do not attempt to straighten them. This could unbalance the fan and cause further damage. Contact a professional.
Step 6: Reattach the Grille: Carefully reattach the grille, ensuring it is securely fastened. Make sure no wires or components are pinched or obstructed.
3. Checking and Securing the Main Access Panel
A loose or missing access panel can expose the unit's internal components to the elements and potential damage.
Step 1: Locate the Access Panel: This is usually a larger metal panel on the side of the AC unit. It's often held in place by screws.
Step 2: Inspect the Panel: Look for any signs of damage, such as dents, rust, or missing screws.
Step 3: Secure the Panel:
- Tighten Loose Screws: If the panel is loose, tighten the screws that hold it in place. Be careful not to overtighten, as this could strip the screws.
- Replace Missing Screws: If any screws are missing, replace them with screws of the same size and type. You can usually find these at your local hardware store.
- Check for Proper Alignment: Make sure the panel is properly aligned with the unit's frame. It should fit snugly and securely.
Step 4: Addressing Rust: If you notice rust on the panel, you can try to remove it with a wire brush and apply a rust-inhibiting paint. However, if the rust is severe, the panel may need to be replaced.
Important: Never operate the AC unit with the access panel removed. This can expose you to dangerous electrical components and damage the unit.
4. Checking the Condenser Fins (With Extreme Caution)
The condenser fins are located around the perimeter of the AC unit and help dissipate heat. If they are bent or blocked, it can reduce the unit's efficiency. This step requires extreme caution, as the fins are very delicate and easily damaged.
Step 1: Visual Inspection: Carefully inspect the condenser fins for any bent or blocked areas.
Step 2: Straightening Bent Fins (Optional and Risky): If you find a few bent fins, you can try to straighten them using a fin comb, which is a specialized tool designed for this purpose. However, be extremely gentle. Applying too much pressure can easily damage the fins further.
Step 3: Cleaning the Fins: You can try to clean the fins with a soft brush or a garden hose with a gentle spray nozzle. Be careful not to bend the fins while cleaning.
Warning: If the condenser fins are severely damaged or blocked, it's best to contact a professional HVAC technician. Attempting to repair them yourself could cause further damage.
5. Checking the Power Supply (After Addressing Cover Issues)
If the above steps haven't resolved the issue, the problem might not be related to the covers themselves. After ensuring the covers are secure and clean, check the power supply.
Step 1: Verify the Breaker: Go back to your electrical panel and ensure the circuit breaker for the AC unit is in the "ON" position. Sometimes, breakers can trip without being fully switched off.
Step 2: Reset the Breaker (If Necessary): If the breaker has tripped (is in the middle position), switch it fully to the "OFF" position and then back to the "ON" position.
Step 3: Check the Disconnect Switch: Near your outdoor AC unit, there should be a disconnect switch (a small box with a lever or pull-out handle). Ensure this switch is also in the "ON" position. Sometimes, these can be accidentally switched off.
6. Checking the Thermostat Settings (After Addressing Cover and Power Issues)
Sometimes, the problem isn't with the AC unit itself, but with the thermostat settings.
Step 1: Verify the Thermostat is Set to "Cool": Ensure the thermostat is set to the "Cool" mode and not "Heat" or "Off."
Step 2: Check the Temperature Setting: Make sure the temperature setting is lower than the current room temperature.
Step 3: Check the Fan Setting: Ensure the fan setting is set to "Auto" or "On." If it's set to "Off," the fan will not run, and the unit will not cool properly.
When to Call a Professional
While these DIY troubleshooting steps can resolve many common issues, there are certain situations where you should always call a qualified HVAC technician:
- Electrical Problems: If you suspect any electrical problems, such as sparking wires or a burning smell, do not attempt to repair it yourself. Contact a professional immediately.
- Refrigerant Leaks: If you suspect a refrigerant leak (e.g., hissing sound, oily residue), do not attempt to repair it yourself. Refrigerant is a hazardous substance and should only be handled by a trained professional.
- Compressor Problems: The compressor is the heart of the AC unit. If you suspect a compressor problem (e.g., loud noises, failure to start), contact a professional. Compressor repairs are complex and require specialized equipment.
- Complex Part Replacements: If you need to replace any major components, such as the fan motor, compressor, or circuit board, it's best to leave it to a professional. These repairs require specialized knowledge and tools.
- If You're Uncomfortable: If you're uncomfortable with any of these troubleshooting steps, or if you're not sure what you're doing, don't hesitate to call a professional. It's better to be safe than sorry.
Preventive Maintenance: Keeping Your Trane AC Unit Running Smoothly
Regular preventive maintenance can help prevent many of these problems and extend the life of your Trane AC unit. Here are some tips:
- Clean the Unit Regularly: Clean the area around the AC unit and the fan grille at least twice a year (spring and fall).
- Change the Air Filter Regularly: A dirty air filter can restrict airflow and reduce the unit's efficiency. Change the air filter every 1-3 months, depending on usage.
- Schedule Professional Maintenance: Have your AC unit professionally inspected and serviced at least once a year. A technician can identify and address potential problems before they become major issues.
By following these troubleshooting steps and preventive maintenance tips, you can keep your Trane AC unit running smoothly and efficiently for years to come. Remember, your safety is always the priority. When in doubt, call a professional.