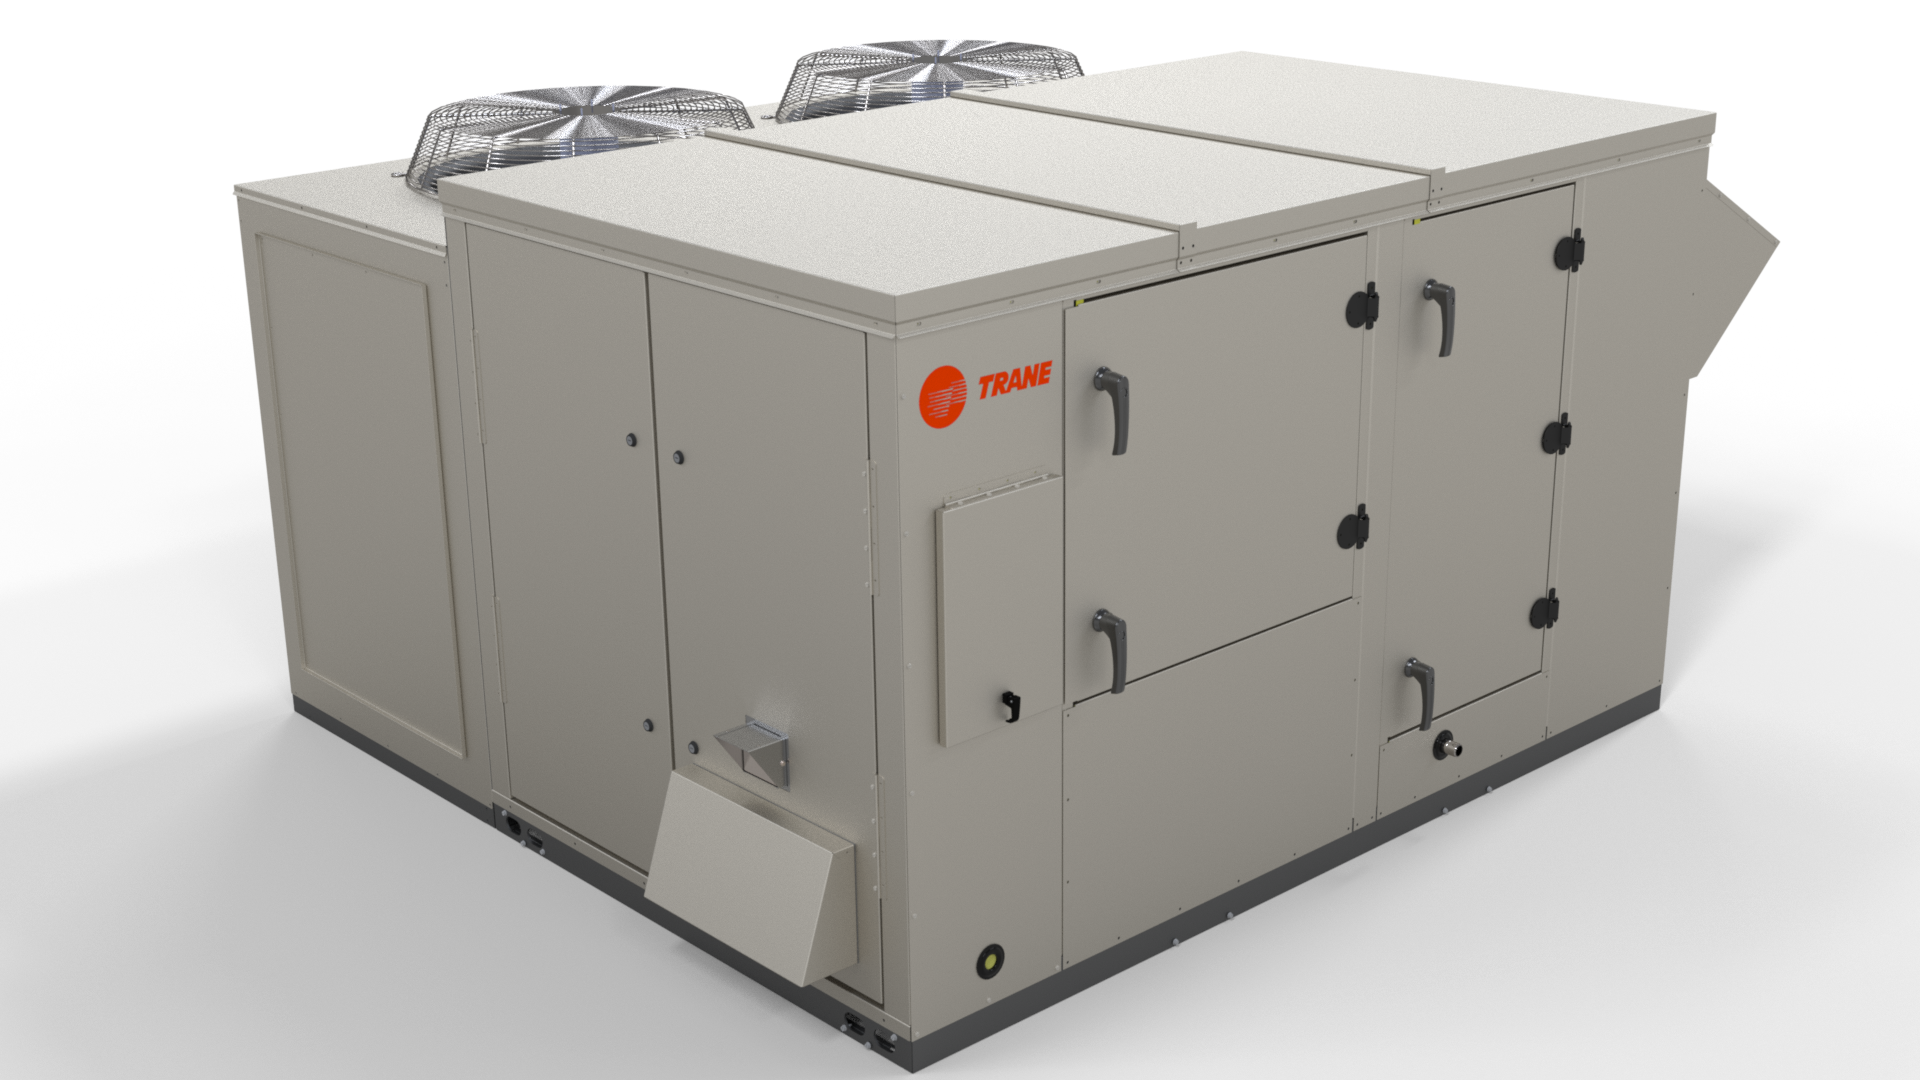
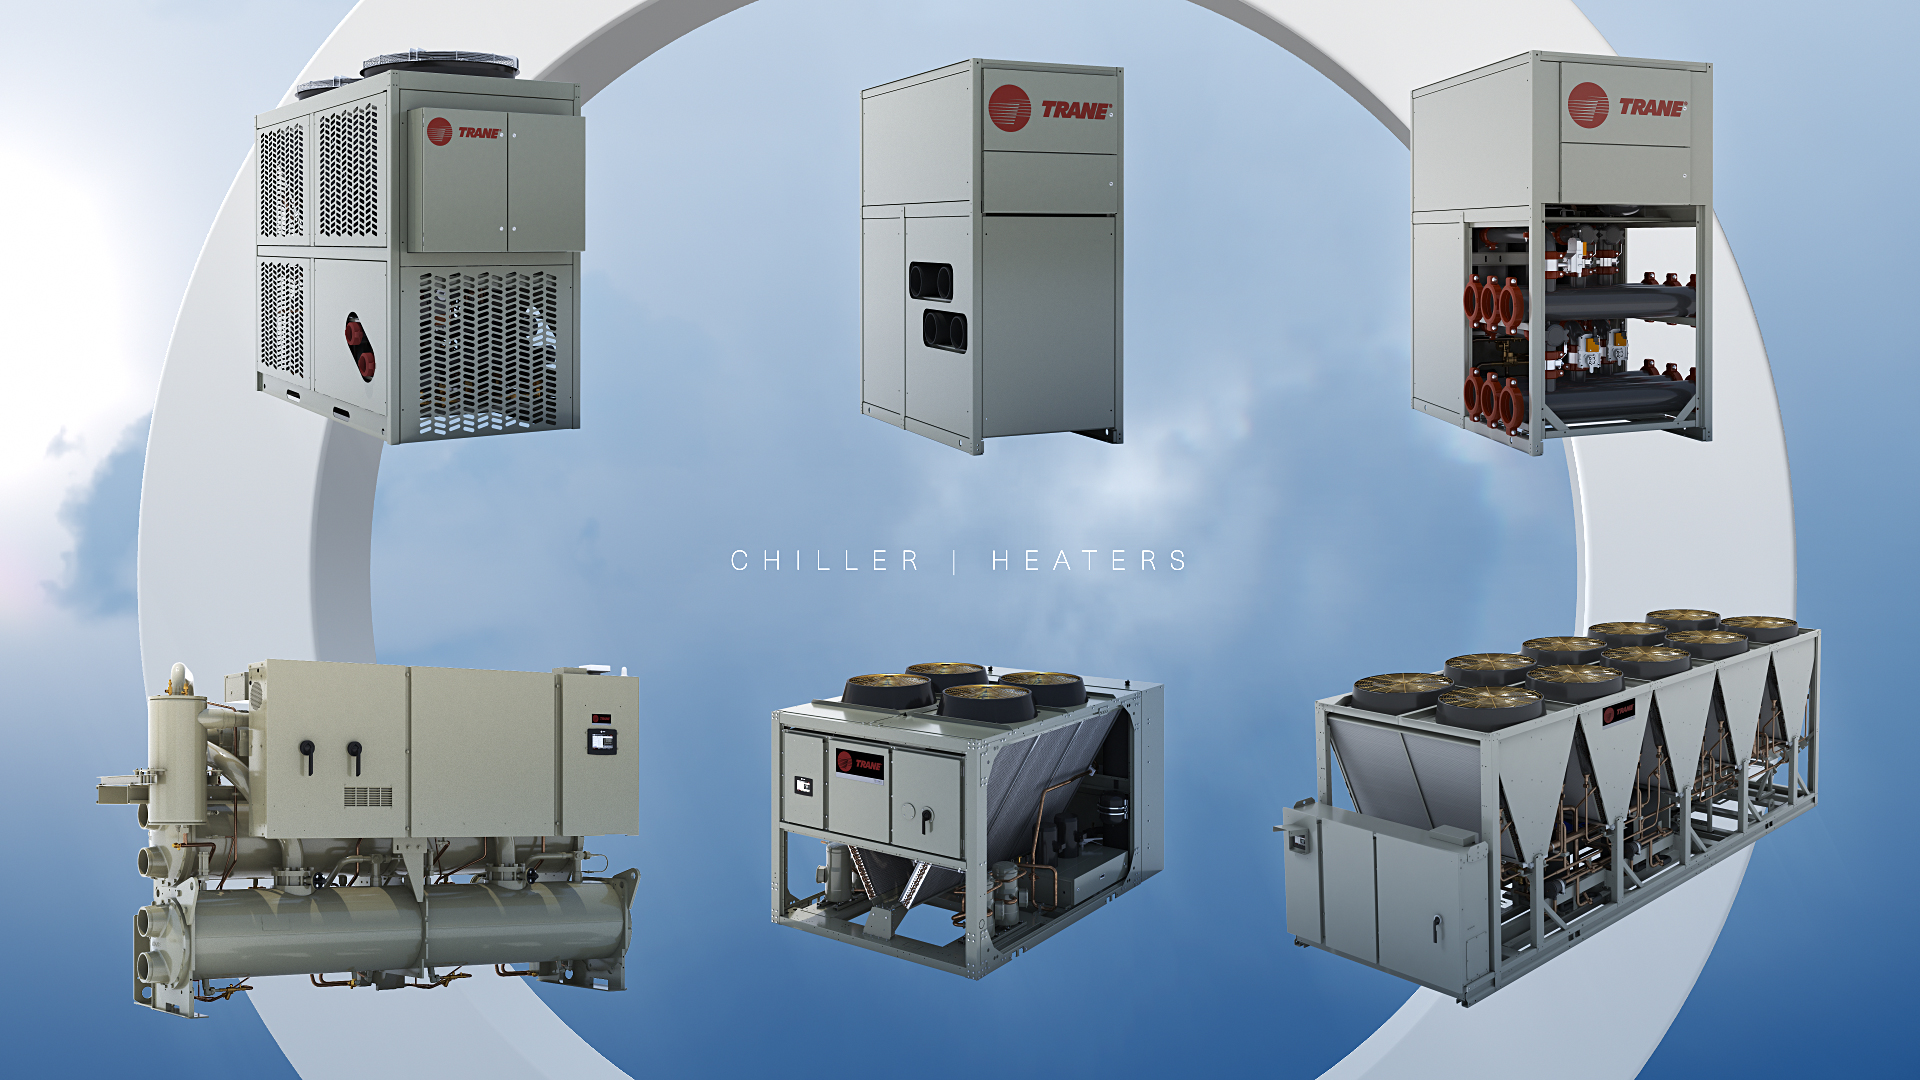
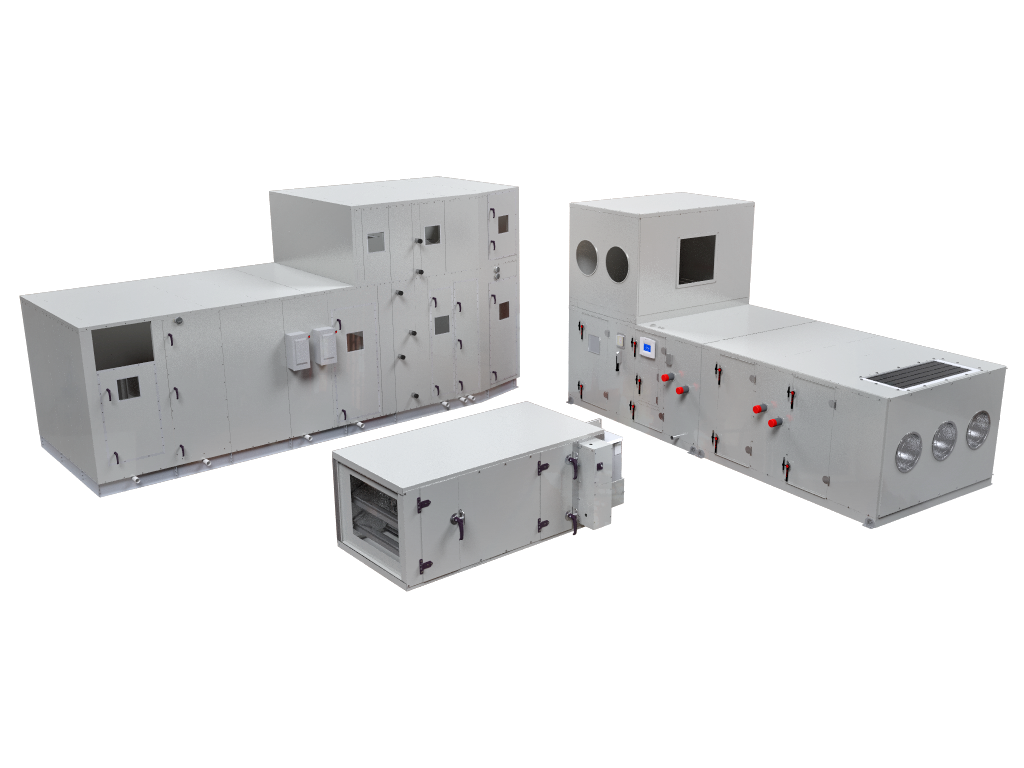
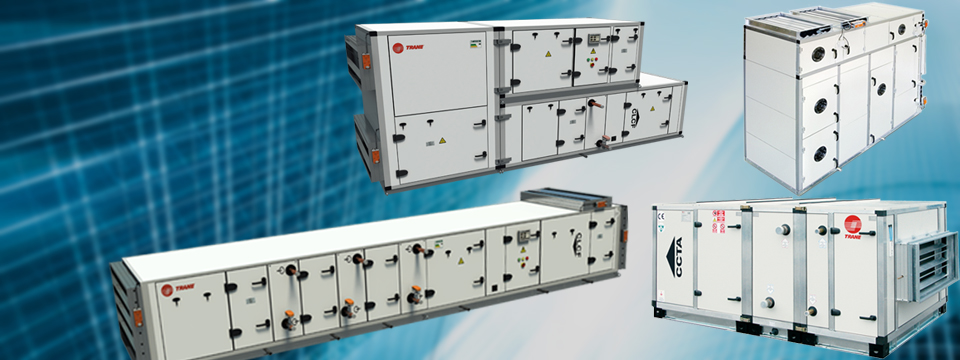
Trane Air Handling Units
Trane air handling units (AHUs) are renowned for their reliability, but like any complex machinery, they can sometimes encounter problems. One of the most common issues homeowners face is insufficient airflow. This can manifest as rooms not cooling or heating properly, uneven temperatures throughout the house, or the system running constantly without achieving the desired comfort level. Before calling a professional, let's explore some simple troubleshooting steps you can take.
Step 1: Isolate the Problem
Before diving into potential fixes, it's crucial to determine if the issue is indeed airflow related and if it's isolated to the Trane AHU. Consider these initial checks:
- Check Your Thermostat: Ensure it's set to the correct mode (heating or cooling) and temperature. A simple mistake here can cause confusion. Also, check the thermostat's batteries. Low batteries can lead to inaccurate readings or erratic behavior.
- Inspect Air Vents: Make sure all supply and return air vents are open and unobstructed. Furniture, rugs, or curtains can block airflow, severely limiting the system's effectiveness.
- Evaluate the Entire System: Is the problem affecting the entire house or just certain rooms? If it's isolated to a single room, the issue might be with the ductwork serving that specific area rather than the AHU itself.
Step 2: The Obvious Culprit: The Air Filter
A clogged air filter is the most common cause of reduced airflow in any HVAC system, including Trane AHUs. A dirty filter restricts airflow, forcing the blower motor to work harder, reducing efficiency, and potentially damaging the motor over time.
Diagnosis:
Locate your air filter. This is typically found near the AHU itself, often in a slot or compartment specifically designed for it. Carefully remove the filter and visually inspect it. If it's covered in dust, dirt, and debris, it's time for a change.
DIY Fix:
- Turn off the System: Before removing or replacing the filter, switch off the AHU at the breaker. This is a crucial safety precaution.
- Remove the Old Filter: Note the direction of the airflow arrow on the old filter. This indicates the proper orientation for the new filter.
- Install a New Filter: Insert a new filter of the correct size, ensuring the airflow arrow points in the same direction as the old one. Using the wrong size filter can allow unfiltered air to bypass the filter, negating its purpose.
- Turn the System Back On: After replacing the filter, switch the AHU back on at the breaker.
- Monitor Performance: Observe the system's performance over the next few hours. If the airflow improves significantly, the clogged filter was likely the culprit.
Important Note: Change your air filter regularly – typically every 1-3 months, depending on the type of filter and the air quality in your home. A clean filter is essential for optimal performance and system longevity.
Step 3: Inspecting the Blower Motor (DIY with Caution)
The blower motor is the heart of the AHU, responsible for circulating air throughout your home. If the motor isn't functioning correctly, airflow will be significantly reduced.
Diagnosis:
Safety First! Before attempting any inspection of the blower motor, completely disconnect power to the AHU at the breaker. Verify the power is off with a non-contact voltage tester.
Locate the blower motor compartment. This is usually a separate section within the AHU. Open the compartment (you may need a screwdriver). Visually inspect the motor for any obvious signs of damage, such as:
- Burn Marks or Scorched Wires: These indicate a potential electrical issue and require professional attention.
- Loose Wiring: Carefully check for any loose wires or connections. If you're comfortable and knowledgeable about electrical wiring, you can try to reattach loose wires, but only after ensuring the power is completely off.
- Obstructions: Check for any debris, such as dust, leaves, or small objects, that might be obstructing the blower fan.
DIY Fixes (with Strict Limitations):
Warning: Do NOT attempt any repairs to the blower motor itself unless you have extensive experience with electrical equipment and HVAC systems. Incorrect repairs can be dangerous and could void your warranty.
- Remove Obstructions: If you find any debris obstructing the blower fan, carefully remove it. Use a brush or vacuum cleaner to clean the fan blades.
- Tighten Loose Connections (If Qualified): If you identify any loose wires and are confident in your electrical skills, carefully tighten the connections. Ensure the power is off before doing so.
When to Call a Professional: If you observe any of the following, do not attempt any further DIY repairs and contact a qualified HVAC technician immediately:
- Burn marks or scorched wires.
- A humming sound but the fan won't turn. This likely indicates a capacitor issue or a seized motor.
- Any signs of electrical arcing.
- You are uncomfortable or unfamiliar with electrical work.
Step 4: Examining the Ductwork
The ductwork is the network of pipes that distributes air throughout your home. Leaks, kinks, or collapses in the ductwork can significantly reduce airflow to certain areas.
Diagnosis:
Inspect the visible ductwork in your attic, basement, or crawl space. Look for:
- Visible Leaks: Check for gaps, cracks, or tears in the ductwork. Pay close attention to joints and seams.
- Disconnected Sections: Ensure all sections of ductwork are properly connected.
- Kinks or Collapses: Look for any sections of ductwork that are bent, crushed, or collapsed.
DIY Fixes:
- Seal Small Leaks: Use duct tape (specifically designed for HVAC systems – avoid using standard tape) to seal small leaks and cracks in the ductwork. Ensure the surface is clean and dry before applying the tape. For larger gaps, you may need to use mastic sealant.
- Reconnect Disconnected Sections: Carefully reconnect any disconnected sections of ductwork. Use duct tape or clamps to secure the connection.
- Straighten Minor Kinks: If you find minor kinks in flexible ductwork, try to gently straighten them. However, be careful not to damage the ductwork further.
When to Call a Professional: If you encounter any of the following, contact a professional HVAC technician:
- Large or inaccessible leaks.
- Major ductwork damage or collapse.
- Signs of mold or mildew in the ductwork.
- You suspect the ductwork is improperly sized or designed.
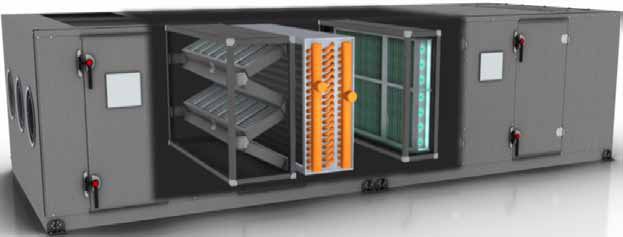
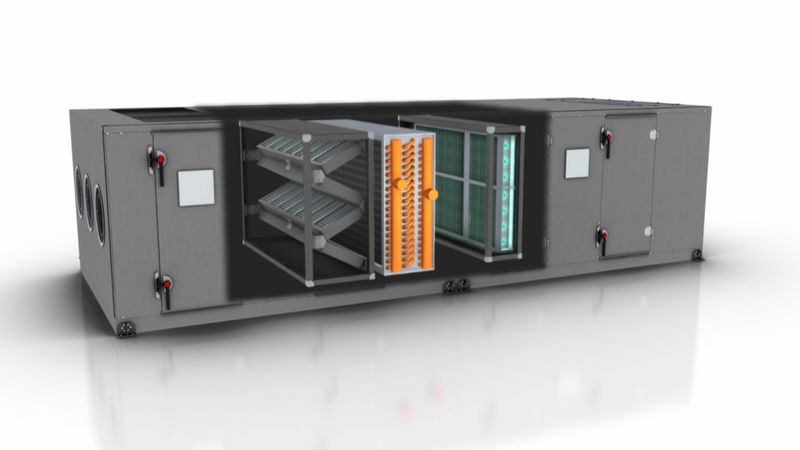
Step 5: Checking the Evaporator Coil (Advanced - Professional Help Likely Needed)
The evaporator coil is located inside the AHU and is responsible for cooling the air. A frozen or excessively dirty evaporator coil can significantly restrict airflow.
Diagnosis (Difficult and Requires Caution):
Accessing the evaporator coil often requires removing panels from the AHU. This should only be attempted if you are comfortable working with HVAC equipment and have the necessary tools. Ensure the power to the AHU is completely disconnected before attempting any access.
Once you have access to the evaporator coil, visually inspect it for:
- Ice Buildup: A frozen evaporator coil indicates a problem with refrigerant levels, airflow, or other system components.
- Excessive Dirt and Debris: A dirty evaporator coil restricts airflow and reduces cooling efficiency.
DIY Fixes (Limited and with Extreme Caution):
Warning: Working with refrigerant and the evaporator coil is potentially dangerous and requires specialized knowledge and equipment. Do NOT attempt to add or remove refrigerant yourself. This is a job for a licensed HVAC technician.
- Thawing a Frozen Coil (Temporary Solution): If the evaporator coil is frozen, try turning off the system and running only the fan. This will help to thaw the coil. However, you'll need to address the underlying cause of the freezing to prevent it from happening again.
- Cleaning a Dirty Coil (Delicate Task): If the evaporator coil is dirty, you can try to clean it with a soft brush or vacuum cleaner. Be extremely careful not to damage the delicate fins on the coil. Use a fin comb to straighten any bent fins. There are also commercially available coil cleaners, but follow the instructions carefully.
When to Call a Professional: If you encounter any of the following, contact a professional HVAC technician immediately:
- Signs of refrigerant leaks.
- You are unable to access the evaporator coil safely.
- You suspect a refrigerant issue (low refrigerant levels).
- The evaporator coil continues to freeze after thawing.
- You are uncomfortable cleaning the evaporator coil yourself.
Final Thoughts: When to Call a Pro
While this guide provides helpful troubleshooting steps, it's crucial to recognize when a problem requires professional intervention. Remember that HVAC systems are complex, and attempting repairs beyond your skill level can be dangerous and could potentially damage your equipment further.
Always call a qualified HVAC technician if:
- You are uncomfortable performing any of the troubleshooting steps.
- You encounter any electrical issues.
- You suspect a refrigerant leak.
- The problem persists after trying the DIY fixes.
- You are unsure about anything.
By following these steps and knowing when to seek professional help, you can keep your Trane AHU running efficiently and effectively for years to come.