Trane Compressor Replacement
Trane Compressor Replacement: A Homeowner's Guide
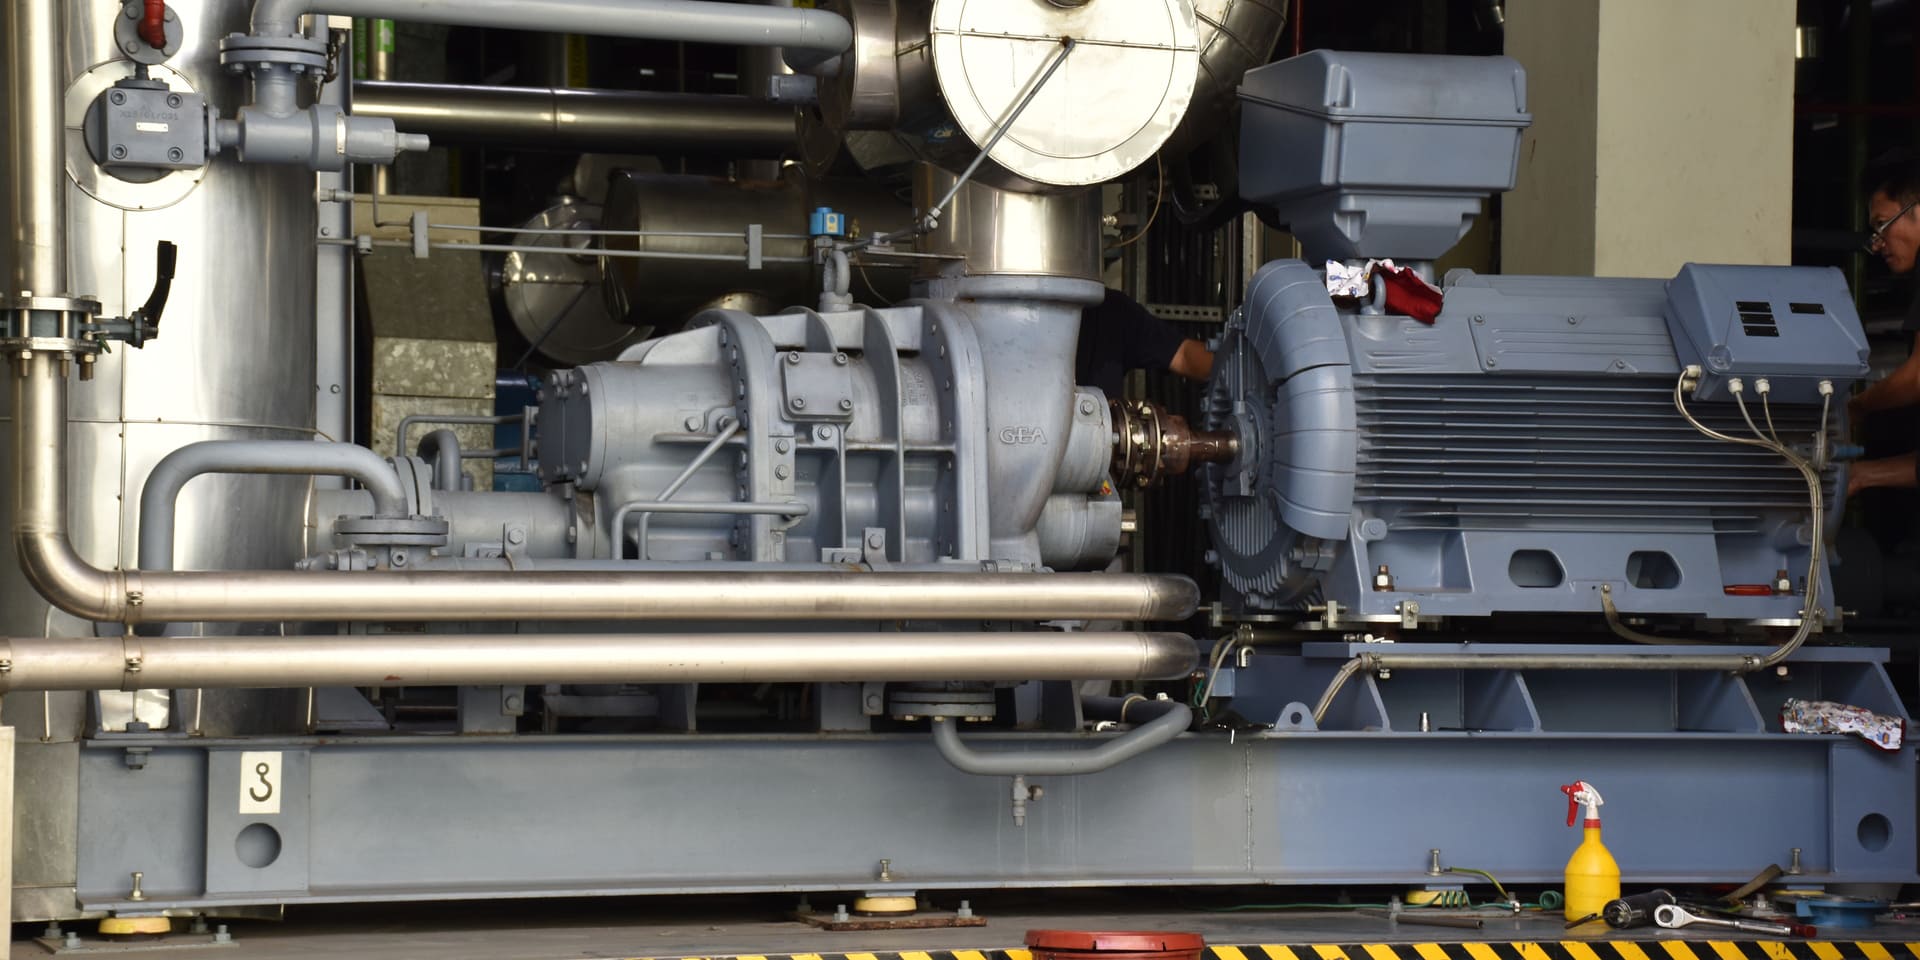
The compressor is the heart of your Trane air conditioning system. When it fails, you're looking at uncomfortable temperatures and potentially significant repair costs. This guide walks you through understanding compressor issues, assessing whether replacement is necessary, and provides a realistic overview of what's involved, whether you're a seasoned DIYer or prefer to call in a professional.
Understanding Your Trane Compressor
Your Trane compressor circulates refrigerant throughout the system. This refrigerant absorbs heat from inside your home and releases it outside, creating a cooling effect. A failing compressor can manifest in several ways:
- Lack of Cooling: The most obvious sign – your AC blows warm air.
- Unusual Noises: Grinding, buzzing, or rattling sounds coming from the outdoor unit.
- Increased Energy Bills: A struggling compressor works harder, consuming more electricity.
- System Cycling Issues: The AC unit turns on and off frequently (short cycling).
- Compressor Overheating: The compressor feels excessively hot to the touch.
Before jumping to compressor replacement, rule out other common problems like a dirty air filter, frozen evaporator coil, or low refrigerant levels. Addressing these issues might restore your AC's performance without the need for a major repair.
Is Compressor Replacement the Right Choice?
Replacing a compressor is a major repair. Consider these factors before proceeding:
- Age of the System: If your Trane unit is older than 10-15 years, replacing the entire system might be more cost-effective. New systems are more energy-efficient and come with warranties.
- Cost Comparison: Get quotes for both compressor replacement and a new AC system. Compare the long-term costs, including energy savings from a newer unit.
- Refrigerant Type: Older systems may use R-22 refrigerant, which is being phased out. Replacing the compressor might require converting the entire system to a newer refrigerant like R-410A, adding to the cost.
- Warranty: Check your Trane unit's warranty. The compressor may still be covered.
Important Note: Working with refrigerant requires EPA certification. Improper handling can be dangerous and illegal. If you are not certified, do not attempt to handle refrigerant.
Gathering Your Tools and Parts
If you've determined that compressor replacement is the best option and you have the necessary skills and certifications, you'll need the following:
Tools:
- Refrigerant Recovery Machine: To safely remove refrigerant.
- Vacuum Pump: To evacuate the system after installation.
- Manifold Gauge Set: To measure refrigerant pressures.
- Micron Gauge: To verify proper vacuum levels.
- Nitrogen Tank and Regulator: For pressure testing the system.
- Torch and Brazing Rods: For connecting refrigerant lines.
- Tube Cutter and Bender: For modifying refrigerant lines if needed.
- Electrical Multimeter: To test electrical components.
- Wrenches and Screwdrivers: Assorted sizes for accessing and removing components.
- Wire Strippers and Crimpers: For electrical connections.
- Safety Glasses and Gloves: Essential for personal protection.
Parts:
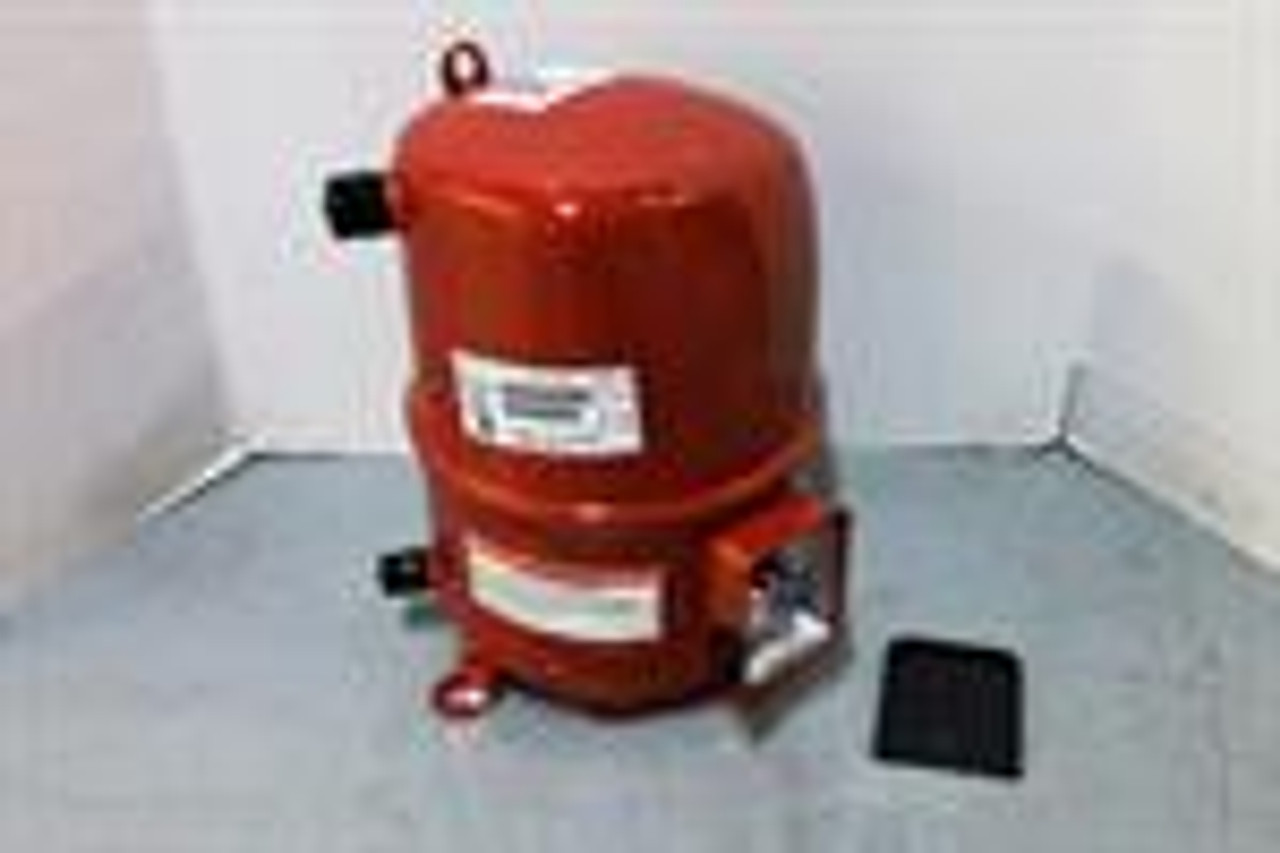
- New Trane Compressor: Ensure it's the correct model for your system.
- Filter Drier: To remove moisture and contaminants from the refrigerant.
- Refrigerant: The correct type and amount for your system (R-410A or other approved refrigerant).
- Electrical Connectors and Wiring: To replace any damaged wiring.
- Brazing Rods: For sealing refrigerant line connections.
- New Contactor (optional): A common part to replace when doing compressor work.
Caution: Using the wrong compressor or refrigerant can damage your system and void the warranty.
Step-by-Step Compressor Replacement (Advanced DIY)
Disclaimer: This is a complex procedure. If you lack experience with HVAC systems, especially refrigerant handling and electrical work, consult a qualified HVAC technician. Incorrect installation can damage your equipment, void warranties, and pose safety hazards.
- Safety First: Disconnect power to the AC unit at the breaker box. Verify the power is off with a multimeter.
- Refrigerant Recovery: Connect the refrigerant recovery machine and recover all refrigerant from the system according to EPA regulations. Do not release refrigerant into the atmosphere.
- Disconnect Refrigerant Lines: Use a tubing cutter to carefully cut the refrigerant lines connected to the compressor.
- Disconnect Electrical Connections: Disconnect all electrical wiring connected to the compressor. Label the wires to ensure proper reconnection.
- Remove the Old Compressor: Unbolt the old compressor from its mounting base and carefully remove it from the unit.
- Install the New Compressor: Place the new compressor on the mounting base and secure it with bolts.
- Connect Refrigerant Lines: Braze the refrigerant lines to the new compressor. Use proper brazing techniques to ensure airtight seals.
- Install a New Filter Drier: Replace the filter drier to protect the new compressor from contaminants.
- Reconnect Electrical Connections: Reconnect all electrical wiring to the compressor, matching the labels from the removal process.
- Pressure Test the System: Pressurize the system with nitrogen to check for leaks. Use a leak detector to identify and repair any leaks.
- Evacuate the System: Connect a vacuum pump to the system and evacuate it to a deep vacuum (around 500 microns). This removes moisture and air.
- Charge the System with Refrigerant: Charge the system with the correct amount of refrigerant according to the manufacturer's specifications. Use a manifold gauge set to monitor pressures.
- Start Up and Test: Restore power to the AC unit and start it up. Monitor the system for proper operation, including cooling performance and refrigerant pressures.
Common Issues and Troubleshooting
Even with careful installation, problems can arise:
- Leaks: Refrigerant leaks can reduce cooling performance. Use a leak detector to find and repair leaks.
- High Head Pressure: Indicates a restriction in the system, such as a clogged filter drier or condenser coil.
- Low Suction Pressure: May indicate low refrigerant charge or a restriction in the suction line.
- Compressor Overheating: Could be caused by low refrigerant, high head pressure, or a faulty compressor.
- Electrical Problems: Check wiring connections and voltage levels with a multimeter.
Warning: Electrical troubleshooting can be dangerous. If you are not comfortable working with electricity, call a qualified electrician or HVAC technician.
When to Call a Professional
While some homeowners with the right skills and certifications can handle compressor replacement, there are situations where a professional HVAC technician is essential:
- Lack of Experience: If you're not comfortable with refrigerant handling, electrical work, and brazing, it's best to leave it to the pros.
- Complex System Issues: Diagnosing and repairing complex system problems requires specialized knowledge and equipment.
- Warranty Concerns: Improper installation can void your warranty.
- Refrigerant Handling Regulations: Only EPA-certified technicians can legally handle refrigerant.
Calling a professional ensures the job is done safely and correctly, protecting your investment and ensuring optimal performance of your Trane AC system.
Cost Considerations
The cost of Trane compressor replacement varies depending on several factors:
- Compressor Model: Different compressors have different prices.
- Labor Costs: Professional installation costs vary by region and technician experience.
- Refrigerant Costs: The price of refrigerant can fluctuate.
- Additional Parts: Replacing other components, such as the filter drier or contactor, adds to the cost.
Expect to pay anywhere from $800 to $2500 or more for compressor replacement, including parts and labor. Getting multiple quotes from reputable HVAC contractors is always a good idea.
Final Thoughts: Trane compressor replacement is a significant undertaking. By understanding the process, assessing your skills, and weighing the costs and benefits, you can make an informed decision about whether to tackle the job yourself or call a professional. Always prioritize safety and ensure compliance with all applicable regulations.