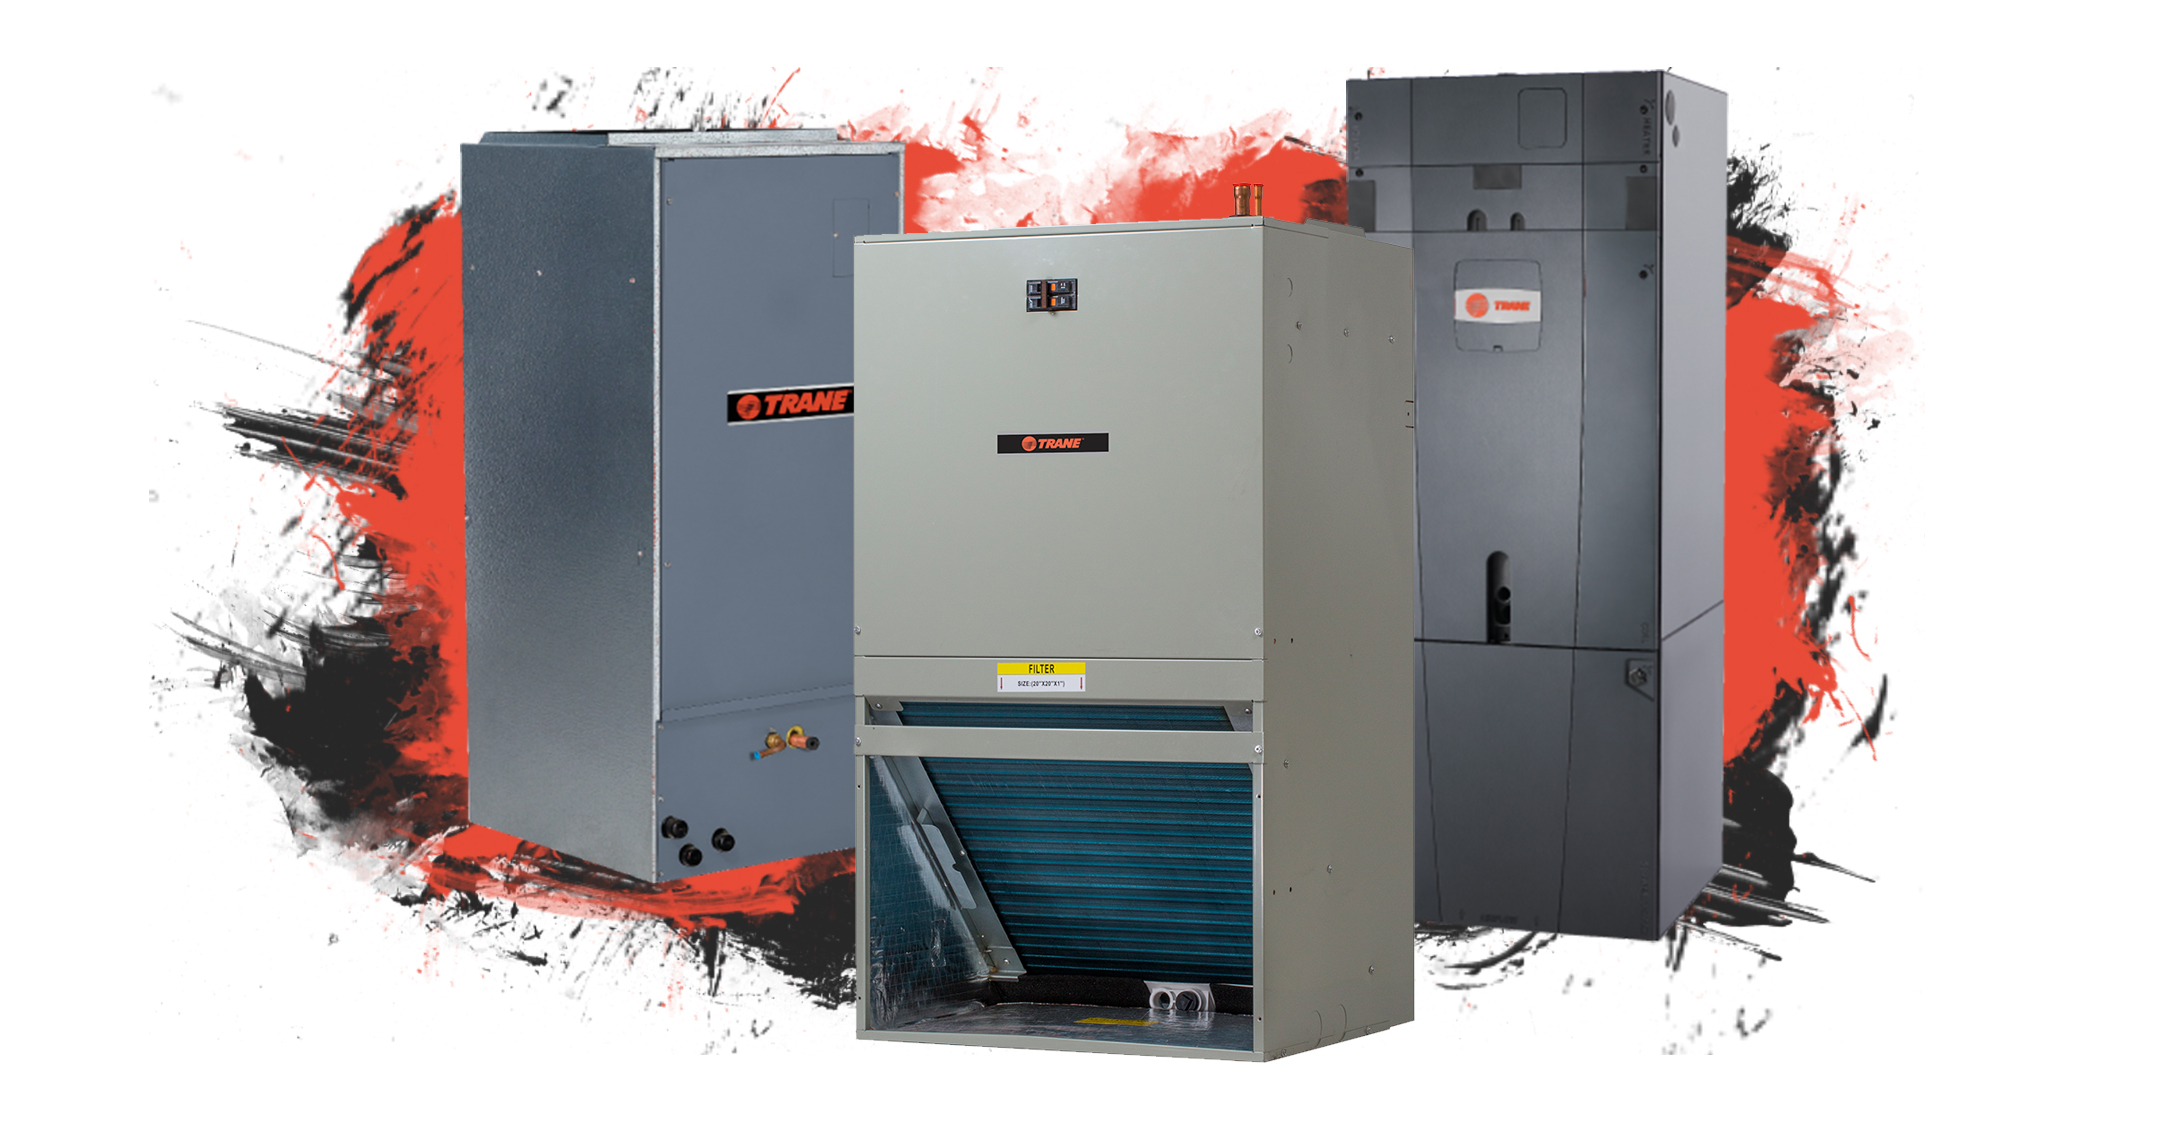
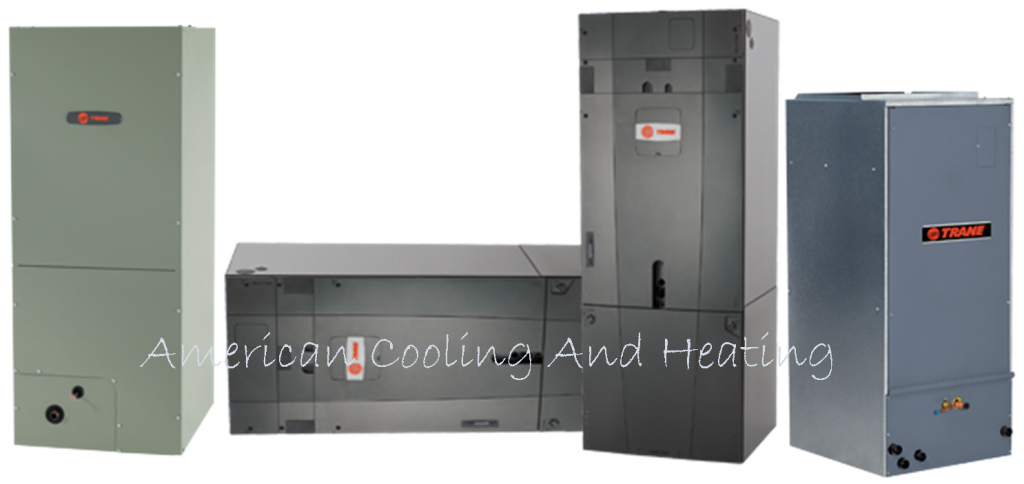
Trane Hyperion Air Handlers
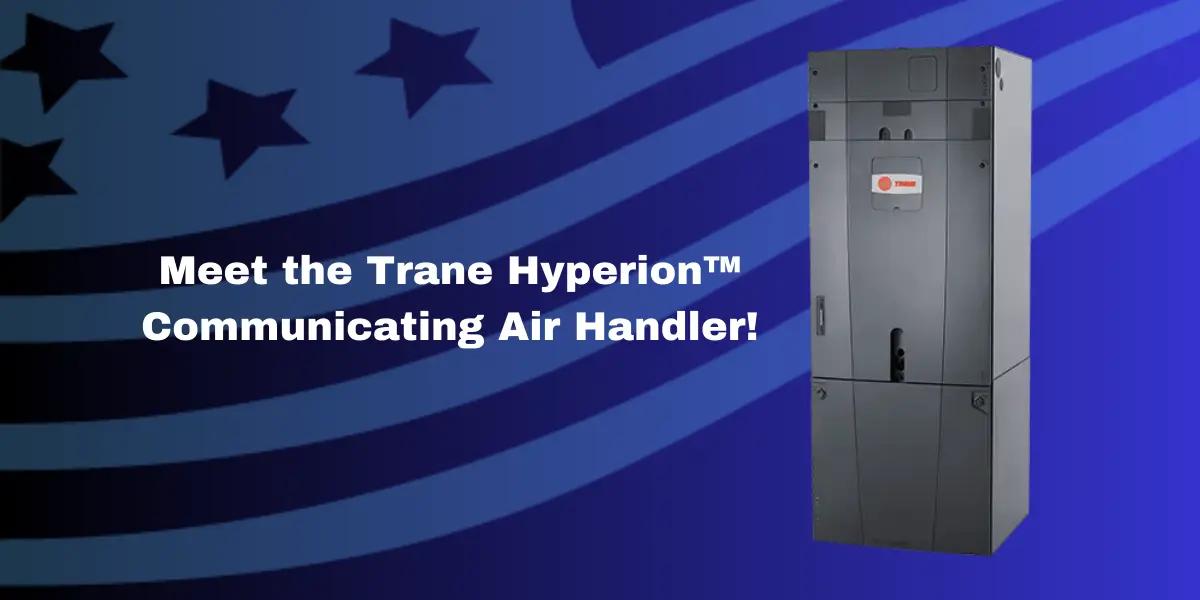
Experiencing inconsistent temperatures or airflow issues with your Trane Hyperion air handler? You're not alone. Many homeowners encounter problems that can often be diagnosed and sometimes even resolved with a little know-how. This guide will walk you through common issues and provide a step-by-step approach to troubleshooting, helping you determine whether you can fix it yourself or if it's time to call a professional. Safety is paramount, so always disconnect power before performing any internal checks.
A Common Culprit: Reduced Airflow
One of the most frequent complaints with air handlers, including the Trane Hyperion, is reduced airflow. This can manifest as rooms not cooling or heating properly, longer run times for your system, and even increased energy bills. Let's investigate the possible causes.
Step 1: Check the Air Filter
The easiest and most common fix is a dirty air filter. A clogged filter restricts airflow dramatically.
- Locate the air filter: On a Trane Hyperion, the filter is usually located either in the air handler itself (often behind an access panel) or in the return air duct where air enters the system.
- Inspect the filter: Remove the filter and hold it up to the light. If you can't see light clearly through it, it's likely dirty.
- Clean or replace the filter:
- Disposable filters: Replace with a new filter of the same size and MERV rating (Minimum Efficiency Reporting Value). Using a filter with a higher MERV rating than recommended can restrict airflow and damage your system. Never operate the system without a filter.
- Washable filters: Clean the filter according to the manufacturer's instructions (usually by rinsing with water). Allow it to dry completely before reinstalling.
- Reinstall the filter: Make sure the filter is installed correctly, with the arrow on the filter pointing in the direction of airflow.
Prevention Tip: Check your air filter monthly and replace or clean it as needed. A good rule of thumb is to replace disposable filters every 1-3 months, depending on your environment and usage.
Step 2: Inspect the Supply Registers and Return Vents
Sometimes, the problem isn't the air handler itself, but obstructions in your ductwork.
- Check supply registers: These are the vents that blow air into your rooms. Make sure they are open and unobstructed by furniture, rugs, or drapes.
- Check return vents: These are the vents that draw air back to the air handler. Ensure they are also open and unobstructed.
- Look for obvious blockages: Visually inspect the vents and registers. Remove any debris or obstructions you find.
Step 3: Examine the Blower Motor
The blower motor is the heart of your air handler, responsible for circulating air. If it's malfunctioning, airflow will be significantly reduced.
- Disconnect Power! Before proceeding, turn off the power to your air handler at the breaker box. This is crucial for your safety.
- Locate the blower motor: This is usually inside the air handler, behind an access panel. Consult your owner's manual for the exact location.
- Visual inspection: Look for signs of damage to the motor or blower wheel (the fan that spins inside the housing). Are there any broken blades, loose wires, or signs of overheating (burnt smell or discolored components)?
- Check the capacitor: The capacitor is a small cylindrical component that helps start and run the motor. If it's bulging, leaking, or otherwise damaged, it could be preventing the motor from running properly. Note: Capacitors can store an electrical charge even after the power is disconnected. Use a non-contact voltage tester to ensure the capacitor is discharged before touching it. If you're uncomfortable with this step, do not proceed and call a professional.
- Test the blower motor (Advanced, proceed with caution): Using a multimeter, you can test the motor's windings for continuity. This requires some electrical knowledge. If you're not comfortable using a multimeter, skip this step and call a professional.
DIY Fix: If you find a blown capacitor, you *might* be able to replace it yourself. Only do this if you are comfortable working with electricity and understand the risks. Ensure you purchase a replacement capacitor with the exact same voltage and microfarad (µF) rating. Properly discharge the old capacitor before removing it, and carefully connect the new capacitor, paying attention to the polarity if applicable.
When to Call a Professional (Blower Motor): If you suspect the blower motor itself is failing (burnt smell, no movement, or unusual noises), it's best to call a qualified HVAC technician. Replacing a blower motor can be complex, and improper installation can damage your system.
Step 4: Check the Evaporator Coil
A dirty or frozen evaporator coil can also restrict airflow. The evaporator coil is responsible for cooling the air, and if it's blocked, air can't flow through it effectively.
- Disconnect Power! Again, turn off the power to your air handler at the breaker box.
- Locate the evaporator coil: This is typically inside the air handler, near the blower motor.
- Visual inspection: Look for signs of ice buildup on the coil. If you see ice, it indicates a potential problem with the refrigerant charge or airflow. Also, check for excessive dust and debris on the coil.
- Thawing a frozen coil: If the coil is frozen, allow it to thaw completely. You can speed up the process by turning off the air conditioner and running only the fan.
- Cleaning the coil (Advanced, proceed with caution): If the coil is dirty, you can try cleaning it with a coil cleaner specifically designed for HVAC systems. Follow the manufacturer's instructions carefully. Be extremely careful not to damage the delicate fins on the coil.
When to Call a Professional (Evaporator Coil): If the evaporator coil freezes repeatedly, or if you suspect a refrigerant leak, it's crucial to call a professional. Refrigerant leaks can be harmful to the environment and require specialized equipment to repair.
Other Potential Issues and Troubleshooting
Issue: No Heat
If your Trane Hyperion is equipped with electric heat and you're not getting any heat, consider these troubleshooting steps:
- Check the thermostat: Ensure the thermostat is set to "heat" and the temperature is set higher than the current room temperature.
- Check the breaker: Make sure the breaker for the air handler is not tripped. Reset it if necessary.
- Check the heating elements: (Disconnect Power!) Inspect the heating elements for any signs of damage (burns, breaks). Testing heating elements requires a multimeter and electrical knowledge. If you are not comfortable with this, call a professional.
- Check the high-limit switch: This safety switch is designed to shut off the heating elements if they overheat. It may need to be reset manually. Consult your owner's manual for the location of the high-limit switch.
When to Call a Professional (No Heat): If you suspect a problem with the heating elements or the high-limit switch, it's best to call a professional. These components can be dangerous to work with if you're not familiar with electrical systems.
Issue: Strange Noises
Unusual noises coming from your air handler can indicate various problems.
- Rattling: Could indicate loose panels, debris in the blower, or a failing blower motor.
- Squealing: Could indicate a worn blower motor bearing or a slipping belt (if your system has one).
- Humming: Could indicate a problem with the capacitor or the blower motor.
Troubleshooting:
- Disconnect Power!
- Identify the source of the noise: Try to pinpoint where the noise is coming from within the air handler.
- Check for loose components: Tighten any loose screws or panels.
- Inspect the blower motor: Look for signs of damage or wear.
When to Call a Professional (Strange Noises): Persistent or loud noises are often a sign of a more serious problem. It's best to call a professional to diagnose and repair the issue before it causes further damage.
Preventative Maintenance
Regular preventative maintenance can help avoid many of the problems discussed above.
- Change or clean your air filter regularly.
- Schedule annual professional maintenance: A qualified HVAC technician can inspect and clean your system, check refrigerant levels, and identify potential problems before they become major issues.
- Keep the area around your air handler clean and clear of obstructions.
Safety First!
Always disconnect power to your air handler before performing any internal checks or repairs. If you are not comfortable working with electricity or HVAC systems, call a qualified professional. Working with electricity can be dangerous, and improper repairs can damage your system or create a safety hazard. Your safety and the safety of your home are paramount.
By following these troubleshooting steps, you can often diagnose and resolve common issues with your Trane Hyperion air handler. However, remember that some problems require professional expertise. Knowing when to call a technician can save you time, money, and potential headaches in the long run.