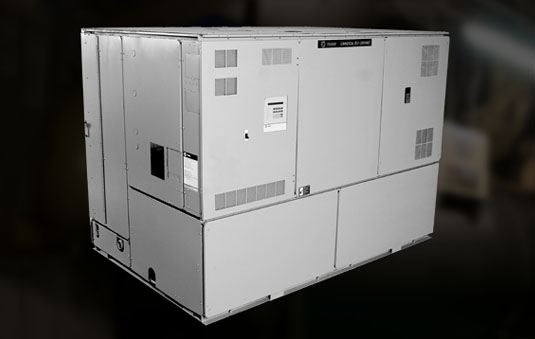
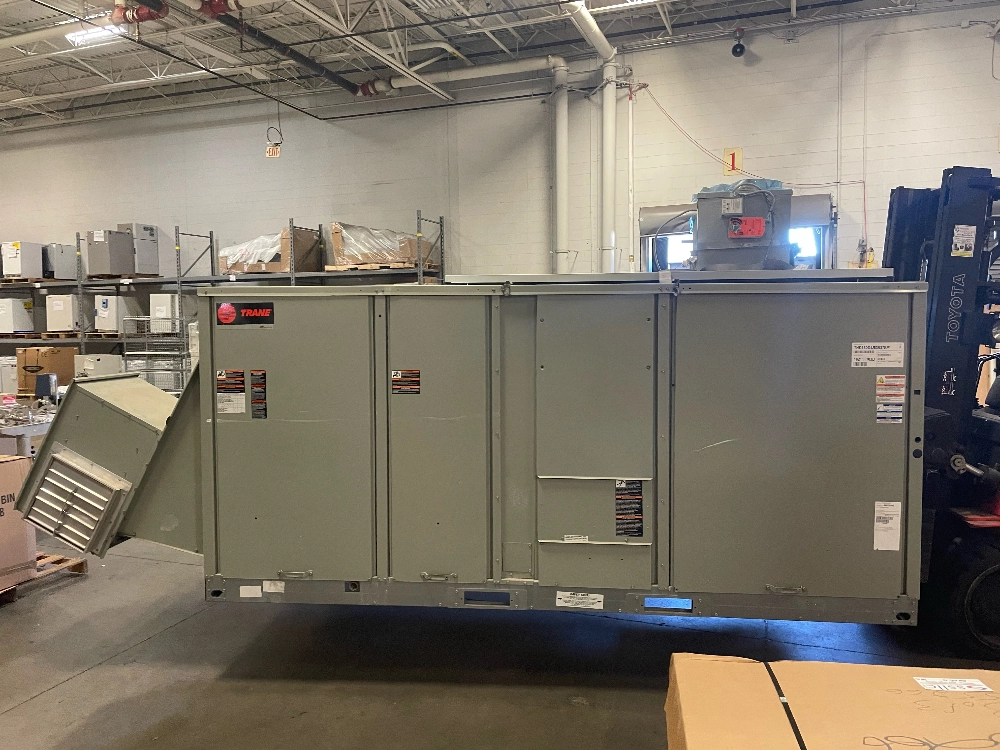
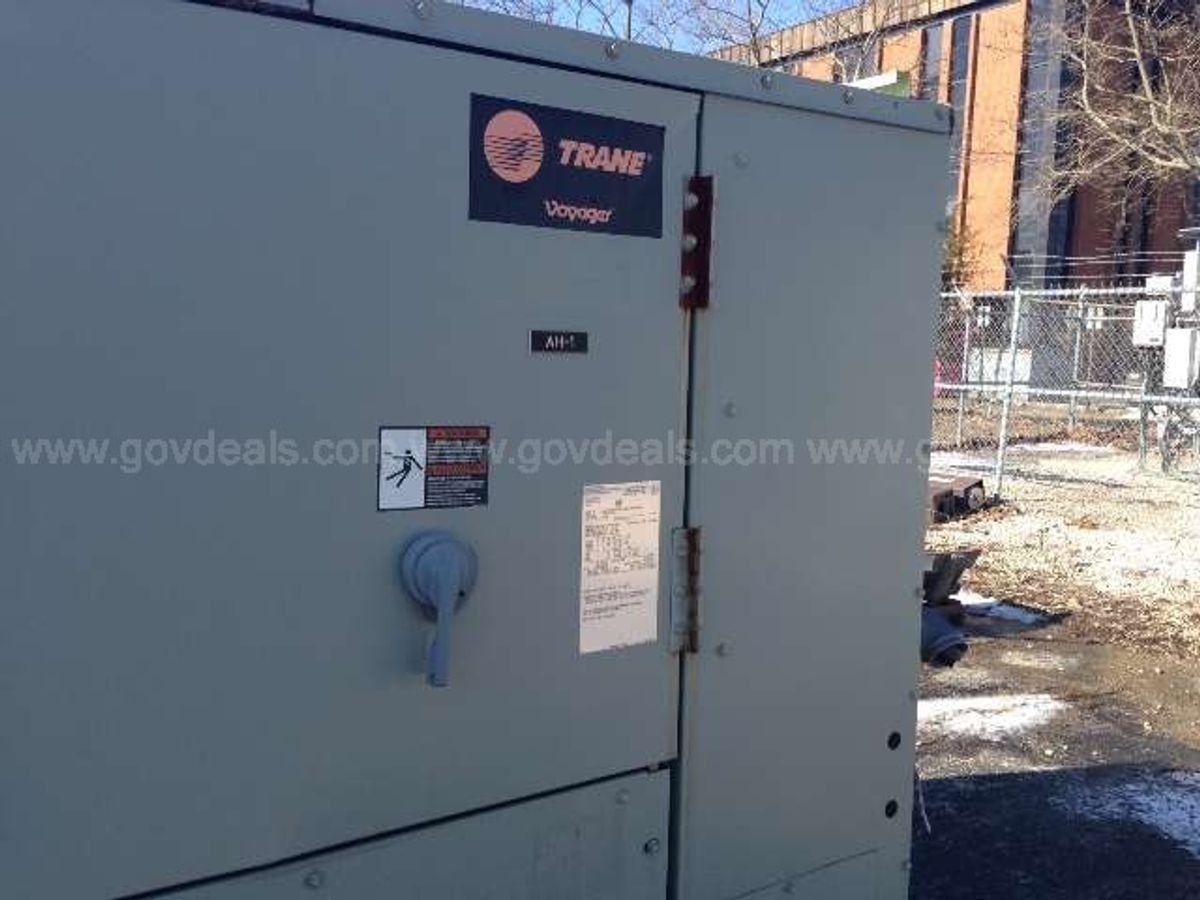
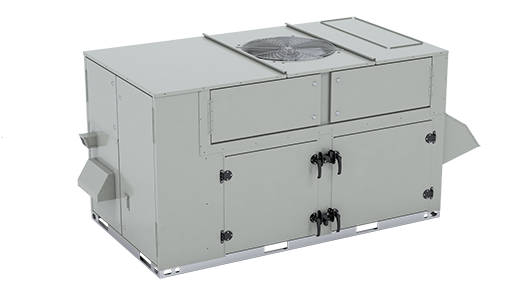
Trane Self-contained Unit

It's a frustrating scenario: Your Trane self-contained unit is running, but the air coming from the vents is lukewarm when you need heat, or barely cooler than room temperature when you're expecting a blast of cold air. Before you panic and call for expensive repairs, let's walk through some troubleshooting steps you can take. This guide focuses on the common issues homeowners can address safely and effectively. Remember, safety first! If you're uncomfortable with any step, or suspect a serious problem, call a qualified HVAC technician immediately.
Troubleshooting Insufficient Heating or Cooling in Your Trane Self-Contained Unit
This article assumes your unit is a fairly standard packaged unit, often found on rooftops or slabs outside the home. While Trane offers various models, the basic principles remain the same.
Step 1: Basic Checks – No Tools Required
Start with the simplest things first. These are often the culprits and require no tools whatsoever.
- Check the Thermostat: Is it set to the correct mode (heat or cool) and temperature? Sounds obvious, but it's a common mistake. Make sure the thermostat is calling for heating or cooling. If the display is blank or the unit isn't responding, check the thermostat batteries.
- Inspect the Air Filter: This is the most frequent cause of heating and cooling problems. A dirty air filter restricts airflow, reducing efficiency and potentially damaging the unit. Visually inspect the filter. If it's dusty or clogged, replace it immediately. Use the correct filter size and type recommended in your unit's manual. A clean filter should be replaced every 1-3 months depending on usage and air quality.
- Verify Power Supply: Is the unit receiving power? Check the circuit breaker in your electrical panel. A tripped breaker could indicate an electrical problem. Reset the breaker, but if it trips again immediately, do not keep resetting it. Call a qualified electrician. Also, ensure the unit's disconnect switch (usually located near the unit) is in the "ON" position.
- Examine the Outdoor Unit (Safety First!): Visually inspect the outdoor unit for any obvious obstructions. Are there leaves, snow, ice, or debris blocking the airflow around the unit? Clear away any obstructions carefully. Never stick your hands inside the unit while it's running or potentially powered on.
- Listen to the Unit: Is the unit making any unusual noises, such as banging, grinding, or squealing? These noises could indicate a mechanical problem requiring professional attention. Turn the unit off immediately and call a technician if you hear concerning noises.
Step 2: More Detailed Inspection – Basic Equipment Needed
If the basic checks haven't resolved the issue, these steps require minimal tools and some careful observation.
- Check the Blower Motor (after safely turning off power): Locate the blower motor compartment (consult your owner's manual). With the power completely off at the breaker and disconnect switch, visually inspect the blower motor. Look for signs of damage, such as burnt wires or a broken fan blade. If you see any damage, do not attempt to repair it yourself. Call a professional.
- Inspect the Condenser Coils (Outdoor Unit - after safely turning off power): Again, with the power completely off, visually inspect the condenser coils (the finned part of the outdoor unit). They should be relatively clean. If they are covered in dirt, leaves, or debris, you can carefully clean them with a garden hose and a soft brush. Do not use a pressure washer, as it can damage the fins. Spray the coils from the inside out to remove debris. Ensure the fins are not bent excessively. A few bent fins are normal, but widespread damage reduces efficiency.
- Check for Air Leaks in Ductwork: Inspect the visible ductwork for any obvious leaks, especially at joints and seams. You can use foil tape or mastic sealant to seal any leaks you find. This can improve efficiency and airflow.
Step 3: Diagnostic Tests – Basic Tools Required (Multimeter)
These tests require a multimeter and some basic electrical knowledge. If you are not comfortable working with electricity, skip this section and call a qualified HVAC technician. Electricity can be dangerous!
- Test the Capacitor (after safely turning off power): The capacitor stores energy and helps start the motor. A failing capacitor is a common cause of motor problems. With the power completely off and using appropriate safety precautions (discharging the capacitor before testing!), use a multimeter to test the capacitor's capacitance. The reading should be within the range specified on the capacitor label. If it's significantly lower, the capacitor needs to be replaced. Capacitors can hold a dangerous electrical charge even after the power is turned off. Research how to safely discharge a capacitor before attempting any testing or replacement.
- Check Voltage to the Unit (after safely turning off power): Use a multimeter to check the voltage at the unit's disconnect switch. Ensure you are getting the correct voltage (typically 220-240V for most self-contained units). If the voltage is significantly lower or non-existent, there may be an electrical problem that needs to be addressed by an electrician.
DIY Actions You Can Take (Safely!)
Based on the troubleshooting steps above, here's a summary of the DIY actions you can safely take:
- Replace the Air Filter: This is the easiest and most impactful thing you can do.
- Clear Obstructions Around the Outdoor Unit: Remove leaves, snow, and debris.
- Clean the Condenser Coils: Gently wash them with a hose and soft brush.
- Seal Air Leaks in Ductwork: Use foil tape or mastic sealant.
- Replace a Faulty Capacitor (with proper training and precautions): Only if you are comfortable working with electricity and have the necessary safety knowledge and equipment.
When to Call a Professional HVAC Technician
Certain problems are beyond the scope of DIY repair and require the expertise of a qualified HVAC technician. Call a professional immediately if you encounter any of the following:
- Refrigerant Leaks: Refrigerant leaks require specialized equipment to detect and repair. Do not attempt to handle refrigerant yourself. It is harmful to the environment and requires EPA certification.
- Compressor Problems: The compressor is the heart of the cooling system. If it's not working, it's a major repair that requires professional expertise.
- Electrical Issues: Any electrical problems beyond a tripped breaker or a loose wire should be handled by a qualified electrician.
- Major Mechanical Failures: Any unusual noises, such as banging, grinding, or squealing, could indicate a serious mechanical problem requiring professional attention.
- Frozen Evaporator Coils: If the evaporator coils (inside the indoor unit) are frozen, it could indicate a refrigerant problem, airflow issue, or other serious malfunction.
- You are uncomfortable performing any of the troubleshooting steps.
Preventative Maintenance – The Best Defense
The best way to avoid heating and cooling problems is to perform regular preventative maintenance. Consider these steps:
- Change the Air Filter Regularly: As mentioned earlier, this is crucial.
- Schedule Annual HVAC Inspections: A professional HVAC technician can inspect your unit, clean the coils, check the refrigerant levels, and identify potential problems before they become major issues.
- Keep the Area Around the Outdoor Unit Clear: Prevent obstructions from blocking airflow.
- Consider a Service Contract: Many HVAC companies offer service contracts that include regular maintenance and discounts on repairs.
By following these troubleshooting steps and performing regular maintenance, you can keep your Trane self-contained unit running efficiently and reliably for years to come. Remember, safety is paramount. When in doubt, call a professional!