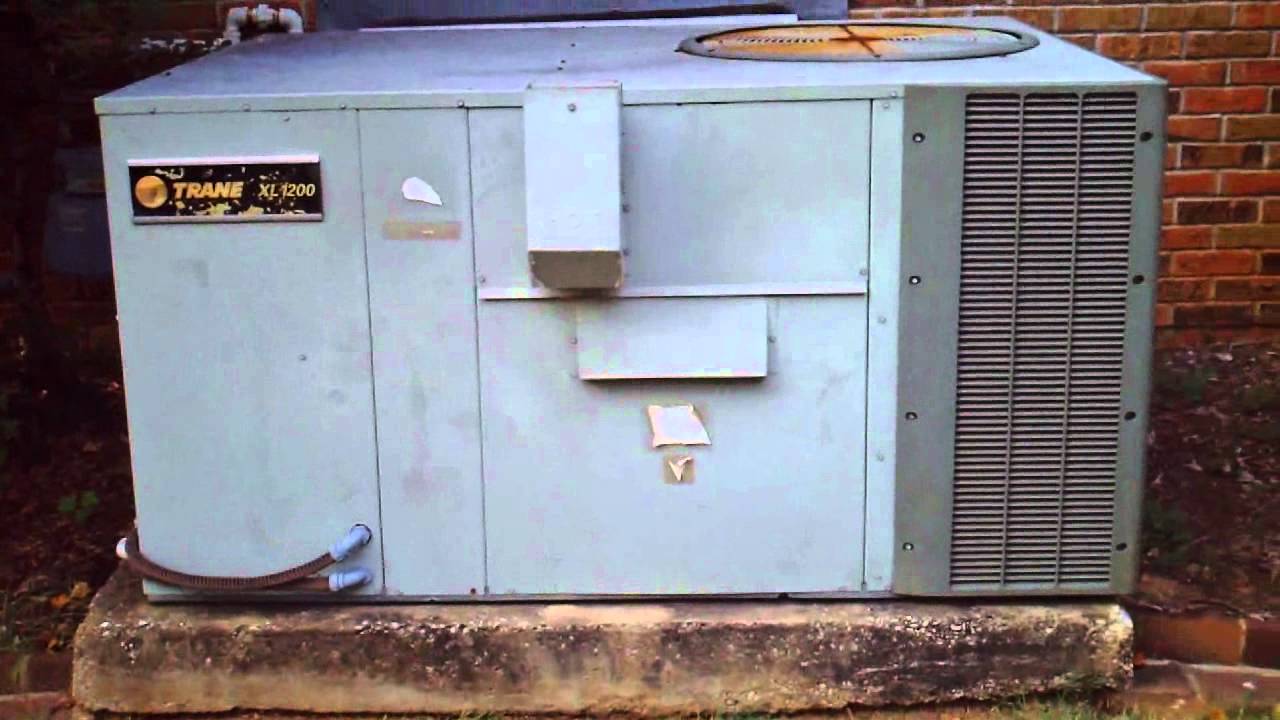
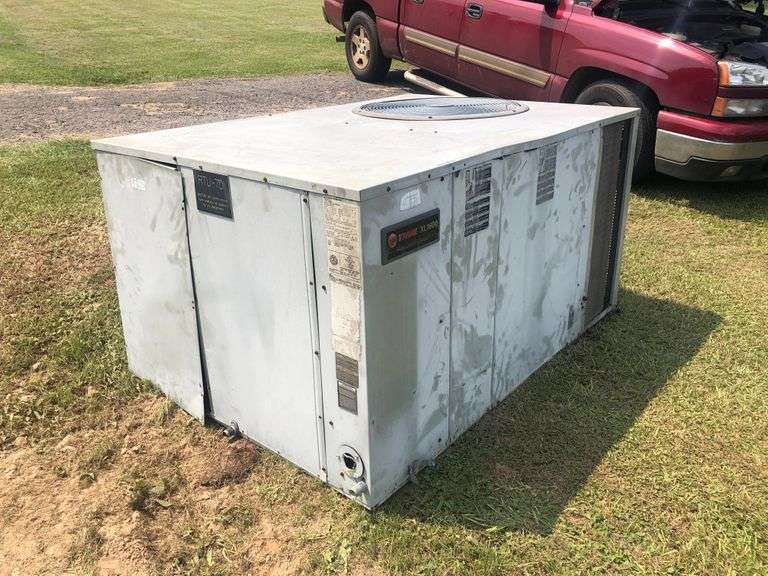
Trane Xl 1200 Heat Pump
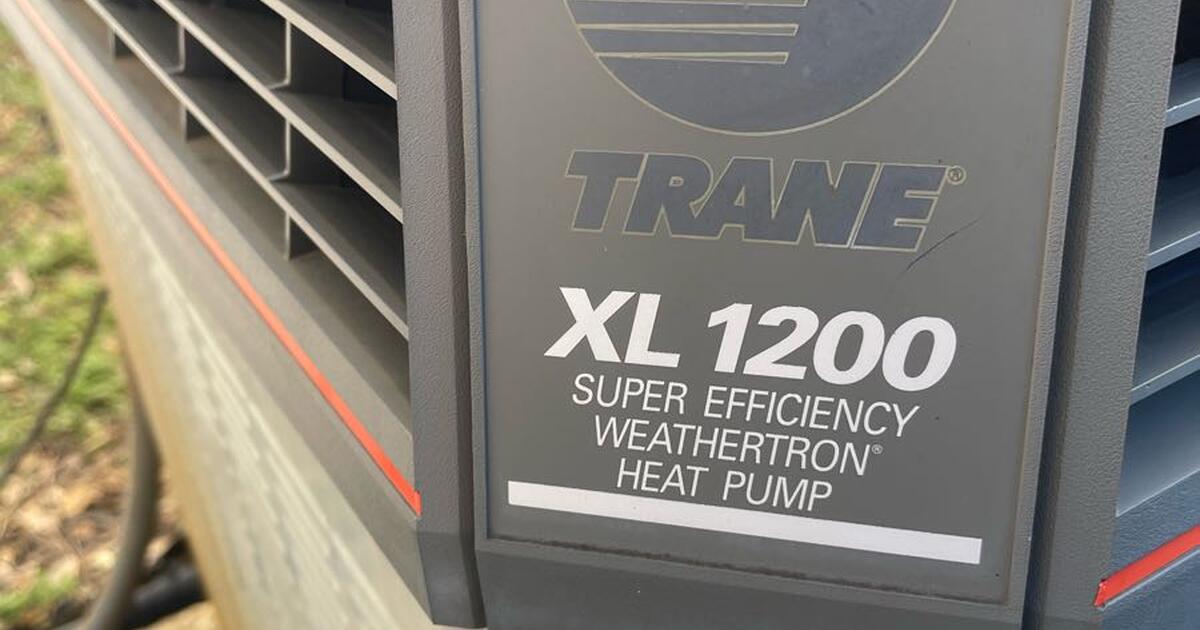
The Trane XL1200 heat pump was a popular model known for its reliability and efficiency. While it's an older system, many are still in operation today. This guide provides homeowners and DIY enthusiasts with troubleshooting tips, maintenance advice, and information on potential repair costs. However, remember that working with HVAC systems involves electricity and refrigerants, so safety is paramount. When in doubt, call a qualified HVAC professional.
Understanding Your Trane XL1200 Heat Pump
The XL1200 operates like other heat pumps, providing both heating and cooling. In the summer, it removes heat from your home and releases it outside. In the winter, it reverses the process, extracting heat from the outdoor air and transferring it inside. Its efficiency is measured by its Seasonal Energy Efficiency Ratio (SEER) for cooling and Heating Season Performance Factor (HSPF) for heating.
Common Problems and Troubleshooting
Here are some frequent issues encountered with the Trane XL1200, along with troubleshooting steps:
1. Unit Not Turning On
This is a common problem with many possible causes. Start with the simplest checks:
- Check the thermostat: Ensure it's set to the correct mode (heating or cooling) and the temperature is appropriately adjusted. Make sure the thermostat's batteries are fresh.
- Inspect the circuit breaker: Locate the breaker for the heat pump in your electrical panel. If it's tripped, reset it. If it trips again immediately, there's likely a short circuit, and you'll need professional help.
- Examine the disconnect switch: Most outdoor units have a disconnect switch near the unit. Verify it's in the "on" position.
- Check for blocked air filters: A clogged filter restricts airflow, potentially causing the unit to overheat and shut down. Replace the air filter regularly (every 1-3 months).
2. Insufficient Heating or Cooling
If the unit runs but doesn't heat or cool effectively, consider these possibilities:
- Dirty air filter: Again, a dirty filter restricts airflow, reducing efficiency.
- Dirty condenser coils: The outdoor unit's coils need to dissipate heat. If they're covered in dirt, leaves, or debris, they won't function properly. Clean them gently with a fin comb and a hose (turn off the power first!).
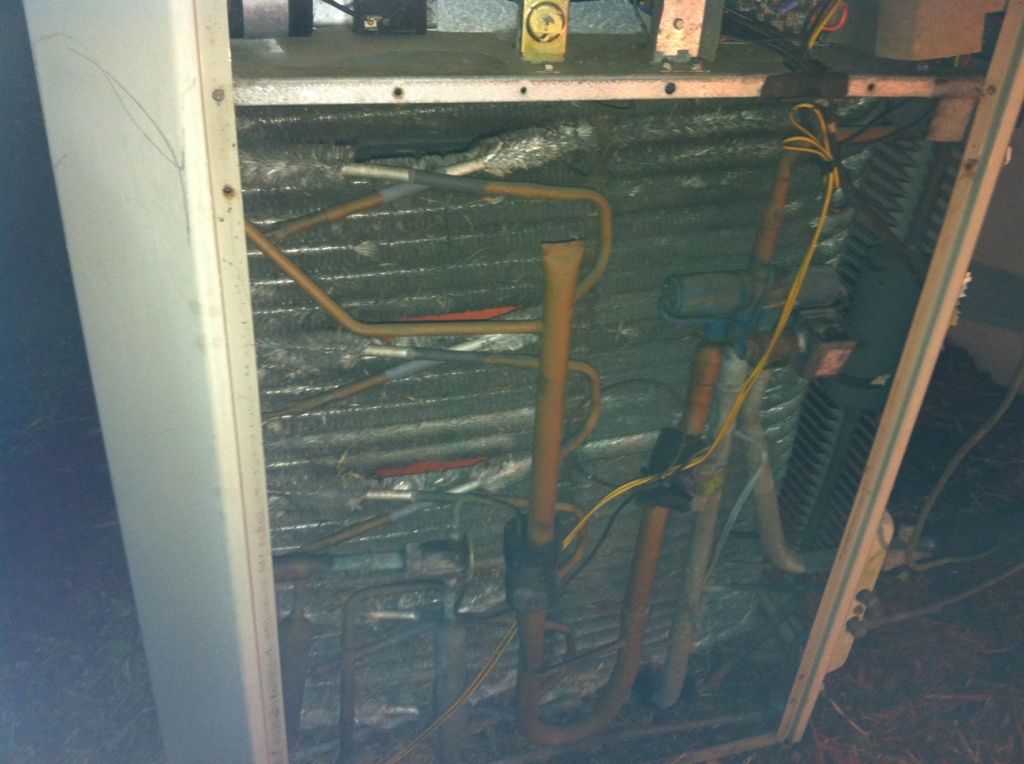
- Refrigerant leaks: Low refrigerant levels reduce the system's ability to transfer heat. This is a job for a professional, as refrigerant handling requires specialized equipment and certification. Signs of a leak include ice forming on the refrigerant lines, hissing sounds, and poor performance.
- Faulty compressor: The compressor is the heart of the heat pump. If it's failing, the system won't work. Compressor issues are often expensive to repair and may warrant replacing the entire unit.
- Ductwork leaks: Leaky ducts can waste a significant amount of energy. Seal any visible leaks with duct tape or mastic sealant. Consider having your ductwork professionally inspected and sealed.
3. Unit Running Constantly
If the heat pump runs continuously without reaching the desired temperature, investigate the following:
- Thermostat calibration: A miscalibrated thermostat might not accurately sense the room temperature, causing the unit to run excessively.
- Dirty air filter: Restricts airflow, making the system work harder.
- Refrigerant leaks: Reduced refrigerant causes system to run longer.
- Outside temperature: Heat pumps become less efficient as the outside temperature drops. During extremely cold weather, auxiliary heat (electric resistance heat) may kick in to supplement the heat pump, which can result in longer run times.
4. Noisy Operation
Unusual noises can indicate mechanical problems:
- Rattling: Loose panels or debris inside the unit. Secure any loose panels and remove any obstructions.
- Screeching: Could indicate a failing motor bearing. These usually require professional replacement.
- Humming: May be a sign of a failing capacitor. Capacitors are relatively inexpensive to replace, but require careful handling due to the stored electrical charge. Always discharge a capacitor before handling it.
- Banging: Potentially a serious compressor issue. Shut down the unit and call a professional immediately.
5. Ice Buildup on Outdoor Unit
Some ice buildup is normal during the heating season, especially during defrost cycles. However, excessive ice accumulation could indicate a problem:
- Defrost cycle malfunction: The heat pump should automatically defrost itself periodically. If the defrost cycle isn't working correctly, ice can build up excessively. This could be a faulty defrost timer, defrost sensor, or reversing valve. These issues generally require professional diagnosis and repair.
- Restricted airflow: Again, check the air filter and clean the outdoor coils.
DIY Maintenance Tips
Regular maintenance can extend the life of your Trane XL1200 and prevent costly repairs:
- Change air filters regularly: Every 1-3 months, depending on usage and air quality.
- Clean outdoor coils: At least once a year, preferably in the spring. Use a fin comb and a gentle stream of water.
- Clear debris around the outdoor unit: Keep the area around the unit free of leaves, branches, and other obstructions.
- Inspect ductwork for leaks: Seal any visible leaks with duct tape or mastic sealant.
- Check the condensate drain: Ensure the drain line is clear to prevent water damage. Pour a cup of bleach solution down the drain periodically to prevent algae growth.
Tools You Might Need
- Screwdrivers (various sizes)
- Wrench set
- Socket set
- Multimeter
- Fin comb
- Duct tape or mastic sealant
- Air filter
- Safety glasses
- Gloves
Common Replacement Parts
- Air filters
- Capacitors
- Contactors
- Relays
- Fan motors
- Compressor (expensive – often warrants system replacement)
Estimated Repair Costs
These are rough estimates only. Actual costs can vary depending on your location, the specific problem, and the contractor you choose.
- Air filter replacement: $10 - $30 (DIY)
- Capacitor replacement: $100 - $300
- Contactor replacement: $150 - $350
- Refrigerant recharge: $200 - $600 (plus leak repair if necessary)
- Compressor replacement: $1,500 - $4,000 (often more cost-effective to replace the entire unit)
- Fan motor replacement: $200 - $500
- Defrost timer/sensor replacement: $150 - $400
Safety Precautions
Working with HVAC systems can be dangerous. Always follow these safety precautions:
- Turn off the power: Before working on any electrical components, turn off the power to the unit at the circuit breaker and the disconnect switch.
- Discharge capacitors: Capacitors store electricity even when the power is off. Use a screwdriver with an insulated handle to carefully discharge the capacitor before handling it.
- Wear safety glasses and gloves: Protect your eyes and hands from injury.
- Don't work with refrigerant: Refrigerant handling requires specialized equipment and certification. If you suspect a refrigerant leak, call a professional.
- If unsure, call a professional: If you're not comfortable performing a repair, or if you're unsure about what you're doing, call a qualified HVAC technician.
When to Call a Professional
While some repairs are suitable for DIYers, others require the expertise of a qualified HVAC technician. Call a professional if:
- You suspect a refrigerant leak.
- You need to replace the compressor.
- You're working with high-voltage components.
- You're not comfortable performing the repair yourself.
- The problem persists after troubleshooting.
The Trane XL1200, while a dependable unit, will eventually require maintenance and repairs. By understanding common issues and following these troubleshooting tips, you can keep your system running efficiently and extend its lifespan. Remember to prioritize safety and call a professional when needed.
Disclaimer: This guide is for informational purposes only and should not be considered a substitute for professional advice. Always consult with a qualified HVAC technician before attempting any repairs.