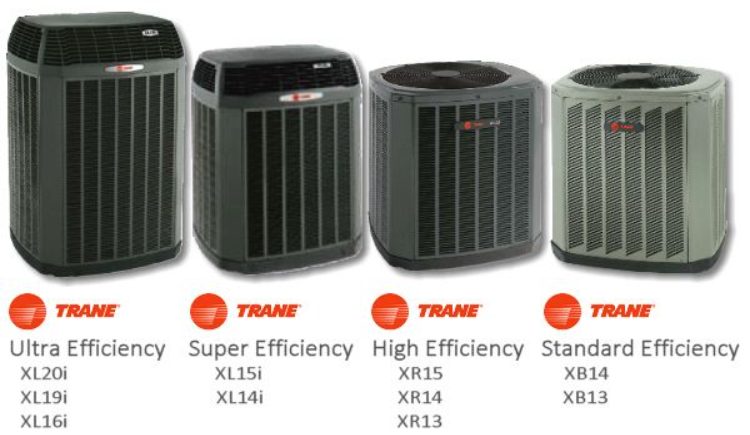
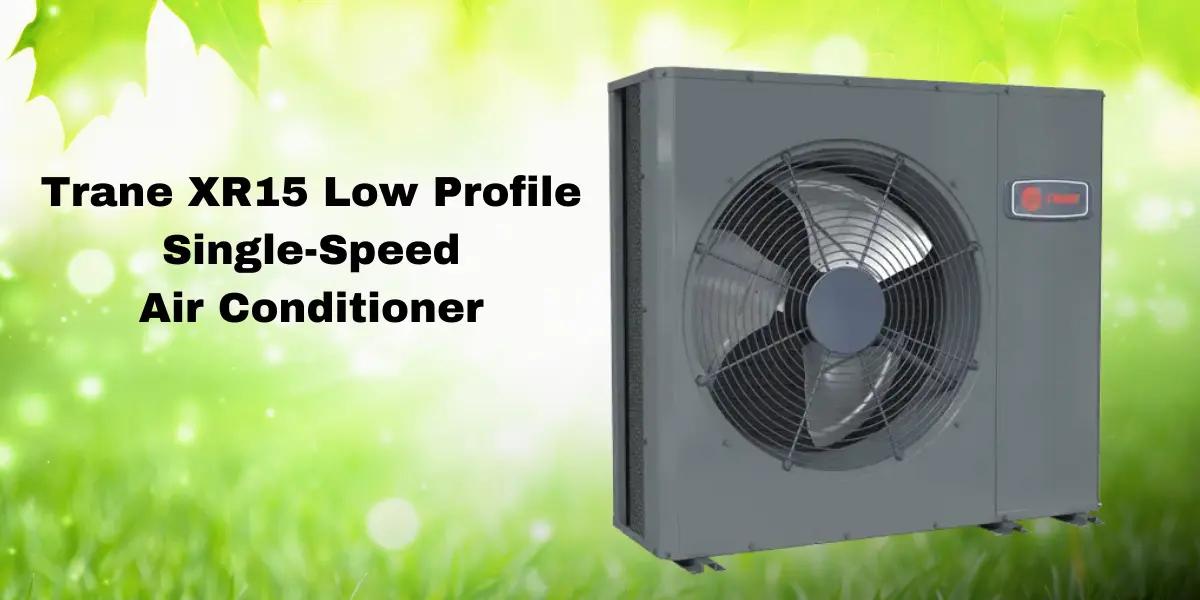
Trane Xr15 Heat Pump Review
The Trane XR15 heat pump is a popular choice for homeowners seeking efficient heating and cooling. However, like any complex piece of machinery, it can sometimes experience problems. One of the most common issues homeowners face is inconsistent heating or cooling – where the system runs, but the temperature doesn't seem to reach the setpoint, or fluctuates significantly.
Troubleshooting Inconsistent Heating or Cooling with Your Trane XR15
Don't panic! Before calling an HVAC technician, there are several things you can check yourself to potentially resolve the issue. This guide provides a systematic approach to diagnosing and addressing common problems.
Step 1: Initial Assessment (No Tools Required)
Start with a visual inspection and a basic assessment of the system's behavior.
A. Thermostat Settings:
The most obvious, but often overlooked, step is to ensure your thermostat is correctly programmed. Double-check that it's set to the correct mode (heat or cool), the desired temperature, and the fan setting (auto or on). Make sure there are no scheduled setbacks that might be affecting the temperature during the times you're experiencing the problem.
B. Airflow from Vents:
Walk through your home and check the airflow coming from each vent. Is the airflow weak, normal, or strong? Note any vents with significantly reduced airflow. This could indicate a blockage in the ductwork.
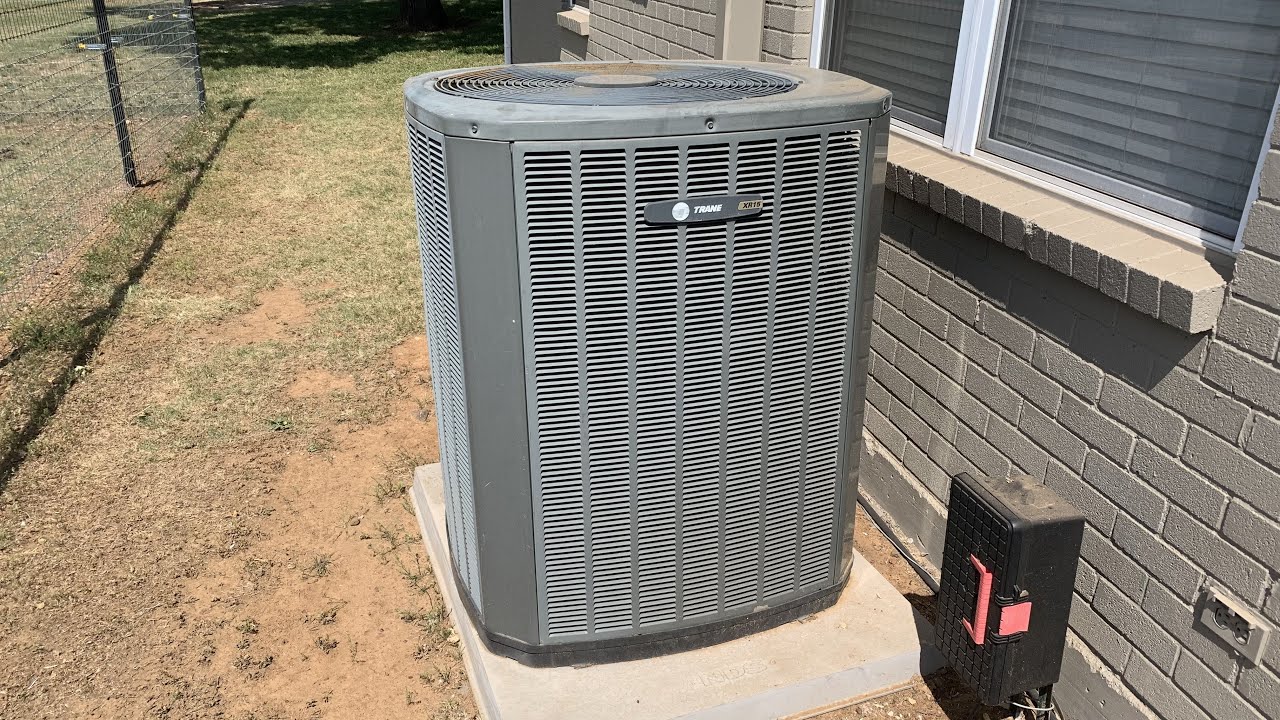
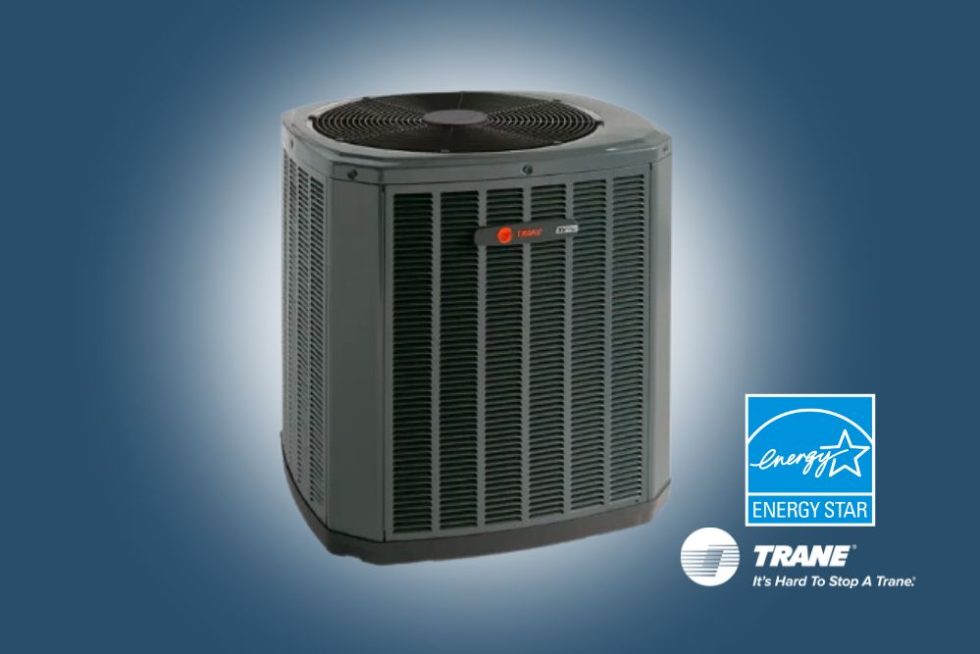
C. Outdoor Unit Inspection:
Visually inspect the outdoor unit of your Trane XR15. Look for any obvious obstructions, such as leaves, branches, snow, or ice, blocking the unit or the surrounding area. Make sure the unit is clear of debris at least 2-3 feet in all directions.
D. Listen for Unusual Noises:
Pay attention to any unusual noises coming from either the indoor or outdoor unit. Listen for grinding, squealing, banging, or hissing sounds. These could indicate a mechanical problem.
Step 2: Basic Checks (Minimal Tools Required)
If the initial assessment doesn't reveal the problem, these steps require some basic tools, but are still within the realm of DIY for many homeowners.
A. Air Filter Check and Replacement:
A dirty air filter is the most common cause of reduced airflow and can significantly impact your heat pump's performance. Locate your air filter (usually near the indoor unit) and remove it. Hold it up to the light; if you can barely see through it, it's time for a replacement. Replace the filter with a new one of the correct size and type (check your owner's manual for specifications). Aim to replace your air filter every 1-3 months, depending on usage and air quality.
B. Outdoor Unit Coil Inspection and Cleaning (Garden Hose Required):
The outdoor unit's coil can become covered in dirt, dust, pollen, and other debris, which insulates the coil and reduces its ability to transfer heat. Carefully inspect the coil for buildup. If it's dirty, gently clean it using a garden hose with a spray nozzle. Spray the coil from the inside out to avoid pushing debris further into the fins. Do not use a pressure washer, as it can damage the delicate fins. Turn off the power to the unit at the breaker before cleaning.
C. Thermostat Batteries:
While it seems simple, low thermostat batteries can cause inaccurate temperature readings and inconsistent operation. Replace the batteries in your thermostat, even if the display still appears to be working. Follow the thermostat manufacturer's instructions for battery replacement.
D. Check Circuit Breakers:
Locate your home's electrical panel and check the circuit breakers for the indoor and outdoor units of your heat pump. Make sure the breakers are in the "on" position. If a breaker has tripped (switched to the "off" or "middle" position), reset it by first turning it completely off and then back on. If the breaker trips again immediately, do not continue to reset it; this indicates a more serious electrical problem that requires professional attention.
Step 3: More Advanced Troubleshooting (Requires Caution and Possible Professional Help)
These steps involve checking components that are more complex and potentially dangerous. If you're not comfortable working with electricity or refrigerant, stop here and contact a qualified HVAC technician.
A. Capacitor Inspection (Power OFF and Meter Required - PRO ONLY IF UNFAMILIAR):
Capacitors are small cylindrical components that provide the electrical boost needed to start the motors in your heat pump. A failed capacitor is a common cause of heat pump problems. To check a capacitor, you'll need a multimeter and knowledge of how to safely discharge and test capacitors. This process involves working with electricity and can be dangerous. Turn off the power to the unit at the breaker and use a screwdriver with an insulated handle to discharge the capacitor before handling it. Visually inspect the capacitor for bulging, leaking, or other signs of damage. Use a multimeter to test the capacitance value. If the capacitor is damaged or its capacitance is significantly below the rated value, it needs to be replaced. We strongly recommend having this done by a professional.
B. Contactor Inspection (Power OFF - PRO ONLY IF UNFAMILIAR):
The contactor is an electrical switch that controls the flow of power to the compressor and fan motor. A faulty contactor can prevent the heat pump from running. To inspect the contactor, turn off the power to the unit at the breaker. Visually inspect the contactor for burned or pitted contacts. Use a multimeter to test the continuity of the contactor when it's engaged (thermostat calling for heat or cool). If the contactor is damaged or doesn't have continuity, it needs to be replaced. Again, if you're not experienced with electrical work, leave this to a professional.
C. Refrigerant Leaks (PRO ONLY):
Refrigerant leaks can cause a significant decrease in heating and cooling performance. However, checking for refrigerant leaks requires specialized equipment and knowledge. Refrigerant is a hazardous substance, and handling it improperly can be dangerous and illegal. Do not attempt to add refrigerant to your system yourself. If you suspect a refrigerant leak, contact a qualified HVAC technician immediately. Signs of a refrigerant leak include ice buildup on the refrigerant lines, a hissing sound near the outdoor unit, and a lack of cooling or heating.
When to Call a Professional HVAC Technician
While these troubleshooting steps can help you identify and resolve many common heat pump problems, there are certain situations where you should always call a professional HVAC technician.
- You're not comfortable working with electricity or refrigerant. Your safety is paramount.
- You suspect a refrigerant leak. Refrigerant handling requires specialized equipment and training.
- You've checked all the basic components and the problem persists. The issue may be more complex and require specialized diagnostic tools and expertise.
- You hear unusual noises coming from the compressor. Compressor problems are typically beyond the scope of DIY repair.
- The circuit breaker for your heat pump trips repeatedly. This indicates a serious electrical problem.
- You see ice buildup on the indoor or outdoor coils (beyond light frost in defrost cycle). This can indicate a refrigerant issue or airflow problem.
Preventive Maintenance for Your Trane XR15
The best way to avoid heat pump problems is to perform regular preventive maintenance. Here are some tips:
- Change your air filter regularly (every 1-3 months).
- Keep the outdoor unit clean and free of debris.
- Schedule annual professional maintenance with a qualified HVAC technician. This includes a thorough inspection of the system, cleaning of the coils, checking refrigerant levels, and lubricating moving parts.
By following these troubleshooting steps and performing regular maintenance, you can keep your Trane XR15 heat pump running efficiently and reliably for years to come. Remember, when in doubt, call a professional!