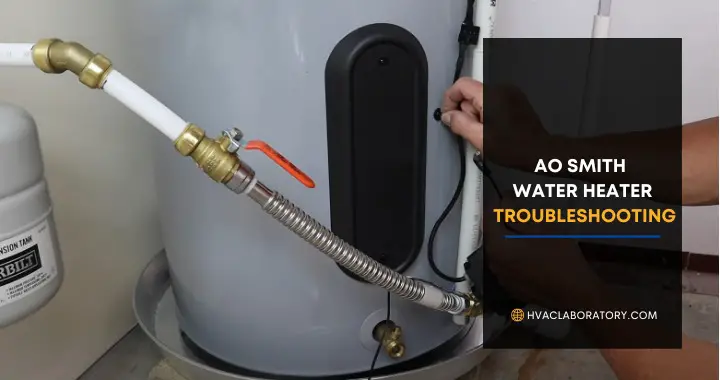
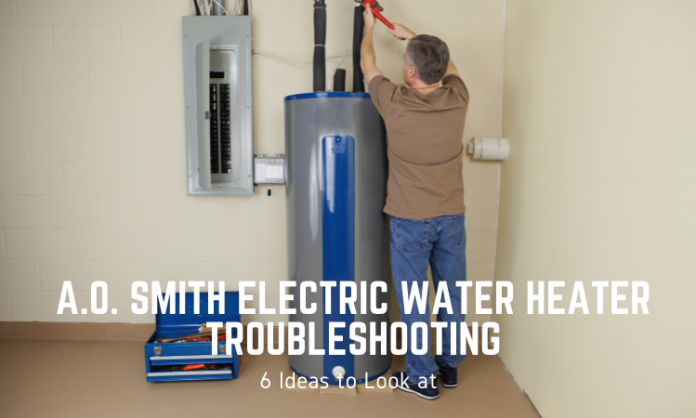
Troubleshooting Ao Smith Electric Water Heater
Electric water heaters are a staple in many homes and commercial buildings, providing a reliable source of hot water for daily needs. Among the popular brands, A.O. Smith stands out for its durability and efficiency. However, like any appliance, A.O. Smith electric water heaters can encounter problems over time. This guide provides a comprehensive troubleshooting approach for homeowners, HVAC technicians, and facility managers to diagnose and resolve common issues.
Understanding the Basics of an A.O. Smith Electric Water Heater
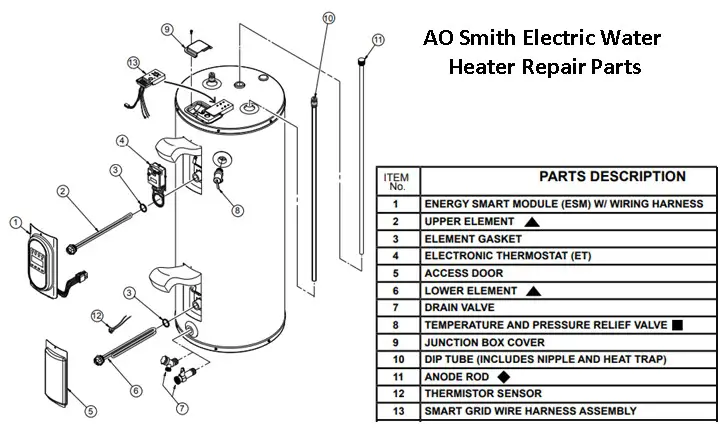
Before diving into troubleshooting, it's essential to understand the fundamental components and operation of an A.O. Smith electric water heater. These units primarily consist of:
- Tank: A large, insulated container that stores water.
- Heating Elements: Electrical resistance coils that heat the water inside the tank. Typically, there are two elements: an upper and a lower.
- Thermostats: Devices that regulate the temperature of the water by controlling the heating elements. Each element has its own thermostat.
- Dip Tube: A pipe that directs cold water to the bottom of the tank to prevent it from mixing with the hot water at the top.
- Drain Valve: Located near the bottom of the tank, used to drain the tank for maintenance or repairs.
- Temperature and Pressure Relief (T&P) Valve: A safety device that releases water if the temperature or pressure inside the tank exceeds safe levels.
- Anode Rod: A sacrificial rod that corrodes instead of the tank, extending its lifespan.
Common Problems and Troubleshooting Steps
1. No Hot Water
This is perhaps the most common complaint. Here's a breakdown of potential causes and solutions:
- Tripped Circuit Breaker: Check the circuit breaker in your electrical panel. If it's tripped, reset it. If it trips again immediately, there may be a short circuit in the water heater, indicating a faulty heating element or wiring.
- Faulty Heating Element: This is a frequent culprit. To test a heating element:
- Turn off the power to the water heater at the circuit breaker.
- Remove the access panel and insulation covering the element.
- Use a multimeter to check continuity across the element terminals. A reading of infinity (open circuit) indicates a burned-out element. A low resistance reading (e.g., 10-20 ohms) indicates a functioning element.
- Replace the faulty element with a new one of the same voltage and wattage.
Example: A homeowner noticed lukewarm water. Upon testing, the lower heating element showed no continuity. Replacing it restored hot water.
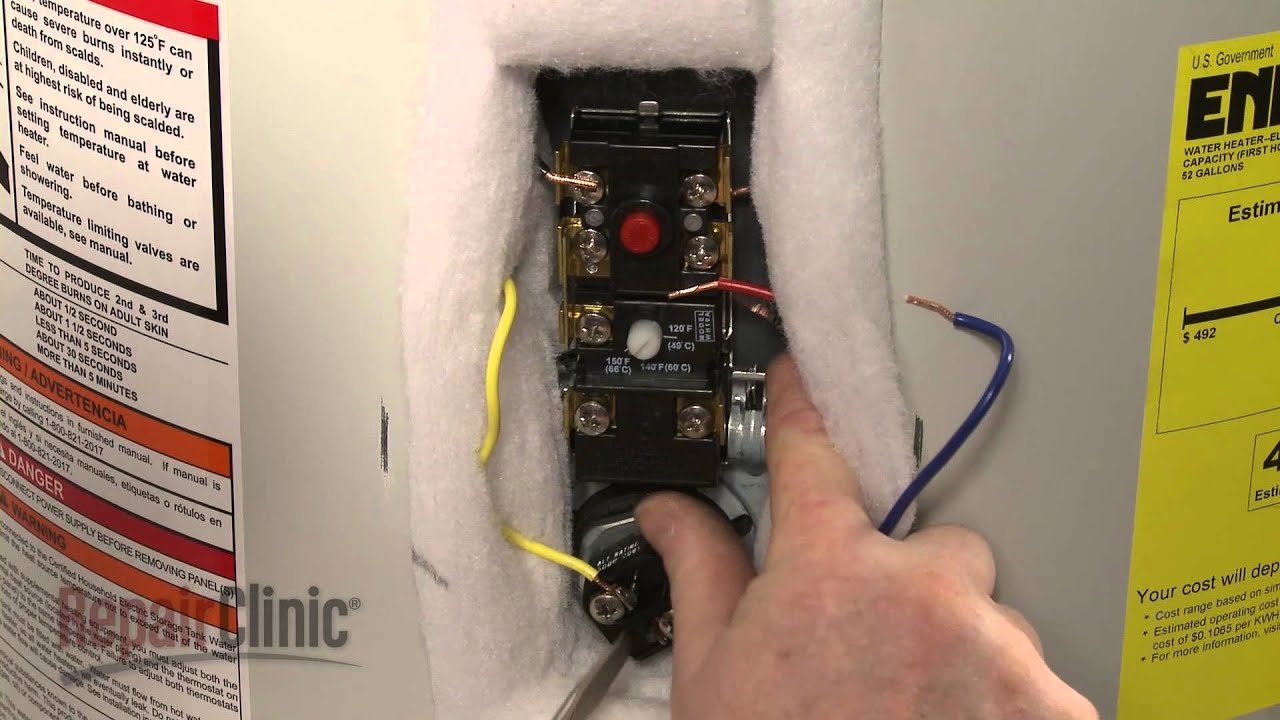
- Faulty Thermostat: The thermostat controls the heating element. To test:
- Turn off the power.
- Remove the thermostat cover.
- Use a multimeter to check for continuity across the thermostat terminals when the thermostat is set to a temperature below the water temperature.
- If there's no continuity, replace the thermostat.
Note: Some thermostats have a reset button. Try pressing it before replacing the thermostat. However, be aware that a constantly tripping reset button indicates a more serious underlying issue.
- Power Supply Issues: Ensure the water heater is receiving the correct voltage. Use a multimeter to check the voltage at the water heater's terminals. It should match the voltage rating of the water heater (typically 240V). If the voltage is low or absent, consult an electrician.
2. Insufficient Hot Water
If you're getting some hot water, but not enough, consider these possibilities:
- Tank Size: The tank might be too small for your household's needs. Calculate your hot water usage and compare it to the tank's capacity. Consider upgrading to a larger tank or a tankless water heater if demand consistently exceeds supply.
- Sediment Buildup: Sediment accumulation at the bottom of the tank can reduce its effective capacity and insulate the heating elements, hindering their performance.
- Turn off the power and water supply to the water heater.
- Connect a hose to the drain valve and run it to a safe drainage area.
- Open the drain valve and let the tank drain completely.
- Flush the tank with cold water until the water runs clear.
- Close the drain valve and refill the tank.
- Turn the power back on.
Regularly flushing the tank (every 6-12 months) can prevent sediment buildup.
Technician's Tip: Use a tank flushing wand for a more thorough cleaning.
- Dip Tube Problems: If the dip tube is cracked or broken, cold water will mix with the hot water at the top of the tank, reducing the overall hot water supply. Replacing the dip tube requires draining the tank.
- Incorrect Thermostat Settings: Check the thermostat settings. The recommended temperature is typically around 120°F (49°C) to prevent scalding and save energy.
3. Leaking Water Heater
Leaks can indicate serious problems that need immediate attention.
- Loose Connections: Check all connections for tightness. Tighten any loose fittings.
- T&P Valve Leaking: A small amount of water discharging from the T&P valve occasionally is normal, especially during heating cycles. However, continuous leaking indicates a problem. It could be due to:
- Excessive water pressure in the supply line. Install a pressure regulator to maintain a safe pressure level (typically around 60 psi).
- A faulty T&P valve. Replace the valve with a new one of the same rating.
- Excessive temperature. Check the thermostat settings.
- Tank Leak: A leak from the tank itself usually indicates corrosion and requires replacing the entire water heater. Unfortunately, there's no reliable way to repair a leaking tank.
- Drain Valve Leak: Tighten the drain valve or replace it if necessary.
4. Noisy Water Heater
Unusual noises can signal various issues.
- Popping or Rumbling: This is often caused by sediment buildup. The noise comes from water being trapped under the sediment and then boiling rapidly. Flushing the tank should resolve this issue.
- Whistling: A whistling sound can be due to a partially closed valve or restricted water flow. Inspect the inlet and outlet valves for obstructions.
- Sizzling: This might indicate a leak, potentially dripping onto a heating element. Investigate immediately to prevent electrical hazards.
5. Rusty or Discolored Water
Rusty or discolored water is a sign of corrosion.
- Anode Rod Depletion: The anode rod protects the tank from corrosion. Over time, it corrodes away. Replace the anode rod every few years to prolong the tank's lifespan.
- Tank Corrosion: If the anode rod is completely gone, the tank itself may be corroding. This is a serious problem that often necessitates replacing the water heater.
- Piping Issues: Corrosion in the plumbing pipes can also cause rusty water. Flush the system to see if the problem clears up. If not, you may need to replace corroded pipes.
Preventative Maintenance for A.O. Smith Electric Water Heaters
Regular maintenance can significantly extend the lifespan of your A.O. Smith electric water heater and prevent many common problems.
- Flush the Tank: Every 6-12 months to remove sediment.
- Inspect the Anode Rod: Every 2-3 years and replace it as needed.
- Check the T&P Valve: Test it annually by lifting the lever briefly to ensure it's functioning correctly.
- Insulate the Tank and Pipes: Improve energy efficiency and reduce heat loss.
- Maintain Proper Water Pressure: Install a pressure regulator if necessary to keep water pressure within the recommended range.
Cost, Efficiency, and Lifespan Considerations
Cost: Electric water heaters generally have a lower initial purchase price than gas or tankless models. However, electricity costs can be higher than natural gas, impacting long-term operating expenses.
Efficiency: Look for models with high Energy Factor (EF) ratings. EF indicates how efficiently the water heater converts energy into hot water. A higher EF rating translates to lower energy consumption.
Lifespan: A properly maintained A.O. Smith electric water heater can last 10-15 years. Replacing the anode rod regularly and flushing the tank can significantly extend its lifespan.
When to Call a Professional
While many water heater problems can be resolved with basic troubleshooting, some situations require the expertise of a qualified HVAC technician or plumber.
- Electrical Issues: If you're uncomfortable working with electricity or suspect a serious electrical problem, call a professional.
- Tank Leaks: As mentioned earlier, a leaking tank typically means the water heater needs to be replaced.
- Gas Leaks (If Applicable): If you have a gas-powered water heater (though this article focuses on electric models), any smell of gas warrants immediate evacuation and a call to the gas company or a qualified technician.
- Complex Repairs: If you've tried basic troubleshooting steps and the problem persists, it's best to consult a professional.
By following these troubleshooting steps and performing regular maintenance, you can keep your A.O. Smith electric water heater running efficiently and reliably for years to come. Remember to always prioritize safety when working with electrical appliances and consult a professional when needed.