Vented Gas Fireplace Heater
Many homeowners appreciate the warmth and ambiance of a vented gas fireplace, especially during colder months. However, like any appliance, they can sometimes malfunction. This guide provides a structured approach to troubleshooting common issues with vented gas fireplaces, empowering you to identify and potentially fix simple problems yourself, while emphasizing when professional help is crucial.
Understanding Your Vented Gas Fireplace
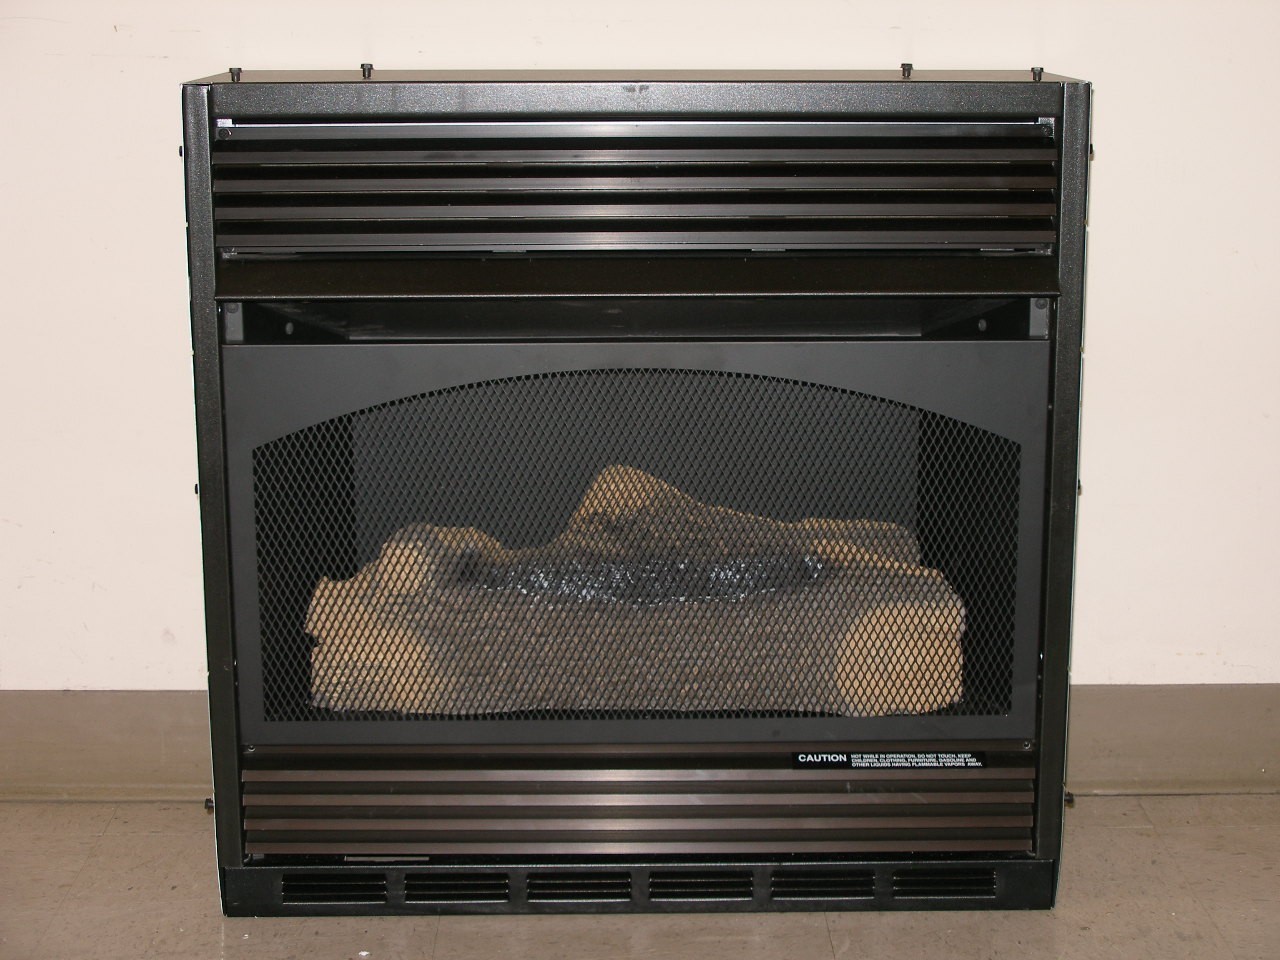
Before diving into troubleshooting, it’s helpful to understand the basic components of a vented gas fireplace:
- Gas Valve: Controls the flow of gas to the burner.
- Pilot Light: A small, continuous flame that ignites the main burner. (Some models have electronic ignition instead.)
- Burner: The component where the gas is burned, producing heat and flames.
- Thermocouple/Thermopile: A safety device that senses the pilot light and allows the gas valve to remain open.
- Vent: Allows exhaust gases to safely exit your home. Crucially important for safe operation.
- Control Knob/Switch: Used to turn the fireplace on and off and adjust the flame height.
- Remote Control (if applicable): Offers convenient operation from a distance.
Common Problems and Troubleshooting Steps
1. Fireplace Won't Turn On
This is a frequent issue, and often the solution is simpler than you might think.
Step 1: Check the Gas Supply
The most basic check is to ensure that the gas supply to the fireplace is turned on.
- Locate the Gas Shut-Off Valve: This is usually a yellow handle located near the fireplace or along the gas line leading to it.
- Verify the Valve Position: The valve should be parallel to the gas line (open) and not perpendicular (closed).
- Check Other Gas Appliances: Make sure other gas appliances in your home are working. If none are working, there may be a problem with your main gas supply – contact your gas company immediately.
Step 2: Inspect the Pilot Light (If Applicable)
If your fireplace has a pilot light, verify that it's lit. If not, follow these steps (always follow the manufacturer's instructions!):
- Locate the Pilot Light Assembly: This is usually behind a panel near the bottom of the fireplace.
- Turn the Control Knob to "Pilot": Press and hold the control knob in the "Pilot" position. This allows gas to flow to the pilot light.
- Ignite the Pilot Light: Use a long lighter or a built-in igniter to light the pilot. Continue holding the control knob down for about 20-30 seconds. This allows the thermocouple to heat up.
- Release the Control Knob: If the pilot light stays lit, slowly release the control knob. If the pilot light goes out, repeat the process, holding the knob down for a longer period.
- If the Pilot Still Won't Stay Lit: The thermocouple/thermopile may be faulty (see section below on professional repairs).
Step 3: Check the Power Supply (for Electric Ignition Models)
If your fireplace has electric ignition, ensure it's receiving power.
- Check the Outlet: Make sure the fireplace is plugged into a working outlet. Test the outlet with another device to confirm it's providing power.
- Check the Circuit Breaker: Locate the circuit breaker that controls the fireplace and ensure it hasn't tripped. Reset the breaker if necessary.
- Check the Batteries: Some fireplaces with remote controls or electronic ignition require batteries. Ensure the batteries are fresh and properly installed.
Step 4: Remote Control Issues
If your fireplace is controlled by remote.
- Check the Batteries: Replace the batteries in the remote control.
- Check Remote Sync: Follow the manufacturer's instructions to sync or pair the remote control with the fireplace receiver.
- Obstructions: Ensure there are no obstructions blocking the signal between the remote and the receiver.
2. Pilot Light Goes Out Frequently
A pilot light that repeatedly goes out indicates a potential problem with the gas supply, thermocouple, or venting.
Step 1: Check for Drafts
Drafts can extinguish the pilot light.
- Identify Draft Sources: Check for drafts coming from windows, doors, or vents near the fireplace.
- Eliminate Drafts: Seal any gaps or cracks around windows and doors to minimize drafts.
Step 2: Clean the Pilot Light Assembly
Dust and debris can interfere with the pilot light's flame.
- Turn Off the Gas Supply: Important safety precaution! Turn off the gas supply to the fireplace before cleaning.
- Clean the Pilot Light Orifice: Use a small wire or needle to gently clear any obstructions in the pilot light orifice. Be careful not to enlarge the orifice.
- Vacuum the Area: Use a vacuum cleaner with a brush attachment to remove any dust or debris from the pilot light assembly.
Step 3: Inspect the Vent (Visually)
A blocked or partially blocked vent can cause issues with the pilot light and the main burner.
- Look for Obstructions: Visually inspect the vent for any obvious obstructions, such as bird nests or debris. Do not attempt to reach inside the vent! This is best left to professionals.
3. Weak or Yellow Flames
Healthy fireplace flames should be blue with a hint of yellow. Weak or predominantly yellow flames can indicate incomplete combustion, which can produce carbon monoxide – a dangerous gas.
Step 1: Check for Airflow Obstructions
Proper airflow is essential for complete combustion.
- Clean the Burner: Use a vacuum cleaner with a brush attachment to remove any dust or debris from the burner.
- Ensure Adequate Ventilation: Make sure the room is adequately ventilated. Open a window or door slightly to increase airflow.
Step 2: Inspect the Burner Ports
The burner ports (small holes along the burner) can become clogged with dust or debris.
- Turn Off the Gas Supply: Safety First! Turn off the gas supply before cleaning the burner ports.
- Clean the Burner Ports: Use a small wire or needle to gently clear any obstructions in the burner ports.
4. Soot Buildup
Soot buildup on the glass or inside the fireplace indicates incomplete combustion and can be a safety hazard.
Step 1: Check for Proper Venting
Ensure the venting system is properly installed and free from obstructions. A restricted vent can cause soot buildup.
- Visual Inspection: Perform a visual inspection of the vent as described above.
Step 2: Clean the Glass
Regularly cleaning the glass can prevent excessive soot buildup.
- Use a Fireplace Glass Cleaner: Use a cleaner specifically designed for fireplace glass. Avoid using abrasive cleaners, as they can scratch the glass.
- Follow the Instructions: Follow the cleaner's instructions carefully.
When to Call a Professional
While some fireplace issues can be resolved with simple DIY troubleshooting, certain problems require the expertise of a qualified professional. Never attempt repairs that you are not comfortable with or that involve gas lines or complex electrical components.
- Gas Leaks: If you suspect a gas leak (smell of gas), immediately evacuate the area, turn off the gas supply at the main valve, and call your gas company or a qualified gas technician.
- Faulty Thermocouple/Thermopile: Replacing a thermocouple/thermopile requires specialized knowledge and tools. It's best left to a professional.
- Gas Valve Problems: Issues with the gas valve can be dangerous and should only be addressed by a qualified gas technician.
- Venting Issues: Problems with the venting system can lead to carbon monoxide poisoning. A professional can inspect and repair the venting system to ensure it's functioning properly.
- Complex Electrical Issues: If you suspect an electrical problem within the fireplace unit itself, consult a qualified electrician or fireplace technician.
- Unfamiliar Sounds or Smells: Any unusual sounds (e.g., hissing, popping) or smells (e.g., burning plastic) emanating from the fireplace should be investigated by a professional.
- Cracked or Damaged Firebox: Any cracks or damage to the firebox itself can compromise the safety of the fireplace.
- If DIY attempts are unsuccessful: If you've tried the troubleshooting steps above and your fireplace is still not working correctly, it's time to call a professional.
Safety Precautions
Safety is paramount when working with gas appliances. Always follow these precautions:
- Turn Off the Gas Supply: Whenever you're performing any maintenance or repairs, turn off the gas supply to the fireplace.
- Work in a Well-Ventilated Area: Ensure adequate ventilation when working near the fireplace.
- Use Proper Tools: Use the correct tools for the job to avoid damaging any components.
- Follow Manufacturer's Instructions: Always refer to the manufacturer's instructions for specific information about your fireplace model.
- Never Bypass Safety Devices: Never tamper with or bypass any safety devices, such as the thermocouple or pressure relief valve.
- Carbon Monoxide Detector: Ensure you have a working carbon monoxide detector installed in your home, especially near the fireplace. Test the detector regularly.
Preventative Maintenance
Regular maintenance can help prevent problems and extend the life of your vented gas fireplace.
- Annual Inspection: Have your fireplace inspected annually by a qualified professional. They can identify potential problems and perform necessary maintenance.
- Clean the Fireplace Regularly: Remove dust and debris from the fireplace and surrounding area.
- Check the Vent: Periodically inspect the vent for any obstructions.
- Clean the Glass: Clean the glass regularly to remove soot buildup.
By following this troubleshooting guide and practicing preventative maintenance, you can keep your vented gas fireplace operating safely and efficiently, providing years of warmth and enjoyment. Remember, when in doubt, consult a qualified professional. Your safety and the safety of your home are the top priorities.