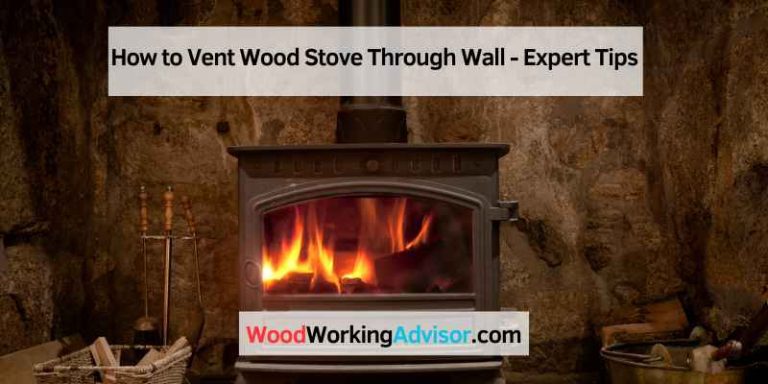
Venting A Wood Stove Through A Wall

Wood stoves offer warmth and charm, but their venting system is critical for safe and efficient operation. Venting a wood stove through a wall, while space-saving, can present unique challenges. If your wood stove isn't drafting correctly, smoking excessively, or you suspect a problem with the venting system, this guide will help you troubleshoot common issues. Remember, safety is paramount. If at any point you feel uncomfortable or suspect a more serious problem, contact a qualified professional.
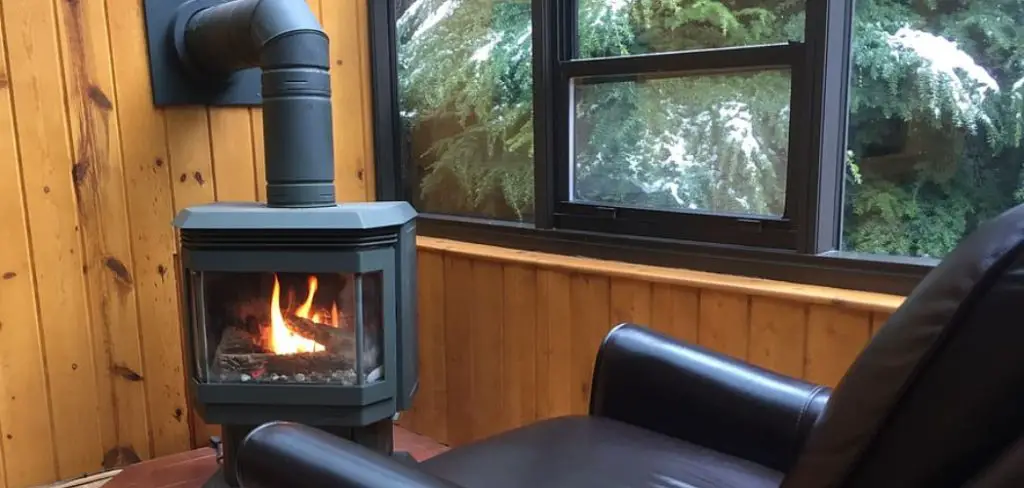
Understanding Your Through-the-Wall Venting System
Before you begin troubleshooting, it's essential to understand the basics of a through-the-wall wood stove venting system. These systems typically consist of:
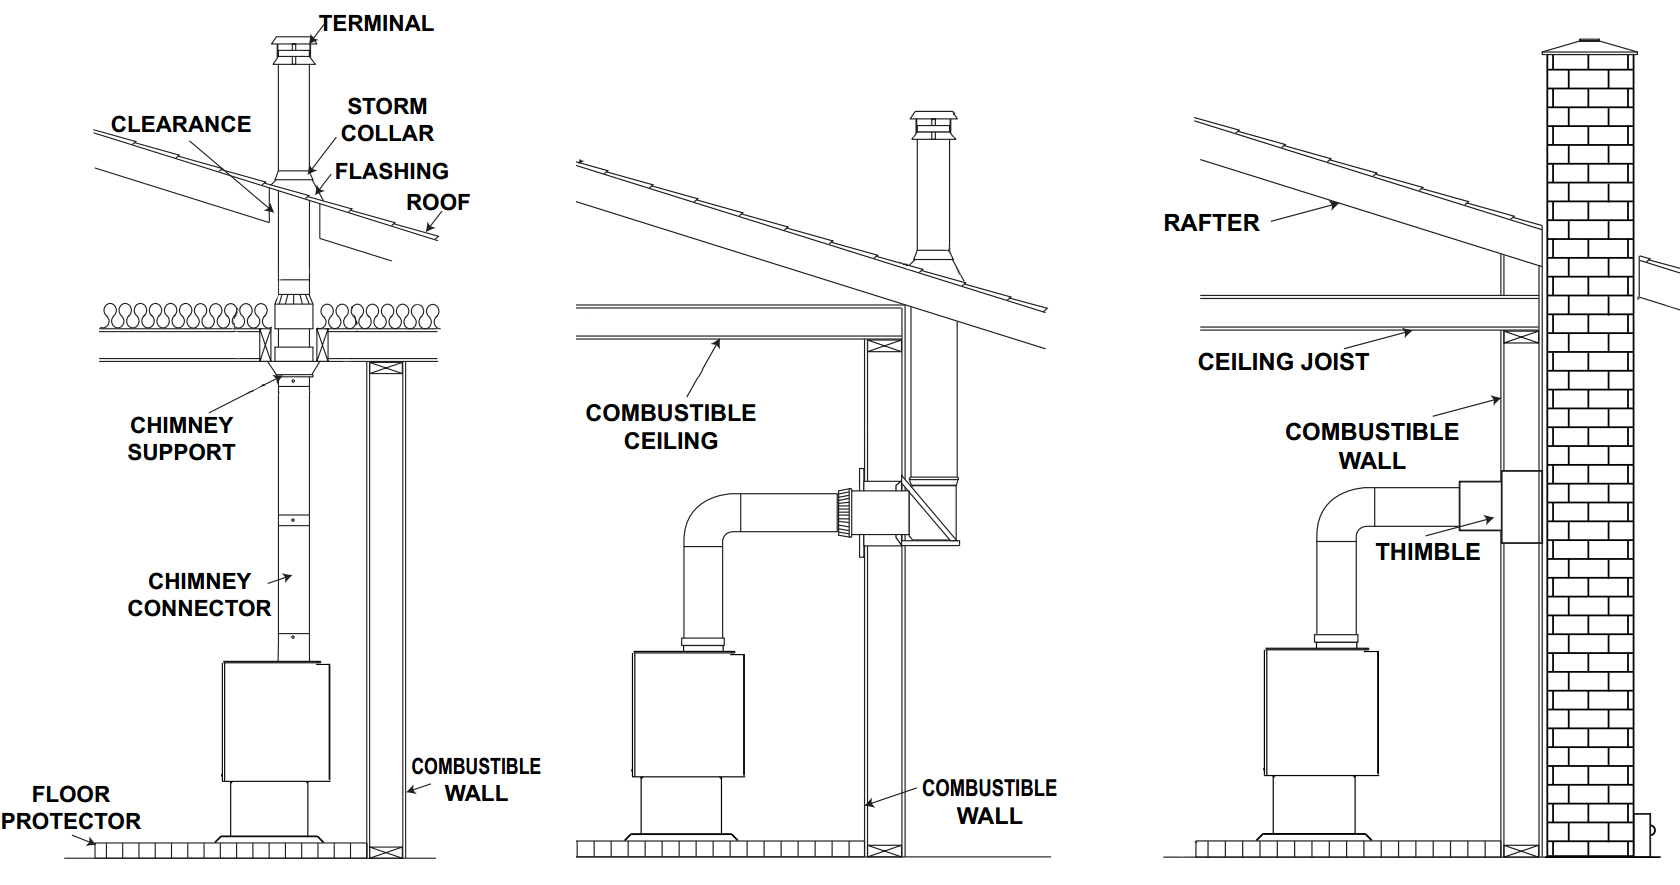
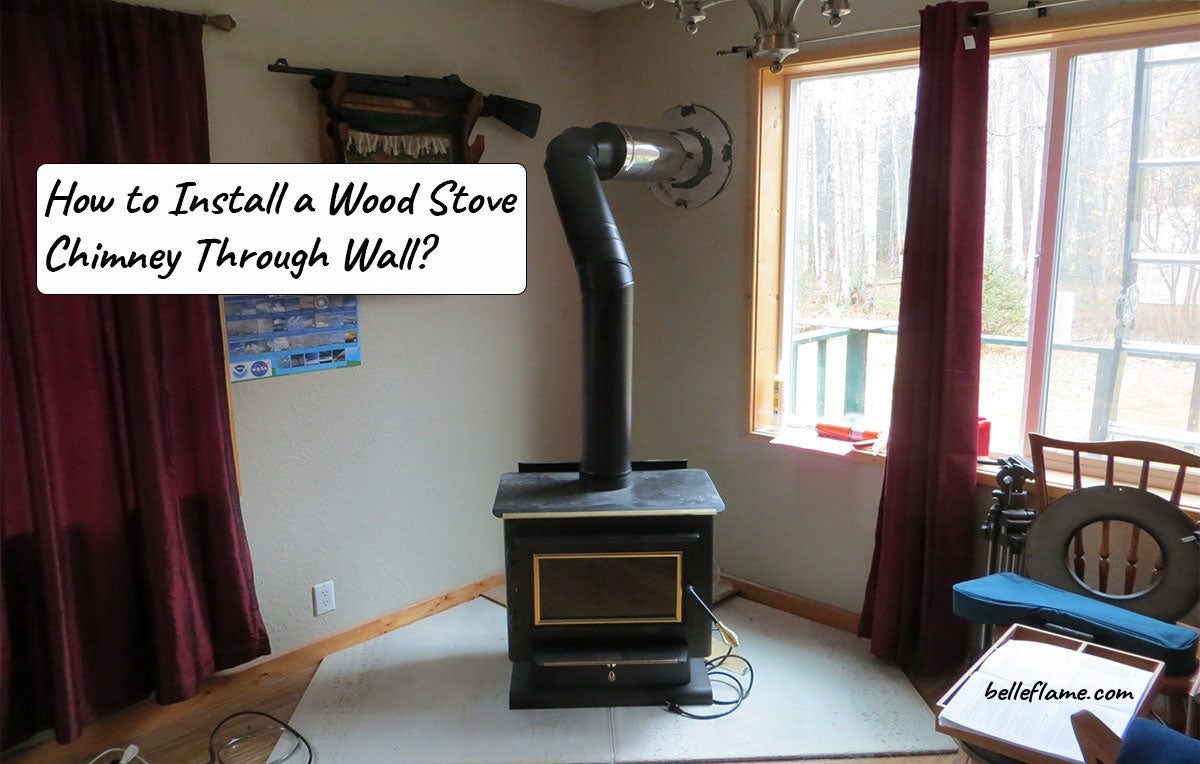
- Stovepipe: Connects directly to the stove's flue outlet.
- Thimble: A fireproof sleeve that passes through the wall, protecting combustible materials.
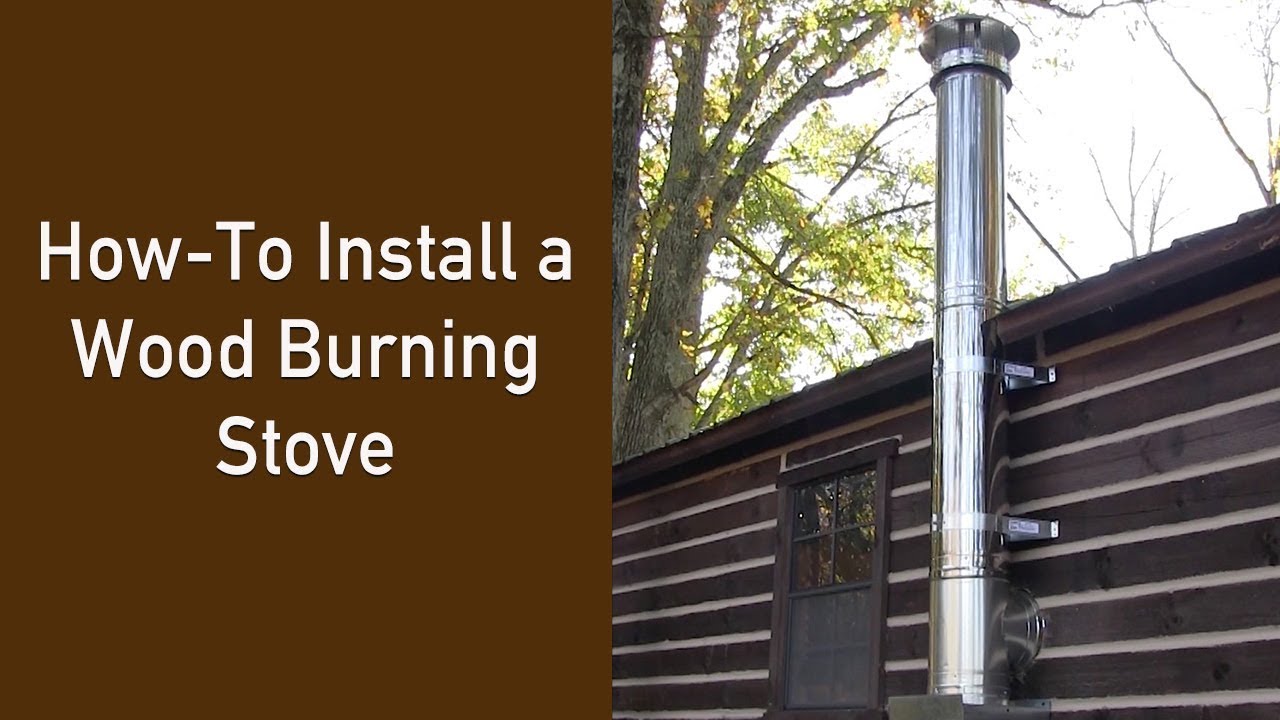
- Chimney Pipe: Extends horizontally through the wall and then vertically up the exterior of the house. This is usually a double-wall or triple-wall insulated pipe.
- Rain Cap: Prevents rain, snow, and debris from entering the chimney.
- Support Brackets: Secure the chimney pipe to the exterior wall.
Common Problems & Troubleshooting Steps
1. Poor Draft (Smoke Backing Up)
A poor draft is one of the most common problems with wood stoves. This means the smoke isn't being drawn up and out of the chimney effectively, resulting in smoke entering your home.
Possible Causes:
- Cold Chimney: A cold chimney won't naturally create a strong draft.
- Obstructions: Bird nests, creosote buildup, or other debris can block the chimney.
- Insufficient Chimney Height: The chimney may not be tall enough to create adequate draft.
- Air Leaks: Air leaks around the stove door or chimney connections can weaken the draft.
- Negative Air Pressure in the House: Exhaust fans, dryers, or other appliances can create negative pressure, pulling air down the chimney.
Troubleshooting Steps:
- Warm Up the Chimney: Before starting a fire, try holding a lit torch or rolled-up newspaper inside the stovepipe for a few minutes to warm the chimney and initiate a draft.
- Check for Obstructions: This is a crucial step.
- Visual Inspection: Use a flashlight to inspect the chimney from the top (if safe and accessible) and the bottom (through the stove). Look for any obvious obstructions.
- Chimney Sweep: If you suspect creosote buildup or can't see clearly, hire a professional chimney sweep to inspect and clean the chimney. This is essential for safety and preventing chimney fires.
- Verify Chimney Height: The chimney should extend at least 3 feet above the highest point where it passes through the roof and at least 2 feet higher than any part of the building within 10 feet. If it doesn't meet these requirements, consult a professional about extending the chimney.
- Seal Air Leaks:
- Stove Door: Inspect the gasket around the stove door. If it's damaged or brittle, replace it. Gasket kits are readily available at hardware stores.
- Stovepipe Connections: Ensure all stovepipe connections are secure and properly sealed with high-temperature sealant.
- Address Negative Air Pressure:
- Open a Window: Crack open a window near the stove to equalize the pressure.
- Turn Off Exhaust Fans: Temporarily turn off exhaust fans and dryers while starting the fire.
2. Excessive Smoke
While some smoke is normal during the initial stages of a fire, excessive smoke can indicate a problem.
Possible Causes:
- Wet or Green Wood: Burning wood with high moisture content produces a lot of smoke.
- Restricted Airflow to the Fire: Not enough oxygen reaching the fire.
- Creosote Buildup: A buildup of creosote restricts airflow in the chimney.
- Downdraft: Wind conditions can sometimes cause a downdraft, pushing smoke back down the chimney.
Troubleshooting Steps:
- Use Seasoned Wood: Only burn wood that has been properly seasoned (dried) for at least 6 months to a year. Seasoned wood should have a moisture content of 20% or less. You can use a wood moisture meter to check the moisture content.
- Adjust Airflow: Ensure the air controls on your stove are open enough to provide adequate airflow to the fire. Experiment with different settings to find the optimal balance.
- Clean the Chimney: As mentioned earlier, creosote buildup is a serious fire hazard and can significantly restrict airflow. Schedule regular chimney sweeps.
- Consider a Chimney Cap with a Draft Inducer: If downdrafts are a persistent problem, a chimney cap with a draft inducer can help overcome them. Consult with a professional before installing one.
3. Creosote Buildup
Creosote is a flammable byproduct of burning wood. It accumulates inside the chimney and stovepipe. Ignoring creosote buildup is extremely dangerous and can lead to chimney fires.
Warning Signs:
- Thick, black, tar-like substance inside the chimney.
- A strong, acrid smell coming from the chimney, even when the stove is not in use.
- Reduced draft.
- A roaring sound coming from the chimney (indicative of a chimney fire).
Troubleshooting and Prevention:
- Schedule Regular Chimney Sweeps: This is the most important step in preventing creosote buildup and chimney fires. The frequency of sweeps depends on how often you use the stove and the type of wood you burn, but at least once a year is recommended.
- Burn Hot, Clean Fires: Burning hot fires for short periods is better than smoldering fires for long periods. Hotter fires burn more efficiently and produce less creosote.
- Use Seasoned Wood: As mentioned before, wet wood produces more smoke and creosote.
- Inspect the Chimney Regularly: If you're comfortable and it's safe, visually inspect the chimney a few times during the burning season.
If you suspect a chimney fire, immediately evacuate the house and call 911.
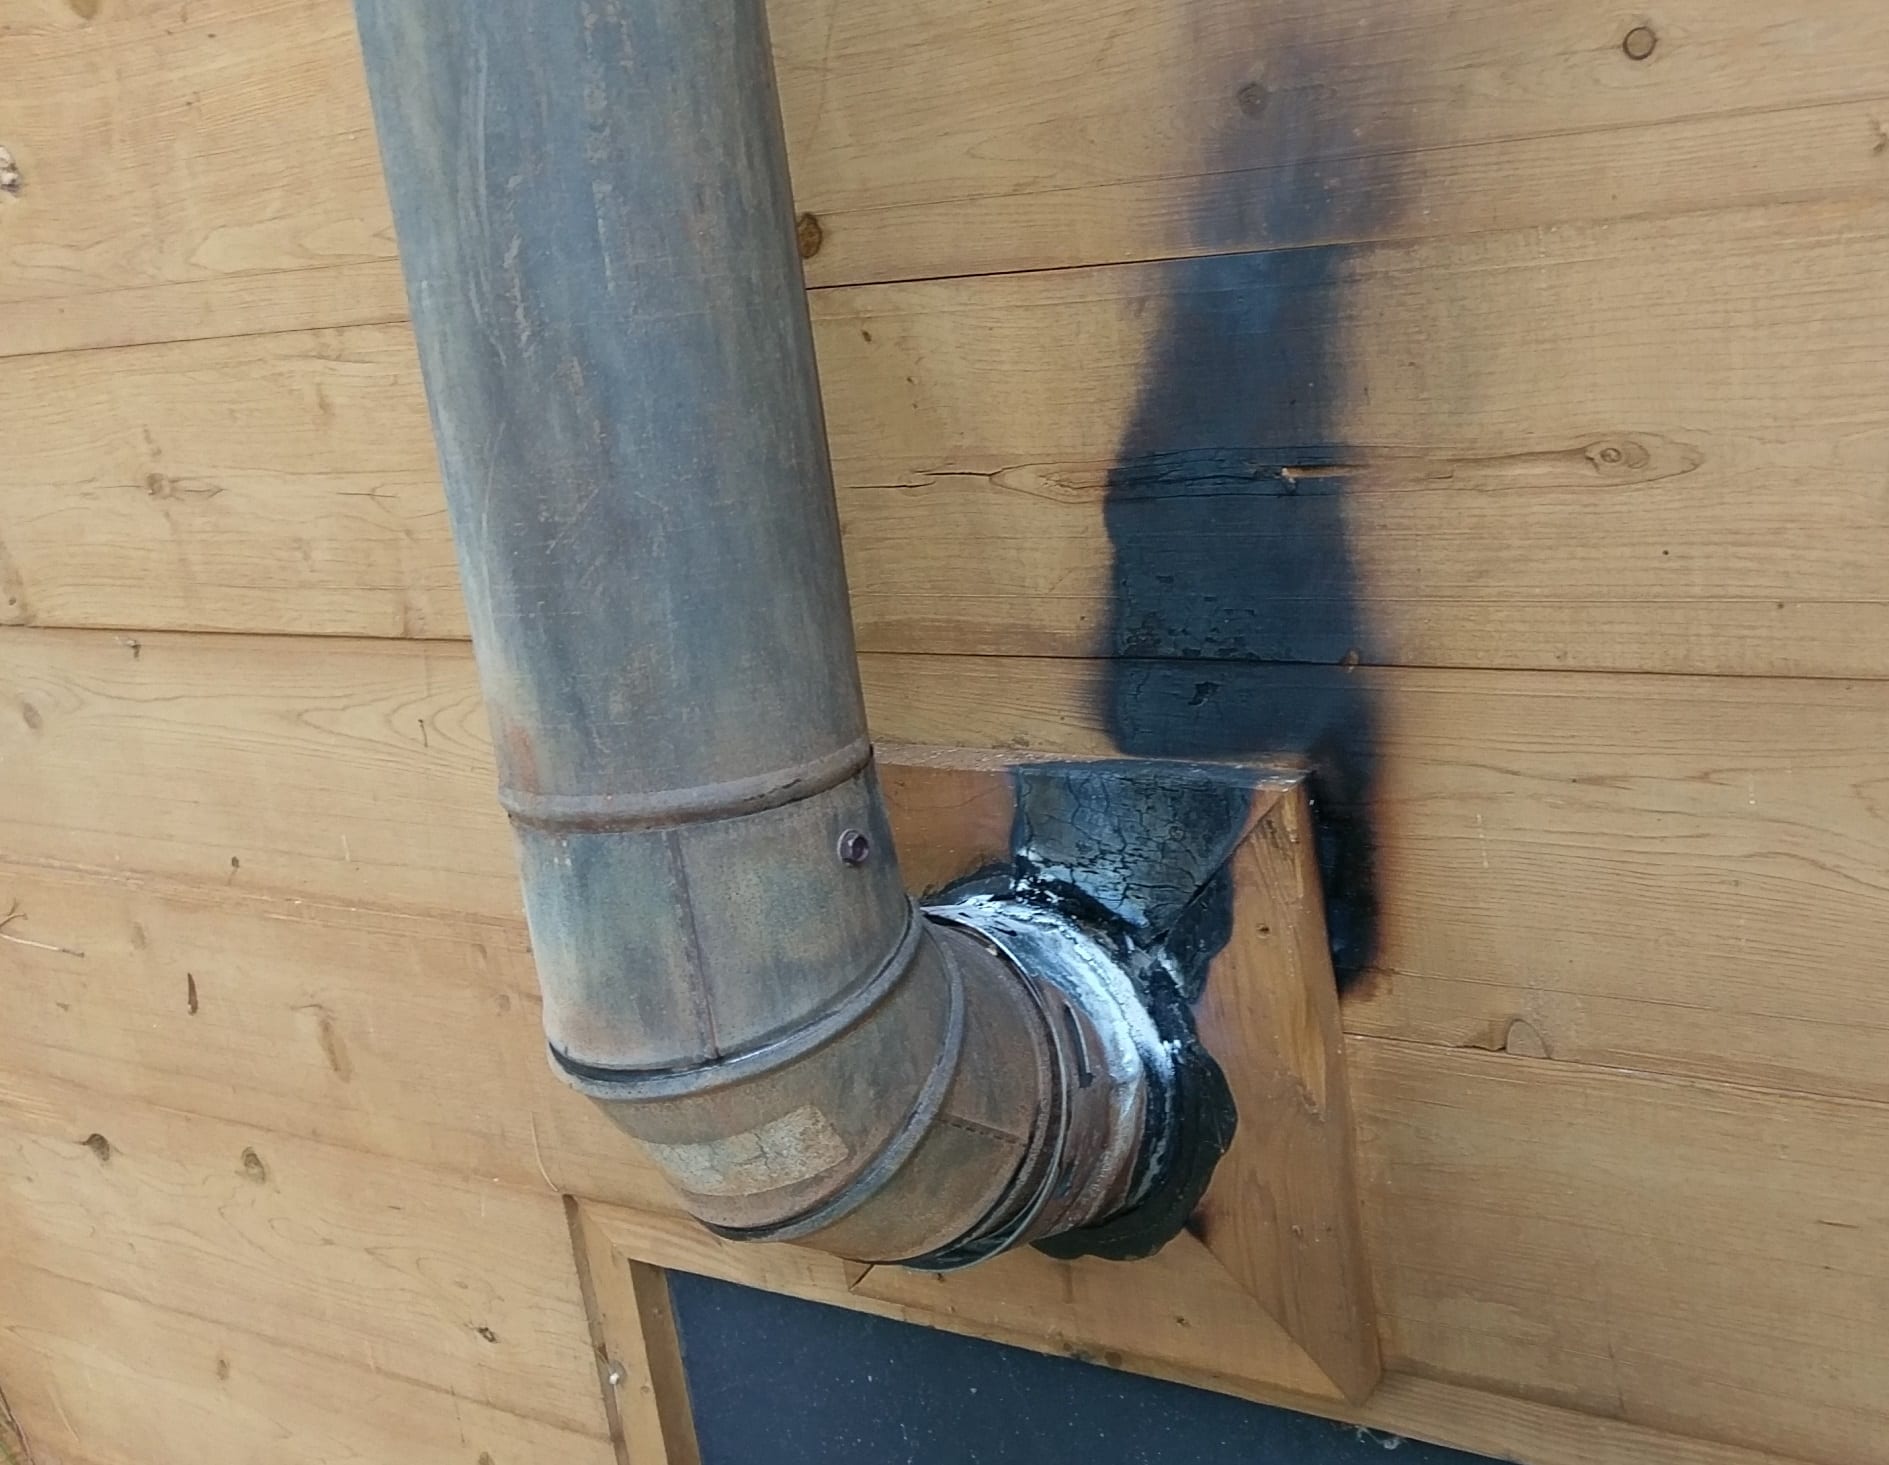
4. Leaks Around the Thimble
The thimble is a critical component that protects combustible materials from the heat of the stovepipe as it passes through the wall. Leaks around the thimble can be a serious fire hazard.
Possible Causes:
- Improper Installation: The thimble may not have been installed correctly in the first place.
- Damaged or Deteriorated Thimble: The thimble itself may be cracked, corroded, or otherwise damaged.
- Settling or Movement of the House: Over time, the house may settle, causing the thimble to shift or crack.
Troubleshooting Steps:
- Visual Inspection: Carefully inspect the thimble for any cracks, gaps, or signs of damage. Pay close attention to the area where the stovepipe enters the thimble and where the thimble meets the wall.
- Check for Gaps with a Smoke Test: With the stove cool, light a small amount of incense or a smoke pencil near the thimble. Observe if the smoke is drawn into any cracks or gaps.
- Seal Small Gaps (Temporary Fix): For small gaps, you can use high-temperature sealant designed for wood stoves and chimneys. Apply the sealant carefully and allow it to cure completely before using the stove. This is a temporary fix and should not be considered a permanent solution.
- Consult a Professional: If you find significant damage to the thimble or suspect improper installation, immediately consult a qualified professional. Replacing or repairing a thimble is a complex job that requires specialized knowledge and skills. Do not attempt to repair a damaged thimble yourself unless you are a qualified professional.
5. Chimney Pipe Issues
Problems with the external chimney pipe can also cause venting issues.
Possible Causes:
- Corrosion: Rust and corrosion can weaken the chimney pipe.
- Damage from Weather: Strong winds or ice can damage the pipe.
- Loose or Missing Support Brackets: Insufficient support can cause the pipe to sag or become unstable.
- Damaged Rain Cap: A damaged or missing rain cap allows water and debris to enter the chimney.
Troubleshooting Steps:
- Visual Inspection: Carefully inspect the entire length of the chimney pipe for any signs of rust, corrosion, dents, or other damage.
- Check Support Brackets: Ensure all support brackets are securely attached to the wall and that the chimney pipe is properly supported. Tighten any loose brackets. If brackets are missing or damaged, replace them immediately.
- Inspect the Rain Cap: Check the rain cap for any damage or missing parts. Replace a damaged or missing rain cap.
- Address Corrosion (If Minor): For minor surface rust, you can use a wire brush to remove the rust and then apply a high-temperature paint designed for chimneys. However, if the corrosion is severe, the chimney pipe needs to be replaced by a professional.
- Consult a Professional: If you find significant damage to the chimney pipe or suspect structural instability, immediately consult a qualified professional. Replacing or repairing a chimney pipe can be dangerous and requires specialized equipment.
When to Call a Professional
While this guide provides helpful troubleshooting steps, there are situations where it's best to call a professional. Never hesitate to seek professional help if you're unsure about anything or if the problem persists.
Call a Professional When:
- You suspect a chimney fire.
- You find significant creosote buildup that you can't remove yourself.
- The thimble is damaged or improperly installed.
- The chimney pipe is severely corroded or damaged.
- You need to extend the chimney height.
- You are uncomfortable working on the roof or with heights.
- You suspect there may be structural issues with the venting system.
- You are unsure about any aspect of the repair.
Safety First! Always prioritize safety when working with wood stoves and venting systems. If you're not comfortable performing any of these tasks, leave it to a professional. A properly functioning venting system is essential for the safe and efficient operation of your wood stove.
By following these troubleshooting steps and prioritizing safety, you can address many common problems with your through-the-wall wood stove venting system. Remember to schedule regular chimney sweeps and address any issues promptly to ensure a safe and warm home.