Wall Air Conditioner Units For Apartments

Living in an apartment often means dealing with limited space and specific rules about what modifications you can make. When summer heat arrives, a wall air conditioner unit can be a lifesaver. This guide provides a comprehensive overview of wall AC units specifically tailored for apartment living, helping you make an informed decision about which unit is right for your needs.
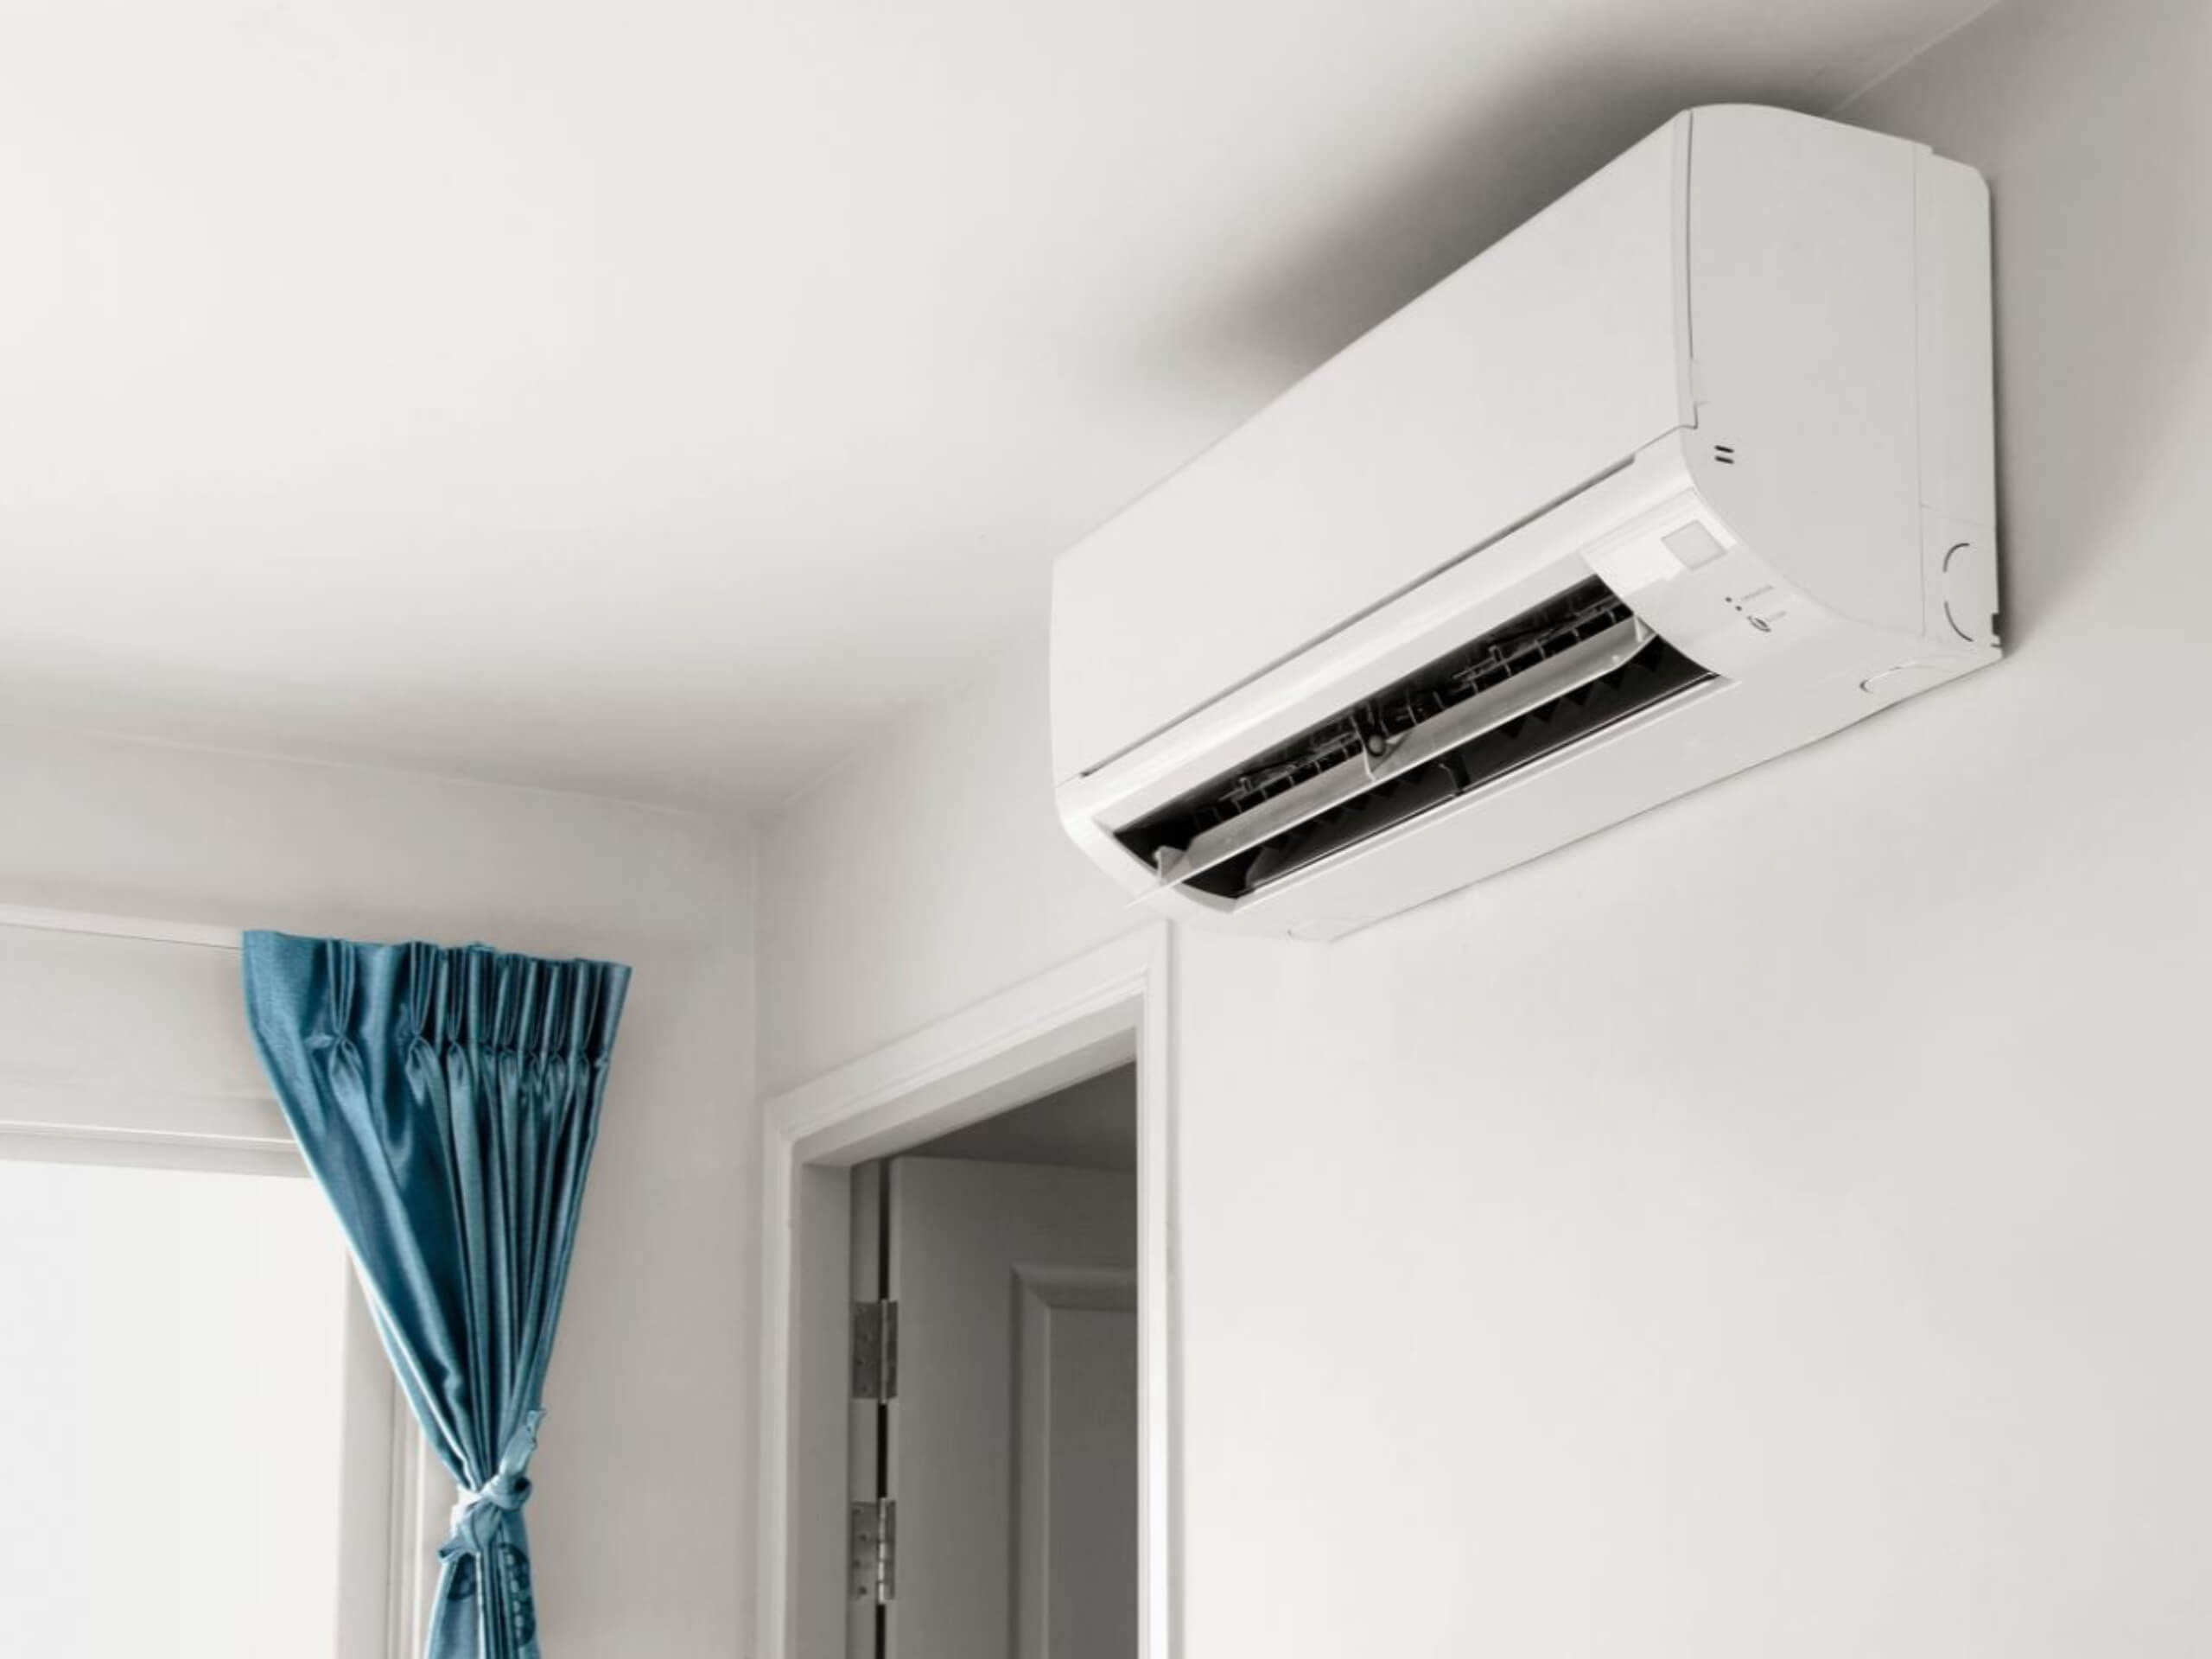
What is a Wall Air Conditioner?
A wall air conditioner, also known as a through-the-wall AC, is designed to be installed permanently through an existing wall opening. Unlike window units that partially block a window, wall units offer a more integrated and less obstructive cooling solution. They are a popular choice for apartments and other living spaces where window access is limited or homeowners prefer a more streamlined aesthetic.
Key Differences Between Wall and Window AC Units
While both types cool a room, they differ significantly:
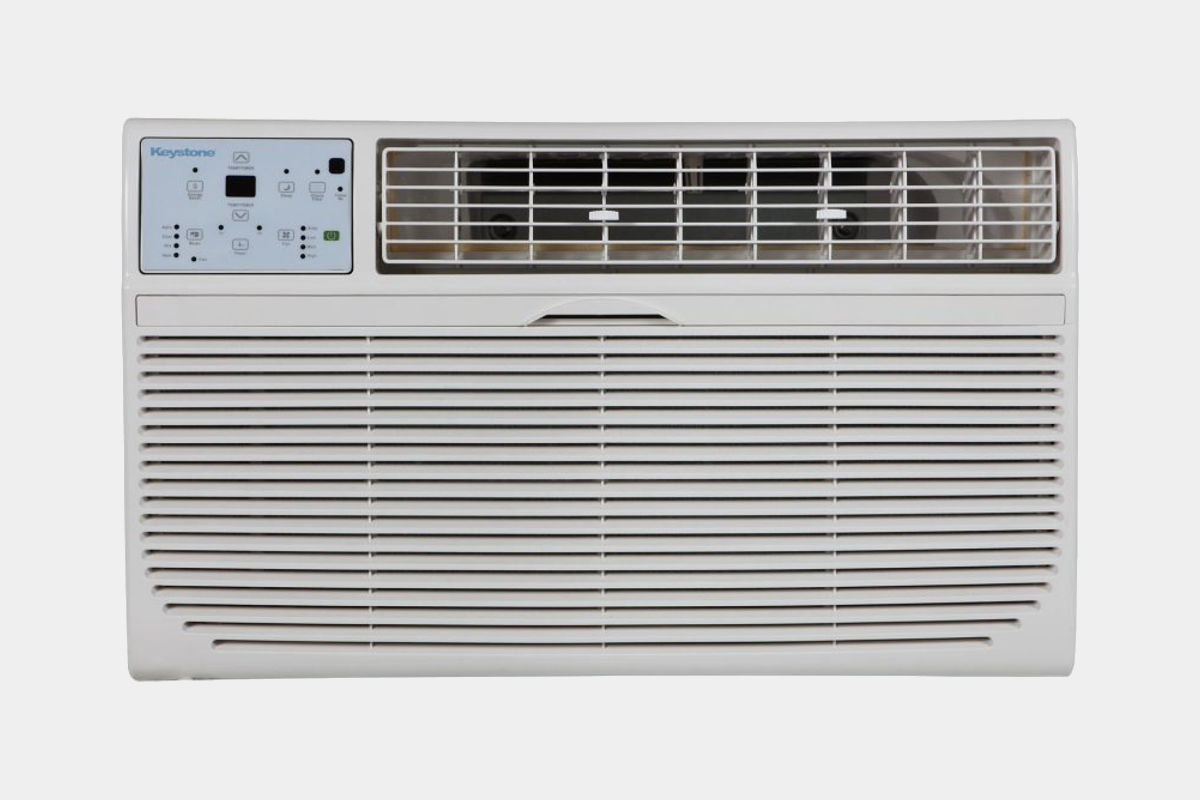
- Installation: Window units sit in a window frame, while wall units require a hole in the wall.
- Security: Wall units offer greater security as they are more difficult to remove from the outside.
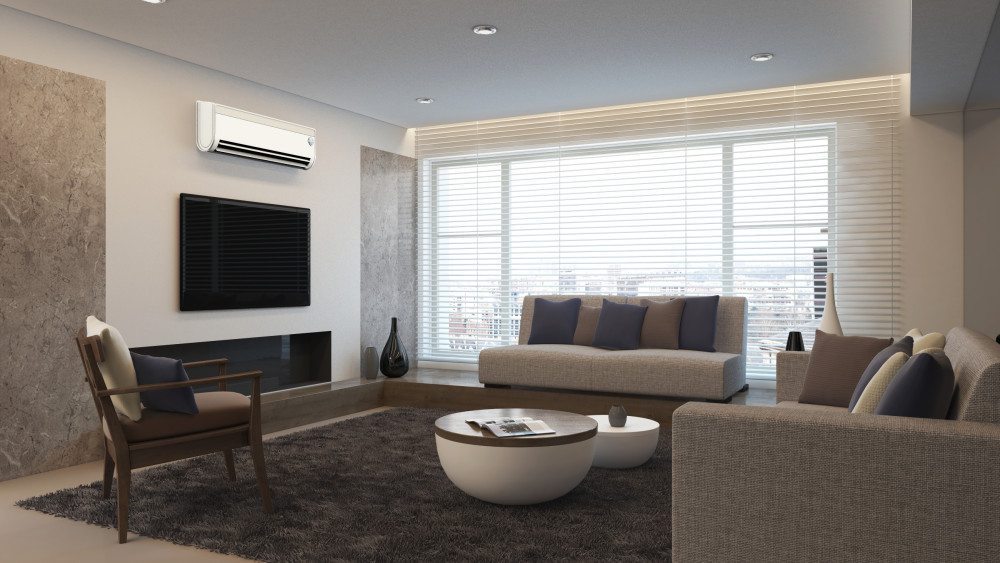
- Aesthetics: Wall units offer a cleaner, more built-in look compared to window units.
- Noise: Generally, wall units are quieter due to better insulation and construction.
- Cost: Wall units typically cost more upfront than window units, including installation.
Is a Wall AC Right For Your Apartment?
Before you rush out to buy a wall AC unit, consider the following factors:
- Apartment Rules and Regulations: Always check your lease agreement and with your landlord or property management company before making any modifications to the building, including installing a wall AC unit. They may have specific rules about the size, type, or even brand of AC units allowed. Permission is crucial!
- Existing Wall Sleeve: Many apartments already have a wall sleeve – a metal enclosure designed to house a wall AC. If one exists, you'll need to find a unit that fits that sleeve. Measuring the sleeve's dimensions accurately is vital.
- Wall Type: The type of wall (concrete, brick, drywall) will influence the installation process and cost. Concrete and brick walls are more challenging and expensive to work with.
- Electrical Capacity: Ensure your apartment's electrical system can handle the power requirements of the AC unit. Overloading a circuit can lead to blown fuses or, worse, a fire. Consult an electrician if you are unsure.
- Cost: Factor in the cost of the unit itself, installation (if needed), and any potential modifications to the wall opening.
Understanding Wall AC Features and Specifications
Once you've determined that a wall AC unit is suitable for your apartment, you'll need to understand the features and specifications to choose the right model.
BTU (British Thermal Units)
BTU is the most critical factor in selecting an AC unit. It measures the cooling capacity – the amount of heat the unit can remove from a room per hour. The higher the BTU, the larger the area the AC can cool. A general guideline is:
- 100-150 sq ft: 5,000 BTU
- 150-250 sq ft: 6,000 BTU
- 250-300 sq ft: 7,000 BTU
- 300-350 sq ft: 8,000 BTU
- 350-400 sq ft: 9,000 BTU
- 400-450 sq ft: 10,000 BTU
- 450-550 sq ft: 12,000 BTU
These are just estimates. Consider factors like:
- Sun Exposure: Rooms with a lot of direct sunlight need a higher BTU.
- Ceiling Height: Higher ceilings require more cooling power.
- Insulation: Poorly insulated rooms need a higher BTU.
- Number of People: More people generate more heat.
- Appliances: Heat-generating appliances (computers, stoves) increase cooling needs.
Important Note: Don't oversize your AC unit. An oversized unit will cool the room too quickly and cycle on and off frequently, leading to inefficient operation and potential humidity problems. An undersized unit won't effectively cool the room.
EER (Energy Efficiency Ratio) and SEER (Seasonal Energy Efficiency Ratio)
EER measures the cooling efficiency of an AC unit at a specific operating condition. SEER provides a more comprehensive measure of efficiency over an entire cooling season. Higher EER and SEER ratings mean better energy efficiency and lower operating costs. Look for units with an EER of 10 or higher and a SEER of 12 or higher. Energy Star certified models meet specific energy efficiency guidelines.
Think of EER and SEER like miles per gallon in a car. A higher MPG means you can drive further on less fuel. Similarly, a higher EER/SEER means you can cool your room for longer using less electricity.
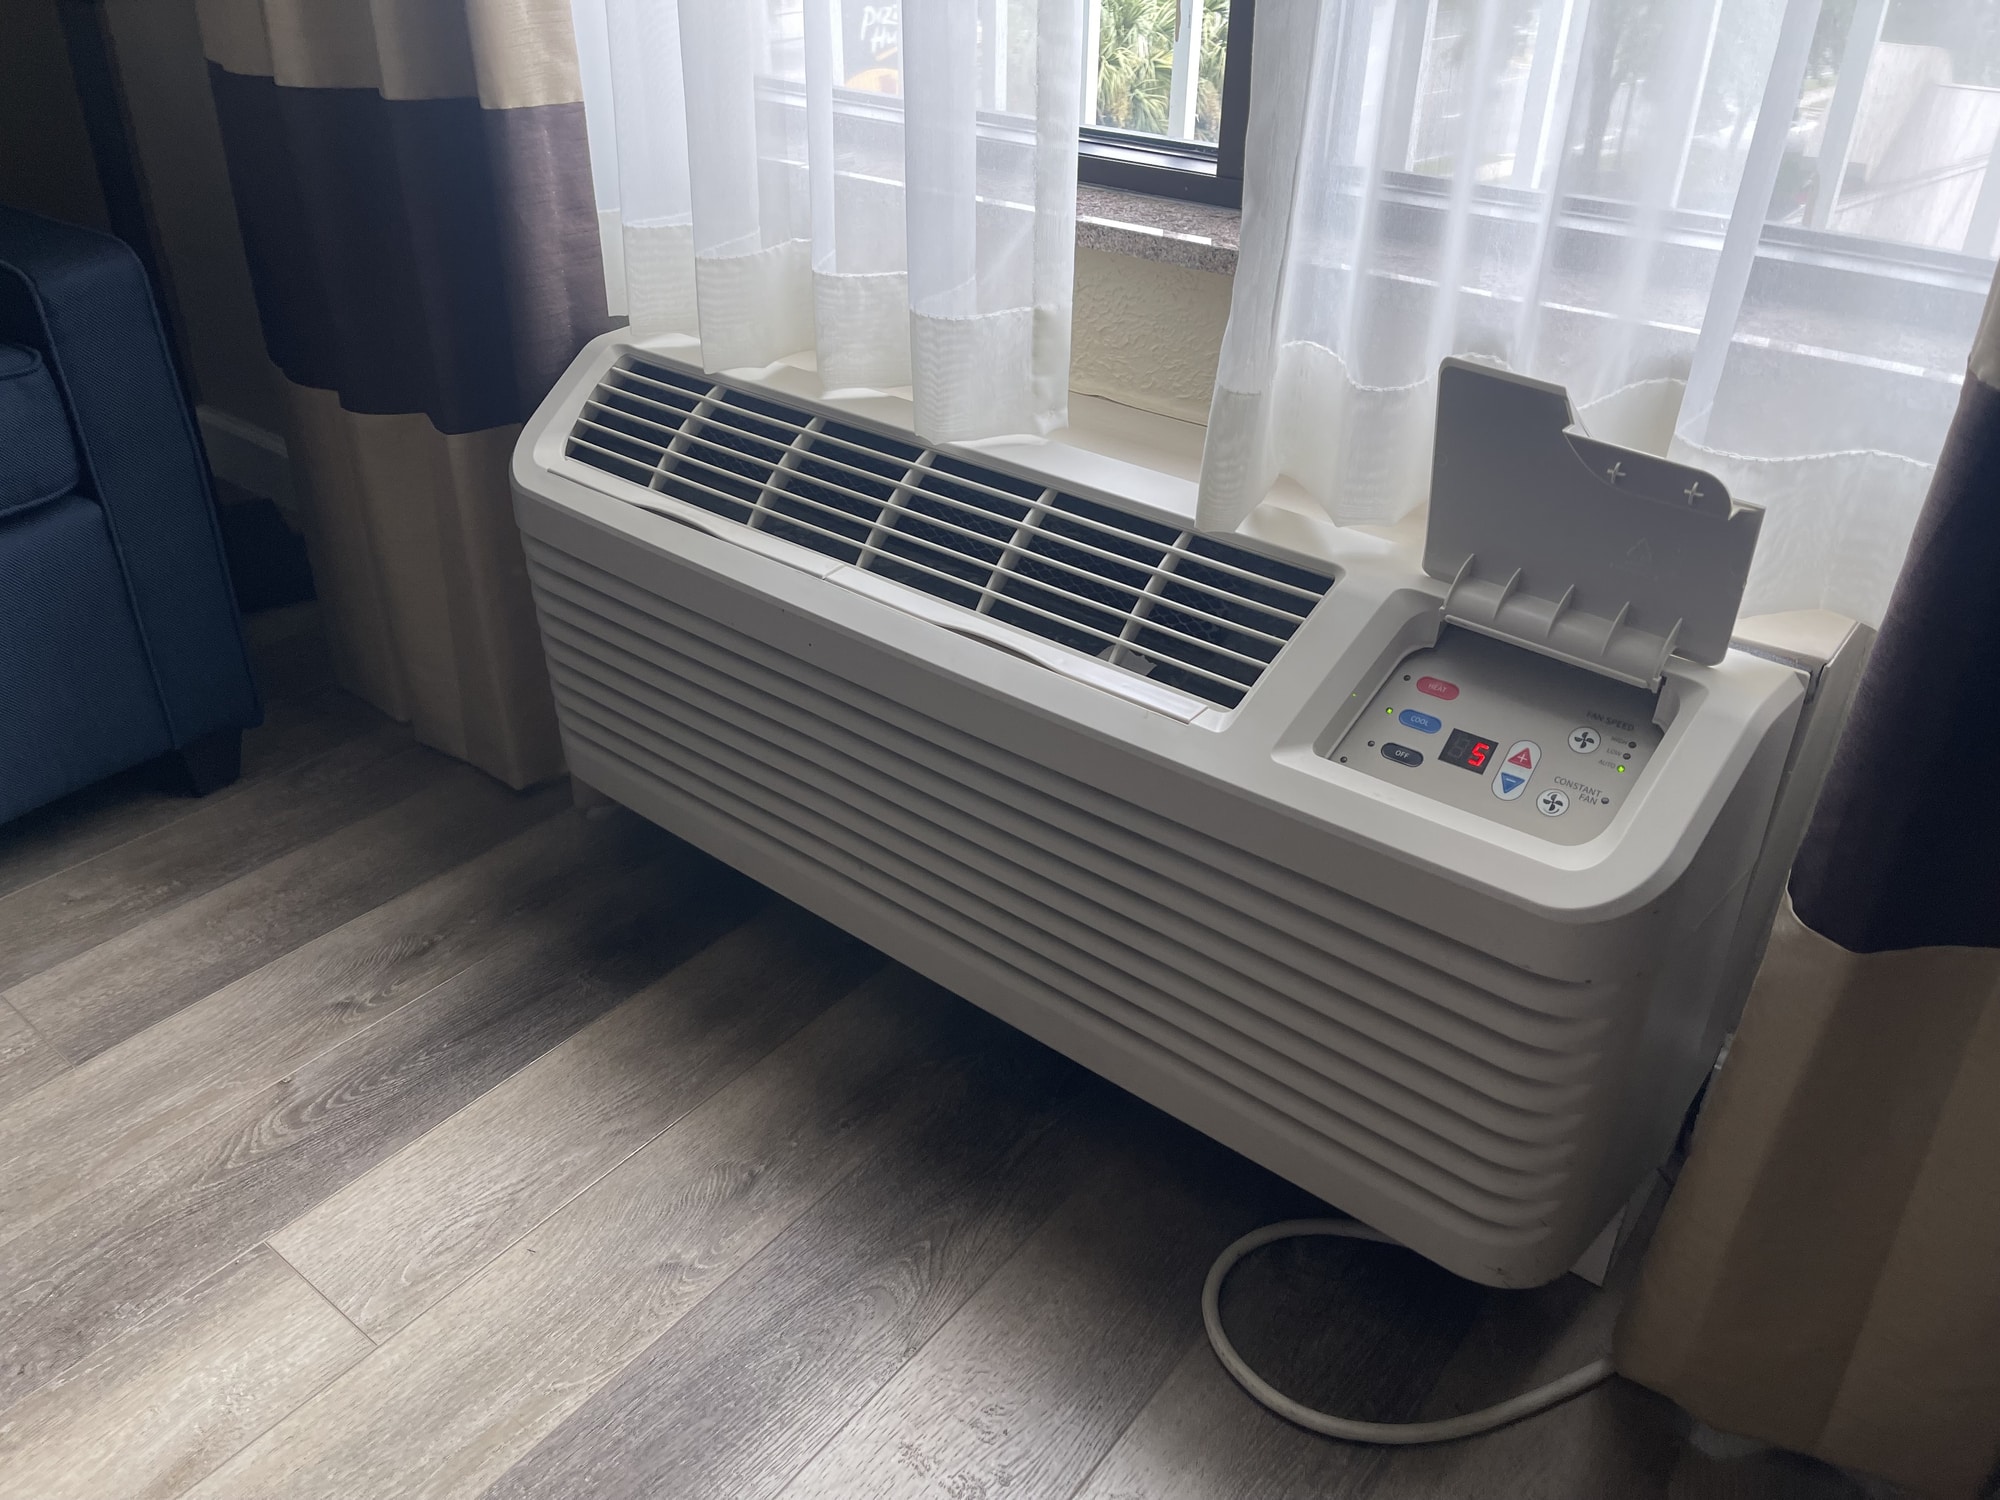
Features to Consider
- Remote Control: Allows you to adjust the settings from across the room.
- Thermostat: Maintains a consistent temperature.
- Fan Speeds: Multiple fan speeds allow you to customize airflow.
- Sleep Mode: Gradually increases the temperature overnight for comfortable sleep and energy savings.
- Timer: Allows you to schedule the AC to turn on or off at specific times.
- Air Filter: Removes dust, pollen, and other allergens from the air. Look for models with washable or replaceable filters.
- Dehumidifying Function: Removes excess moisture from the air, making the room feel cooler and more comfortable. This is particularly useful in humid climates.
- Noise Level: Check the decibel (dB) rating of the unit. Lower dB ratings indicate quieter operation.
- Oscillation: Some units have an oscillation feature that distributes air more evenly throughout the room.
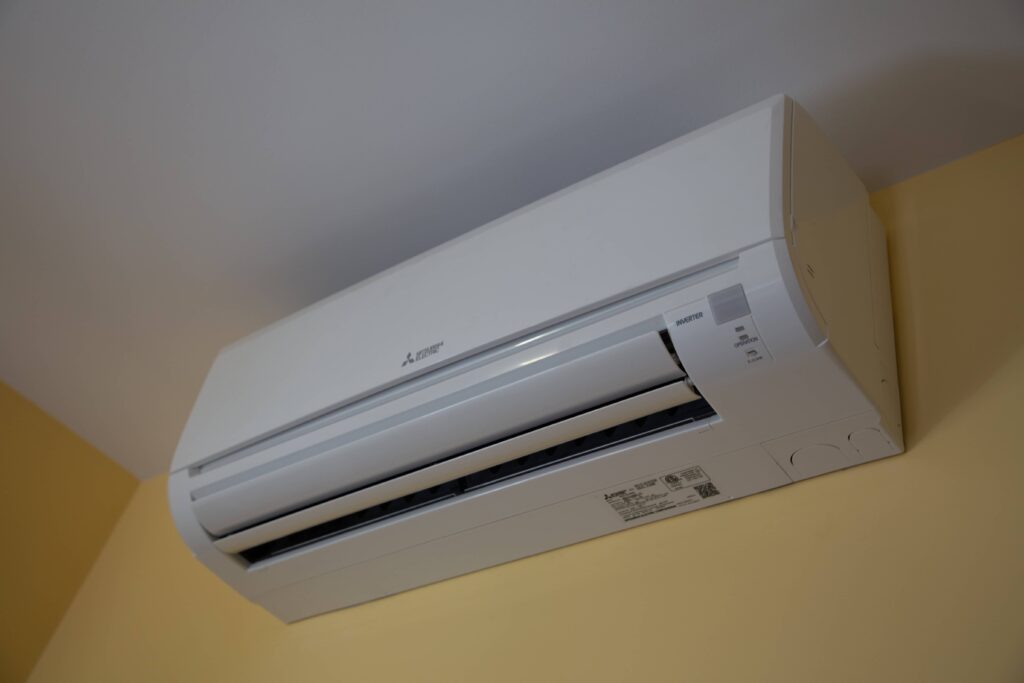
Inverter Technology
Inverter technology is becoming increasingly common in wall AC units. Unlike traditional ACs that cycle on and off, inverter ACs use a variable-speed compressor that adjusts the cooling output to match the room's needs. This results in:
- Greater Energy Efficiency: Inverter ACs consume less energy than traditional ACs.
- More Consistent Temperatures: Inverter ACs maintain a more stable temperature without the temperature swings of traditional ACs.
- Quieter Operation: Inverter ACs operate more quietly due to the variable-speed compressor.
Installation Considerations
Proper installation is crucial for the performance and safety of your wall AC unit.
Professional vs. DIY Installation
Unless you are experienced with electrical work, carpentry, and HVAC systems, it is highly recommended to hire a professional installer. A professional can ensure the unit is properly installed, sealed, and wired, and that it meets all local building codes. Improper installation can lead to:
- Reduced Efficiency: Poorly sealed units can leak air, reducing cooling efficiency and increasing energy costs.
- Water Damage: Improperly installed units can leak condensation, causing water damage to your walls and floors.
- Electrical Hazards: Incorrect wiring can lead to electrical shocks or fires.
- Unit Damage: Incorrect installation can damage the AC unit itself.
Installation Steps (General Overview)
While the exact steps may vary depending on the specific unit and wall type, here's a general overview of the installation process:
- Prepare the Wall Opening: Ensure the opening is the correct size for the AC unit and is clean and free of debris.
- Install the Wall Sleeve (if needed): The wall sleeve provides a secure and weather-tight enclosure for the AC unit.
- Wire the Unit: Connect the AC unit to the electrical supply. This should only be done by a qualified electrician.
- Insert the AC Unit into the Sleeve: Carefully slide the AC unit into the wall sleeve.
- Seal the Unit: Seal the gaps around the AC unit with weather stripping or sealant to prevent air leaks.
- Test the Unit: Turn on the AC unit and verify that it is operating correctly.
Maintenance Tips
Regular maintenance will extend the life of your wall AC unit and ensure optimal performance.
- Clean the Air Filter: Clean or replace the air filter every month, or more often if you have pets or allergies. A dirty air filter restricts airflow and reduces cooling efficiency.
- Clean the Coils: Periodically clean the evaporator and condenser coils with a soft brush or vacuum. Dirty coils reduce cooling efficiency.
- Check for Leaks: Inspect the unit for water leaks and address any issues promptly.
- Winterize the Unit: If you live in a cold climate, winterize the unit by removing it from the wall sleeve (if possible) and storing it in a dry place. If you cannot remove the unit, cover it with a waterproof cover to protect it from the elements.
- Professional Servicing: Schedule professional servicing every few years to ensure the unit is operating correctly and to identify any potential problems.
Cost Considerations
The cost of a wall AC unit can vary depending on the BTU rating, energy efficiency, features, and brand. Expect to pay anywhere from $300 to $1000+ for the unit itself.
In addition to the unit cost, factor in the following expenses:
- Installation Costs: Professional installation can range from $200 to $500 or more, depending on the complexity of the installation.
- Electrical Work: If you need to upgrade your electrical system, this can add to the cost.
- Wall Modifications: If you need to modify the wall opening, this can also add to the cost.
- Operating Costs: Consider the ongoing electricity costs, which will depend on the unit's energy efficiency and how often you use it.
Conclusion
A wall air conditioner can be a great solution for cooling your apartment, providing a more permanent and aesthetically pleasing option compared to window units. By understanding the key features, installation requirements, and maintenance tips, you can choose the right unit for your needs and enjoy cool comfort all summer long. Remember to always check with your landlord and prioritize safety by hiring qualified professionals for installation and electrical work.