Wall Heat And Air Conditioning Units

Wall Heat and Air Conditioning Units: A Comprehensive Guide for Homeowners
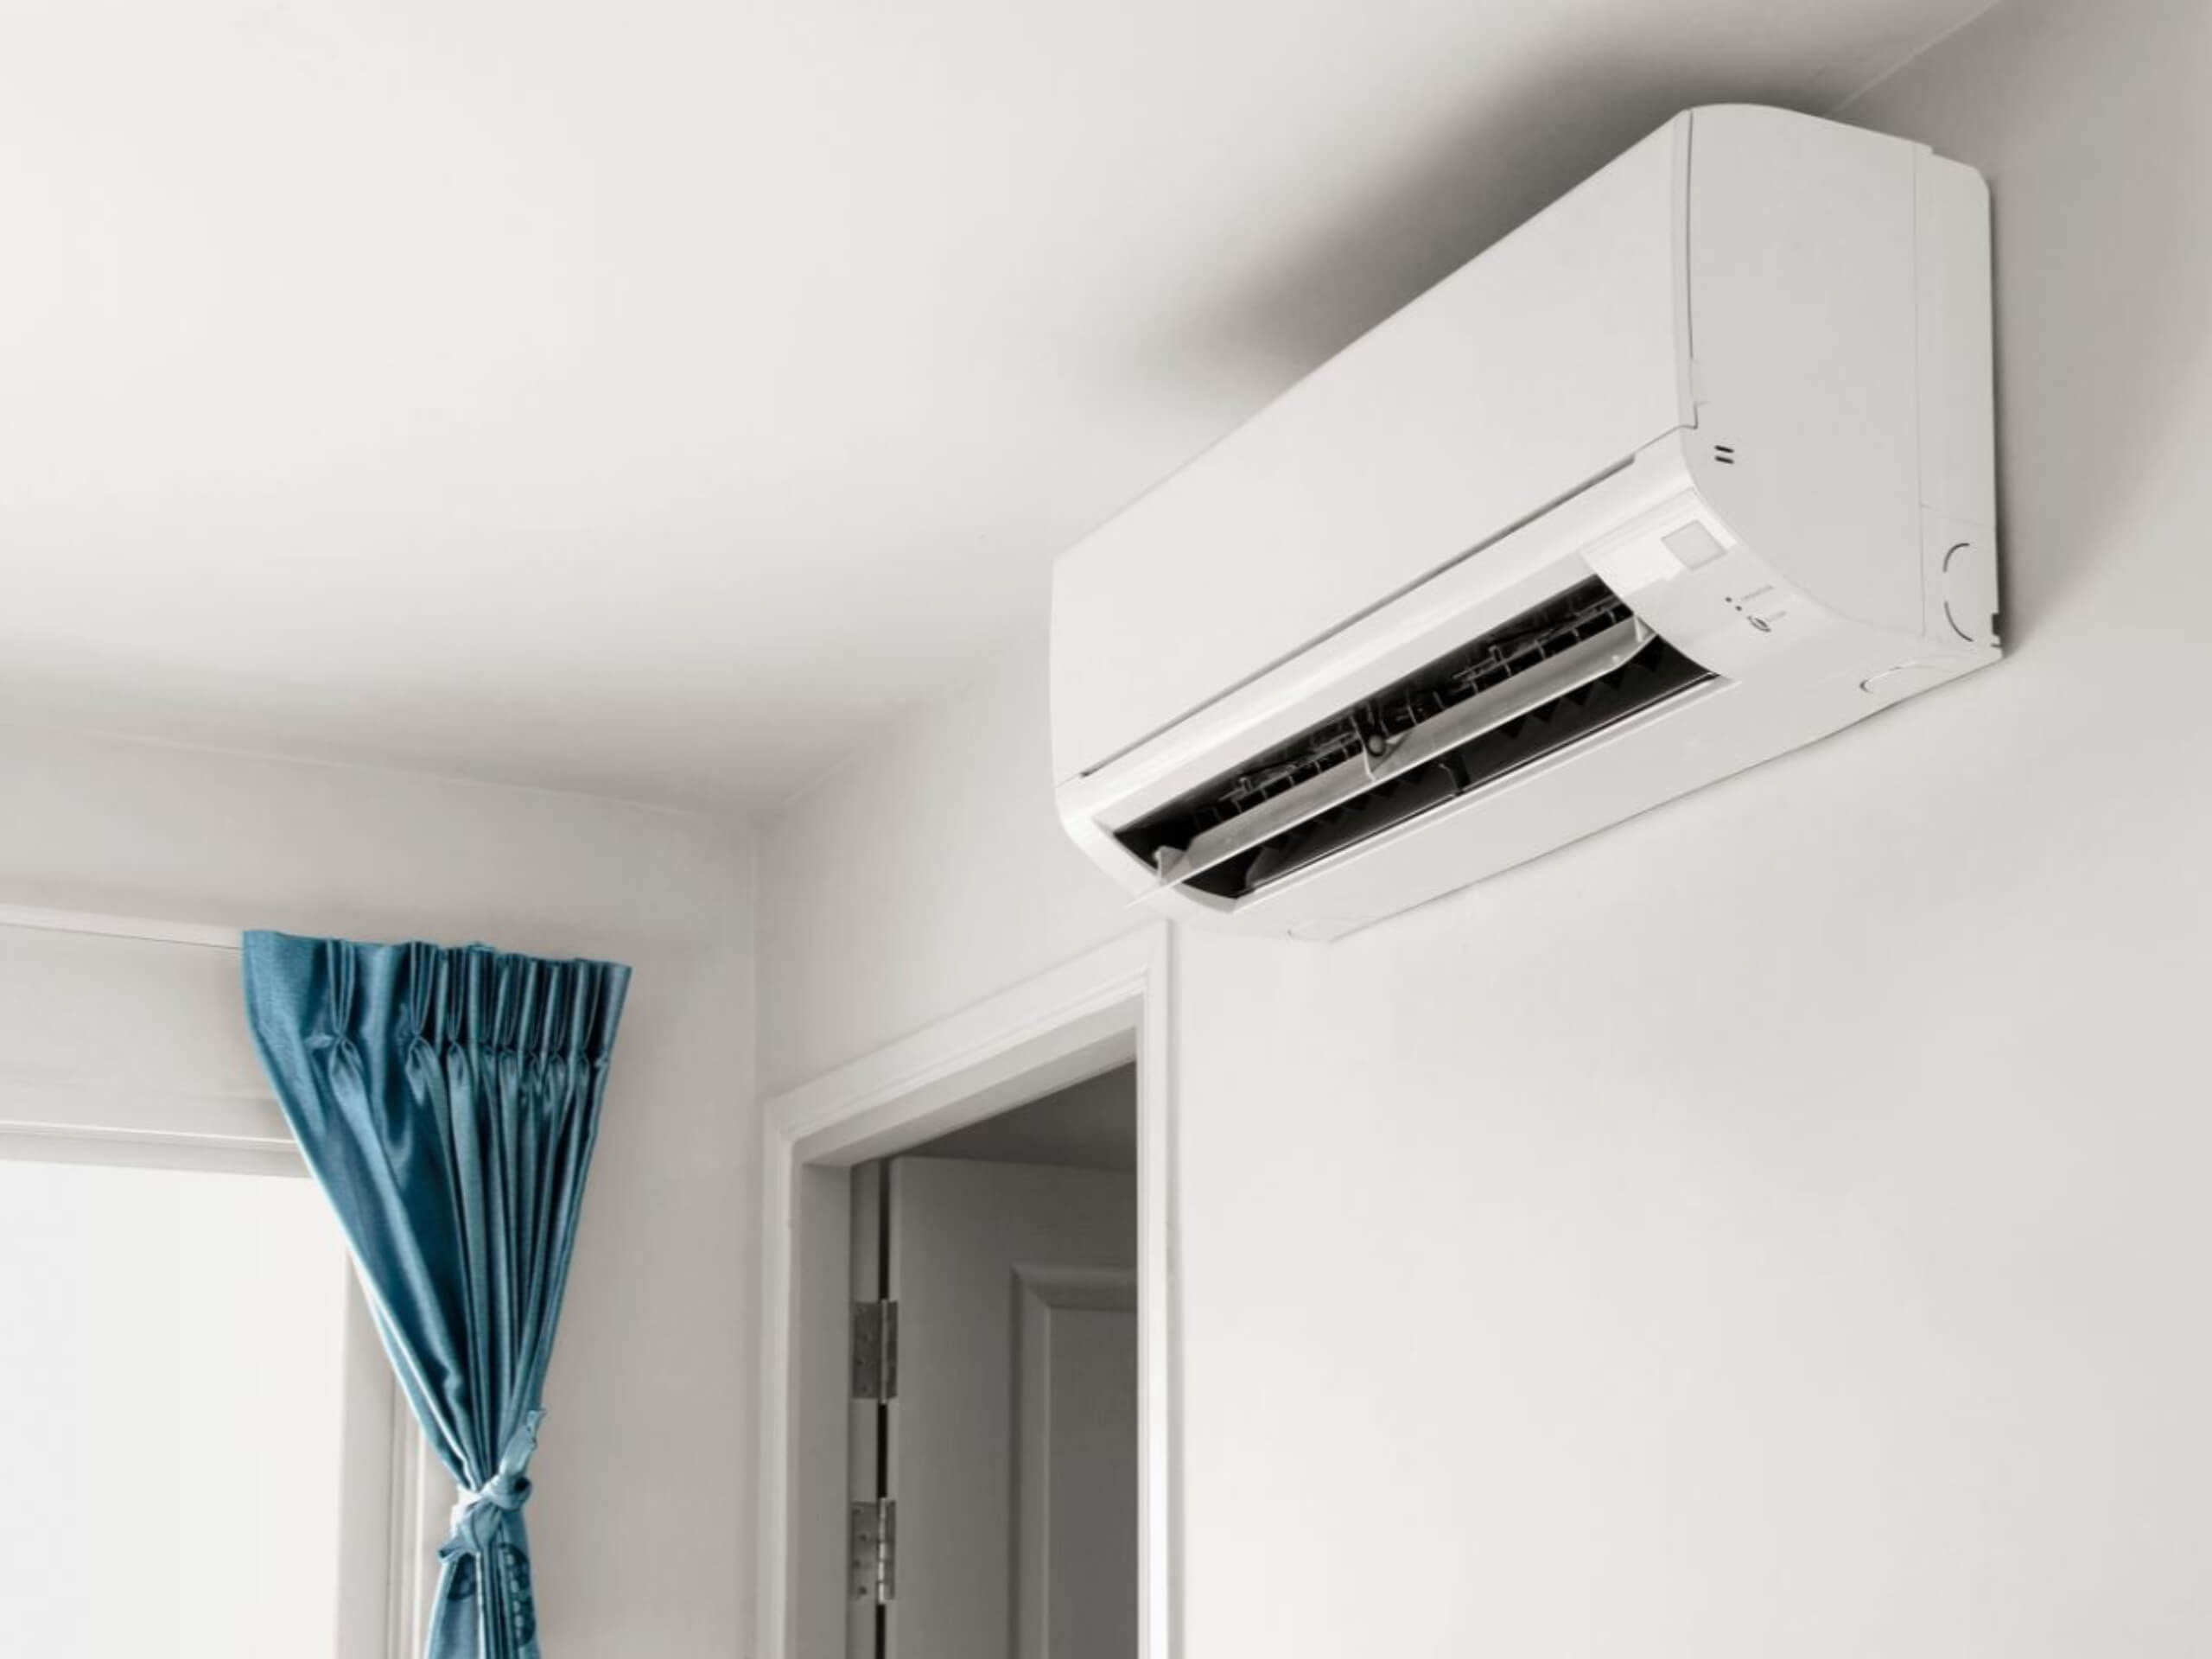
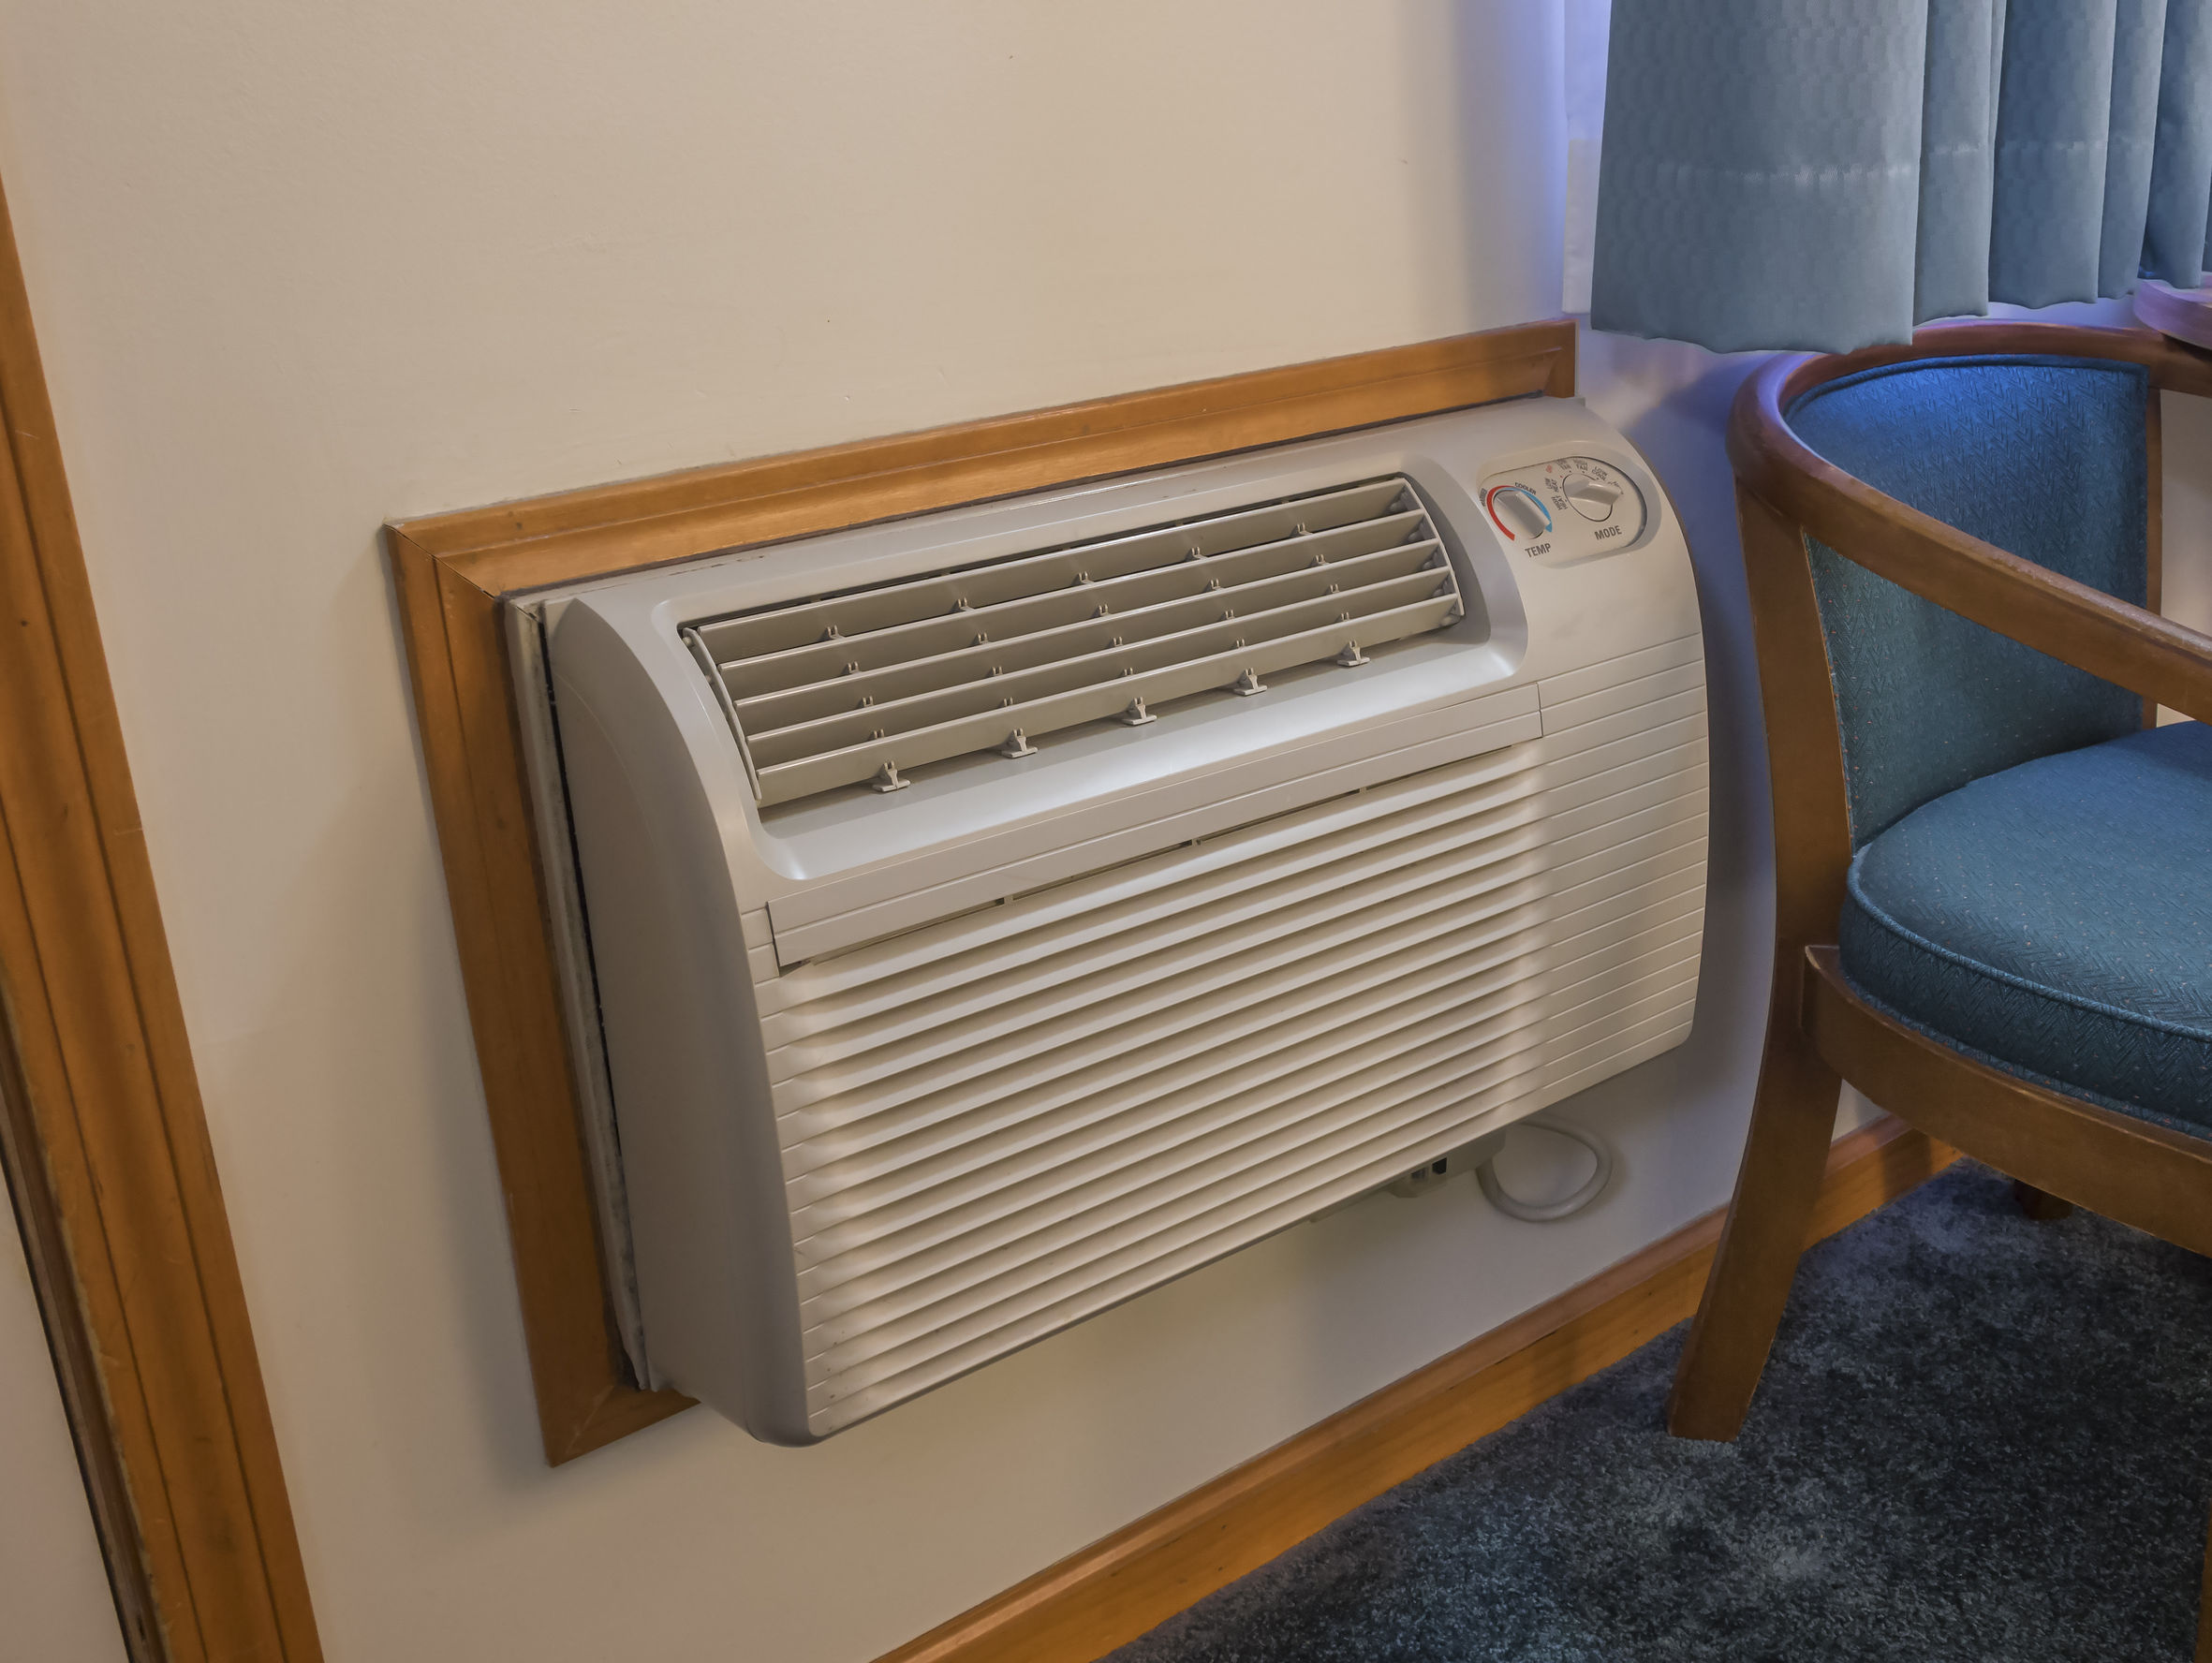
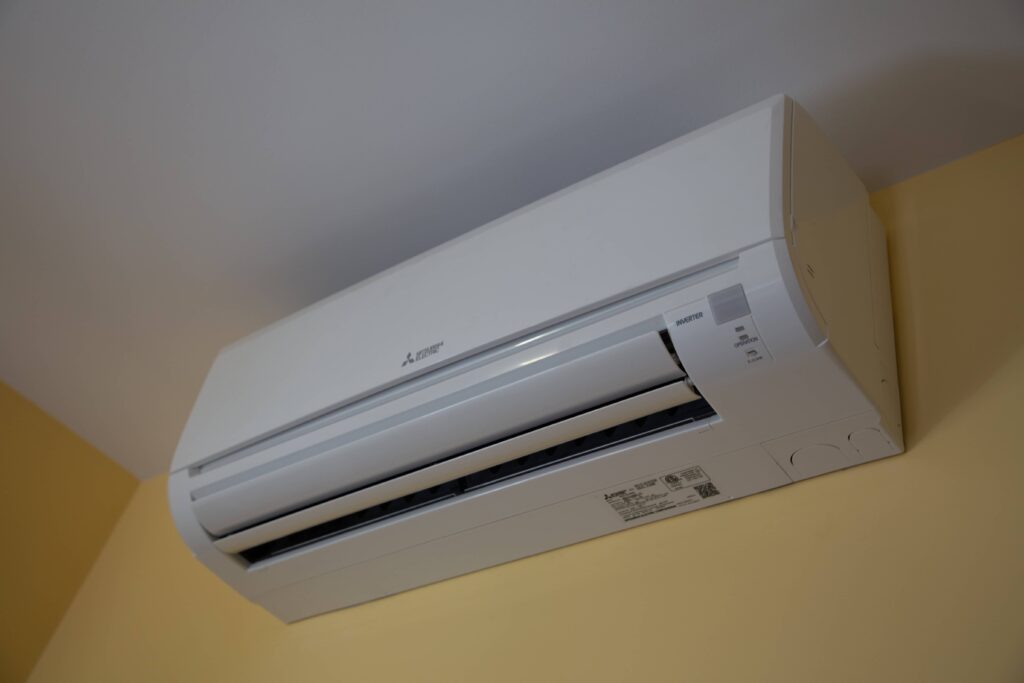
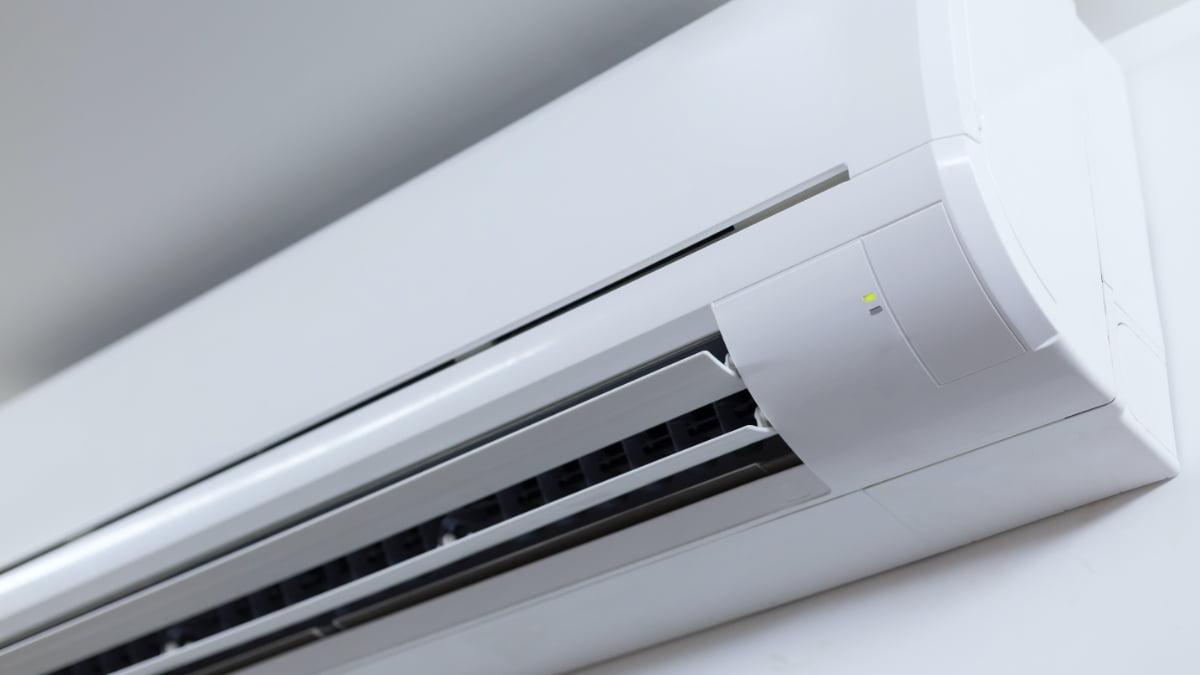
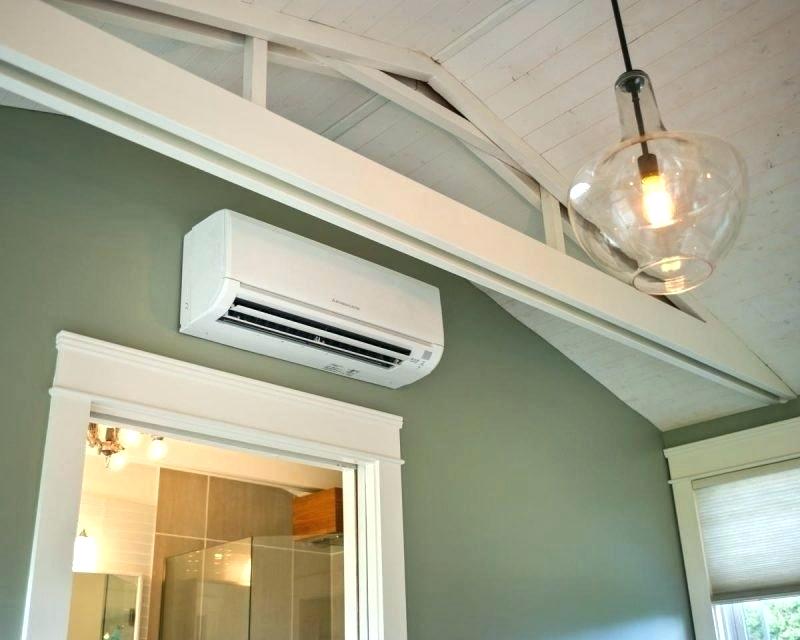
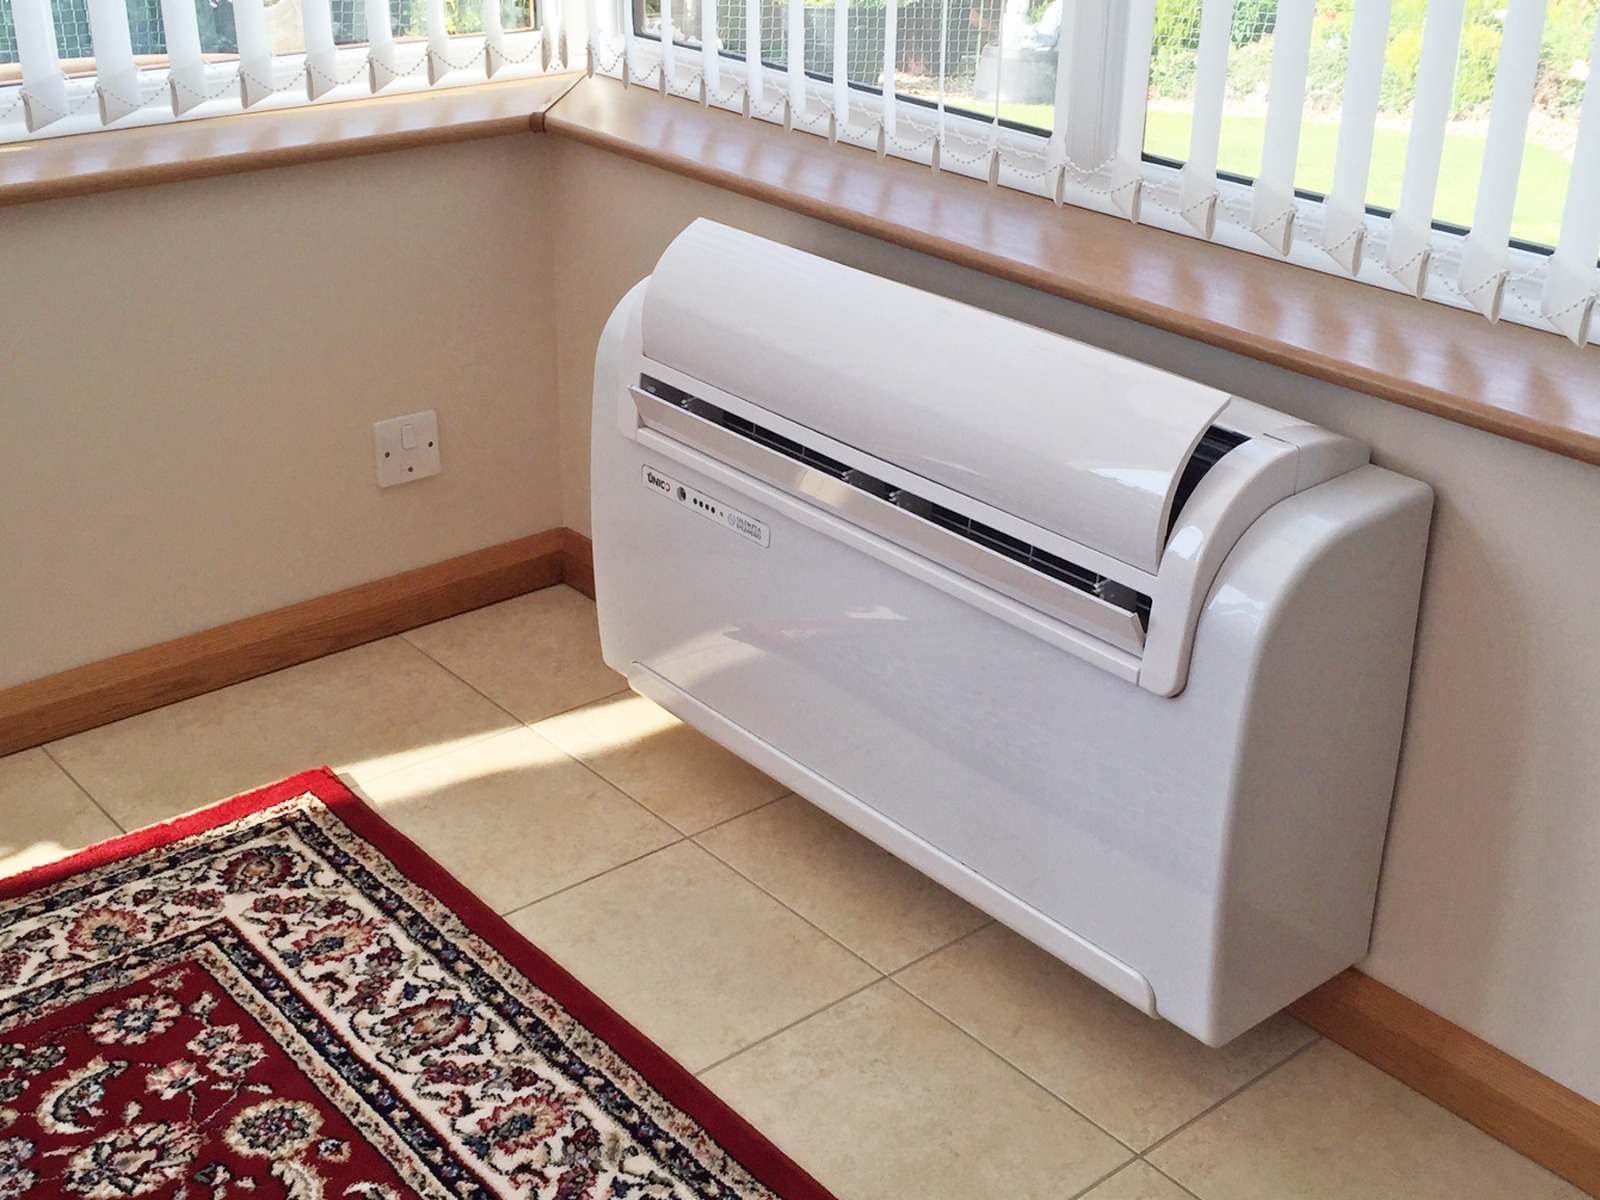
Wall heat and air conditioning units, also known as through-the-wall units, offer a convenient and space-saving solution for heating and cooling individual rooms or smaller spaces. These units are self-contained systems that fit into a wall opening, providing both heating and cooling capabilities without the need for extensive ductwork. This guide will cover everything from basic operation and maintenance to troubleshooting common issues and understanding when it's time to call a professional.
Understanding Wall Unit Components
Before diving into troubleshooting, it's helpful to understand the basic components of a wall heat and air conditioning unit:
- Compressor: The heart of the cooling system, responsible for circulating refrigerant.
- Condenser Coil: Located on the exterior side, it releases heat from the refrigerant.
- Evaporator Coil: Located on the interior side, it absorbs heat from the room air.
- Refrigerant: The working fluid that absorbs and releases heat.
- Fan: Circulates air across the coils, both indoors and outdoors.
- Thermostat: Controls the unit's operation based on the desired temperature.
- Filter: Removes dust and debris from the air.
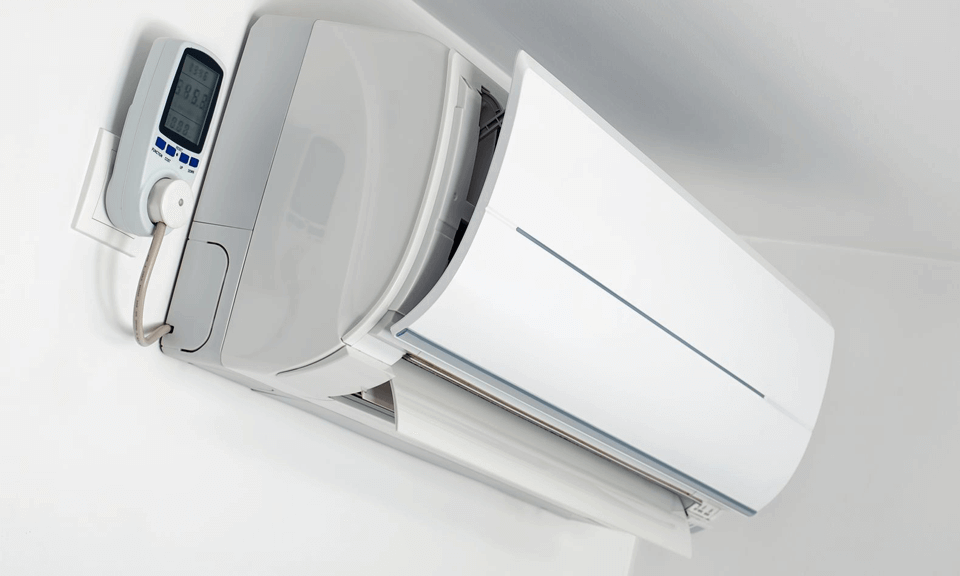
- Controls: Buttons, dials, or a digital interface for setting temperature and fan speed.
Essential Maintenance for Peak Performance
Regular maintenance is crucial for ensuring your wall unit operates efficiently and lasts longer. Here are some key maintenance tasks:
Cleaning the Air Filter
A dirty air filter restricts airflow, forcing the unit to work harder and reducing its efficiency. Clean the filter every 1-3 months, depending on usage and air quality.
- Turn off the unit and unplug it from the power outlet.
- Locate the filter, usually behind a removable front panel.
- Remove the filter and vacuum it thoroughly.
- Wash the filter with mild soap and water.
- Rinse the filter completely and allow it to dry thoroughly before replacing it.
Cleaning the Coils
Dust and debris can accumulate on the condenser and evaporator coils, reducing their ability to transfer heat. Clean the coils at least once a year, preferably before the cooling season.
- Turn off the unit and unplug it from the power outlet.
- Remove the outer case to access the coils.
- Use a brush attachment on a vacuum cleaner to remove loose debris.
- Use a coil cleaner spray (available at most hardware stores) to clean the coils. Follow the manufacturer's instructions carefully.
- Rinse the coils with water if recommended by the coil cleaner manufacturer.
- Allow the coils to dry completely before reassembling the unit.
Checking for Obstructions
Ensure that the outdoor side of the unit is free from obstructions such as plants, leaves, or snow. These obstructions can restrict airflow and reduce efficiency.
Troubleshooting Common Issues
Even with regular maintenance, problems can still arise. Here are some common issues and how to troubleshoot them:
Unit Not Turning On
- Check the power cord: Ensure the unit is plugged in securely and the power cord is not damaged.
- Check the circuit breaker: Make sure the circuit breaker for the unit has not tripped. Reset it if necessary.
- Check the thermostat: Ensure the thermostat is set to the correct mode (heat or cool) and the desired temperature.
- Check the unit's power switch: Some units have a separate power switch that may be turned off.
Unit Not Cooling or Heating Effectively
- Check the air filter: A dirty air filter is the most common cause of poor performance. Clean or replace the filter.
- Check the coils: Dirty coils can reduce heat transfer. Clean the coils as described above.
- Check for obstructions: Make sure the outdoor side of the unit is free from obstructions.
- Check the refrigerant level: Low refrigerant can cause poor cooling performance. This requires a professional to diagnose and repair.
- Check the fan: Ensure the fan is running properly and circulating air. If the fan motor is not working, it may need to be replaced.
Unit is Noisy
- Loose parts: Check for loose screws or panels that may be vibrating. Tighten them as needed.
- Fan blades: Check the fan blades for damage or debris. Clean or replace the blades if necessary.
- Compressor noise: Excessive compressor noise can indicate a serious problem. Contact a professional for diagnosis and repair.
- Vibration: The unit may be vibrating against the wall. Use rubber pads or shims to dampen the vibration.
Unit is Leaking Water
- Clogged drain line: Condensation from the evaporator coil is drained through a drain line. If the drain line is clogged, water can leak into the room. Use a wet/dry vacuum to clear the clog.
- Damaged drain pan: The drain pan underneath the evaporator coil can become damaged or cracked, causing leaks. Replace the drain pan if necessary.
- Excessive humidity: High humidity levels can cause excessive condensation. Ensure proper ventilation in the room.
Unit Smells Bad
- Mold or mildew: Mold and mildew can grow on the evaporator coil or in the drain pan, causing a musty odor. Clean the coil and drain pan with a disinfectant cleaner.
- Dirty filter: A dirty air filter can trap odors. Clean or replace the filter.
- Dead animal: Unfortunately, small animals can sometimes get into the unit and die. Inspect the unit carefully and remove any debris.
DIY Repairs vs. Calling a Professional
Many basic maintenance tasks and troubleshooting steps can be performed by homeowners with basic tools and skills. However, some repairs require specialized knowledge and equipment. Here's a general guideline:
DIY-Friendly Repairs
- Cleaning or replacing the air filter
- Cleaning the coils
- Clearing a clogged drain line
- Tightening loose screws or panels
- Replacing a damaged fan blade
Repairs Requiring a Professional
- Refrigerant leaks or low refrigerant levels
- Compressor problems
- Electrical repairs
- Replacing the fan motor
- Diagnosing complex issues
Safety First: Always disconnect the unit from the power source before performing any maintenance or repairs. If you are not comfortable working with electricity or handling refrigerant, it's best to call a qualified HVAC technician.
Estimating Repair Costs
The cost of repairing a wall heat and air conditioning unit can vary depending on the nature of the problem, the cost of parts, and the labor rates in your area. Here are some general cost estimates:
- Air filter replacement: $5 - $20
- Coil cleaning: $75 - $150
- Drain line clearing: $50 - $100
- Fan motor replacement: $150 - $300
- Refrigerant leak repair: $200 - $500+
- Compressor replacement: $500 - $1000+
- New Unit Installation: $800 - $2000+ (including the unit)
These are just estimates. It's always a good idea to get multiple quotes from qualified HVAC technicians before proceeding with any repairs. Be sure to ask for a detailed breakdown of the costs, including parts and labor.
Choosing a New Wall Unit
If your wall unit is old or beyond repair, you may need to replace it. Here are some factors to consider when choosing a new unit:
- BTU Rating: The BTU (British Thermal Unit) rating indicates the unit's cooling and heating capacity. Choose a unit with a BTU rating that is appropriate for the size of the room.
- Energy Efficiency: Look for a unit with a high Energy Efficiency Ratio (EER) or Seasonal Energy Efficiency Ratio (SEER). These ratings indicate how efficiently the unit uses energy.
- Features: Consider features such as remote control, programmable thermostat, and sleep mode.
- Noise Level: Some units are quieter than others. Check the unit's noise level rating before purchasing.
- Warranty: Choose a unit with a good warranty to protect yourself against defects.
By understanding the components of your wall unit, performing regular maintenance, and knowing when to call a professional, you can keep your unit running smoothly and efficiently for years to come. Remember safety is paramount, and when in doubt, seek expert advice.