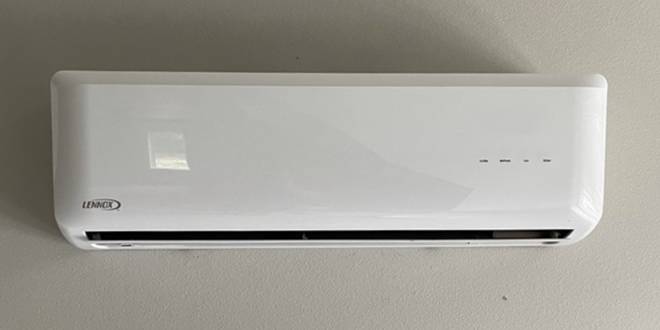
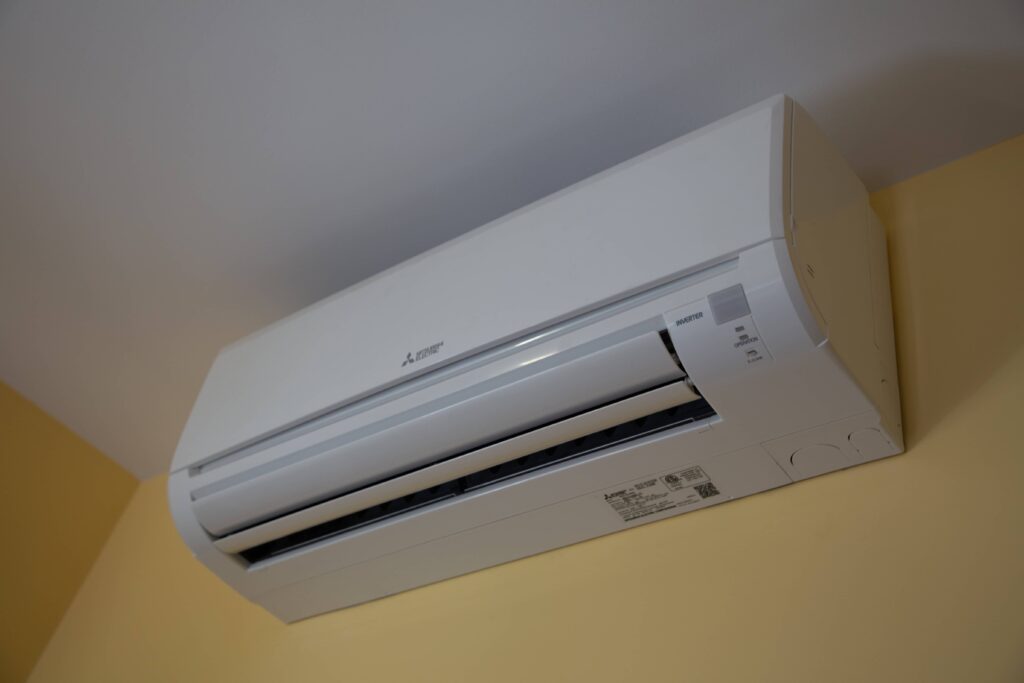
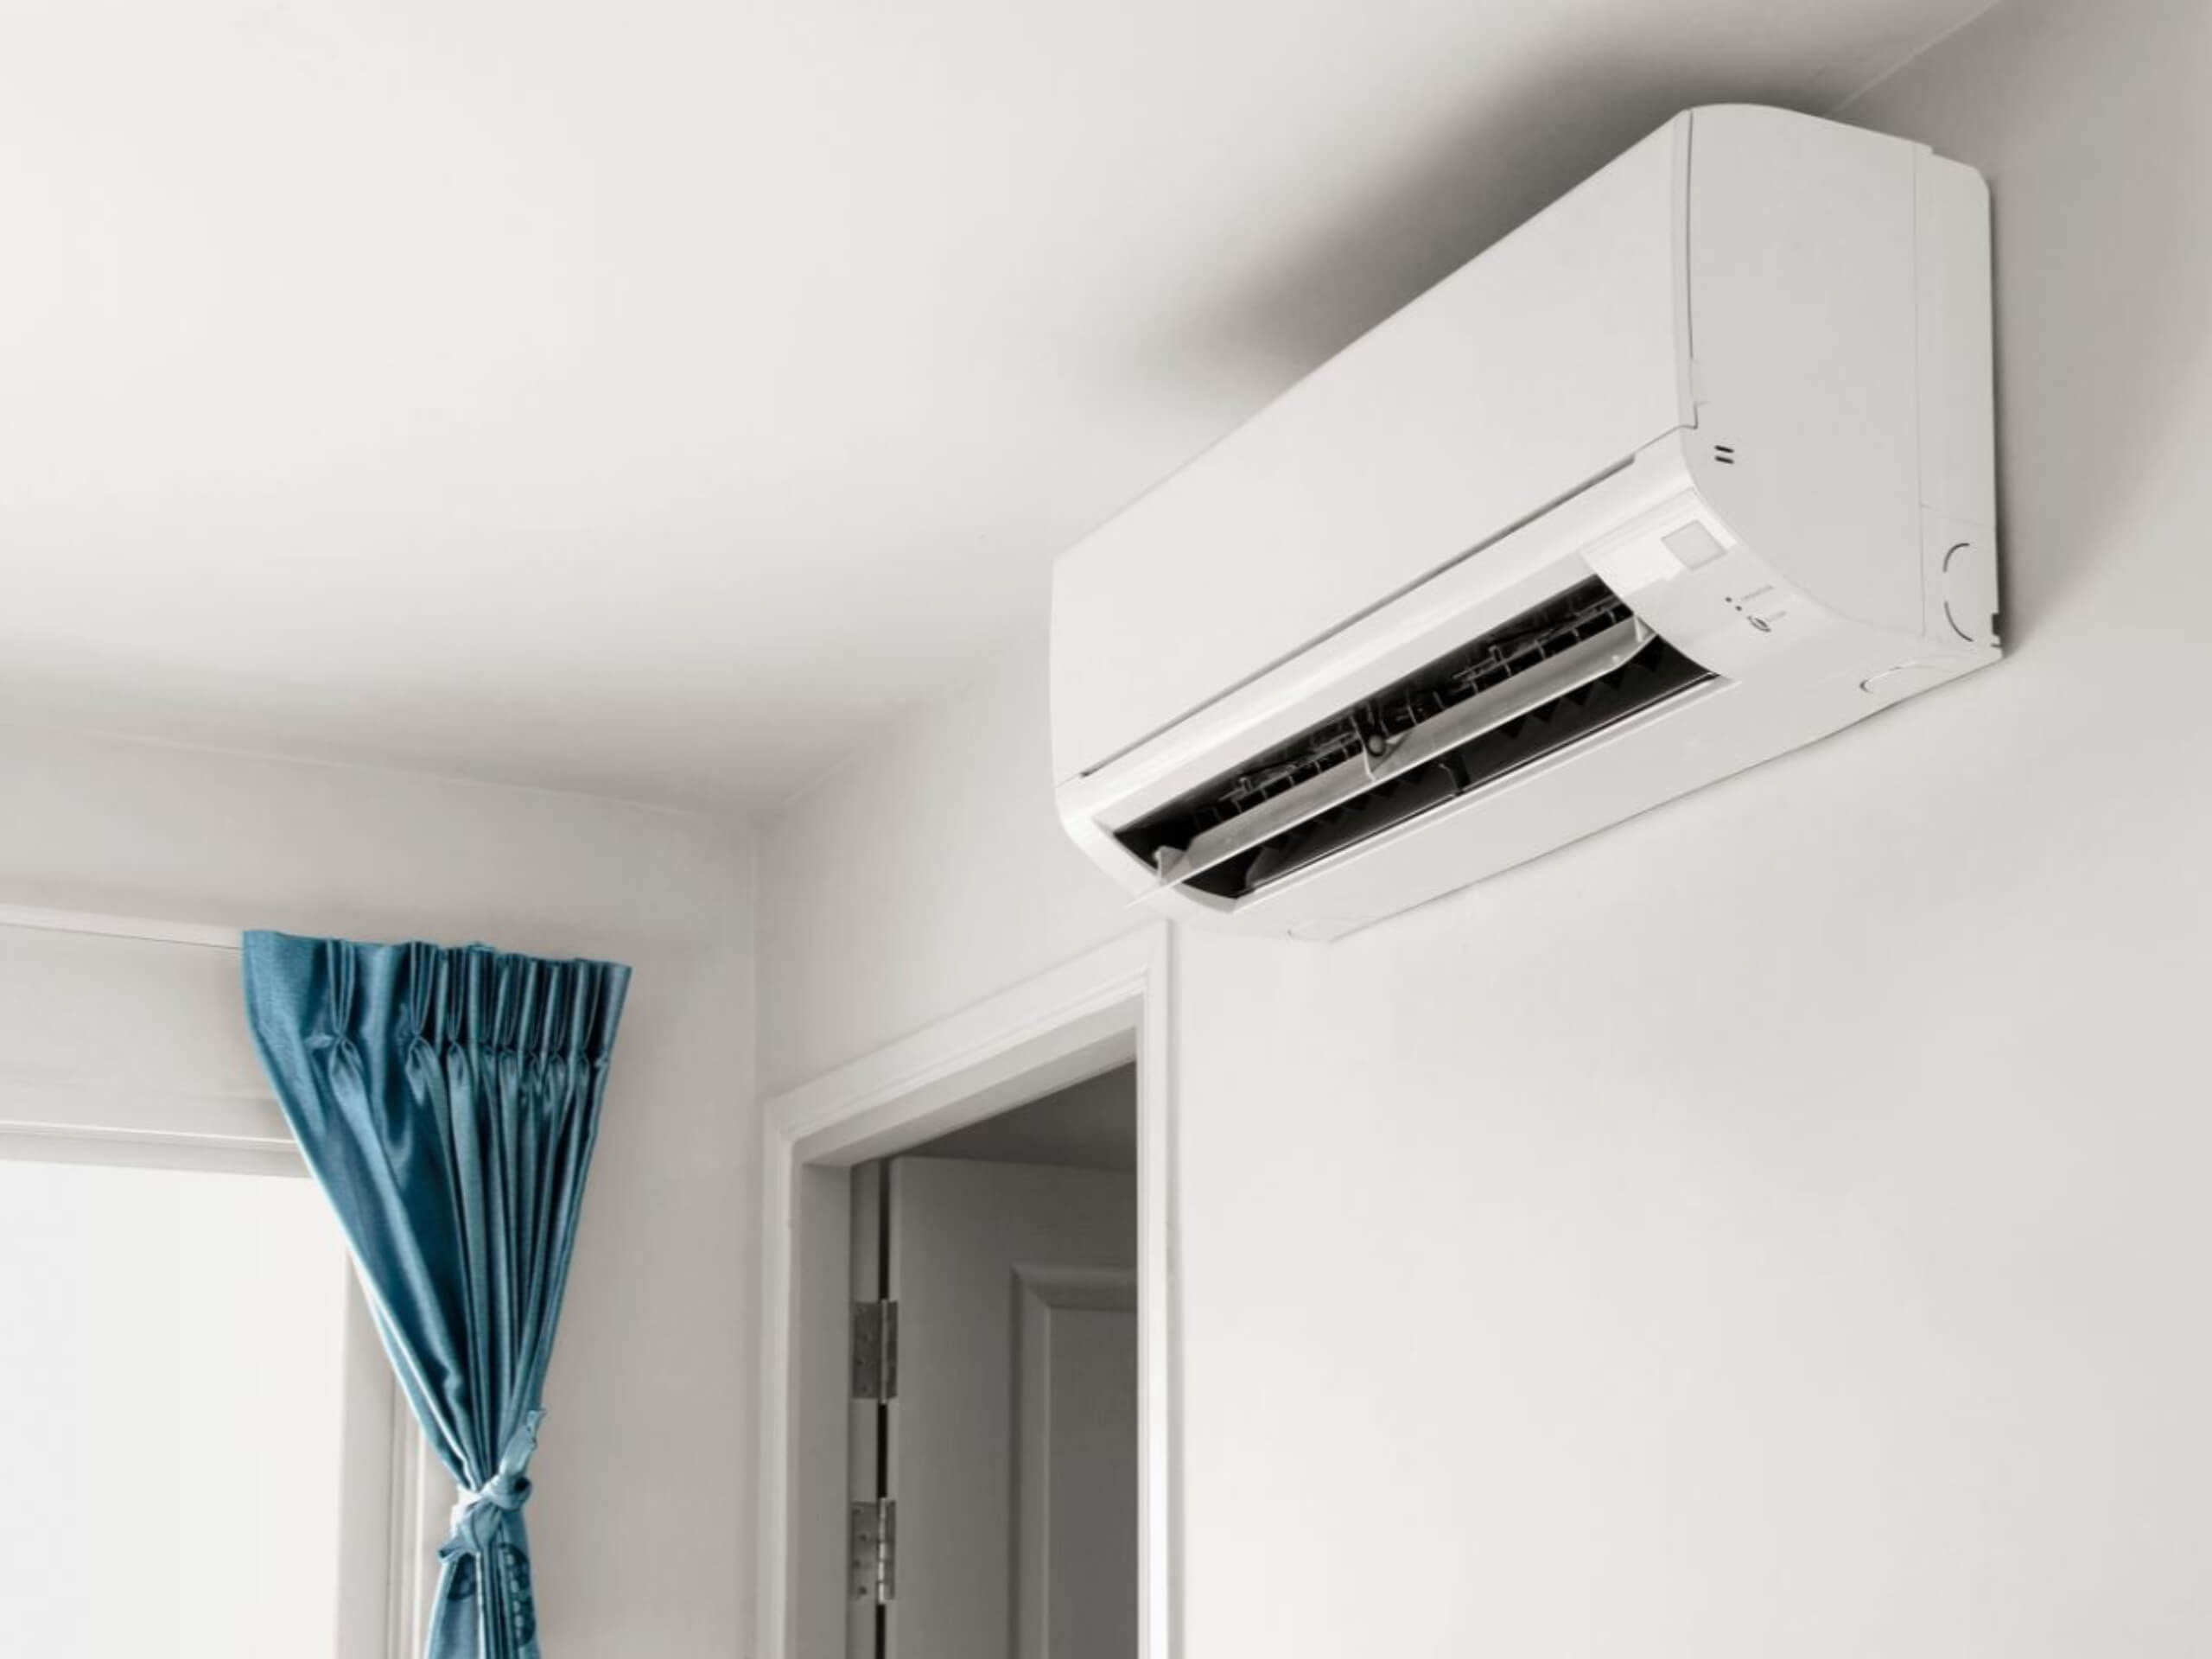
Wall Mounted Air Conditioner And Heater
Wall-mounted air conditioners and heaters are fantastic for maintaining a comfortable temperature in a room, offering both cooling and heating capabilities in a single unit. However, like any appliance, they can sometimes experience problems. This guide provides a step-by-step troubleshooting process to help you identify and resolve common issues, empowering you to tackle basic repairs safely and confidently. Remember, if you're uncomfortable or the problem seems beyond your skill level, always consult a qualified technician. Safety is paramount.
Understanding Common Failures
Before diving into troubleshooting, let's discuss some typical issues that affect wall-mounted air conditioners and heaters:
- Unit not turning on: This could be a power issue, a problem with the remote, or a fault within the unit itself.
- Weak airflow: Often caused by dirty filters, blocked vents, or a failing fan motor.
- Not cooling or heating sufficiently: This might stem from low refrigerant, a faulty compressor (cooling), a malfunctioning heating element (heating), or incorrect settings.
- Strange noises: Rattling, buzzing, or grinding sounds usually indicate loose parts, debris inside the unit, or a failing motor.
- Leaking water: Usually due to a blocked drain line or a condensate pump failure (if equipped).
- Error codes on the display: These codes provide clues about the specific problem the unit is experiencing. Consult your user manual for code definitions.
Step-by-Step Troubleshooting Guide
Follow these steps in order to systematically diagnose and potentially fix your wall-mounted air conditioner/heater.
Step 1: The Obvious Checks - Power and Settings
Let's start with the simplest and most common causes.
- Check the Power Supply:
- Is the unit plugged in securely? Make sure the plug is firmly inserted into the outlet.
- Is the outlet working? Test the outlet with another device (a lamp, for example). If the outlet isn't working, check the circuit breaker in your electrical panel. Reset the breaker if it has tripped. If the breaker trips repeatedly, call an electrician.
- If the unit has a dedicated switch, ensure it's turned on.
- Remote Control Issues:
- Are the batteries in the remote fresh? Replace them with new ones.
- Is the remote aimed correctly at the unit's receiver? Ensure there are no obstructions between the remote and the unit.
- Try resetting the remote (if it has a reset button) or reprogramming it according to the user manual.
- Check the Settings:
- Is the unit set to the correct mode (Cool, Heat, Auto, Fan)? Select the desired mode.
- Is the temperature set appropriately? Ensure the temperature setting is lower than the current room temperature for cooling and higher for heating.
- Is the fan speed set to an appropriate level? Try increasing the fan speed to see if airflow improves.
- Is the timer function accidentally activated? Deactivate the timer function if you don't need it.
If these basic checks don't solve the problem, move on to the next step.
Step 2: Inspect the Air Filter
A dirty air filter is one of the most common culprits behind poor performance.
- Locate the Air Filter: Refer to your user manual for the filter location. It's usually behind a removable grille on the front of the unit.
- Remove the Filter: Carefully remove the filter.
- Inspect the Filter: Is it visibly dirty or clogged with dust and debris?
- Clean or Replace the Filter:
- If the filter is washable, clean it with mild soap and water. Allow it to dry completely before reinstalling it.
- If the filter is disposable, replace it with a new filter of the correct size and type. Refer to your user manual for the correct filter specifications.
- Reinstall the Filter: Ensure the filter is properly seated in its housing.
Cleaning or replacing the air filter can significantly improve airflow and overall performance. Run the unit and see if the issue is resolved.
Step 3: Check for Obstructions
Blocked vents can restrict airflow and reduce the unit's efficiency.
- Inspect the Outdoor Unit (if applicable): Ensure there are no obstructions around the outdoor unit, such as plants, debris, or snow. Maintain at least 2 feet of clear space around the unit.
- Check the Indoor Vents: Make sure the air vents on the unit are not blocked by furniture, curtains, or other objects.
Step 4: Listen for Unusual Noises
Unusual noises can indicate specific problems within the unit.
- Rattling: Could be a loose screw, a fan blade hitting something, or debris inside the unit. Try to identify the source of the rattle and tighten any loose screws. If you suspect debris, carefully vacuum the inside of the unit (with the power off).
- Buzzing: Could be a loose electrical connection or a failing capacitor. If you suspect an electrical issue, turn off the power to the unit and call a qualified technician.
- Grinding: Could be a sign of a failing motor or a worn-out bearing. This usually requires professional repair or replacement.
Step 5: Addressing Water Leaks
Water leaks can be messy and potentially damaging. Most wall-mounted units will have a small drain somewhere. Check this first.
- Locate the Drain Line: The drain line is a small tube that carries condensation away from the unit. Refer to your user manual for its location.
- Check for Blockages: The drain line can become clogged with algae, mold, or debris.
- Attempt to Clear the Blockage: You can try using a wet/dry vacuum to suck out the blockage or carefully insert a flexible wire (like a straightened coat hanger) to dislodge the obstruction. Be gentle to avoid damaging the drain line.
- Flush the Drain Line: Once you've cleared the blockage, pour a small amount of diluted bleach (1 part bleach to 10 parts water) into the drain line to kill any remaining algae or mold.
- Check the Condensate Pump (if applicable): Some units have a condensate pump to pump the water uphill to a drain. Make sure the pump is working properly. If it's not, you may need to replace it. This repair might be best left to a professional.
Step 6: Understanding and Addressing Error Codes
Many modern wall-mounted units have digital displays that show error codes when a problem occurs. These codes are invaluable for troubleshooting.
- Consult Your User Manual: Your user manual will list the error codes and their corresponding meanings.
- Record the Error Code: Note the error code displayed on the unit.
- Follow the Manual's Instructions: The user manual will provide troubleshooting steps for each error code. Follow these steps carefully.
- Common Error Codes and Potential Solutions:
- "E1" or similar: Often indicates a problem with the temperature sensor. This may require professional repair.
- "F1" or similar: Often indicates a problem with the fan motor. This may require professional repair or replacement.
- "P1" or similar: Often indicates a problem with the compressor (cooling) or heating element (heating). This requires professional repair.
When to Call a Professional
While this guide covers many common issues that homeowners can address themselves, some problems require the expertise of a qualified HVAC technician. Never attempt repairs that you are not comfortable with or that involve electricity, gas, or complex components.
Call a professional in the following situations:
- Refrigerant Leaks: Refrigerant is a hazardous substance, and handling it requires specialized equipment and training. If you suspect a refrigerant leak (e.g., hissing sound, oily residue), do not attempt to repair it yourself.
- Electrical Problems: Any electrical work beyond simple plug-in checks should be handled by a qualified electrician. Never attempt to repair electrical components if you are not trained to do so.
- Gas Leaks (for gas-powered units): If you suspect a gas leak (e.g., the smell of natural gas), immediately evacuate the area and call your gas company or a qualified HVAC technician. Gas leaks are extremely dangerous.
- Compressor or Heating Element Issues: These are complex components that require specialized knowledge and tools to repair or replace.
- Complex Error Codes: If you've consulted your user manual and the troubleshooting steps are beyond your skill level, it's best to call a professional.
- You are uncomfortable or unsure about any aspect of the repair.
- The unit is still under warranty. Attempting repairs yourself may void the warranty.
Important Safety Precautions:
- Always disconnect the power to the unit before performing any maintenance or repairs. Turn off the circuit breaker that supplies power to the unit.
- Never work on the unit if it is wet or damp.
- Wear appropriate safety gear, such as gloves and eye protection.
- Read and understand your user manual before attempting any repairs.
Preventative Maintenance
Regular preventative maintenance can help prevent problems and extend the life of your wall-mounted air conditioner and heater.
- Clean or replace the air filter regularly (at least every 1-3 months, or more often if needed).
- Keep the outdoor unit (if applicable) free of debris.
- Inspect the drain line annually and clear any blockages.
- Schedule professional maintenance annually. A qualified HVAC technician can inspect the unit, clean the coils, check the refrigerant levels, and identify any potential problems before they become major issues.
By following these troubleshooting steps and preventative maintenance tips, you can keep your wall-mounted air conditioner and heater running smoothly and efficiently for years to come. Remember, when in doubt, always consult a qualified professional. Stay safe and comfortable!