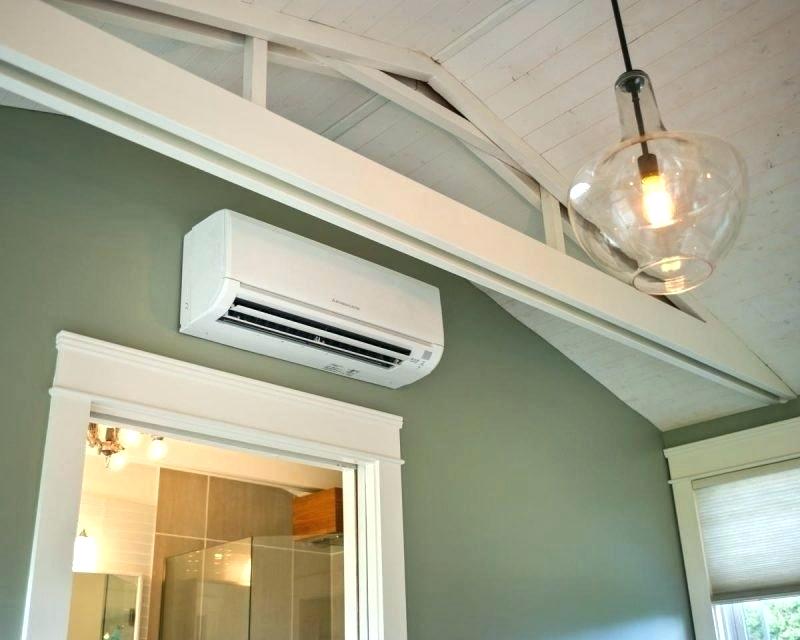
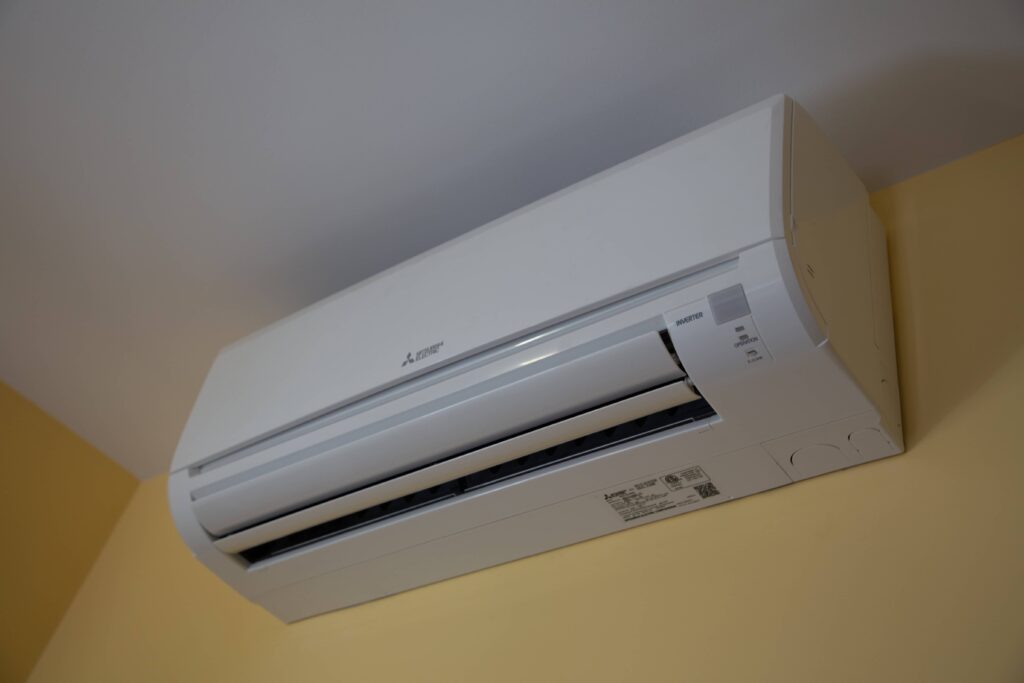
Wall Mounted Air Conditioning Units Ductless
One of the most common issues homeowners encounter with ductless, wall-mounted air conditioning units is that they aren't cooling or heating as effectively as they should. Perhaps the air coming out isn't cold enough (in cooling mode) or warm enough (in heating mode), or the unit seems to be running constantly without achieving the desired temperature. This can be frustrating, leading to discomfort and higher energy bills. Fortunately, many potential causes can be diagnosed and addressed with a little troubleshooting.
Diagnosing the Problem: A Step-by-Step Approach
Before calling a professional, let's walk through a methodical process to pinpoint the cause of your ductless unit's performance issues. We'll start with the simplest checks and move towards slightly more involved steps, keeping safety in mind throughout.
Step 1: The Obvious Checks (No Tools Required)
Start with the easy stuff! Sometimes the solution is right in front of us.
- Power: Is the unit actually turned on? Sounds silly, but double-check! Make sure the breaker hasn't tripped. Go to your electrical panel and confirm the breaker is in the "on" position. If it's tripped, reset it. If it trips again immediately, stop and call an electrician – this indicates a more serious electrical issue.
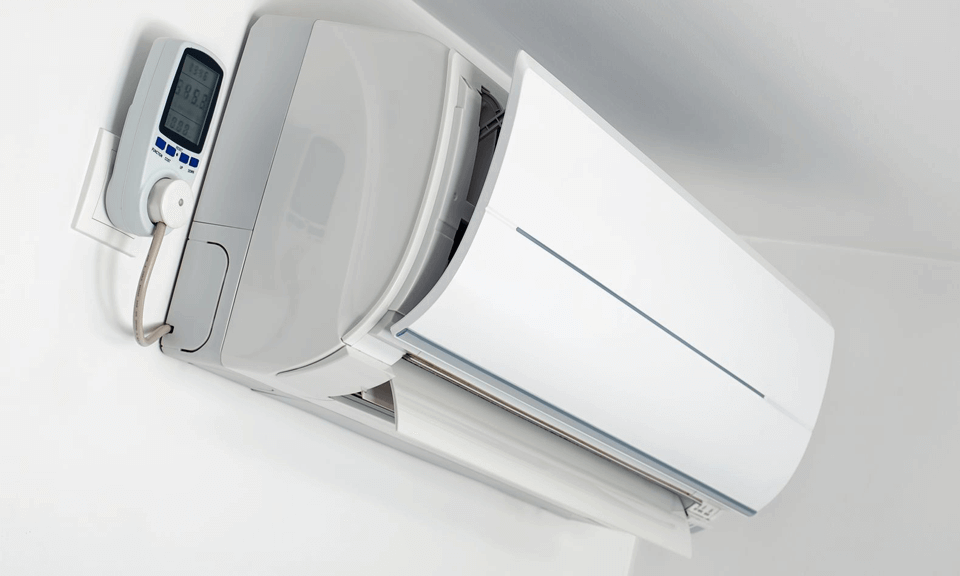
- Remote Control: Are the batteries in the remote fresh? Is the remote set to the correct mode (cool or heat) and temperature? Point the remote directly at the unit when testing. Sometimes the signal can be weak or obstructed. Ensure no objects are blocking the signal path between the remote and the unit.
- Airflow Obstruction: Are there any curtains, furniture, or other objects blocking the airflow to or from the indoor unit? Poor airflow drastically reduces efficiency. Clear any obstructions immediately.
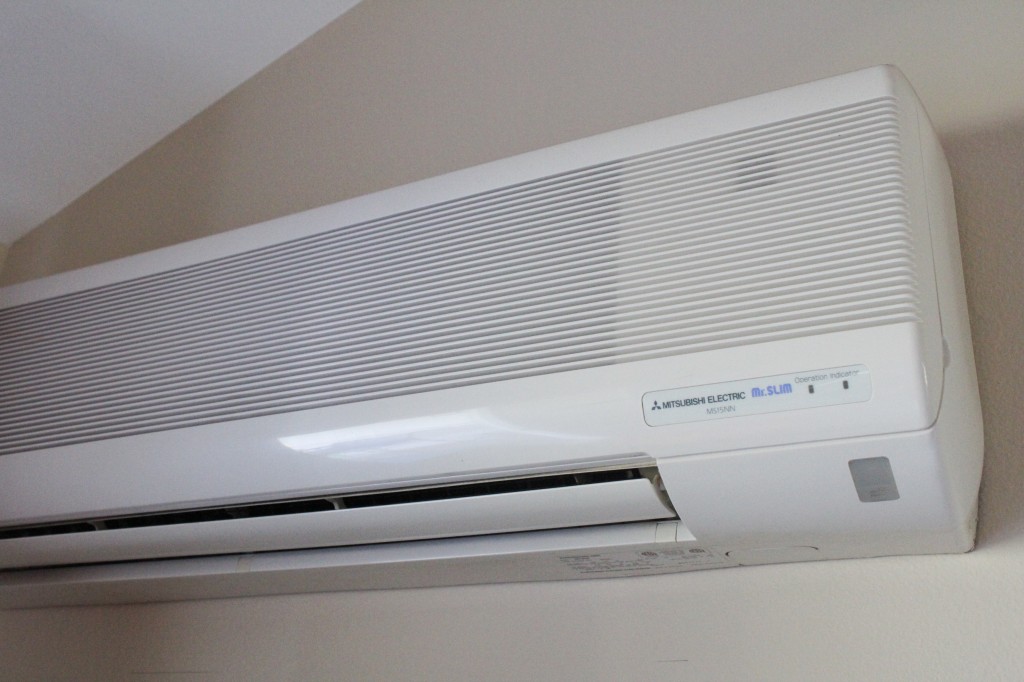
- Filter Check: This is crucial! A dirty air filter is the single most common cause of poor performance in ductless units. Dirty filters restrict airflow, making the unit work harder and less efficiently.
Action: If you haven't already, turn off the unit. Locate the air filter(s) (usually behind a removable front panel). Inspect the filter. If it's visibly dirty (dust, debris), it needs cleaning or replacing. Most filters can be gently vacuumed. If heavily soiled, replace them. Replacement filters are usually available at hardware stores or online. Refer to your unit's manual for the correct filter type and size. Clean or replace the filter before proceeding.
Step 2: Unit Settings and Operation (No Tools Required)
Now that we've addressed basic obstructions and filter cleanliness, let's examine the unit's settings and how it's being operated.
- Mode Setting: Double-check that the unit is in the correct mode (cool or heat). Accidentally having it in "fan only" mode will obviously prevent cooling or heating.
- Temperature Setting: Is the set temperature significantly different from the actual room temperature? If you're trying to cool a room from 85°F to 70°F, it will take time. Be patient. Also, consider whether the room is adequately insulated and whether external factors (e.g., direct sunlight) are overwhelming the unit's capacity.
- Fan Speed: Experiment with different fan speeds. A higher fan speed will circulate air more effectively and may improve cooling or heating. However, it can also be noisier.
- Timer Settings: Is there a timer setting that might be interfering with normal operation? Accidental timer settings can cause the unit to turn off prematurely or not turn on when expected. Disable any timers to rule them out.
- "Economy" or "Sleep" Mode: These modes are designed to conserve energy, but they often reduce cooling or heating output. Turn them off temporarily to see if performance improves.
Action: Adjust the mode, temperature, fan speed, and timer settings. Disable economy or sleep modes. Allow the unit to run for at least 30 minutes to an hour after making these changes to see if the performance improves.
Step 3: Inspecting the Outdoor Unit (Basic Observation - Be Careful!)
The outdoor unit, also known as the condenser, is a critical component of your ductless system. A problem here can significantly impact performance. Safety Note: Do NOT attempt to open or disassemble the outdoor unit. This section involves visual inspection only. If you are uncomfortable working near electrical equipment, skip this step and call a professional.
- Obstructions: Is the outdoor unit surrounded by bushes, plants, or other debris that could be blocking airflow? The unit needs ample space for proper ventilation.
- Dirty Coils: Visually inspect the coils (the metal fins) on the outside of the unit. Are they covered in dirt, leaves, or other debris? Dirty coils prevent efficient heat exchange.
- Ice Buildup: In heating mode, check for excessive ice buildup on the outdoor unit. A small amount of frost is normal in cold weather, but thick ice buildup indicates a problem. This could be a refrigerant issue, a faulty defrost cycle, or restricted airflow.
- Fan Operation: Observe the fan on the outdoor unit. Is it spinning freely and at a consistent speed? If it's making strange noises or seems to be struggling, it may be a sign of a motor problem.
Action (If Safe and Comfortable): If the outdoor unit is accessible and the coils are visibly dirty, you can carefully clean them with a garden hose. Use a gentle spray nozzle and avoid spraying water directly into the electrical components. Turn off the power to the unit at the breaker before cleaning! Allow the unit to dry completely before turning the power back on. Clear any obstructions surrounding the unit. If you see ice buildup or the fan is not operating correctly, call a professional.
Step 4: Refrigerant Leaks (Requires Professional Tools and Expertise - DO NOT ATTEMPT DIY REPAIR)
Refrigerant leaks are a common cause of poor cooling or heating performance in air conditioning systems. However, detecting and repairing refrigerant leaks requires specialized tools and knowledge. Attempting to handle refrigerant yourself is illegal and dangerous.
Symptoms that *might* indicate a refrigerant leak include:
- The unit runs constantly but doesn't cool or heat effectively.
- Ice buildup on the indoor unit (although this can also be caused by other issues).
- Hissing or bubbling sounds coming from the unit.
- A noticeable decrease in performance over time.
Action: If you suspect a refrigerant leak, turn off the unit and call a qualified HVAC technician immediately. Do not attempt to add refrigerant yourself.
Step 5: Electrical Issues (Requires Professional Expertise - DO NOT ATTEMPT DIY REPAIR)
Electrical problems can also cause a ductless unit to malfunction. These issues are potentially dangerous and should only be addressed by a qualified electrician or HVAC technician.
Symptoms that *might* indicate an electrical issue include:
- The unit doesn't turn on at all.
- The breaker trips repeatedly.
- Burning smells coming from the unit.
- Unusual noises (buzzing, clicking) coming from the unit.
Action: If you suspect an electrical issue, turn off the unit at the breaker and call a qualified electrician or HVAC technician immediately. Do not attempt to diagnose or repair electrical problems yourself.
When to Call a Professional
While many simple issues can be resolved with DIY troubleshooting, certain problems require the expertise of a qualified HVAC technician. Call a professional if:
- You suspect a refrigerant leak.
- You suspect an electrical problem.
- The outdoor unit has ice buildup or the fan is not operating correctly.
- The unit is making unusual noises that you can't identify.
- You've cleaned the filters and coils, and the unit still isn't performing well.
- You are uncomfortable working near electrical equipment.
- The unit is under warranty. Attempting DIY repairs may void the warranty.
Remember: Your safety is paramount. When in doubt, call a professional. They have the training, tools, and experience to diagnose and repair complex HVAC issues safely and effectively.
Preventative Maintenance: Keeping Your Ductless Unit Running Smoothly
The best way to avoid performance issues is to perform regular preventative maintenance. Here are some tips:
- Clean or replace the air filter every 1-3 months, or more often if you have pets or live in a dusty environment.
- Inspect the outdoor unit regularly for obstructions and debris. Clean the coils as needed.
- Schedule a professional HVAC tune-up at least once a year. A technician can inspect the unit, clean the coils, check the refrigerant levels, and identify potential problems before they become major issues.
By following these troubleshooting steps and performing regular maintenance, you can keep your ductless, wall-mounted air conditioning unit running efficiently and effectively for years to come. Good luck!