Warm Air Rises And Cold Air Sinks
The Science of Air and Your Home's Comfort: Why Warm Air Rises (and Cold Air Sinks)
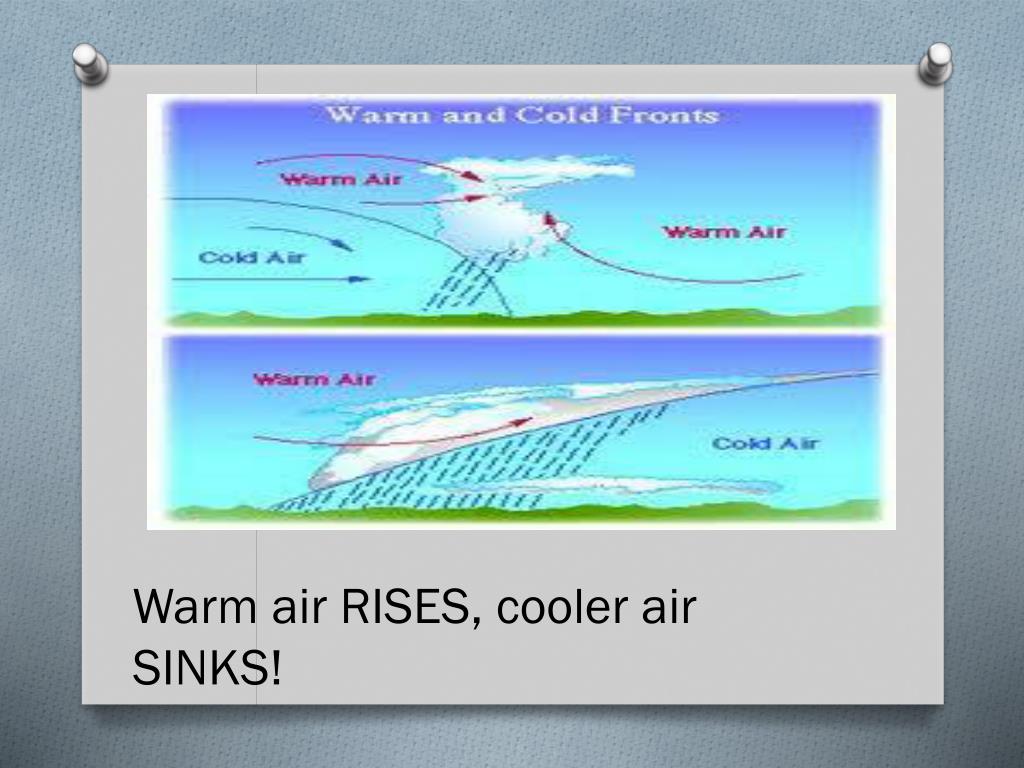
Understanding the fundamental principle that warm air rises and cold air sinks is crucial for homeowners looking to improve their home's comfort and energy efficiency. This natural phenomenon, known as convection, directly impacts how your HVAC system works and how effectively it heats or cools your living space. Ignoring it can lead to uneven temperatures, higher energy bills, and a generally uncomfortable home environment.
The Physics Behind It
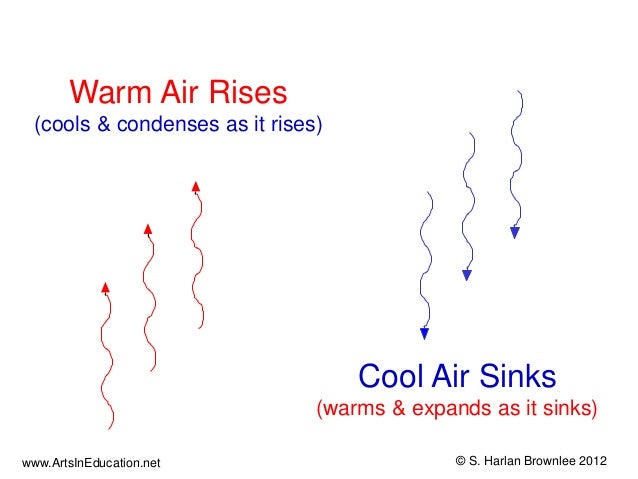
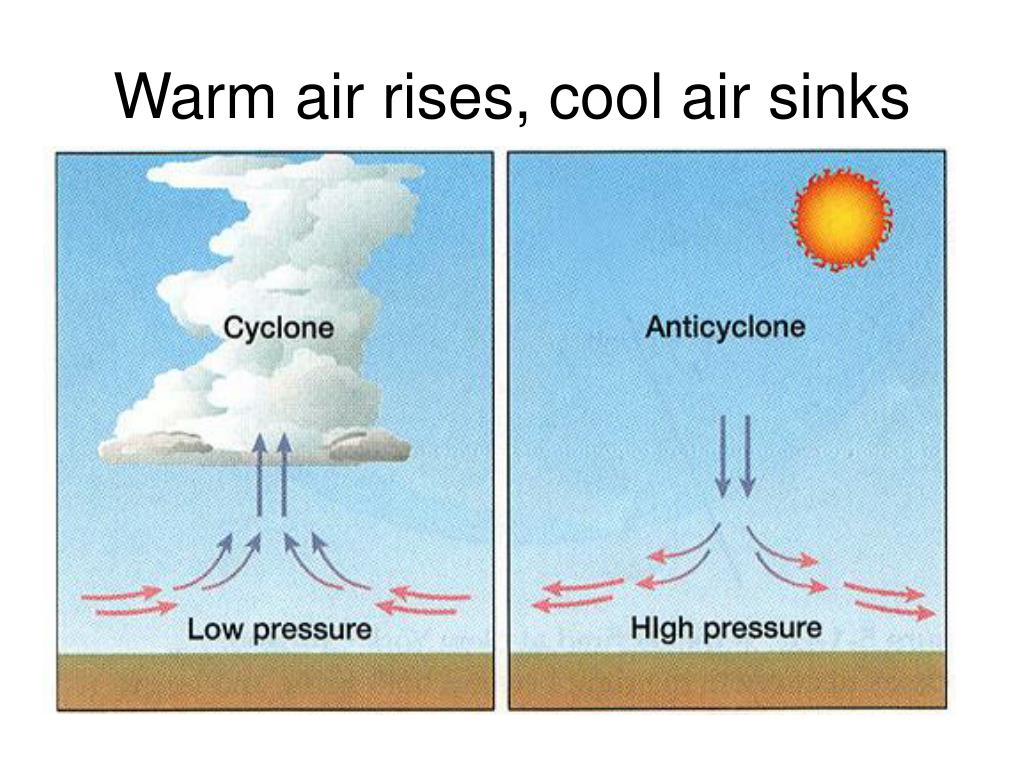
Warm air is less dense than cold air. When air is heated, its molecules move faster and spread out, making it lighter. Conversely, cold air's molecules are more sluggish and packed together, making it denser and heavier. Think of it like this: a balloon filled with hot air will float, while a balloon filled with cold air will tend to sink.
How This Affects Your Home's Heating
During the winter, your heating system warms the air. That warm air then naturally rises towards the ceiling. If your home isn't properly insulated or has air leaks near the ceiling, this warm air can escape, leading to a cold floor and a higher heating bill. Here's what to look for:
- Cold Floors: A telltale sign that warm air is escaping upwards.
- Drafts Near Windows and Ceilings: Indicating air leaks that allow warm air to escape.
- High Heating Bills: Disproportionately high bills compared to previous years or neighbors.
Practical Steps to Improve Heating Efficiency
Here are some steps you can take to minimize heat loss and improve your home's heating efficiency, considering the principle of warm air rising:
- Seal Air Leaks: Use caulk and weather stripping to seal gaps around windows, doors, and pipes. Focus on areas near the ceiling, like attic access panels and recessed lighting fixtures.
- Insulate Your Attic: This is perhaps the most effective way to prevent heat loss. Ensure your attic has adequate insulation (R-value of R-30 or higher is generally recommended).
- Install Ceiling Fans (and Use Them Correctly): Run your ceiling fan in a clockwise direction during the winter to push the warm air that has risen back down into the room.
- Consider a Smart Thermostat: Smart thermostats learn your habits and adjust the temperature accordingly, preventing unnecessary heating of empty rooms.
How This Affects Your Home's Cooling
In the summer, the opposite effect occurs. Your air conditioner cools the air, making it denser and causing it to sink. This can lead to cold floors and warmer air accumulating near the ceiling. Problems you might notice:
- Warm Spots Near the Ceiling: Indicates that cool air isn't circulating effectively.
- Dampness or Mold Growth Near the Floor: Can occur if cool air is trapped near the floor, creating a humid environment.
- High Cooling Bills: Similar to heating, inefficient cooling can lead to excessively high energy costs.
Practical Steps to Improve Cooling Efficiency
Here's how to leverage the principle of cold air sinking to improve your home's cooling efficiency:
- Ensure Proper Air Circulation: Make sure furniture isn't blocking vents and that air can circulate freely throughout the room.
- Use Ceiling Fans (Correctly Again): During the summer, run your ceiling fan in a counter-clockwise direction to pull warm air up and circulate the cool air downwards.
- Consider Using Window Fans: In the evening, when the outside air is cooler, use window fans to exhaust warm air from the top of the room and draw in cool air from outside.
- Shade Your Windows: Use blinds, curtains, or awnings to block direct sunlight from entering your home, reducing the amount of heat that needs to be removed by your air conditioner.
Troubleshooting Common HVAC Issues Related to Air Convection
Here's a breakdown of common HVAC issues and how they relate to the movement of warm and cold air:
1. Uneven Room Temperatures
- Possible Causes: Inadequate insulation, air leaks, blocked vents, improper ductwork design.
- DIY Solutions: Seal air leaks, ensure vents are unobstructed, and consider using fans to improve air circulation.
- When to Call a Professional: If the problem persists after addressing the above, you may have issues with your ductwork or HVAC system itself, requiring professional diagnosis and repair.
2. Drafts
- Possible Causes: Air leaks around windows, doors, and other openings.
- DIY Solutions: Seal air leaks with caulk and weather stripping. Pay attention to areas near the ceiling and floor.
- When to Call a Professional: If you can't locate the source of the drafts or if they are particularly strong, a professional can use specialized equipment like a blower door to pinpoint the leaks.
3. High Energy Bills
- Possible Causes: Inefficient HVAC system, poor insulation, air leaks, improper thermostat settings.
- DIY Solutions: Ensure your HVAC system is properly maintained (e.g., clean or replace air filters), seal air leaks, and adjust your thermostat settings to conserve energy.
- When to Call a Professional: If your energy bills remain high despite your efforts, a professional can assess the efficiency of your HVAC system and recommend upgrades or repairs.
Tools and Materials You Might Need
For basic DIY repairs related to air convection, you might need the following:
- Caulk gun and caulk
- Weather stripping
- Insulation (e.g., fiberglass, cellulose, spray foam)
- Utility knife
- Ladder
- Screwdrivers
- Measuring tape
- Duct tape (for temporary repairs only – use mastic sealant for permanent solutions)
When to Call a Professional
While many of the solutions mentioned above are DIY-friendly, there are times when it's best to call a qualified HVAC technician. Here are some scenarios:
- Complex Ductwork Issues: Diagnosing and repairing ductwork problems often requires specialized tools and expertise.
- HVAC System Malfunctions: If your heating or cooling system is not working properly, it's best to leave the repairs to a professional.
- Refrigerant Leaks: Refrigerant is a hazardous substance, and its handling requires specialized training and equipment.
- Electrical Problems: Working with electrical components can be dangerous. If you suspect an electrical issue, call a qualified electrician.
- You're Not Comfortable: If you're unsure about any aspect of the repair, don't hesitate to call a professional. It's always better to be safe than sorry.
Estimating Repair Costs
Repair costs can vary widely depending on the nature of the problem, your location, and the contractor you choose. Here are some general estimates:
- Sealing Air Leaks: $100 - $500 (depending on the size and complexity of the job)
- Adding Insulation: $500 - $2,000 (depending on the area and type of insulation)
- Ductwork Repair: $200 - $1,000 (depending on the extent of the damage)
- HVAC System Repair: $150 - $500+ (depending on the problem and parts needed)
- HVAC System Replacement: $4,000 - $10,000+ (depending on the type and size of the system)
Always get multiple quotes from different contractors before making a decision. Be sure to ask for detailed estimates that outline the scope of work, materials, and labor costs.
Safety First!
Before undertaking any DIY repairs, always prioritize safety. Here are some important tips:
- Turn Off the Power: Before working on any electrical components, turn off the power at the breaker.
- Wear Safety Gear: Wear gloves, safety glasses, and a dust mask when working with insulation or other materials.
- Use a Ladder Safely: Always use a sturdy ladder and follow proper safety procedures.
- Read Instructions Carefully: Before using any tools or materials, read the manufacturer's instructions carefully.
- When in Doubt, Call a Professional: If you're unsure about any aspect of the repair, don't hesitate to call a qualified technician.
By understanding the principle of warm air rising and cold air sinking, you can take steps to improve your home's comfort, reduce your energy bills, and create a more efficient and enjoyable living space. Remember to prioritize safety and don't hesitate to call a professional when needed. Good luck!