Water Coming Out Of Air Conditioner Unit
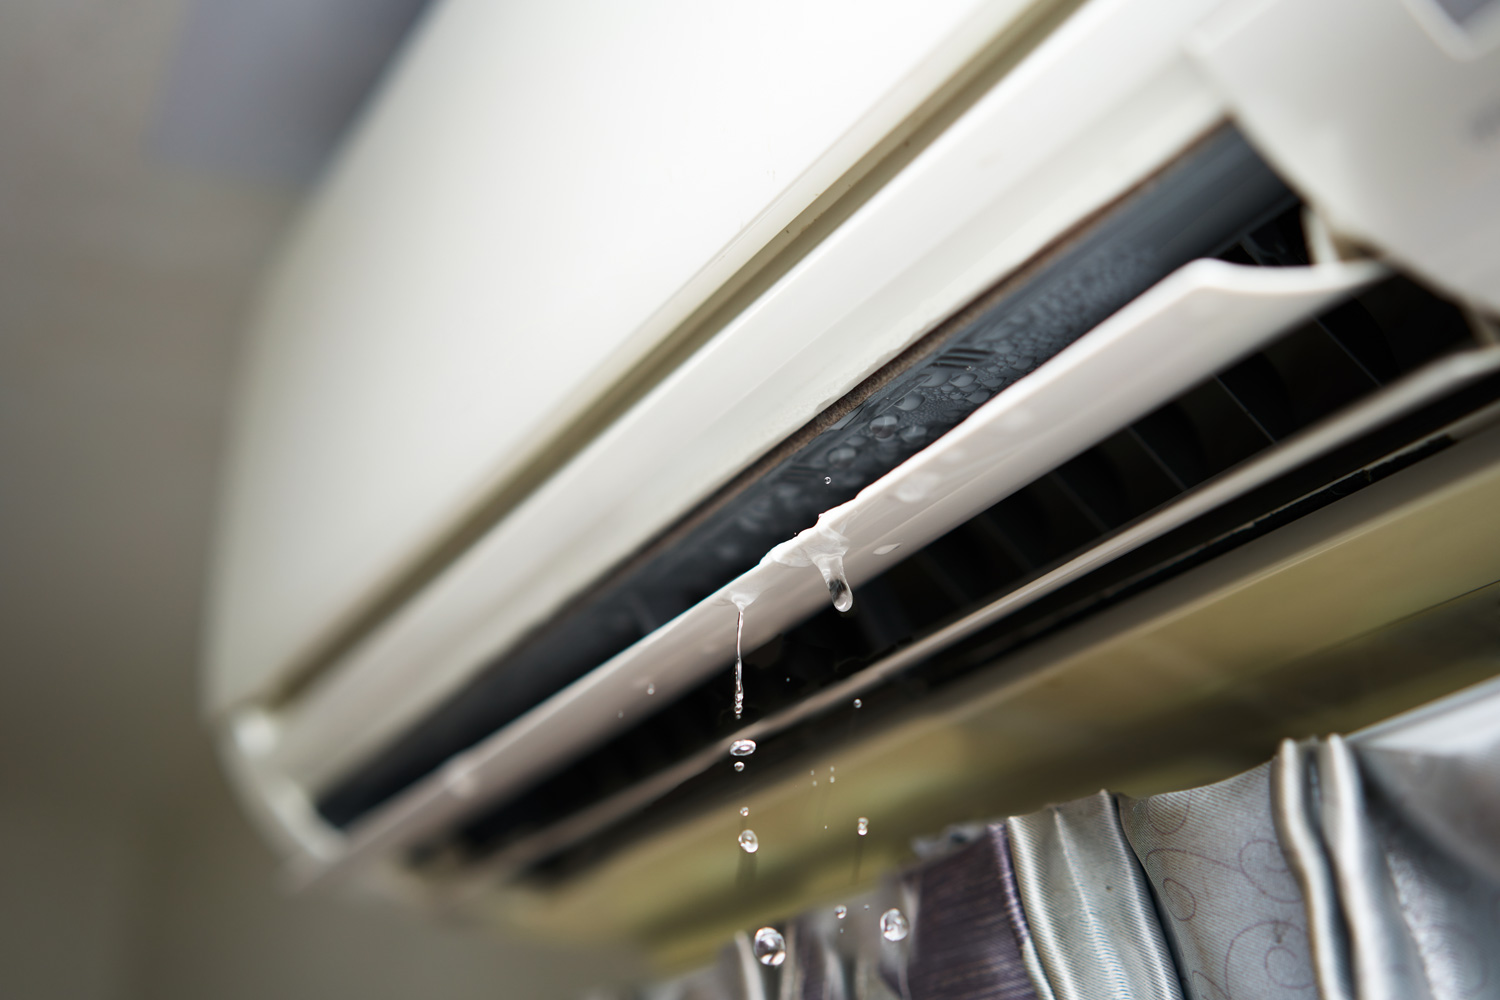
Water dripping or pouring from your air conditioner isn't just annoying; it's a sign that something isn't quite right. While a little condensation is normal, excessive water discharge can indicate a problem ranging from a simple clog to a more serious mechanical issue. Before you panic and call a professional, let's explore some DIY troubleshooting steps you can take to identify and potentially resolve the issue.
Understanding the Problem: Why is My AC Leaking Water?
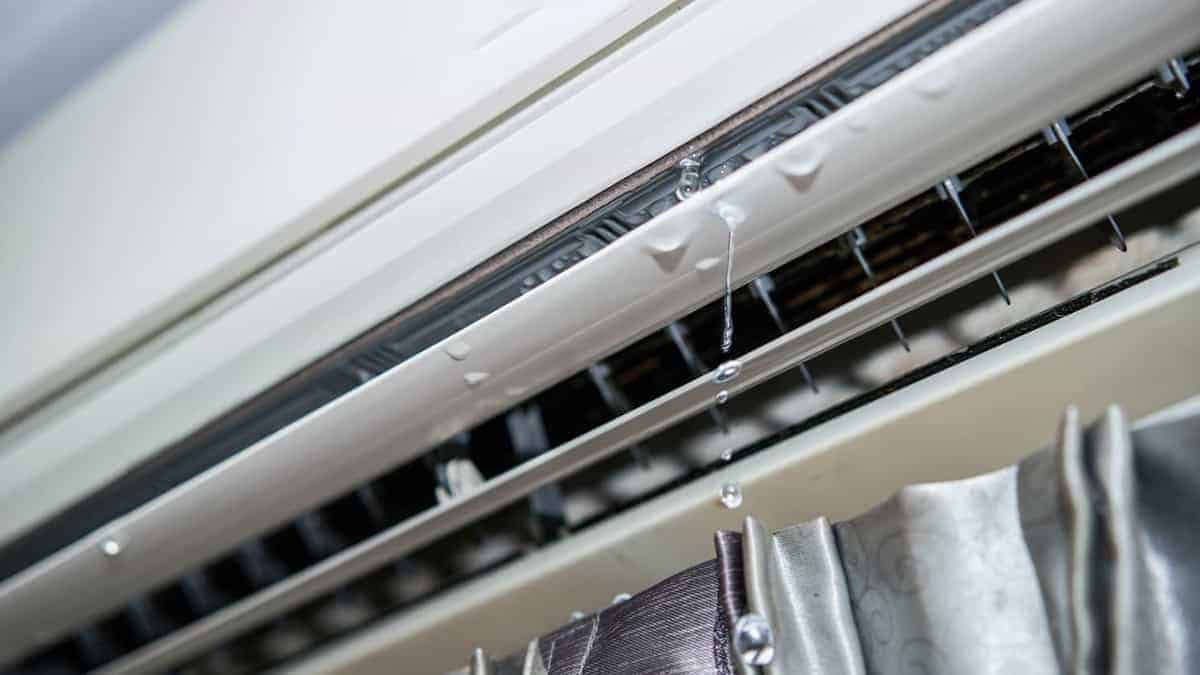
Air conditioners cool your home by removing heat and humidity from the air. This process naturally creates condensation, which is usually collected and drained away. However, if the drainage system is compromised, the water can overflow and leak into your home. Common causes include:
- Clogged Drain Line: This is the most frequent culprit. Algae, mold, dust, and debris can accumulate in the drain line, causing a blockage.
- Dirty Air Filter: A clogged filter restricts airflow, causing the evaporator coil to freeze. When the ice melts, it overwhelms the drain pan.
- Low Refrigerant: Insufficient refrigerant can also cause the evaporator coil to freeze, leading to excessive water when it thaws. Low refrigerant requires professional attention.
- Damaged Drain Pan: The drain pan can rust or crack over time, leading to leaks.
- Improper Installation: If the AC unit isn't level, water may not drain properly.
- High Humidity: On extremely humid days, your AC might produce more condensation than it can handle, although this is less common.
Troubleshooting Step-by-Step: A DIY Guide
Before you begin, always disconnect the power to your air conditioner at the breaker box to prevent electrical shock. Your safety is paramount.
Step 1: Check the Air Filter
A dirty air filter is a prime suspect in many AC problems. A clogged filter restricts airflow, causing the evaporator coil to freeze up. When the ice melts, it creates excessive water that can overwhelm the drainage system.
- Locate the Air Filter: This is usually located behind a panel on the indoor unit. Consult your owner's manual if you're unsure.
- Inspect the Filter: Remove the filter and examine it. If it's visibly dirty and clogged with dust, it needs to be cleaned or replaced.
- Clean or Replace: If it's a washable filter, clean it thoroughly with water and let it dry completely before reinstalling. If it's a disposable filter, replace it with a new one of the correct size and type.
- Run the AC and Monitor: After replacing or cleaning the filter, turn the AC back on and monitor it for a while to see if the leaking stops. It may take some time for the ice to melt completely.
Step 2: Inspect the Drain Line
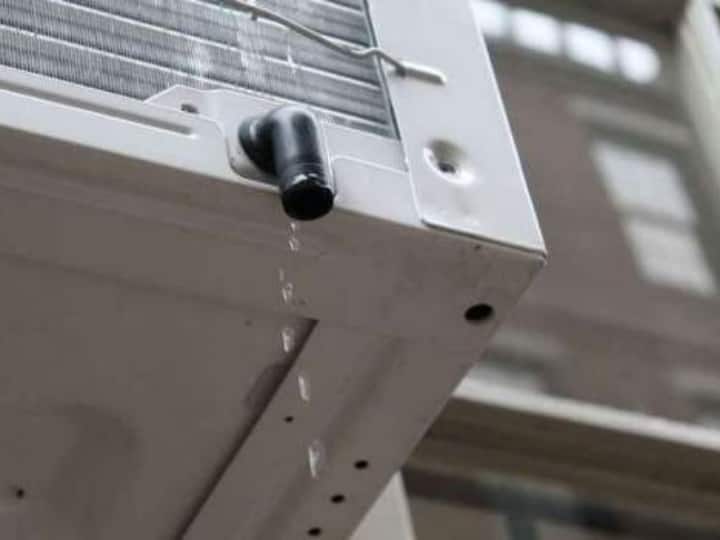
The drain line is responsible for carrying away the condensation collected by the AC unit. A clogged drain line is a very common cause of water leakage. Here's how to check and clear it:
- Locate the Drain Line: The drain line is usually a PVC pipe extending from the indoor unit, often near the floor or outside the house. It might be capped or open.
- Check for Obstructions: Visually inspect the drain line for any obvious obstructions, such as kinks, clogs of debris, or signs of mold growth.
- Clear the Drain Line:
- Wet/Dry Vacuum: This is a common and effective method. Attach a wet/dry vacuum cleaner to the end of the drain line (if possible, create a tight seal). Turn on the vacuum and let it run for several minutes to suck out any clogs.
- Pouring Hot Water: Carefully pour a cup or two of hot (but not boiling) water down the drain line to help dissolve any debris. Repeat if necessary.
- Using a Wire or Stiff Brush: Carefully insert a flexible wire (like a coat hanger) or a stiff brush into the drain line to break up any clogs. Be gentle to avoid damaging the pipe.
- Vinegar Solution: Pour a cup of white vinegar down the drain line. Vinegar is a natural disinfectant and can help dissolve mold and algae. Let it sit for about 30 minutes before flushing with water.
- Flush with Water: After attempting to clear the clog, flush the drain line with water to ensure it's flowing freely. You can use a garden hose with a gentle stream of water.
- Monitor for Leaks: Turn the AC back on and monitor it closely for any further leaks.
Step 3: Check the Drain Pan
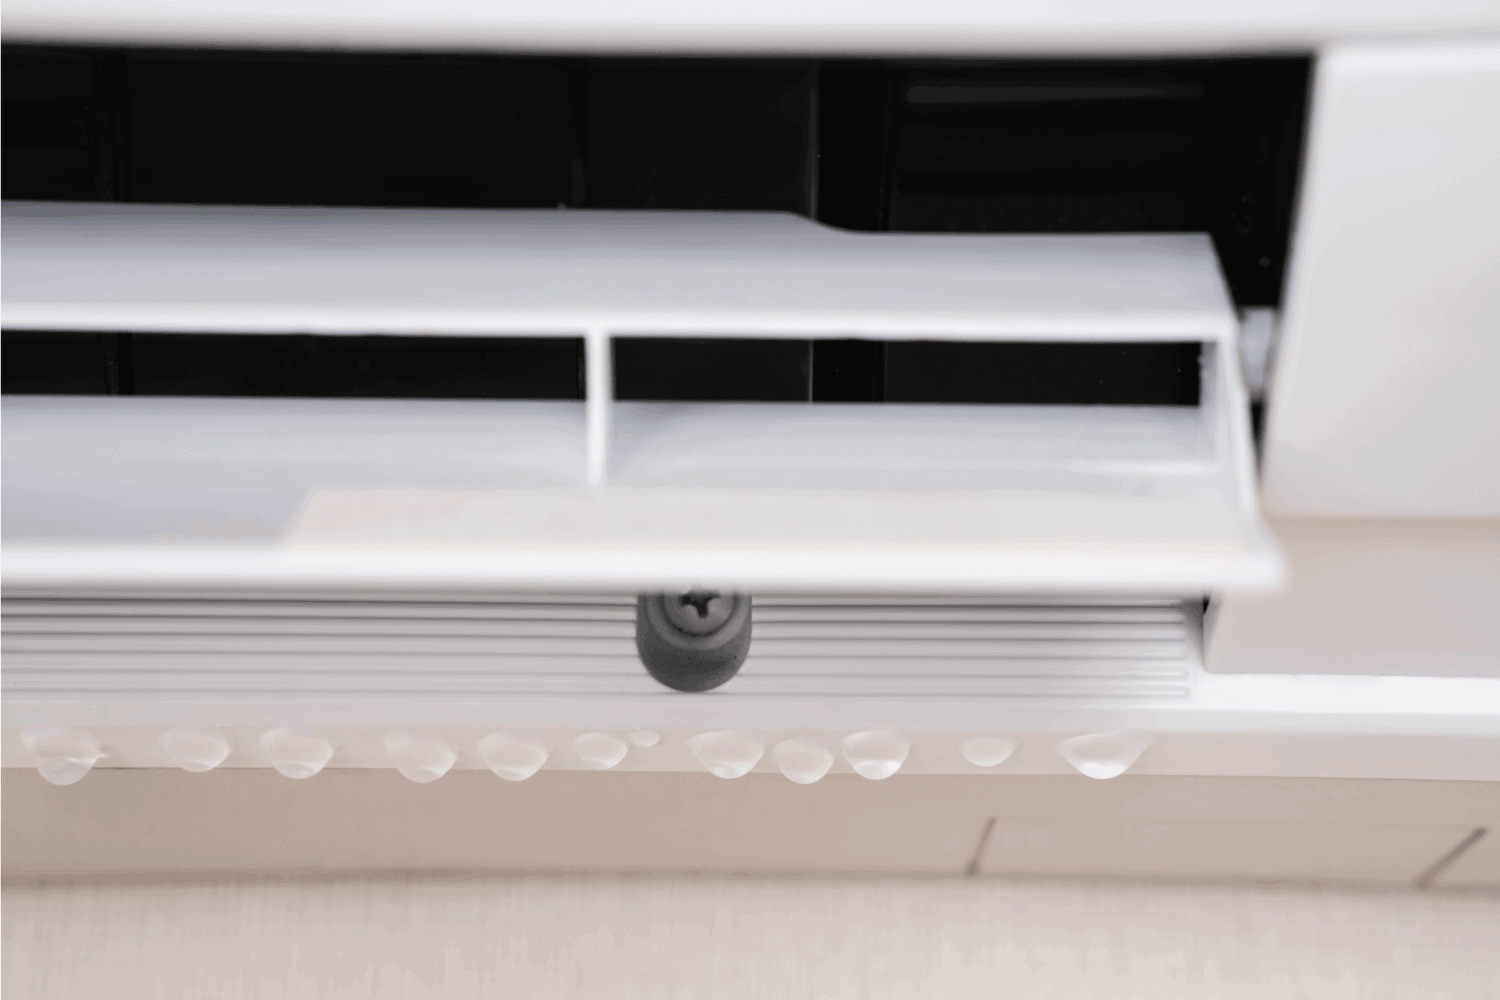
The drain pan is located beneath the evaporator coil and collects the condensation. Over time, it can become corroded, cracked, or damaged, leading to leaks.
- Locate the Drain Pan: The drain pan is usually located beneath the indoor unit. You may need to remove a panel to access it.
- Inspect for Damage: Carefully inspect the drain pan for any cracks, rust, or signs of damage. Pay close attention to the corners and seams.
- Clean the Drain Pan: If the pan is dirty or contains standing water, clean it out with a mild detergent and water. Remove any debris or algae.
- Repair or Replace: If the drain pan is cracked or damaged, it will need to be repaired or replaced. Small cracks can sometimes be patched with epoxy or sealant, but a severely damaged pan should be replaced by a professional. Replacing a drain pan often involves working with refrigerant lines and should be left to a qualified technician.
Step 4: Check for Frozen Evaporator Coils
As mentioned earlier, frozen evaporator coils can lead to excessive water leakage when the ice melts. This can be caused by a dirty air filter, low refrigerant, or a malfunctioning blower motor.
- Locate the Evaporator Coils: The evaporator coils are located inside the indoor unit. You may need to remove a panel to access them.
- Inspect for Ice: Look for a buildup of ice on the coils. If the coils are completely covered in ice, it's a sign of a problem.
- Thaw the Coils: If the coils are frozen, turn off the AC and allow the ice to melt completely. You can speed up the process by using a fan to blow air over the coils. Do not use a hairdryer or other heat source.
- Address the Underlying Cause: Once the coils are thawed, try to identify the cause of the freezing. Replace the air filter, check for obstructions in the vents, and ensure the blower motor is working properly. If you suspect low refrigerant, contact a professional immediately.
Step 5: Check the Condensate Pump (If Applicable)
Some air conditioning systems, especially those located in basements or other areas where gravity drainage isn't possible, use a condensate pump to remove the water. If you have a condensate pump, it could be the source of the problem.
- Locate the Condensate Pump: The condensate pump is usually a small box located near the indoor unit. It has a float switch and a discharge tube.
- Check for Power: Ensure the condensate pump is plugged in and receiving power.
- Check the Float Switch: The float switch is responsible for turning the pump on and off. Make sure it moves freely and isn't stuck in the "off" position.
- Check the Discharge Tube: Inspect the discharge tube for any clogs or kinks. Clear any obstructions.
- Listen for the Pump: When the water level in the pump reservoir rises, the pump should turn on and pump the water out. If you don't hear the pump running, it may be faulty and need to be replaced. Replacing a condensate pump is a relatively straightforward task, but consult the manufacturer's instructions for specific guidance.
When to Call a Professional
While many AC water leak issues can be resolved with simple DIY troubleshooting, certain situations require the expertise of a qualified HVAC technician. Never attempt repairs involving refrigerant, gas lines, or complex electrical components. These repairs require specialized tools and knowledge and can be dangerous if not performed correctly.
Call a professional if:
- You Suspect Low Refrigerant: Low refrigerant is a sign of a leak in the system, which needs to be repaired by a professional.
- You're Uncomfortable Working with Electricity: Any repairs involving electrical components should be left to a qualified electrician.
- You Suspect a Gas Leak: If you smell gas near your AC unit, evacuate the area immediately and call your gas company or a qualified HVAC technician.
- The Problem Persists After Troubleshooting: If you've tried the DIY troubleshooting steps and the water leak continues, it's likely a more complex issue that requires professional attention.
- You Need to Replace the Evaporator Coil or Drain Pan: These repairs often involve working with refrigerant lines and should be left to a qualified technician.
Preventive Maintenance: Keeping Your AC Running Smoothly
Preventive maintenance is the key to avoiding AC problems and extending the life of your unit. Here are some simple steps you can take to keep your AC running smoothly:
- Change or Clean the Air Filter Regularly: This is the most important thing you can do to maintain your AC unit. Check the filter monthly and replace or clean it as needed.
- Schedule Regular Professional Maintenance: Have your AC unit professionally inspected and serviced at least once a year. A qualified technician can identify and address potential problems before they become major issues.
- Keep the Outdoor Unit Clean: Remove any debris, such as leaves, grass clippings, or branches, from around the outdoor unit. This will ensure proper airflow and prevent the unit from overheating.
- Trim Vegetation: Trim any trees or shrubs that are growing too close to the outdoor unit.
- Keep Vents Clear: Ensure that all vents are open and unobstructed to allow for proper airflow.
By following these troubleshooting steps and preventive maintenance tips, you can often resolve AC water leak issues yourself and keep your air conditioner running efficiently for years to come. Remember to prioritize safety and call a professional when necessary. With a little knowledge and effort, you can keep your home cool and comfortable all summer long.