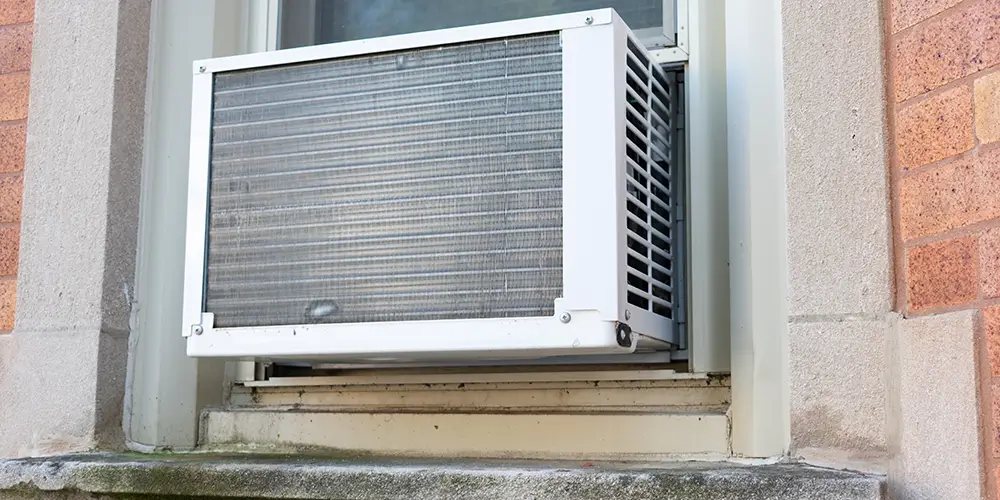
Water Coming Out Of Window Air Conditioner
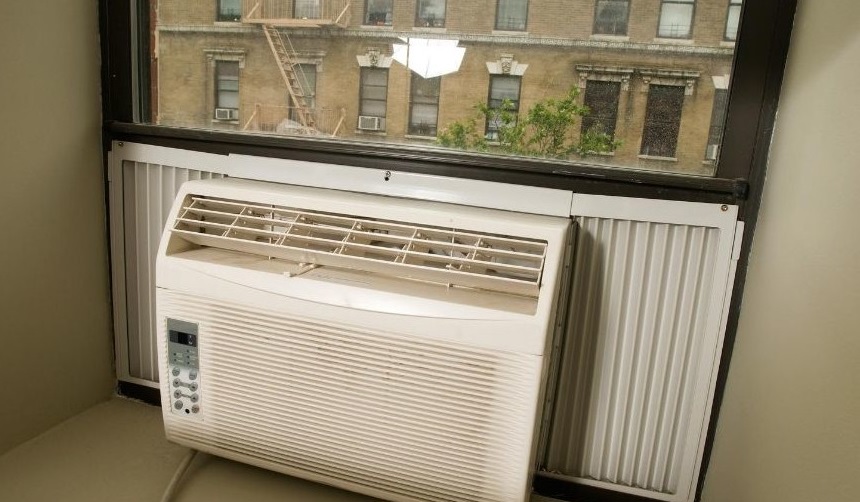
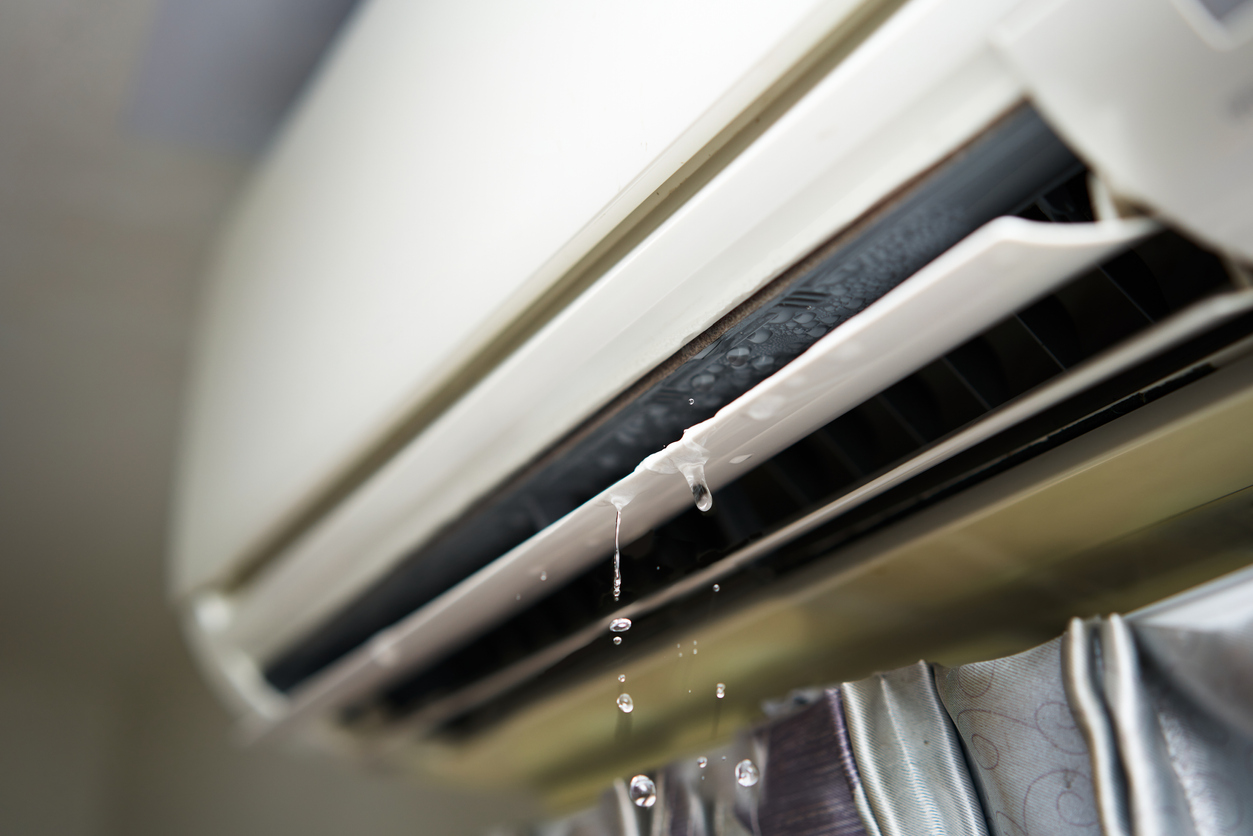
One of the most common frustrations for homeowners, especially during the sweltering summer months, is discovering water dripping from their window air conditioner – and not just from the back where it's supposed to. While some condensation is normal, a steady stream of water inside your home is a clear indication that something is amiss. This article will guide you through a systematic troubleshooting process, empowering you to diagnose the issue and, in many cases, fix it yourself. We'll also clearly outline when it's time to call in the professionals.
Diagnosing the Drip: A Step-by-Step Approach
Before you panic, remember that water where it doesn't belong is a symptom. Our goal is to identify the root cause. Follow these steps in order:
Step 1: Initial Inspection (No Tools Required)
This first step involves a visual inspection and a little listening. No tools are needed here, so it's perfectly safe for anyone to perform.
- Observe the Water's Source: Is the water dripping from the front of the unit, the sides, or the back? Specifically pinpoint where the dripping is most pronounced. This helps narrow down the possibilities.
- Check the Unit's Angle: Window AC units are designed with a slight tilt towards the outside. This allows condensation to naturally drain away. Use a level (if you have one) or simply eyeball it. If the unit is level or, worse, tilted inward, that's a likely culprit.
- Listen Carefully: Does the unit sound different than usual? Are there any unusual gurgling or rattling noises? Strange sounds can indicate internal blockages or problems with the fan.
- Air Filter Check: Even without taking it out, visually inspect the air filter through the grill. Is it visibly clogged with dust and debris? A dirty filter restricts airflow, which can lead to ice buildup and, eventually, water leakage as the ice melts.
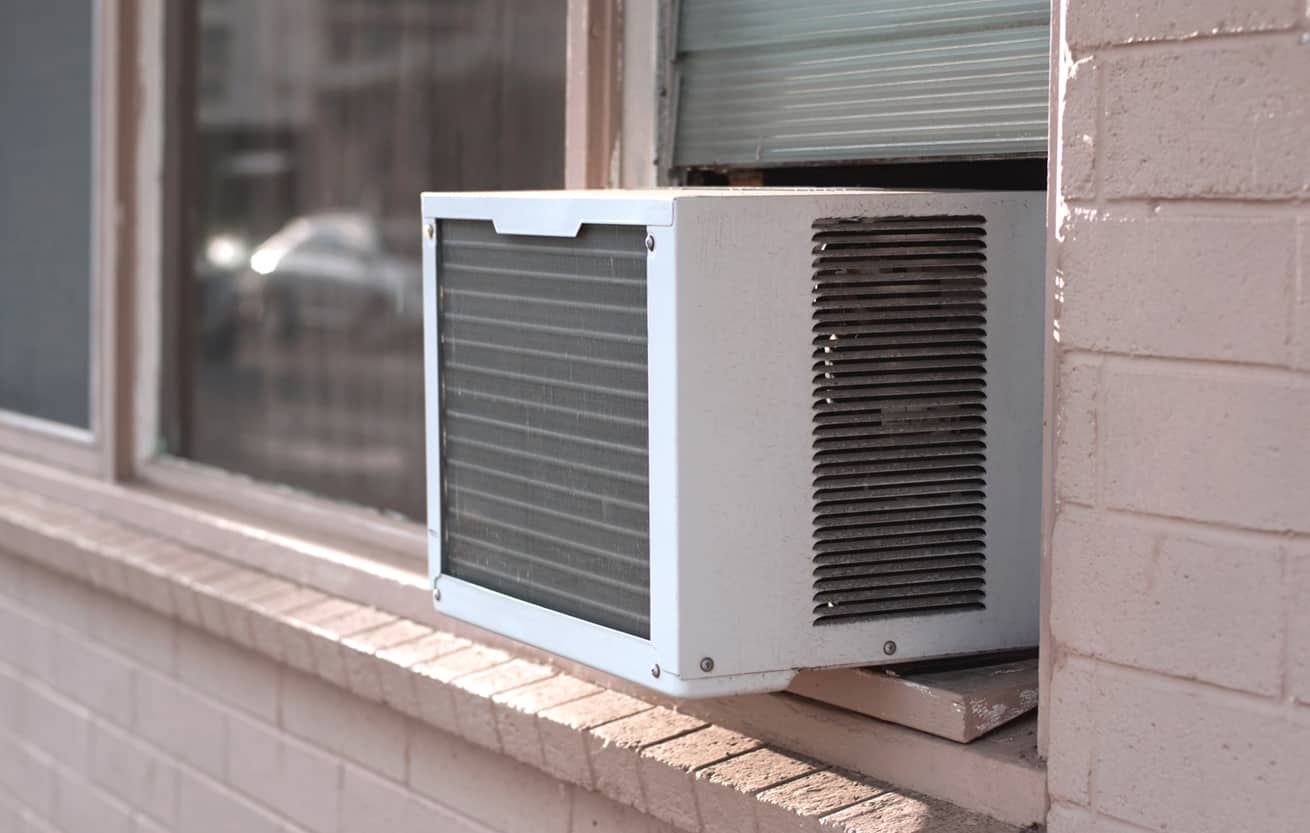
- External Debris: Look at the outside portion of the unit. Are leaves, twigs, or other debris blocking the drain openings or airflow?
Step 2: Air Filter Removal and Inspection (No Tools Required)
Now, let's get a closer look at the air filter. This is often the easiest fix, so it's worth prioritizing.
- Locate and Remove the Air Filter: Consult your air conditioner's manual if you're unsure how to remove the filter. It's usually located behind the front grill.
- Inspect the Filter: Hold the filter up to the light. If you can barely see through it, it's definitely dirty and needs cleaning or replacement.
- Clean or Replace the Filter:
- Cleaning: If the filter is washable (check the manual), rinse it thoroughly with warm water and a mild detergent. Let it dry completely before reinstalling.
- Replacing: If the filter is disposable, purchase a replacement of the correct size and type. The size is usually printed on the filter itself.
- Reinstall the Filter: Make sure the filter is properly seated in its designated slot.
After cleaning or replacing the filter, run the air conditioner for a few hours and see if the dripping stops. If it does, congratulations! You've solved the problem.
Step 3: Checking and Clearing the Drain (Simple Tools Required)
If the dripping persists after cleaning the filter, the next likely culprit is a clogged drain. You'll need a few simple tools for this:
- Tools Needed:
- Screwdriver: To remove the outer casing (if necessary) to access the drain.
- Small Wire or Pipe Cleaner: A straightened coat hanger, a thin, flexible wire, or a pipe cleaner works well.
- Small Container: To catch any water that might drain out.
- Flashlight: To help you see inside the drain opening.
- Safety First: Unplug the air conditioner before attempting any internal cleaning. This is crucial to prevent electric shock.
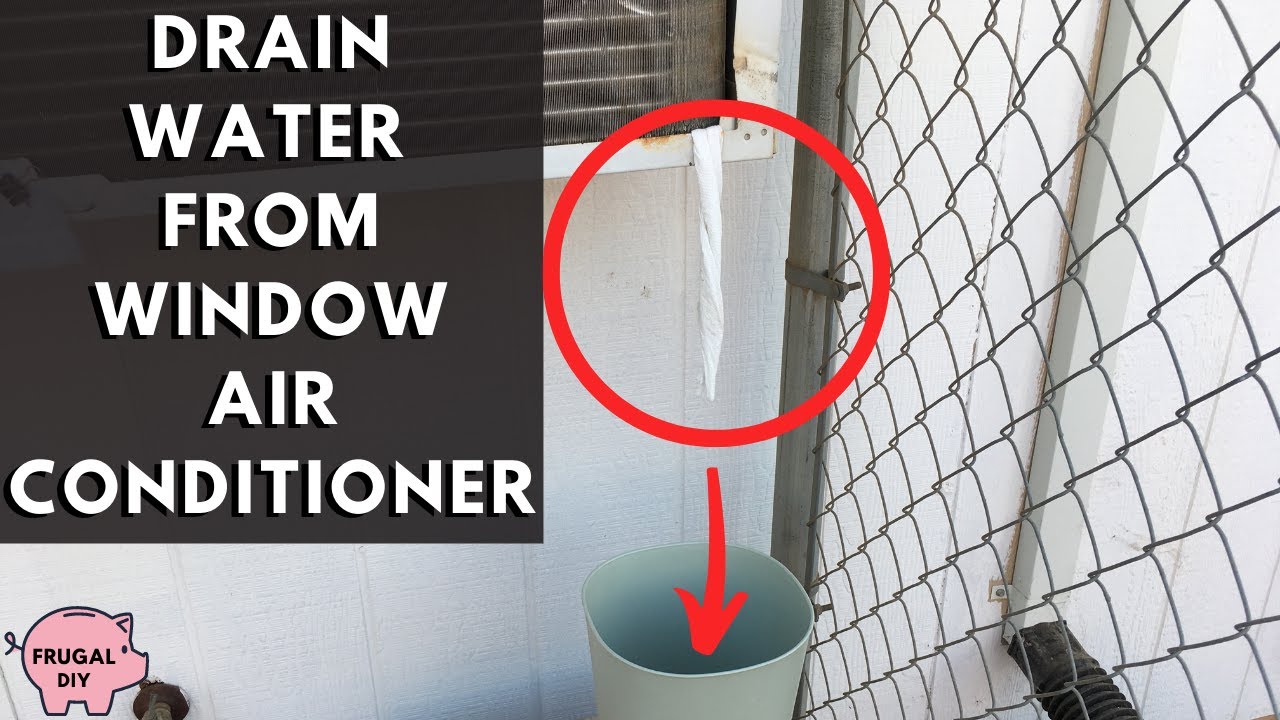
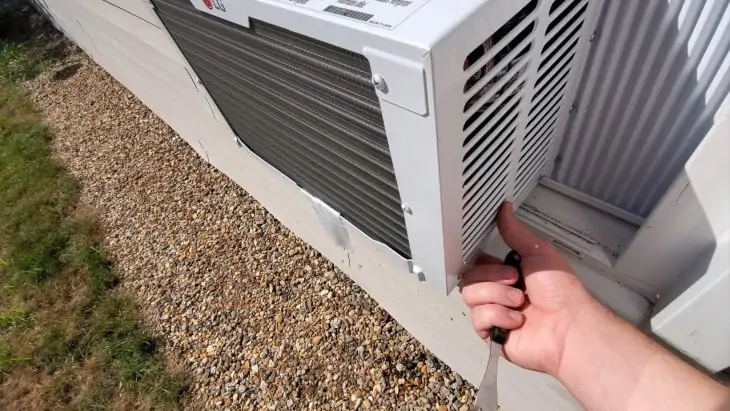
- Locate the Drain Hole: The drain hole is typically located on the outside of the unit, at the bottom. It may be a small opening or a rubber nipple. Some units have an internal drain pan with a drain hole leading to the outside. You might need to remove the outer casing (using your screwdriver) to access this. Consult your manual if you're unsure.
- Clear the Drain: Gently insert the wire or pipe cleaner into the drain hole and carefully probe around to dislodge any debris. Be gentle! You don't want to damage the drain pan or hole.
- Test the Drain: Pour a small amount of water into the drain pan (if accessible) or near the drain hole. Watch to see if the water drains freely. If it doesn't, repeat the clearing process.
- Reassemble the Unit: If you removed the outer casing, carefully reassemble it, ensuring all screws are tightened.
- Plug the Unit Back In: Once everything is reassembled, plug the air conditioner back in and run it to see if the dripping has stopped.
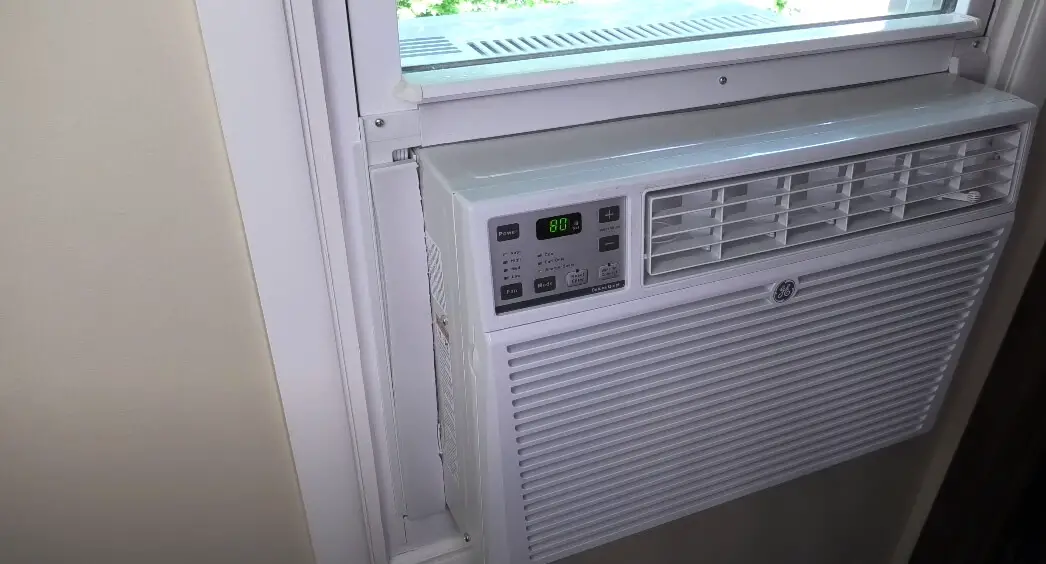
Step 4: Checking the Unit's Angle (Simple Tools Required)
Even if the unit *looks* tilted outwards, it's worth verifying. This step requires a level.
- Tools Needed:
- Level: A standard bubble level is sufficient.
- Placement: Place the level on the top surface of the air conditioner, running from front to back.
- Observe the Bubble: The bubble should be slightly off-center, indicating a downward slope towards the outside.
- Adjust as Needed:
- Shims: Use wooden shims or sturdy cardboard pieces to adjust the angle of the unit. Place the shims underneath the air conditioner's frame on the inside to raise the front slightly.
- Re-Check: After adding shims, re-check the level to ensure the angle is correct.
Important: Make sure the unit is still securely mounted in the window after adjusting the angle. Safety is paramount.
Step 5: Investigating Ice Buildup (Advanced - Proceed with Caution)
If none of the above steps have worked, the problem might be ice buildup on the evaporator coils. This is a more complex issue, and while you can try some simple checks, be aware that further investigation may require professional help.
- Understanding Ice Buildup: Ice forms when the evaporator coils get too cold. This can be caused by restricted airflow, low refrigerant, or a malfunctioning thermostat.
- Check for Obvious Ice: With the unit unplugged and the front grill removed, carefully inspect the evaporator coils (the metal fins inside the unit). Look for visible ice buildup. A flashlight might be helpful.
- Run the Fan Only: If you see ice, set the air conditioner to "Fan Only" mode (if available) for several hours. This will help melt the ice without further cooling. Do not run the unit on the cooling setting while ice is present, as this can damage the compressor.
- Monitor for Recurrence: After the ice has melted, run the air conditioner on the cooling setting and monitor it closely. If the ice returns quickly, it indicates a more serious problem.
When to Call a Professional HVAC Technician
While many water leakage issues can be resolved with DIY troubleshooting, some problems require the expertise and specialized equipment of a qualified HVAC technician. Here's when to call for help:
- Refrigerant Leaks: If you suspect a refrigerant leak (e.g., the unit is not cooling effectively, you hear a hissing sound, or you smell a sweet, chemical odor), do not attempt to fix it yourself. Refrigerant is a hazardous substance that requires special handling.
- Electrical Issues: If you notice any electrical problems, such as sparks, burning smells, or the unit tripping the circuit breaker, immediately unplug the air conditioner and call an electrician or HVAC technician. Working with electricity is dangerous and should only be done by qualified professionals.
- Compressor Problems: The compressor is the heart of the air conditioner. If you suspect a compressor problem (e.g., the unit is making loud, unusual noises, or it's not cooling at all), it's best to call a professional. Compressor repairs can be expensive, and you want to ensure they're done correctly.
- Persistent Ice Buildup: If ice buildup recurs even after cleaning the filter and running the fan only, it likely indicates a more serious underlying problem, such as low refrigerant or a faulty thermostat.
- You're Uncomfortable: If at any point during the troubleshooting process you feel uncomfortable or unsure about what you're doing, it's always best to err on the side of caution and call a professional.
- Drain Line Issues: If you suspect the drain line is broken, damaged, or inaccessible, calling a pro can prevent further damage or water issues.
Prevention is Key
Once you've resolved the water leakage issue, take steps to prevent it from happening again:
- Regular Filter Cleaning/Replacement: Clean or replace the air filter every 1-3 months, or more often if you have pets or live in a dusty environment.
- Annual Maintenance: Schedule an annual maintenance checkup with an HVAC technician. They can inspect the unit, clean the coils, and identify any potential problems before they become major issues.
- Keep the Area Clear: Keep the area around the outdoor portion of the unit clear of leaves, debris, and vegetation.
- Proper Installation: Ensure the unit is properly installed and angled correctly.
By following these troubleshooting steps and taking preventative measures, you can keep your window air conditioner running smoothly and efficiently, and prevent those unwanted water drips from ruining your day. Remember, your safety and comfort are the top priorities. When in doubt, call a professional!