Water Pressure Reducing Valve Slowly Creeping Pressure
Imagine this scenario: you wake up one morning and the shower blasts you with unexpectedly high water pressure. Or perhaps, your toilet fill valve is spraying water everywhere. You check your pressure gauge, and it's reading far higher than it should be, even though your water pressure reducing valve (PRV) is set to a lower pressure. And the worst part? It seems to happen gradually, the pressure creeping up over time.
This article will guide you through a step-by-step troubleshooting process to identify and potentially fix this common problem. Remember to always prioritize your safety and when in doubt, call a qualified plumber.
Understanding Your Water Pressure Reducing Valve (PRV)
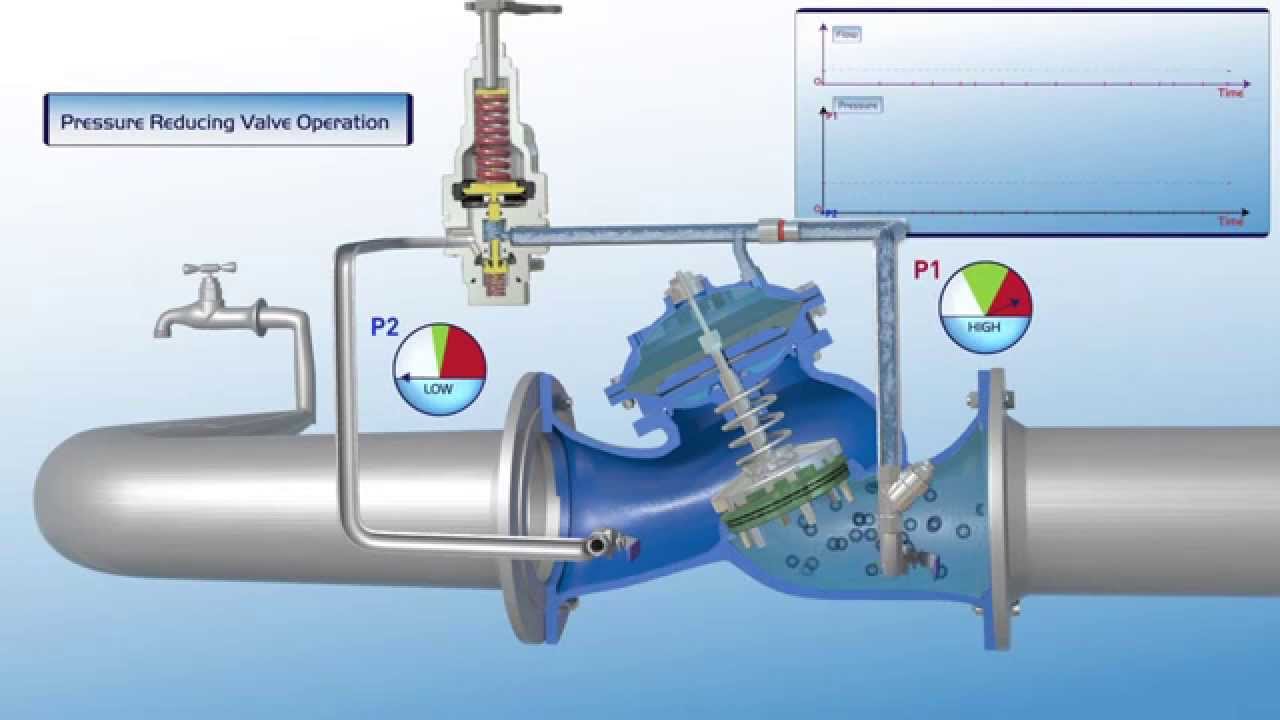
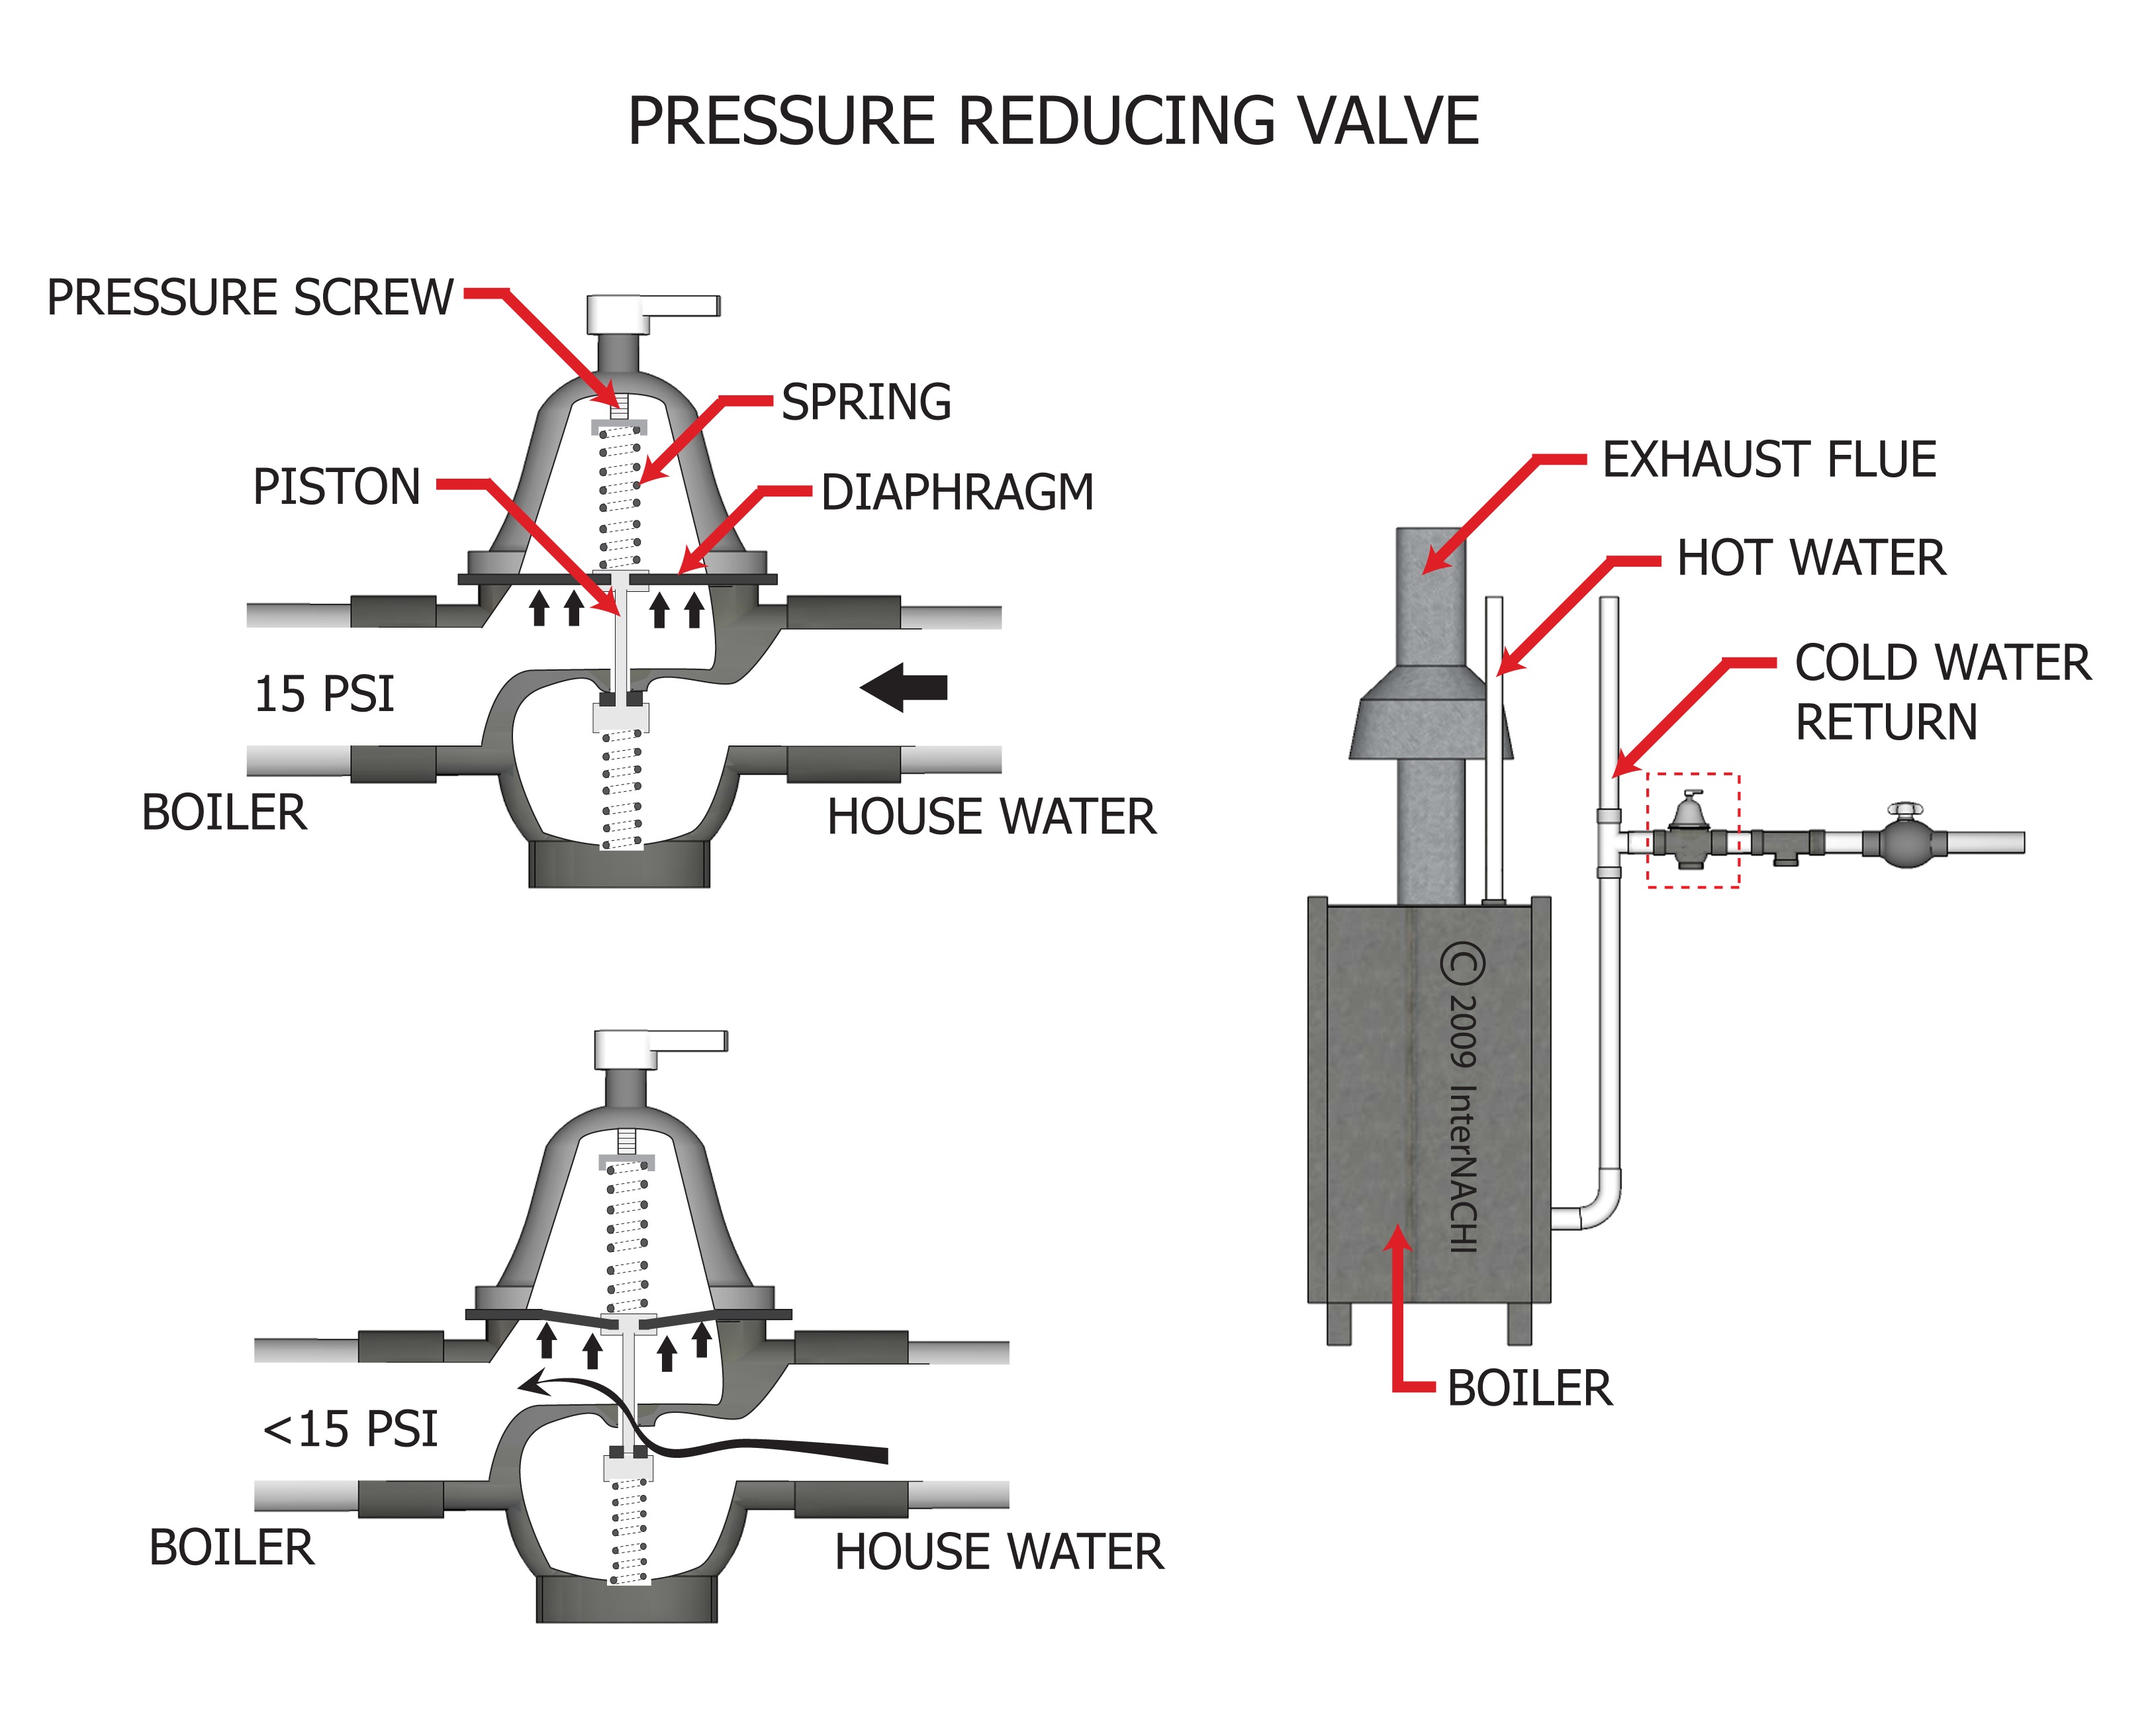
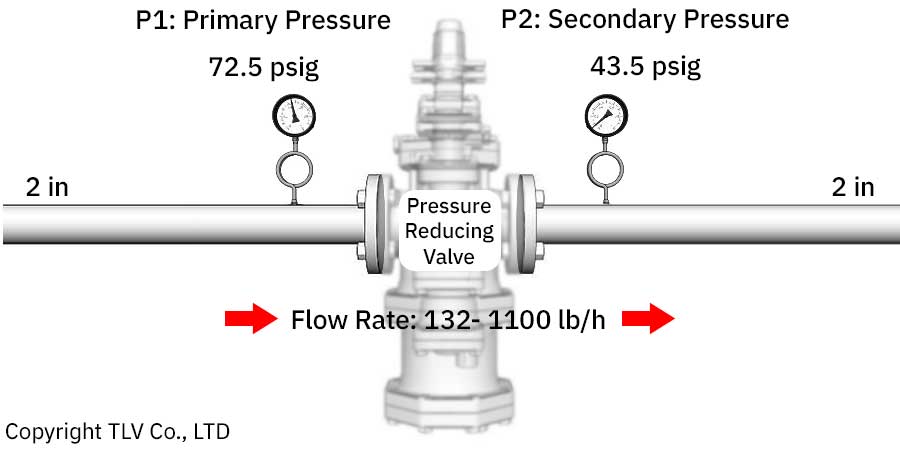
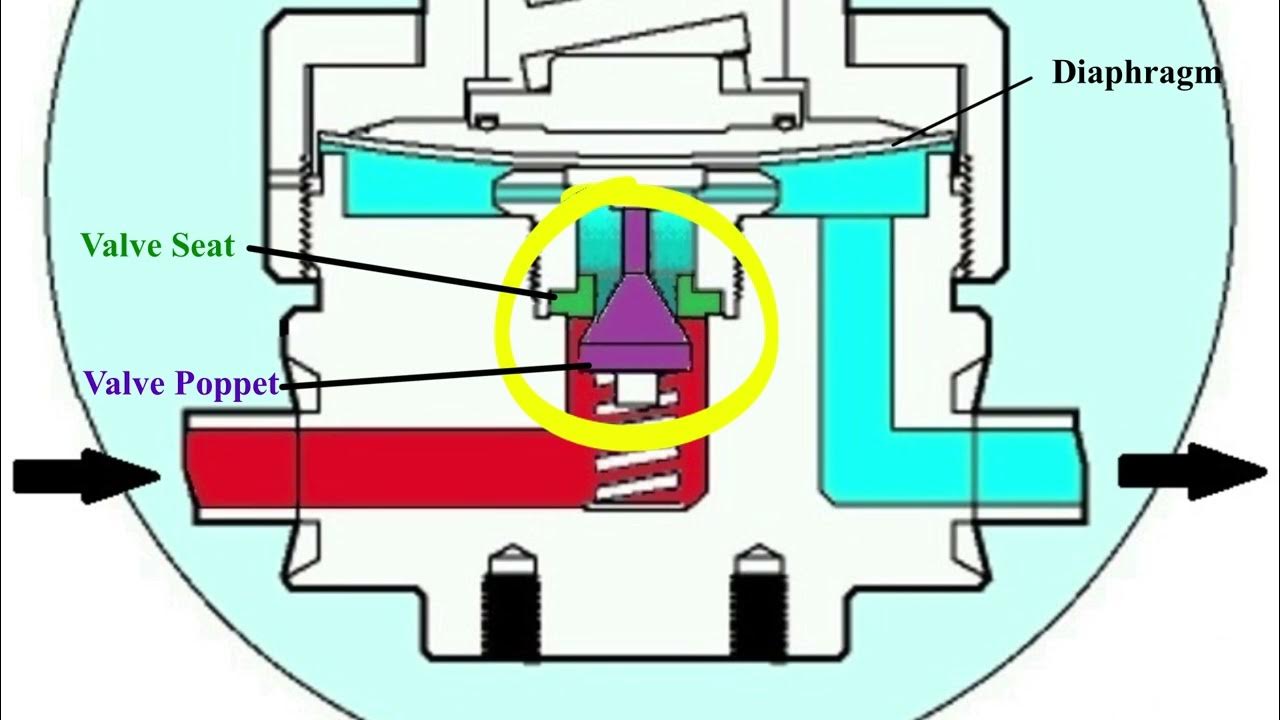
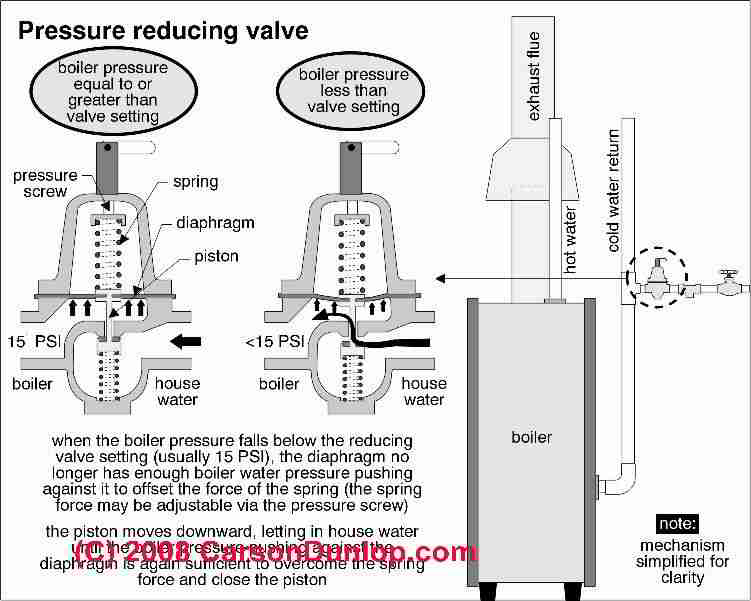
Before we dive into troubleshooting, let's quickly recap what a PRV does. A PRV is designed to lower the incoming water pressure from the main water supply to a safe and usable level for your home's plumbing system. Typical household water pressure should be between 40 and 60 PSI (pounds per square inch). A PRV malfunction can lead to excessively high pressure, which can damage pipes, appliances, and fixtures.
Step 1: Safety First!
Before you begin any troubleshooting, take these essential safety precautions:
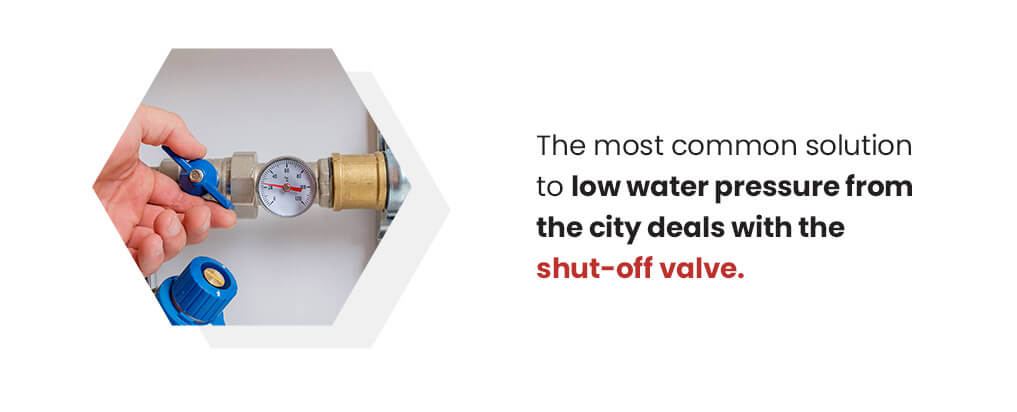
- Turn off the water supply: Locate the main water shut-off valve for your house. It's usually near the water meter or where the water line enters your home. Turn it off completely to prevent flooding.
- Release pressure: Open a faucet (preferably an outdoor one) to relieve any residual pressure in the system.
Step 2: Visual Inspection of the PRV
Now, let's closely examine the PRV itself. Look for these telltale signs:
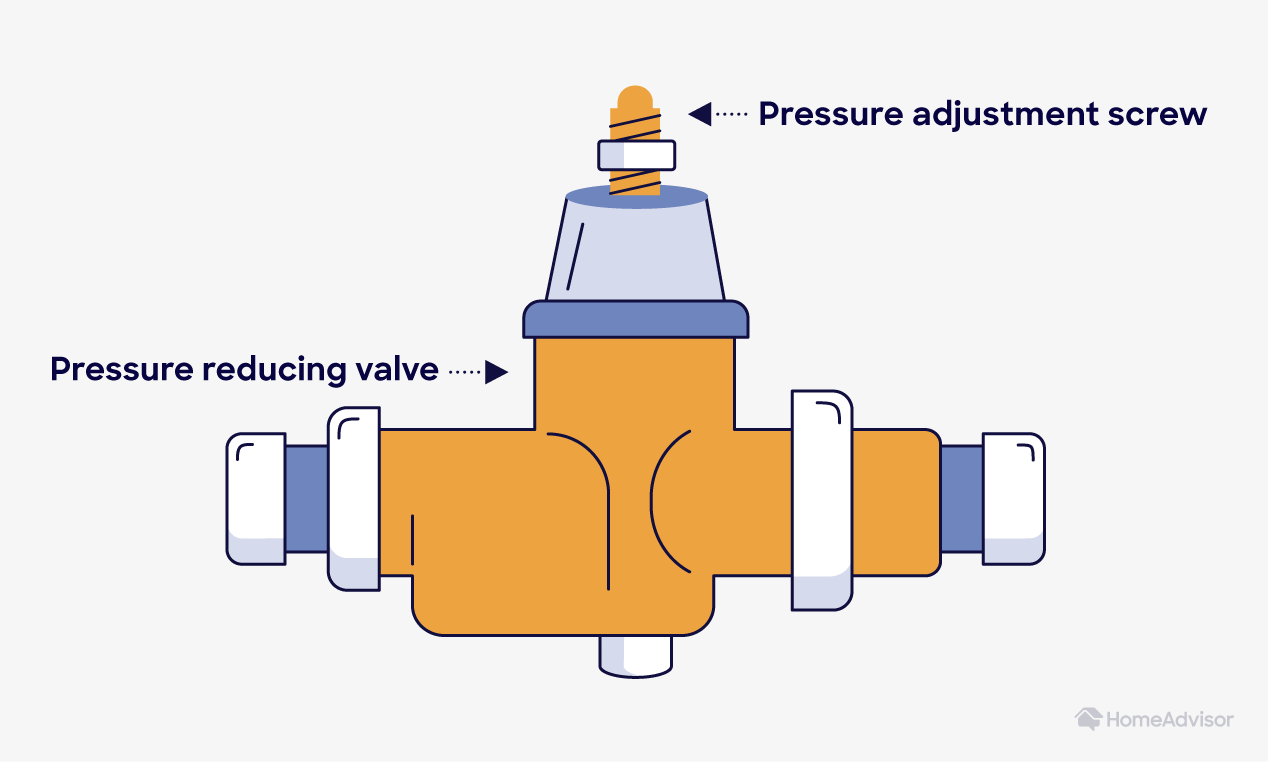
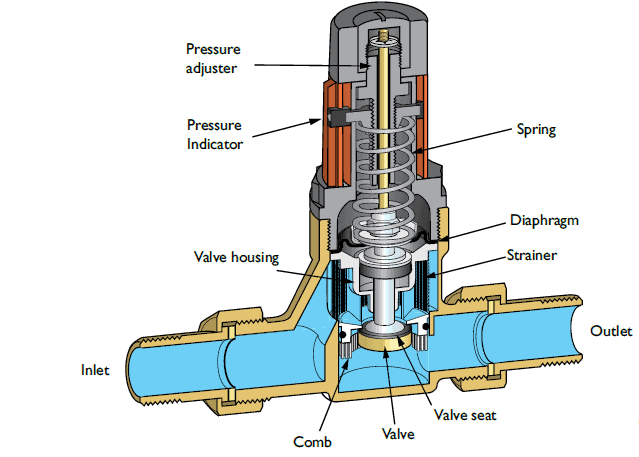
- Location: The PRV is typically located where the main water line enters your house, often near the water meter. It's a bell-shaped device with a pressure adjustment screw or bolt on top.
- Corrosion: Check for any signs of rust, corrosion, or mineral buildup on the valve body, connections, or adjustment screw. Corrosion can hinder the valve's ability to function correctly.
- Leaks: Look for any water leaks around the valve body, connections, or from the pressure relief valve (if your PRV has one). Leaks indicate a potential seal failure.
- Physical Damage: Inspect the valve for any visible cracks, dents, or other physical damage.
If you find significant corrosion, leaks, or physical damage, the PRV likely needs to be replaced by a qualified plumber.
Step 3: Check the Pressure Gauge
A pressure gauge is essential for diagnosing PRV problems. If you don't have one, you can purchase an inexpensive gauge that screws onto an outdoor faucet.
- Attach the gauge: Screw the gauge onto an outdoor faucet or laundry sink faucet.
- Turn on the water: Slowly turn on the main water supply valve.
- Observe the pressure: Watch the pressure gauge as the water fills the system. Note the initial reading and monitor it over several hours (or even overnight).
If the pressure starts within the acceptable range (40-60 PSI) but gradually creeps up over time, this strongly suggests a failing PRV.
Step 4: Adjusting the PRV (Handle with Care!)
Sometimes, a simple adjustment can resolve the creeping pressure issue. However, exercise caution when adjusting the PRV, as over-tightening can damage the valve or cause other problems.
- Locate the adjustment screw: This is usually a bolt or screw on top of the PRV.
- Loosen the locking nut (if present): Some PRVs have a locking nut that needs to be loosened before you can adjust the screw.
- Adjust the screw: To lower the pressure, turn the adjustment screw counterclockwise. Make small adjustments (e.g., 1/4 turn) at a time.
- Monitor the pressure: After each adjustment, wait a few minutes and check the pressure gauge. Continue adjusting until the pressure is within the desired range (40-60 PSI).
- Tighten the locking nut (if present): Once the pressure is set correctly, tighten the locking nut to secure the adjustment screw.
If adjusting the screw doesn't solve the creeping pressure issue, or if the screw is seized or broken, proceed to the next step.
Step 5: Flushing the PRV
Sometimes, debris or sediment can become lodged inside the PRV, preventing it from sealing properly and causing the pressure to creep up. Flushing the valve can help remove this debris.
- Turn off the water supply: As always, start by turning off the main water supply.
- Locate the downstream shut-off valve: This is a valve on the outlet side of the PRV (the side that leads into your house). If you don't have one, you'll need to flush the PRV by briefly turning the main water on and off.
- Open a faucet: Open a faucet in your house to provide an outlet for the flushing water.
- Slowly open the downstream shut-off valve: If you have a downstream shut-off valve, slowly open it to allow water to flow through the PRV and flush out any debris.
- Briefly open the main water supply valve: If you don't have a downstream shut-off valve, briefly open the main water supply valve to force water through the PRV and flush out any debris. Be prepared for a surge of water.
- Repeat as needed: Repeat the flushing process several times, alternating between opening and closing the valves, until the water runs clear.
- Monitor the pressure: After flushing, turn on the main water supply and monitor the pressure gauge to see if the creeping pressure issue has been resolved.
Step 6: Inspect the PRV Screen/Filter (If Accessible)
Some PRVs have a built-in screen or filter to catch debris. If your PRV has one and it's easily accessible, you can inspect and clean it.
- Consult the manufacturer's instructions: Refer to the PRV's manual for specific instructions on how to access and clean the screen/filter.
- Turn off the water supply: Always turn off the water supply before disassembling any plumbing components.
- Remove the screen/filter: Carefully remove the screen/filter according to the manufacturer's instructions.
- Clean the screen/filter: Rinse the screen/filter with clean water to remove any debris. You can use a soft brush to gently scrub away stubborn deposits.
- Reinstall the screen/filter: Reinstall the screen/filter according to the manufacturer's instructions.
- Turn on the water supply: Slowly turn on the water supply and check for leaks.
- Monitor the pressure: Monitor the pressure gauge to see if cleaning the screen/filter has resolved the creeping pressure issue.
Important: Some PRVs are not designed to be disassembled by homeowners. If you're unsure how to access or clean the screen/filter, consult a qualified plumber.
When to Call a Professional Plumber
While many PRV problems can be addressed with basic troubleshooting and DIY fixes, certain situations require the expertise of a licensed plumber:
- Significant Corrosion or Damage: If the PRV shows signs of extensive corrosion, leaks, or physical damage, it needs to be replaced.
- Inability to Adjust the Pressure: If the adjustment screw is seized, broken, or unable to properly regulate the pressure, the PRV likely needs to be replaced.
- Persistent Creeping Pressure: If you've tried all the troubleshooting steps and the pressure continues to creep up, the PRV is likely failing internally and needs to be replaced.
- Lack of Plumbing Experience: If you're not comfortable working with plumbing systems, it's always best to call a professional plumber to avoid potential damage or injury.
- You Suspect Backflow: If you suspect backflow is contributing to the pressure increase (water flowing backward into your supply), this is a serious issue best handled by a qualified plumber.
Preventative Maintenance
To prolong the life of your PRV and prevent future problems, consider these preventative maintenance tips:
- Regularly Monitor the Pressure: Periodically check your water pressure gauge to ensure it's within the acceptable range (40-60 PSI).
- Flush the PRV Annually: Flushing the PRV once a year can help remove debris and prevent buildup.
- Protect from Freezing: In cold climates, protect the PRV from freezing temperatures by insulating it or installing a heat tape.
Final Thoughts
Troubleshooting a creeping water pressure issue can seem daunting, but by following these steps and exercising caution, you can often identify and resolve the problem yourself. Remember to prioritize your safety and don't hesitate to call a qualified plumber when needed. By taking proactive steps to maintain your plumbing system, you can prevent future problems and ensure a reliable water supply for your home.
:max_bytes(150000):strip_icc()/Water-pressure-regulator-2718696_color-8cb88034226e4c43aae61588c648e23f.jpg)