Watts Pressure Reducing Valve Repair Kit

Have you ever noticed your water pressure fluctuating wildly, maybe a sudden burst followed by a trickle? Or perhaps your water bill has inexplicably spiked? One often-overlooked culprit could be a failing Pressure Reducing Valve (PRV). These valves are crucial for protecting your plumbing system from excessive water pressure supplied by the city, and over time, they can wear out. Luckily, often the issue can be resolved with a simple Watts Pressure Reducing Valve Repair Kit.
Identifying a Failing Pressure Reducing Valve
Before you start tearing things apart, it’s important to confirm the PRV is indeed the source of the problem. Here are some common signs:
- High water pressure: Obvious bursts of water or consistently strong flow. This can damage pipes and appliances.
- Low water pressure: A significant drop in pressure, especially when other fixtures are in use.
- Fluctuating water pressure: Water pressure that jumps between high and low.
- Water hammer: Loud banging noises in your pipes when faucets are turned off. This is caused by sudden pressure changes.
- Water leaking from the PRV: Visible water around the valve itself.
- High water bill: Unexplained increase in water usage. Even small leaks can add up significantly.
If you're experiencing one or more of these symptoms, a faulty PRV is a likely suspect. Let’s explore how you can troubleshoot and potentially fix it using a Watts Pressure Reducing Valve Repair Kit.
Safety First!
Before you begin any plumbing work, safety is paramount. Here’s what you need to remember:
- Turn off the water supply: Locate your main water shut-off valve (usually near the water meter) and turn it off completely. This will prevent flooding.
- Relieve pressure: Open a faucet (preferably the lowest one in the house) to relieve any remaining pressure in the pipes.
- Wear safety glasses: Protect your eyes from splashes or debris.
- Work in a well-lit area: Good visibility is crucial for safe and accurate work.
- Don't force anything: If a part is stuck, don't use excessive force. You could damage it further.
Tools and Materials You’ll Need
Gathering your tools and materials beforehand will make the repair process much smoother:
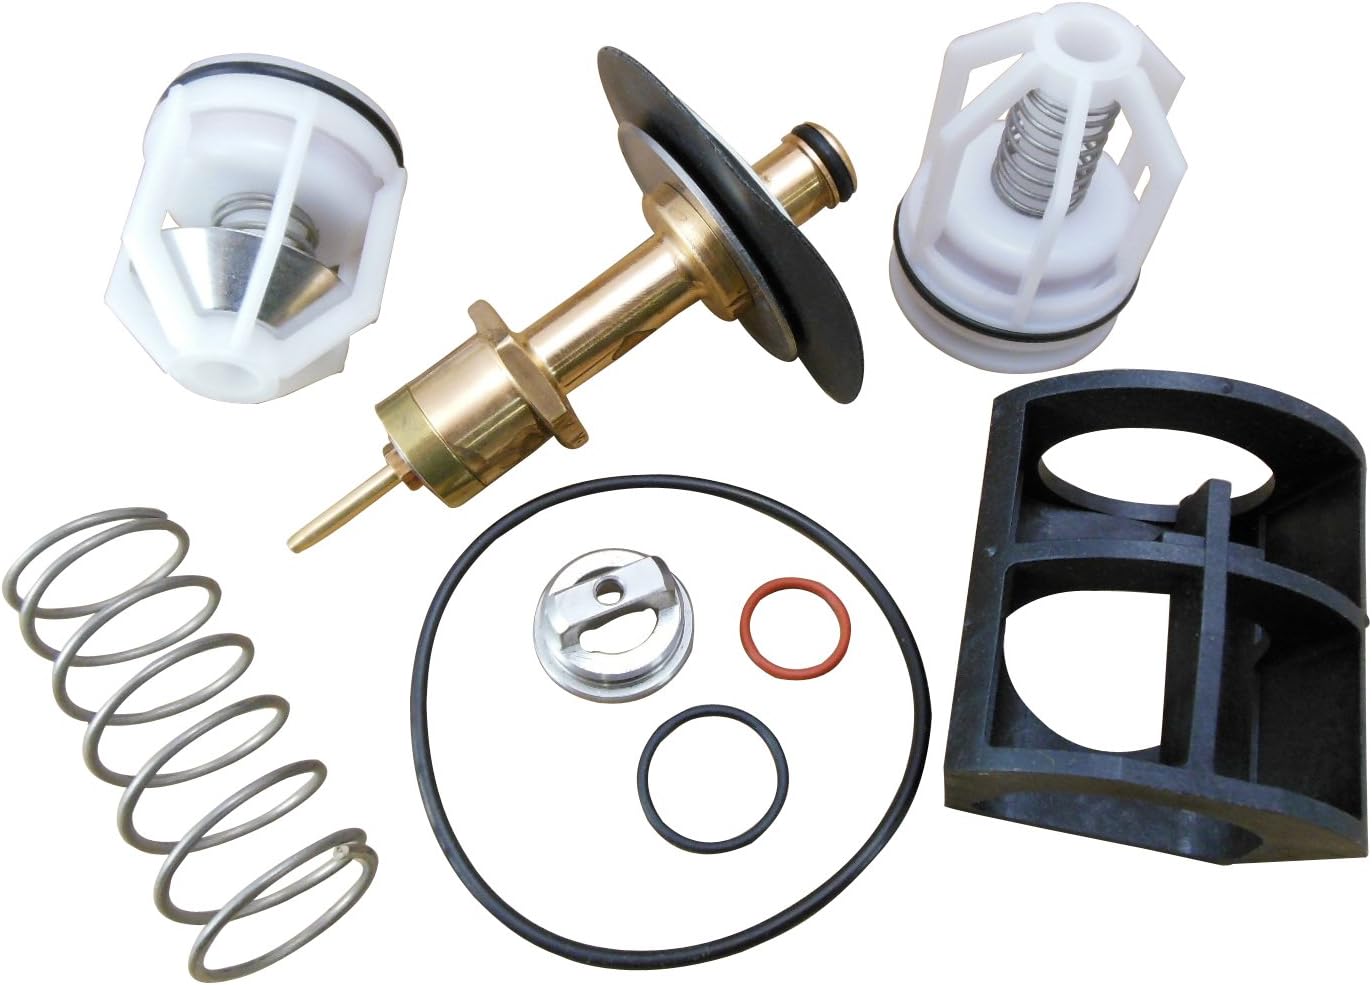
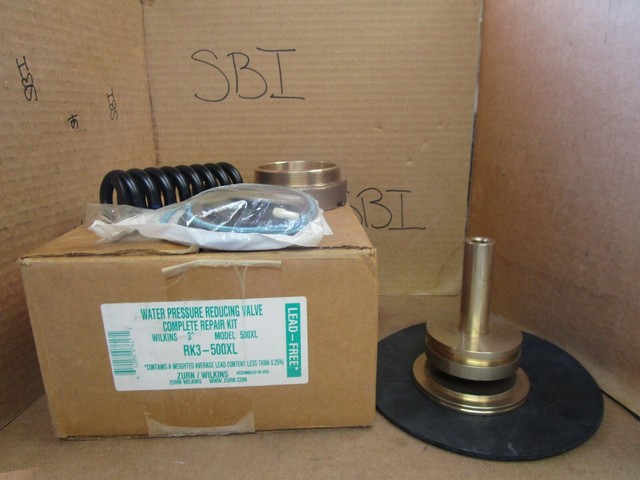
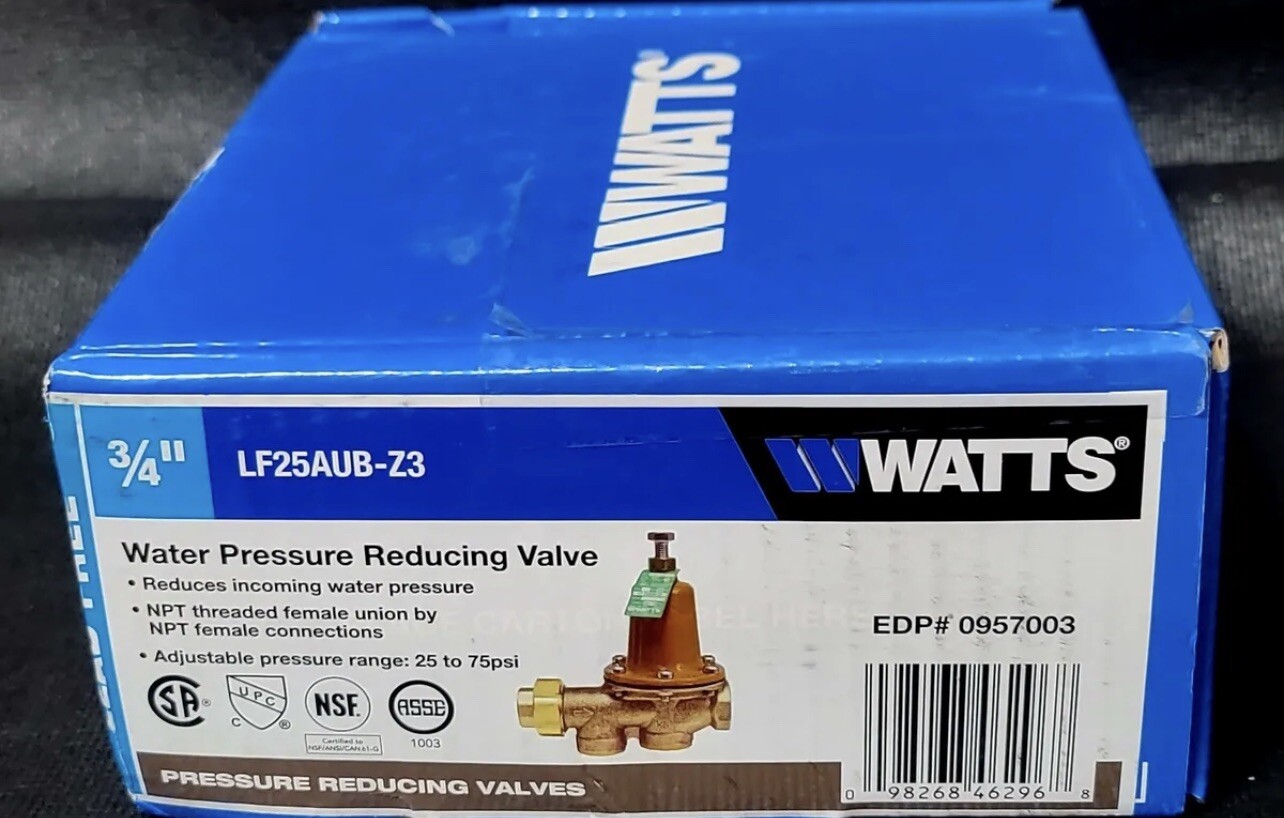
- Watts Pressure Reducing Valve Repair Kit: Make sure you get the correct kit for your specific Watts PRV model. The model number is usually stamped on the valve body.
- Adjustable wrench: For loosening and tightening connections.
- Pipe wrench (optional): For gripping larger pipes.
- Screwdriver (flathead and Phillips head): Depending on the valve model.
- Clean rags or towels: For wiping up spills.
- Bucket: To catch any residual water.
- Plumber's tape (Teflon tape): For sealing threaded connections.
- Pen and paper (optional): To take notes or draw diagrams as you disassemble the valve. This can be helpful for reassembly.
Step-by-Step Troubleshooting and Repair
Here's a detailed guide to repairing your Watts Pressure Reducing Valve. Remember to consult the specific instructions included with your repair kit, as models can vary slightly.
Step 1: Identifying Your PRV Model
Before ordering a repair kit, positively identify your PRV model. Look for a model number stamped directly onto the valve body. Common Watts models include the 25AUB, 25AS, and N36. Using the wrong repair kit will render the repair unsuccessful.
Step 2: Isolating and Inspecting the PRV
- Locate the PRV: It's typically installed on the main water line where it enters your house, often near the water meter.
- Inspect the valve: Look for any signs of external damage, such as cracks, leaks, or corrosion. Take photos before disassembly as a reference.
- Check the pressure gauge (if present): Some PRVs have a built-in pressure gauge. Note the current pressure reading. If the gauge reads significantly higher than the desired pressure (usually around 50-60 PSI), it's a strong indicator of a failing valve. If there's no gauge, you can install a temporary gauge on a nearby hose bib to check the pressure.
Step 3: Disassembling the PRV
This step requires careful attention. Work slowly and methodically, and take notes or pictures as you go.
- Loosen the bonnet: The bonnet is the top part of the PRV that houses the adjustment screw and spring. Using an adjustable wrench, carefully loosen the bonnet. It may be tight, but avoid using excessive force. If it's particularly stubborn, try applying penetrating oil and letting it sit for a few minutes.
- Remove the spring and diaphragm: Once the bonnet is loose, carefully remove it. Inside, you'll find a spring and a diaphragm (a rubber or plastic disc). Note the orientation of these parts – how they fit together. The repair kit will contain replacements for these items.
- Inspect the valve seat: The valve seat is located inside the valve body, where the diaphragm seals. Inspect it for any signs of damage, such as pitting, corrosion, or debris. A damaged valve seat can prevent the new diaphragm from sealing properly. Some repair kits include a new valve seat, but if yours doesn't and the existing seat is damaged, you may need to replace the entire PRV.
- Remove other replaceable parts (if applicable): Some PRV models have additional replaceable parts, such as O-rings or washers. Refer to the repair kit instructions for guidance.
- Clean all parts: Before installing the new parts, thoroughly clean all the old parts with a clean rag and water. Remove any debris or mineral deposits.
Step 4: Installing the Repair Kit Components
This is where you put the new parts into place.
- Install the new diaphragm: Carefully install the new diaphragm in the same orientation as the old one. Make sure it's seated properly in the valve body.
- Install the new spring: Place the new spring on top of the diaphragm.
- Reassemble the bonnet: Carefully screw the bonnet back onto the valve body. Tighten it securely with an adjustable wrench, but avoid over-tightening.
- Replace other parts: Install any other replacement parts included in the repair kit, such as O-rings or washers, according to the kit instructions.
Step 5: Adjusting the Water Pressure
Once the PRV is reassembled, you'll need to adjust the water pressure to the desired level.
- Slowly turn on the main water supply: Open the main water shut-off valve gradually to avoid water hammer.
- Check for leaks: Carefully inspect the PRV for any leaks around the bonnet or other connections. If you find a leak, tighten the connection slightly.
- Locate the adjustment screw: The adjustment screw is usually located on top of the bonnet. It may be covered by a cap that needs to be removed.
- Adjust the pressure: Using a screwdriver, turn the adjustment screw to increase or decrease the water pressure. Turning it clockwise typically increases the pressure, while turning it counterclockwise decreases it. If you have a pressure gauge installed, monitor the pressure as you adjust the screw. If you don't have a gauge, you can install a temporary one on a nearby hose bib.
- Set the desired pressure: The ideal water pressure is usually around 50-60 PSI. Adjust the screw until the pressure gauge reads within this range.
- Test the pressure: Open several faucets and check the water pressure. Make sure it's consistent and doesn't fluctuate excessively.
- Replace the cap: Once the pressure is set, replace the cap on the adjustment screw (if applicable).
When to Call a Professional
While a Watts Pressure Reducing Valve Repair Kit can often fix minor issues, there are times when it’s best to call a licensed plumber.
- Severe corrosion or damage: If the valve body is severely corroded or cracked, the entire PRV needs to be replaced.
- Damaged valve seat: If the valve seat is damaged and not replaceable with your repair kit, replacement is the only option.
- Inability to adjust pressure: If you're unable to adjust the water pressure after installing the repair kit, there may be a more serious problem with the valve.
- You're uncomfortable with plumbing repairs: If you're not confident in your ability to perform the repair safely and correctly, it's always best to call a professional.
- Code requirements: Some jurisdictions require a licensed plumber to perform plumbing repairs. Check your local codes before attempting any repairs yourself.
Preventative Maintenance
To extend the life of your PRV and prevent future problems, consider these preventative measures:
- Install a strainer: A strainer installed upstream of the PRV will filter out sediment and debris, which can damage the valve.
- Inspect the PRV regularly: Check for leaks, corrosion, and other signs of damage.
- Test the water pressure periodically: Monitor the water pressure to ensure it's within the desired range.
- Flush the PRV: Periodically flush the PRV to remove any sediment or debris that may have accumulated inside the valve. Consult the valve's manual for specific flushing instructions.
Conclusion
Repairing a Watts Pressure Reducing Valve with a repair kit is a manageable DIY project for many homeowners. By following these steps carefully, you can potentially save money and restore proper water pressure to your home. However, remember to prioritize safety and don't hesitate to call a professional if you encounter any difficulties or are uncomfortable with the repair. With a little knowledge and the right tools, you can keep your plumbing system running smoothly for years to come.