What Does A Coil Look Like
HVAC systems can seem like a mystery, but understanding the basic components can empower you to troubleshoot minor issues and communicate more effectively with HVAC professionals. One crucial component is the coil, which plays a vital role in both heating and cooling. This article will break down what HVAC coils look like, where to find them, common problems, and when it's time to call in the experts.
Understanding HVAC Coils: The Essentials
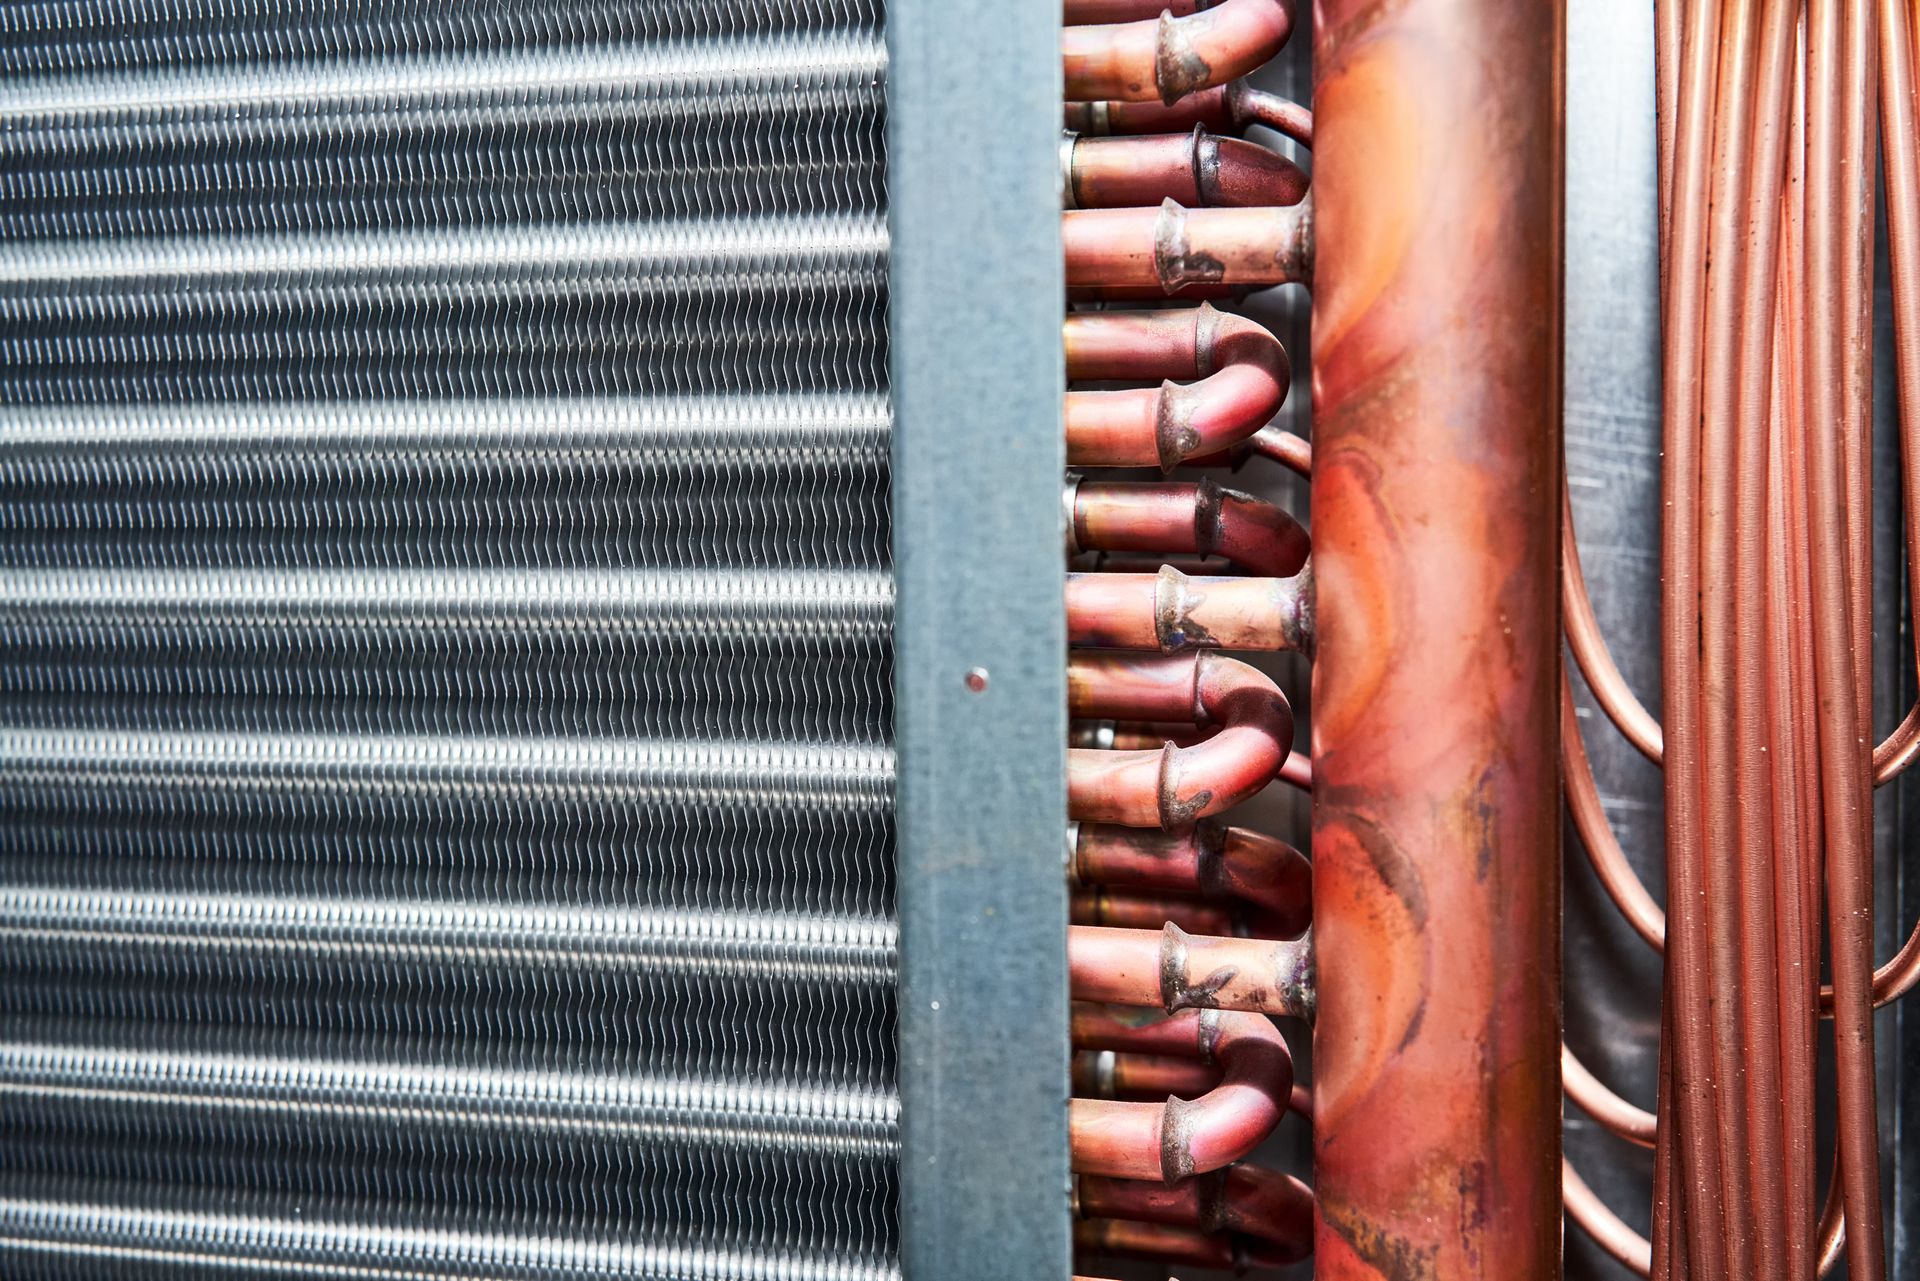
At its core, a coil is a network of tubing, usually made of copper or aluminum, designed to transfer heat. Refrigerant flows through these tubes, absorbing or releasing heat to the surrounding air. There are two primary types of coils in a typical HVAC system:
- Evaporator Coil: Located inside the indoor unit (furnace or air handler), the evaporator coil absorbs heat from the air passing over it, cooling the air before it circulates through your home.
- Condenser Coil: Located in the outdoor unit (air conditioner or heat pump), the condenser coil releases the heat absorbed by the evaporator coil to the outside air.
What Does An Evaporator Coil Look Like?
The appearance of an evaporator coil can vary depending on the type of system and manufacturer, but here are some common features:
- Shape: Often A-shaped or flat, rectangular. The A-shape maximizes surface area for heat transfer.
- Material: Typically made of copper or aluminum tubing with fins attached to increase surface area.
- Location: Located inside the air handler or furnace cabinet, usually above the blower motor.
- Appearance: A network of closely spaced fins and tubes. May be enclosed in a sheet metal casing.
To find your evaporator coil, locate your indoor unit (furnace or air handler). You will likely need to remove an access panel to view the coil. Always turn off the power to the unit at the breaker box before removing any panels.
What Does A Condenser Coil Look Like?
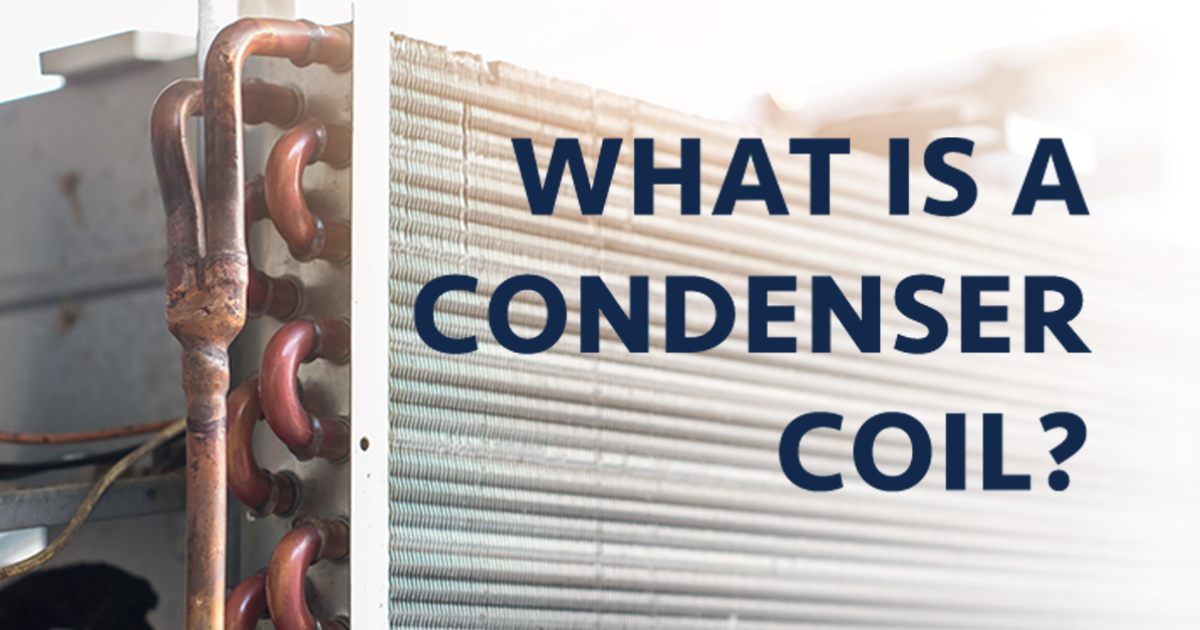
The condenser coil is situated in the outdoor unit. Its appearance also depends on the system, but some basic elements remain the same:
- Shape: Cylindrical, rectangular, or flat. Often wraps around the perimeter of the outdoor unit.
- Material: Like the evaporator coil, it's generally made of copper or aluminum tubing with fins.
- Location: Inside the outdoor unit, behind the fan.
- Appearance: A series of closely spaced fins and tubes.
To view the condenser coil, you'll likely need to remove the outer grill or panels of the outdoor unit. As with the indoor unit, ensure the power is disconnected at the breaker box before disassembling anything.
Common Coil Problems and What They Mean
Coils are vulnerable to several issues that can impact your HVAC system's performance. Recognizing these problems early can prevent costly repairs.
- Dirty Coils: This is the most common problem. Dust, dirt, and debris accumulate on the coil fins, reducing airflow and hindering heat transfer.
- Symptoms: Reduced cooling or heating capacity, increased energy bills, frozen evaporator coil.
- Solution: Regular coil cleaning. (See section below)
- Leaking Refrigerant: Leaks can occur due to corrosion or damage to the coils.
- Symptoms: Reduced cooling capacity, hissing sound near the unit, ice buildup on the evaporator coil, increased energy bills.
- Solution: Refrigerant leak repair by a qualified HVAC technician. This often involves finding and sealing the leak and recharging the system with refrigerant.
- Corrosion: Over time, coils can corrode, especially in coastal areas or environments with high humidity.
- Symptoms: Reduced efficiency, refrigerant leaks, coil failure.
- Solution: Replacing the corroded coil.
- Frozen Evaporator Coil: This happens when the coil gets too cold, causing moisture to freeze on its surface, blocking airflow.
- Symptoms: No cooling, ice buildup on the indoor unit, reduced airflow.
- Solution: Identify and address the cause of the freezing (e.g., dirty air filter, low refrigerant, blocked airflow).
DIY Coil Cleaning: A Step-by-Step Guide
Cleaning your HVAC coils is a relatively simple task that can significantly improve your system's efficiency. However, always prioritize safety.
Tools You'll Need:
- Screwdriver or nut driver to remove access panels
- Soft brush (e.g., paintbrush or fin comb)
- Vacuum cleaner with brush attachment
- Coil cleaner (available at most hardware stores)
- Gloves
- Eye protection
Cleaning Process:
- Safety First: Turn off the power to the HVAC unit at the breaker box.
- Access the Coils: Remove the access panels to expose the evaporator and condenser coils.
- Vacuum: Use the vacuum cleaner with the brush attachment to remove loose dirt and debris from the coil fins.
- Brush: Use a soft brush to gently loosen any remaining dirt and debris. Be careful not to bend the fins. A fin comb can be used to straighten bent fins.
- Apply Coil Cleaner: Follow the manufacturer's instructions on the coil cleaner. Typically, you'll spray the cleaner onto the coils and let it sit for a few minutes.
- Rinse (if applicable): Some coil cleaners require rinsing with water. Check the product instructions.
- Reassemble: Once the coils are dry, reassemble the access panels.
- Power On: Turn the power back on at the breaker box.
Important Note: Be gentle when cleaning the coils. The fins are easily bent, which can reduce the coil's efficiency. If you're uncomfortable with any part of this process, it's best to call a professional.
When to Call a Professional
While some coil maintenance tasks are DIY-friendly, certain issues require the expertise of a qualified HVAC technician.
- Refrigerant Leaks: Handling refrigerant requires specialized equipment and training. It's illegal to intentionally release refrigerant into the atmosphere.
- Coil Replacement: Replacing a coil is a complex task that involves brazing, refrigerant handling, and precise measurements.
- Complex Repairs: Any repair that involves electrical components, refrigerant lines, or the sealed system of the HVAC unit should be handled by a professional.
- Uncertainty: If you're unsure about the cause of the problem or how to fix it, it's always best to err on the side of caution and call a professional.
Cost Considerations
The cost of HVAC coil repairs or replacements can vary significantly depending on the type of coil, the extent of the damage, and your location. Here's a general idea of what to expect:
- Coil Cleaning: Professional coil cleaning typically costs between $75 and $200.
- Refrigerant Leak Repair: The cost of repairing a refrigerant leak can range from $200 to $1000 or more, depending on the location and severity of the leak.
- Evaporator Coil Replacement: Replacing an evaporator coil can cost between $800 and $2500, including labor and parts.
- Condenser Coil Replacement: Replacing a condenser coil can cost between $1000 and $3500, including labor and parts.
These are just estimates. It's always best to get a quote from a reputable HVAC contractor in your area.
Preventative Maintenance for Healthy Coils
Regular preventative maintenance can help extend the life of your HVAC coils and prevent costly repairs.
- Regular Air Filter Changes: A clean air filter prevents dust and debris from accumulating on the evaporator coil. Change your air filter every 1-3 months, depending on the type of filter and your household's needs.
- Annual HVAC Tune-Ups: Schedule an annual tune-up with a qualified HVAC technician. They will inspect and clean the coils, check refrigerant levels, and identify any potential problems.
- Keep Outdoor Unit Clear: Ensure the outdoor unit is free from obstructions, such as plants, leaves, and snow. This allows for proper airflow.
- Consider a Coil Coating: In harsh environments, consider applying a protective coating to the coils to prevent corrosion.
Conclusion
Understanding what HVAC coils look like and how they function is essential for homeowners. By following the DIY coil cleaning guide and knowing when to call a professional, you can keep your HVAC system running efficiently and prevent costly repairs. Remember to prioritize safety and consult with a qualified technician for any complex issues.