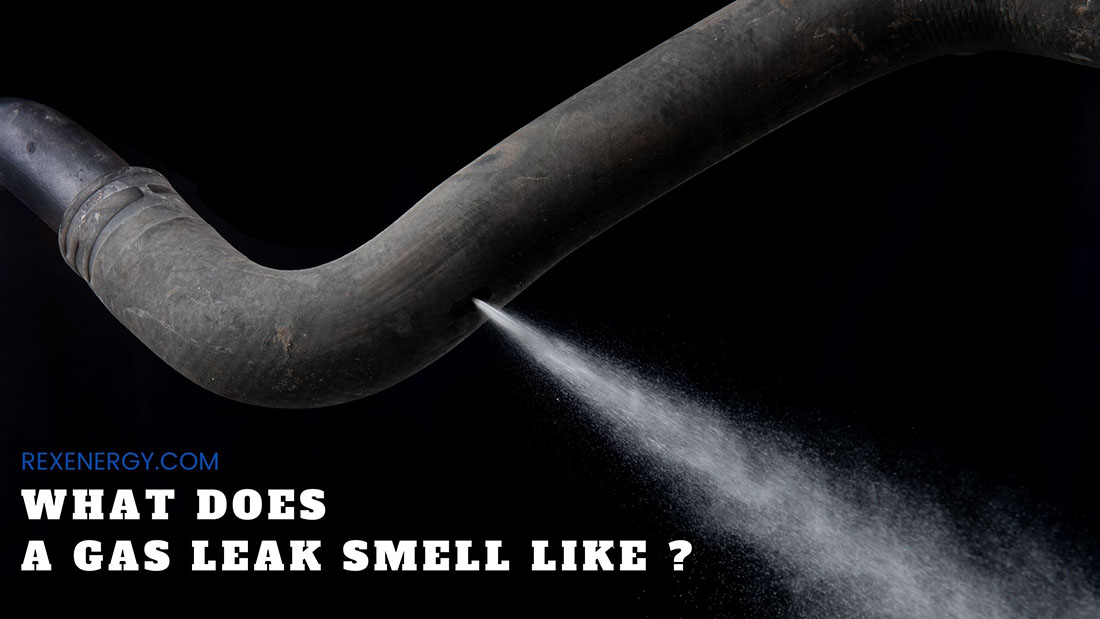
What Does A House Gas Leak Smell Like
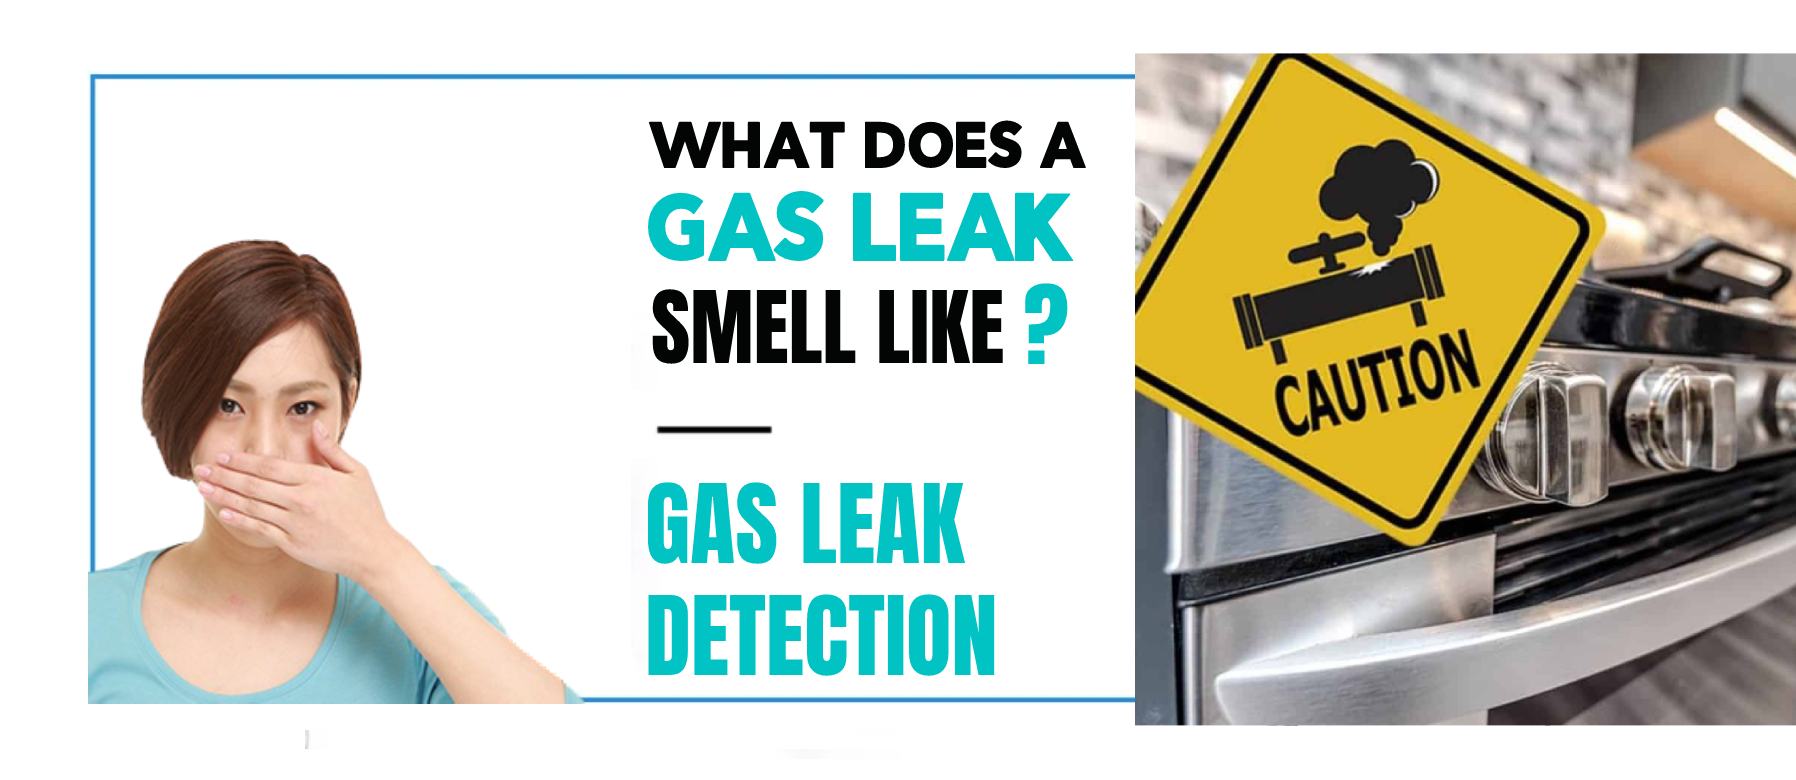
One of the most frustrating experiences for any homeowner is dealing with inconsistent heating or cooling. Imagine bundling up in blankets while the thermostat is set to a comfortable temperature, or sweating indoors while the air conditioning is cranked up. This issue can stem from a multitude of causes, but one that often gets overlooked is the potential for a gas leak. While HVAC systems use gas to operate, the dangers of a leak are ever-present, and knowing how to identify it is crucial for your safety. This article will walk you through understanding the telltale signs of a gas leak, particularly focusing on the smell, and guide you through a practical troubleshooting process.
Understanding the "Smell" of a Gas Leak
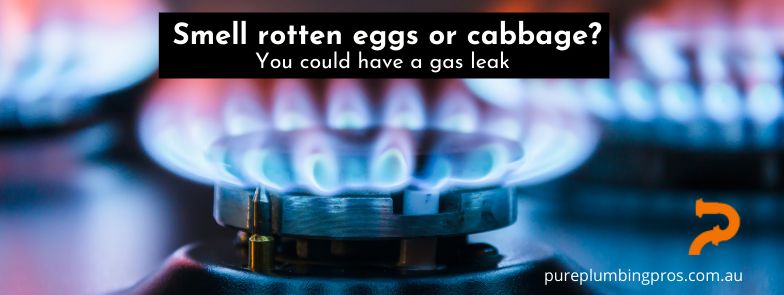
Natural gas, in its pure form, is actually odorless. The distinctive "rotten egg" smell that we associate with gas leaks is actually deliberately added by utility companies. This odorant, typically mercaptan, is a safety measure designed to alert you to the presence of a potentially dangerous gas leak long before it reaches explosive concentrations.
Key takeaways about the smell:
- The smell is usually described as rotten eggs, sulfur, or even decaying cabbage.
- The intensity of the smell can vary depending on the concentration of the gas leak. A small leak may produce a faint odor, while a larger leak will be much more noticeable.
- Sometimes, the smell might be intermittent, especially if the leak is small or affected by wind conditions.
- Never ignore a suspected gas leak, even if the smell is faint or goes away quickly.
Troubleshooting: Is That Gas I Smell?
If you suspect a gas leak, immediate action is crucial. Here's a systematic approach to help you determine if you have a leak and what steps to take. Remember, safety is paramount.
Step 1: Trust Your Senses – and Act Immediately
The first and most important step is to trust your senses. If you smell something that resembles rotten eggs or sulfur, even faintly, treat it as a potential gas leak.
Immediately take these steps:
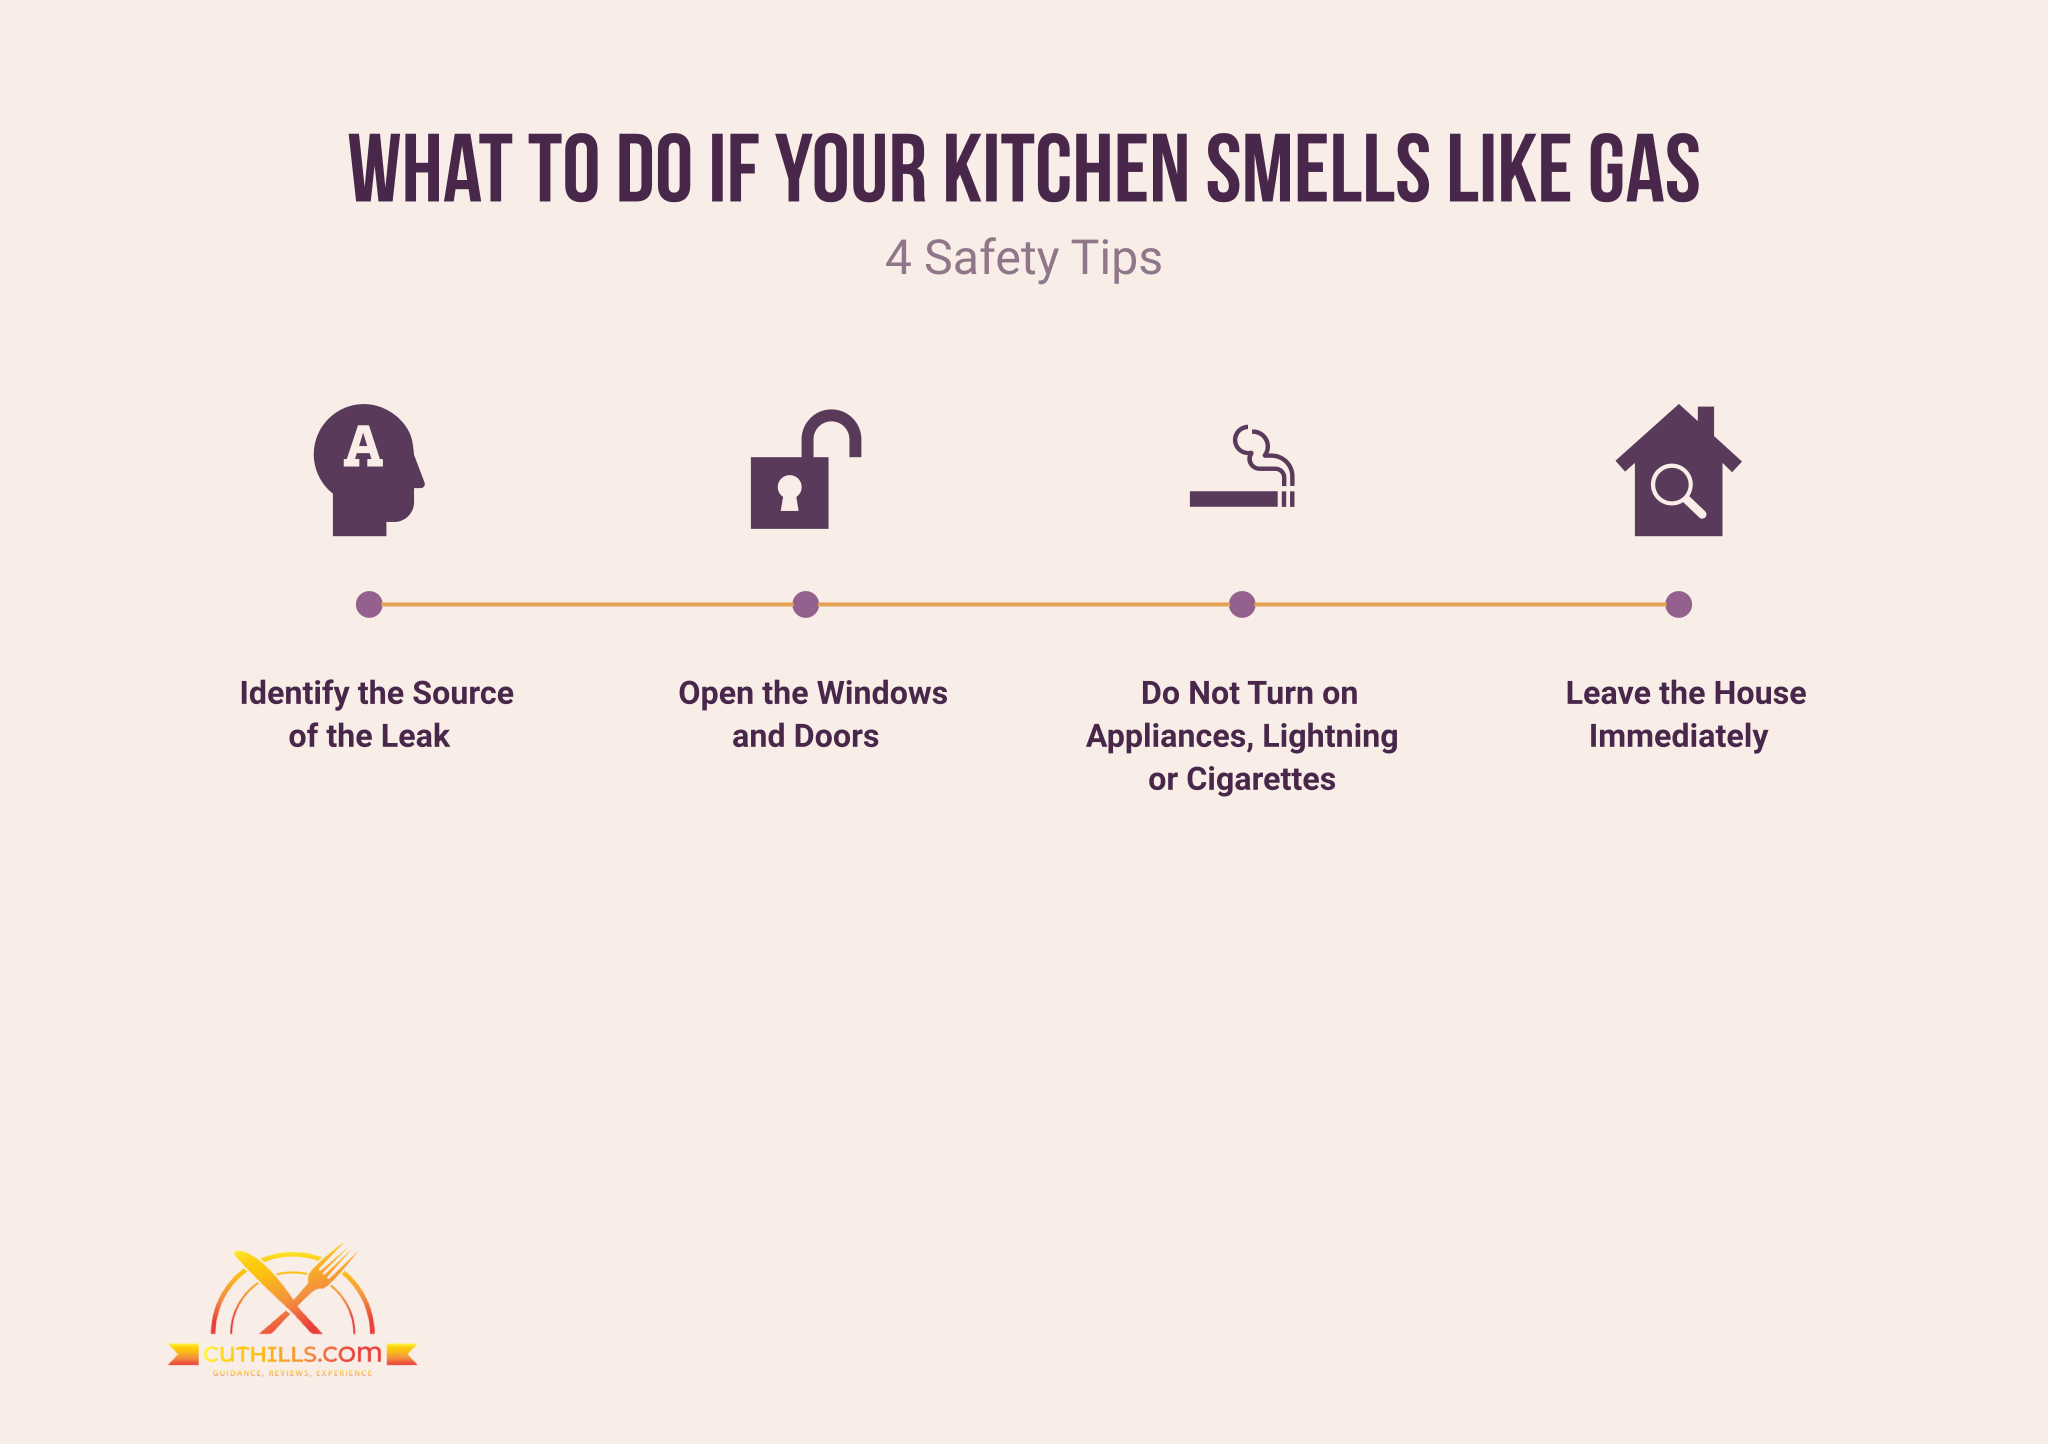
- Evacuate: Get everyone out of the house immediately. Do not hesitate. Do not try to find the source of the leak at this point. Just get to a safe distance, preferably outside and away from the building.
- Do Not Use Electronics: Avoid using any electrical devices, including lights, cell phones (even for calling), garage door openers, or anything that could create a spark. Sparks can ignite the gas and cause an explosion.
- Do Not Light Anything: This includes cigarettes, candles, lighters, or anything that produces a flame.
- Leave the Door Open: If possible, leave the front door open as you evacuate to help ventilate the building.
Once you are a safe distance away, call your local gas company or 911 to report the suspected leak. Let them handle the investigation.
Step 2: Post-Evacuation - When it's Safe to Assess (with caution)
Only after the gas company or emergency services have deemed it safe to return, you can proceed with a more cautious assessment. However, if the initial responders advised you to stay away, heed their warning.
Assuming you are cleared to investigate (or have been given specific instructions to do so by professionals), proceed with the following steps, focusing on areas with gas appliances:
A. Visual Inspection (No Tools Required):
Perform a visual inspection of gas appliances and piping, without touching anything. Look for:
- Damaged or corroded pipes: Look for signs of rust, cracks, or any physical damage to the gas lines.
- Loose connections: Check where gas pipes connect to appliances like your furnace, water heater, stove, and dryer. Look for any obvious gaps or loose fittings.
- Dirt or debris near gas appliances: An accumulation of dirt or debris around gas appliances could indicate a leak or improper ventilation.
- Dead vegetation near underground gas lines: If you have underground gas lines, check for areas of dead grass or plants directly above the lines. Gas leaks can sometimes kill vegetation.
B. The Soapy Water Test (Minimal Equipment):
This test requires only a spray bottle, water, and dish soap. Mix a solution of soapy water (a few drops of dish soap in a cup of water). Only perform this test if you feel confident and comfortable doing so, and if you have been explicitly cleared to investigate by professionals.
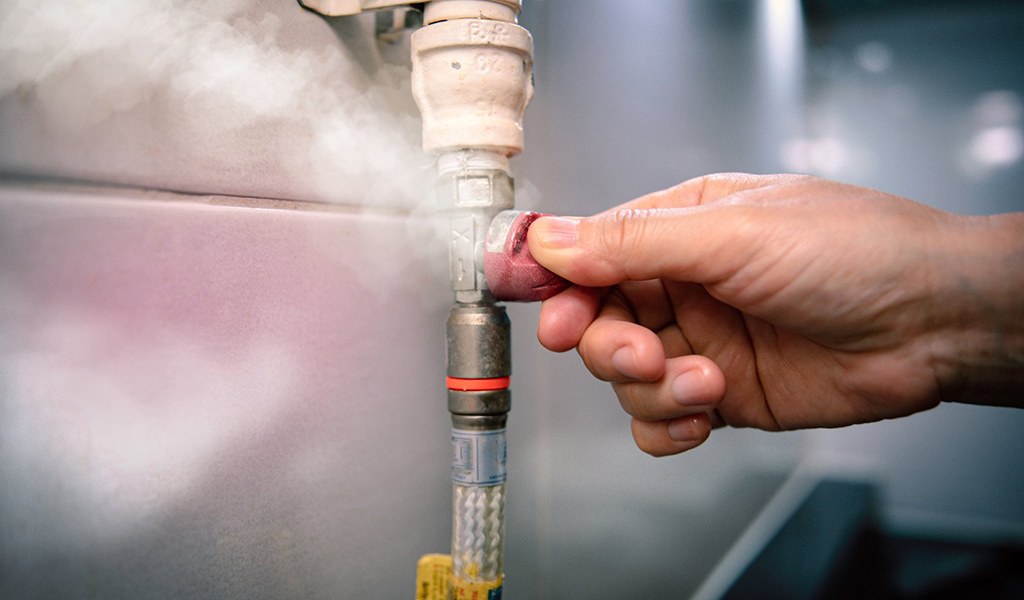
- Apply the soapy water solution: Spray the soapy water solution onto gas pipes and connections, especially around joints and fittings.
- Watch for bubbles: Carefully observe the areas where you applied the soapy water. If you see bubbles forming, even small ones, it indicates a gas leak.
- Mark the location: If you find a leak, mark the location clearly (if possible and safe) so that the gas company can easily find it.
- Cease the test immediately if you have any doubts or concerns and contact the gas company.
Step 3: Checking Specific Appliances
If you've determined there's a gas leak but can't pinpoint the exact location, focus on your gas appliances. Remember, never attempt to repair a gas appliance yourself unless you are a qualified technician.
A. Furnace:
Visual Check (No Tools): Examine the area around the furnace for any of the signs mentioned above (damaged pipes, loose connections, dirt, or debris). Listen for any hissing sounds coming from the furnace or gas lines.
Smell Check (No Tools): Carefully sniff around the furnace area. Does the "rotten egg" smell seem strongest here?
If you suspect a leak near the furnace, immediately turn off the gas supply to the furnace (if you know how to do so safely) and call a professional HVAC technician.
B. Water Heater:
Visual Check (No Tools): Look for signs of corrosion, rust, or damage to the gas lines connecting to the water heater.
Pilot Light Check (No Tools): If your water heater has a pilot light, check to see if it's burning with a strong, blue flame. A yellow or sputtering flame could indicate incomplete combustion and a potential gas leak. However, do not attempt to relight a pilot light if you smell gas.
Soapy Water Test (Minimal Equipment): Apply the soapy water test to the gas lines and connections of the water heater, following the instructions above.
C. Stove/Oven:
Visual Check (No Tools): Inspect the gas lines and connections behind the stove and oven for any signs of damage or leaks. Make sure the burner knobs are completely turned off.
Smell Check (No Tools): Carefully sniff around the stove and oven. Do you smell gas even when the burners are off?
Burner Check (No Tools): If you've been cleared to do so, light each burner individually and observe the flame. A yellow or orange flame, or a flame that sputters or lifts off the burner, could indicate a problem with gas combustion.
Soapy Water Test (Minimal Equipment): Apply the soapy water test to the gas lines and connections of the stove and oven, following the instructions above.
D. Clothes Dryer:
Visual Check (No Tools): Check the gas line connection at the back of the dryer for any signs of damage or leaks. Also, ensure that the dryer vent is clear of lint and debris, as a clogged vent can affect combustion.
Soapy Water Test (Minimal Equipment): Apply the soapy water test to the gas lines and connections of the dryer, following the instructions above.
Step 4: When to Call a Professional (Absolutely Essential!)
There are several situations where you should immediately call a qualified HVAC technician or your gas company, without attempting any further DIY troubleshooting:
- If you smell a strong gas odor, even if you can't pinpoint the source.
- If you find a gas leak using the soapy water test.
- If you suspect a leak inside a wall or underground.
- If you are uncomfortable or unsure about any of the troubleshooting steps.
- If you have any doubts about your ability to safely address the situation.
- If any of your gas appliances are malfunctioning.
- If your carbon monoxide detector is alarming. (Carbon monoxide is a byproduct of incomplete combustion, and a malfunctioning gas appliance could be producing dangerous levels of CO).
DIY Actions (Only When Safe and Appropriate)
There are very few DIY actions that are appropriate when dealing with a suspected gas leak. The primary focus should always be on safety and evacuation.
Here are some actions you can take, only after you have been cleared by professionals and if you feel comfortable doing so:
- Ventilate the area: If you suspect a small leak and have been cleared to re-enter the property, open windows and doors to ventilate the area.
- Turn off the gas supply: If you are confident and know how to do so safely, turn off the main gas supply to your home at the meter. However, do not attempt to do this if you are not sure how, as you could make the situation worse.
- Keep a record: Document everything you observe, including the location of suspected leaks, the appliances involved, and any actions you take. This information will be helpful for the gas company or HVAC technician.
Tools and Equipment
For basic troubleshooting, you'll need minimal equipment:
- Spray bottle
- Dish soap
- Water
Do not use any specialized tools, such as gas detectors, unless you are a qualified technician.
Safety Precautions: A Reminder
Gas leaks are extremely dangerous and can lead to explosions, fires, and carbon monoxide poisoning. Always prioritize safety when dealing with a suspected gas leak.
- Evacuate immediately if you smell gas.
- Do not use electrical devices or open flames.
- Call your gas company or 911 from a safe location.
- Never attempt to repair a gas leak yourself unless you are a qualified technician.
- Regularly inspect your gas appliances and have them serviced by a professional.
- Install carbon monoxide detectors in your home and check them regularly.
Prevention is Key
Preventing gas leaks is crucial for ensuring the safety of your home and family. Here are some preventative measures you can take:
- Regular Maintenance: Schedule annual inspections and maintenance for your gas appliances by a qualified HVAC technician. They can identify potential problems before they become serious.
- Proper Ventilation: Ensure that your gas appliances are properly ventilated. This is especially important for furnaces and water heaters.
- Carbon Monoxide Detectors: Install carbon monoxide detectors on every level of your home, especially near sleeping areas. Test them regularly and replace the batteries as needed.
- Be Aware of Excavation: If you are planning any excavation work on your property, call your local utility company to locate underground gas lines.
- Promptly Address Concerns: If you notice any signs of a potential gas leak, such as a hissing sound, dead vegetation, or a persistent "rotten egg" smell, address the issue immediately.
By understanding the signs of a gas leak, following the troubleshooting steps outlined above, and taking preventative measures, you can protect your home and family from the dangers of gas leaks. Always remember, when in doubt, call a professional!