What Does Flame Sensor Look Like
It's a chilly evening, and you turn up the thermostat, expecting the familiar warmth of your furnace to kick in. But instead of cozy heat, you're met with silence, or worse, a brief burst of air followed by a frustrating shutdown. One of the most common culprits behind this cold comfort is a faulty flame sensor. But what *is* a flame sensor, and how can you troubleshoot it yourself?
Understanding the Flame Sensor: Your Furnace's Guardian
The flame sensor is a crucial safety component in your furnace. Its primary job is to detect the presence of a flame when the burners ignite. If the sensor doesn't "see" a flame, it tells the furnace's control board to shut down the gas supply, preventing a potentially dangerous buildup of unburned gas. This safety mechanism is why a dirty or malfunctioning flame sensor is such a common cause of furnace problems.
What Does a Flame Sensor Look Like? Identifying the Culprit
Knowing what a flame sensor looks like is the first step in diagnosing the problem. Here's what to look for:
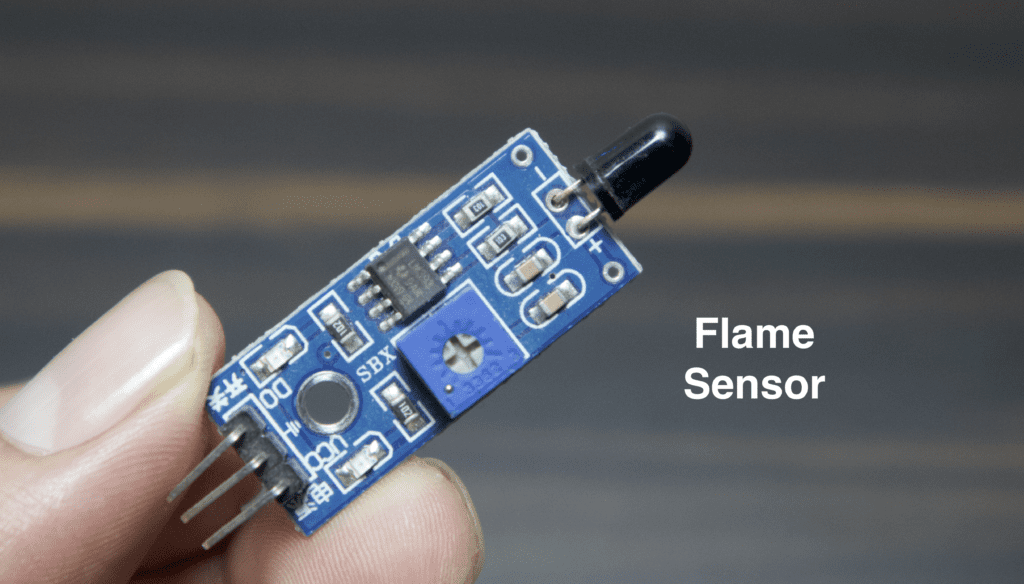
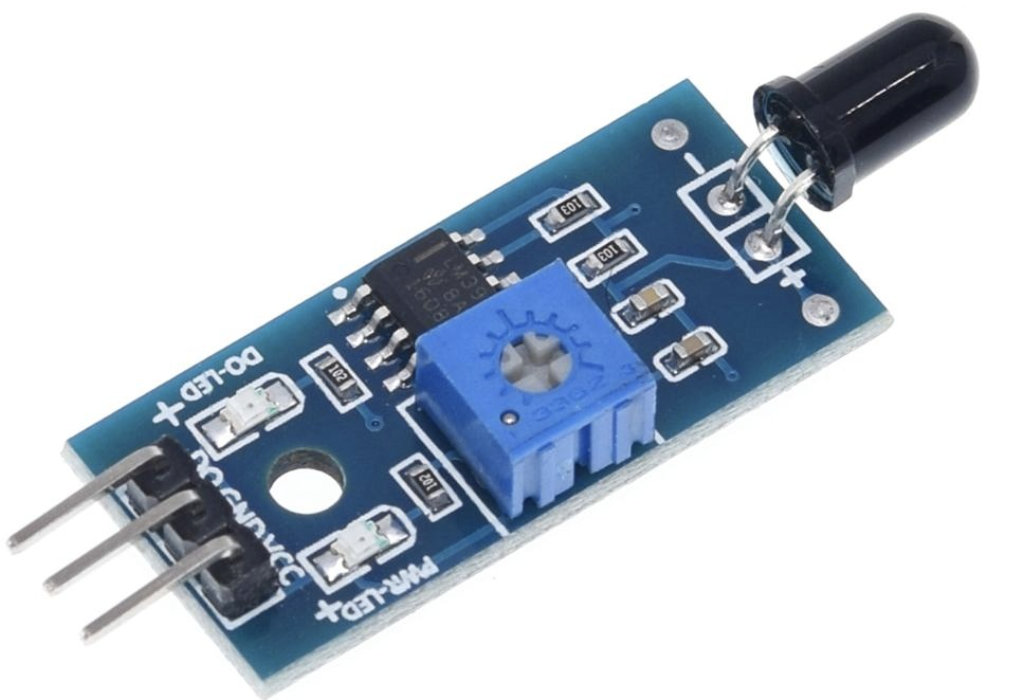
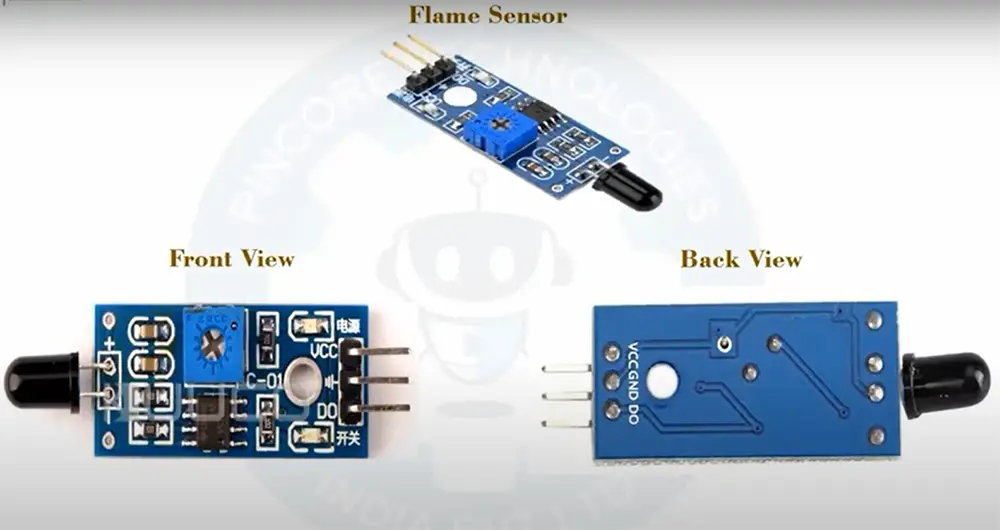
- Appearance: A flame sensor is typically a thin, metallic rod, often made of steel or ceramic. It's usually about 2-4 inches long and quite slender.
- Location: The flame sensor is always located near the burner assembly inside the furnace. You'll usually find it positioned so that the flame directly impinges upon it when the burners are lit. It's often mounted with a single screw or bracket.
- Wire Connection: A single wire, usually white, tan, or orange, connects the flame sensor to the furnace's control board. This wire carries the electrical signal that indicates the presence or absence of a flame.
- Shape: While most flame sensors are straight rods, some models may have a slight bend or curve. The key is to look for the thin metallic rod positioned in direct contact with the burner flame.
Think of it as a small, unassuming sentinel, diligently watching over the furnace's flames. Now that you know what to look for, let's move on to diagnosing the issue.
Troubleshooting a Flame Sensor: A Step-by-Step Guide
Before you begin, remember that working with gas appliances can be dangerous. Always turn off the power to your furnace at the circuit breaker and shut off the gas supply before attempting any troubleshooting or repairs. If you're not comfortable working with electrical or gas systems, it's best to call a qualified HVAC technician.
Step 1: Safety First! Power Down and Gas Off
Locate the circuit breaker that controls your furnace and switch it to the "off" position. Then, find the gas shut-off valve near the furnace (usually a yellow handle on a pipe) and turn it perpendicular to the pipe to shut off the gas supply.
Step 2: Locate the Flame Sensor
Open the access panel to your furnace's burner compartment. You may need a screwdriver to remove a few screws. Carefully identify the flame sensor based on the description above. Refer to your furnace's manual if you're unsure of its exact location.
Step 3: Visual Inspection
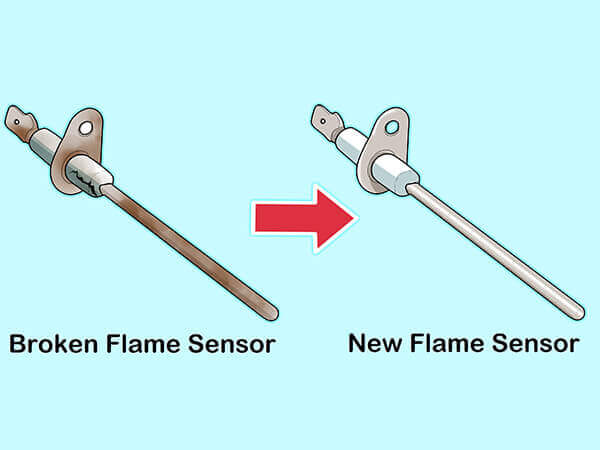
Once you've located the flame sensor, carefully examine it for any signs of damage or buildup. Look for:
- Corrosion: Is there any rust or corrosion on the sensor rod or the wire connection?
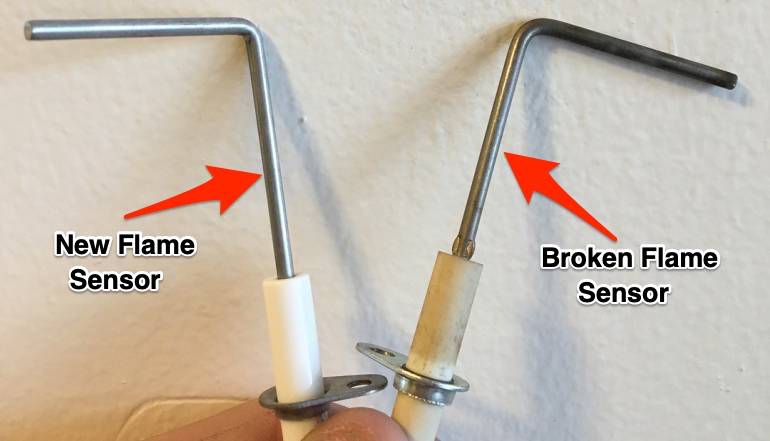
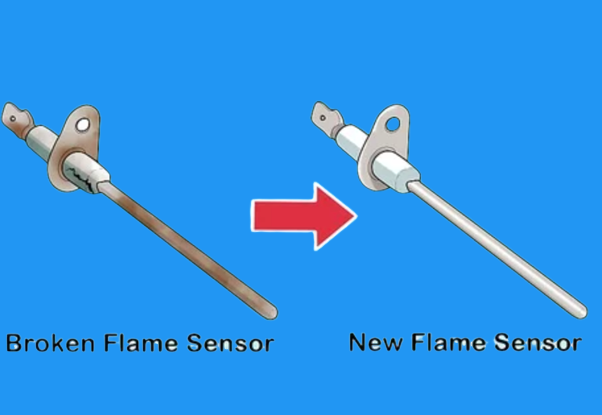
- Cracks or Breaks: Is the sensor rod cracked, broken, or bent?
- Carbon Buildup: This is the most common culprit. The sensor may be coated with a layer of black carbon buildup, which insulates it and prevents it from detecting the flame properly.
Step 4: Cleaning the Flame Sensor
If you see carbon buildup, cleaning the flame sensor is often the solution. Here's how:
- Disconnect the Wire: Carefully disconnect the wire from the flame sensor. Use a small nut driver or pliers if necessary, but be gentle to avoid damaging the connector.
- Remove the Sensor: Remove the screw or bracket holding the flame sensor in place. Again, be careful not to damage the sensor.
- Clean the Sensor Rod: Use a piece of fine-grit sandpaper or steel wool to gently clean the carbon buildup from the sensor rod. Be thorough but avoid removing any of the metal. The goal is to expose the clean metal surface.
- Reinstall the Sensor: Carefully reinstall the flame sensor, making sure it's securely mounted in its original position.
- Reconnect the Wire: Reconnect the wire to the flame sensor. Ensure the connection is tight and secure.
Step 5: Restart the Furnace and Observe
Turn the gas supply back on and switch the circuit breaker back on. Turn up the thermostat and observe the furnace's startup sequence. Listen for the igniter clicking, the burners lighting, and the furnace continuing to run. If the furnace starts and runs normally, congratulations! You've likely solved the problem.
Step 6: Testing with a Multimeter (Advanced)
If cleaning the flame sensor doesn't solve the problem, you can use a multimeter to test its performance. This requires some basic electrical knowledge and comfort with using a multimeter.
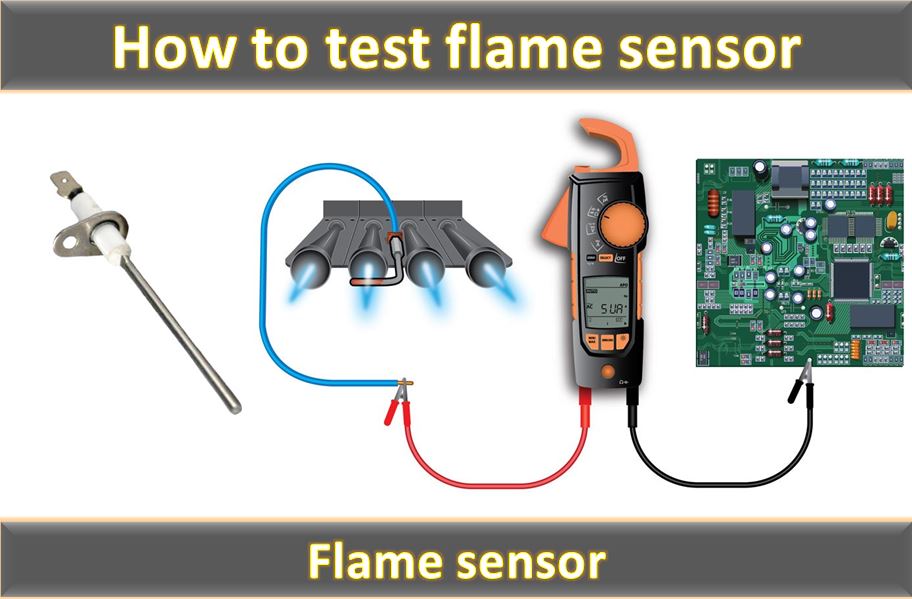
- Set the Multimeter: Set your multimeter to measure microamps (µA) DC.
- Connect the Meter: With the furnace running (and the flame lit!), connect the multimeter in series with the flame sensor wire. You'll need to disconnect the wire from the control board and connect one lead of the multimeter to the control board terminal and the other lead to the wire you disconnected.
- Measure the Current: A healthy flame sensor should produce a DC current of 1-10 microamps, depending on the furnace model. Consult your furnace's manual for the specific current range for your model.
- Interpret the Results: If the current is significantly lower than the specified range, the flame sensor is likely faulty and needs to be replaced. If there is no current, the sensor is definitely bad.
When to Call a Professional: Knowing Your Limits
While cleaning a flame sensor is a relatively simple DIY task, there are situations where it's best to call a qualified HVAC technician. Here are some warning signs:
- You're Not Comfortable: If you're not comfortable working with electricity or gas, or if you're unsure about any of the steps involved, it's always best to err on the side of caution and call a professional.
- The Furnace Still Doesn't Work: If you've cleaned the flame sensor and the furnace still fails to start or shuts down shortly after starting, there may be a more complex problem, such as a faulty gas valve, igniter, or control board.
- The Flame Sensor is Damaged: If the flame sensor is cracked, broken, or severely corroded, it needs to be replaced. While you can replace it yourself, it's often a good idea to have a professional do it to ensure it's installed correctly and that there are no other underlying issues.
- You Smell Gas: If you smell gas at any time during the troubleshooting process, immediately shut off the gas supply and call your local gas company or a qualified HVAC technician. Do not attempt to light the furnace or operate any electrical switches.
- The Multimeter Test Fails: If you perform the multimeter test and the flame sensor fails to produce the proper current, it's best to have a professional replace the sensor and diagnose any related problems. They can also use specialized equipment to check gas pressure and ensure proper combustion.
- Repeated Flame Sensor Failures: If you find yourself cleaning the flame sensor frequently, there may be an underlying problem, such as improper combustion or a venting issue. A professional can diagnose and correct these issues to prevent future problems.
Preventative Maintenance: Keeping Your Flame Sensor Happy
To help prevent flame sensor problems, consider these preventative maintenance tips:
- Annual Furnace Tune-up: Schedule an annual furnace tune-up with a qualified HVAC technician. They can clean and inspect all components, including the flame sensor, and identify any potential problems before they lead to breakdowns.
- Regular Filter Changes: A dirty air filter can restrict airflow, causing the furnace to overheat and potentially damaging the flame sensor. Change your air filter regularly, typically every 1-3 months, depending on the type of filter and the air quality in your home.
- Proper Ventilation: Ensure that your furnace has adequate ventilation. Do not block the vents or registers, and make sure that the combustion air intake is clear of obstructions.
A little preventative maintenance can go a long way in ensuring your furnace operates safely and efficiently.
Conclusion: You've Got This!
Troubleshooting a flame sensor issue can seem daunting, but by understanding what the sensor looks like and following these simple steps, you can often diagnose and fix the problem yourself. Remember to prioritize safety, and don't hesitate to call a professional when needed. With a little knowledge and effort, you can keep your furnace running smoothly and enjoy a warm and comfortable home all winter long.
Now you know what a flame sensor looks like and how to troubleshoot it! Stay warm!