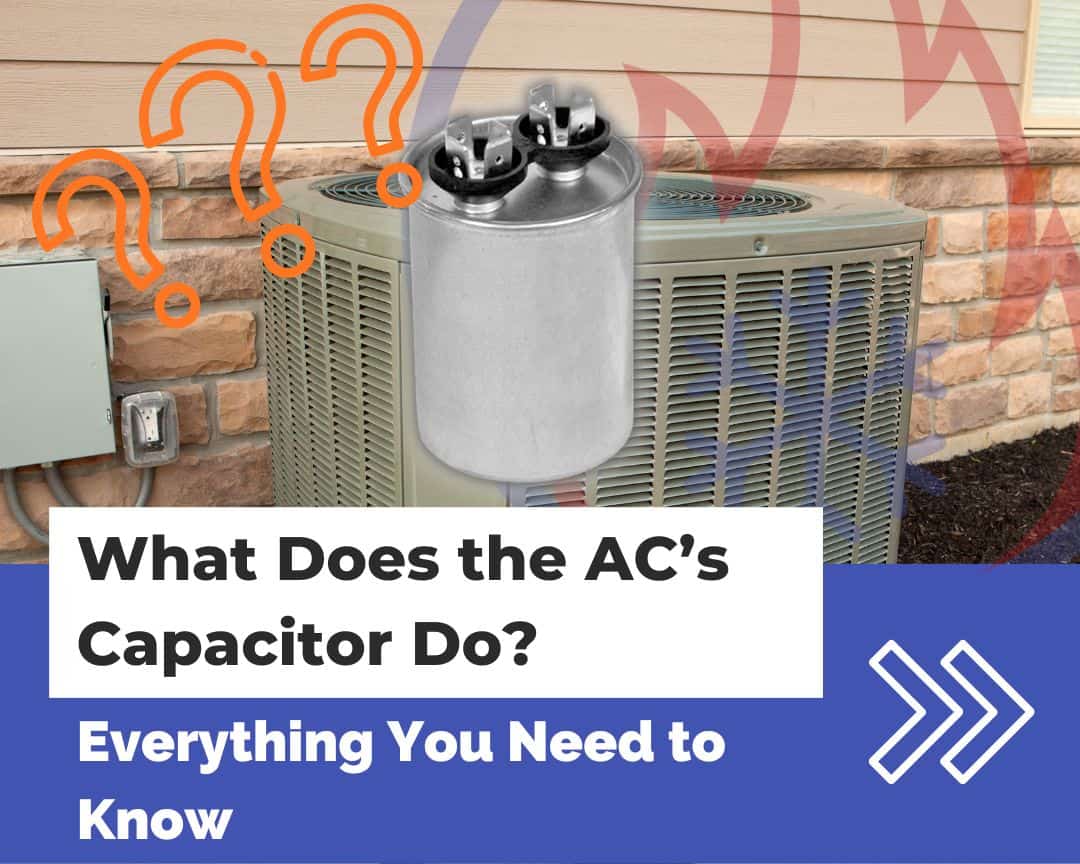
What Does The Capacitor Do On An Ac Unit

If your air conditioner is acting up, one of the first components to suspect is the capacitor. It's a small, but mighty, electrical component that plays a vital role in keeping your home cool. But what does the capacitor do on an AC unit? Let's break it down in a way that’s easy to understand, even if you're not an HVAC expert.
Understanding the Capacitor: The AC's Power Booster
Think of the capacitor as a battery, but one that delivers a powerful jolt of energy rather than a sustained flow. It stores an electrical charge and then releases it quickly to kick-start the motors in your AC unit. Without a functioning capacitor, your AC simply can't start up reliably, or at all.
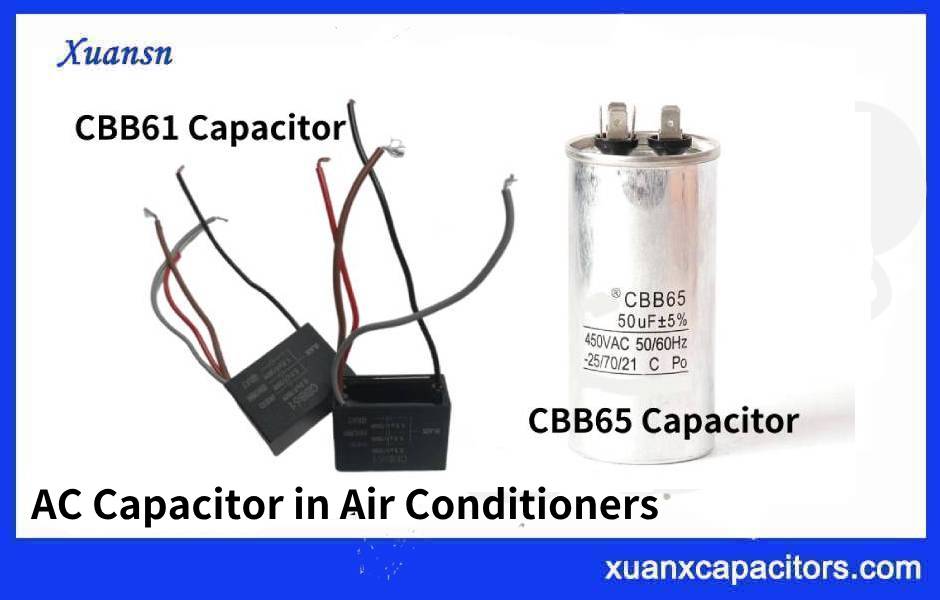
Dual vs. Single Capacitors
You'll typically find two types of capacitors in your AC unit:
- Dual Capacitor: This type has three terminals and serves two functions. It provides the initial burst of energy for both the compressor motor and the fan motor. Because it handles two critical functions, it's a common culprit when AC problems arise.
- Single Capacitor: As the name suggests, a single capacitor serves only one motor, either the compressor or the fan motor.
How the Capacitor Works: A Deeper Dive
Inside the capacitor are two conductive plates separated by an insulator. When voltage is applied, the plates store an electrical charge. When the motor needs to start, the capacitor rapidly discharges this stored energy, providing the necessary boost to get the motor spinning. Once the motor is running, it no longer needs the capacitor's help and operates on the regular flow of electricity.
Symptoms of a Failing Capacitor
Knowing the signs of a failing capacitor can save you time and money by allowing you to address the problem early. Here are some common symptoms:
- Humming Noise: Your AC unit might hum but fail to start. This indicates the motor is trying to start but doesn't have enough power.
- Delayed Startup: The AC takes longer than usual to start.
- AC Won't Start At All: The most obvious symptom. If your AC does nothing when you turn it on, a bad capacitor could be the reason.
- Fan Not Spinning: Either the outdoor fan or the indoor blower fan isn't spinning, or spins very slowly.
- Increased Energy Bills: A failing capacitor can cause the motor to work harder, leading to higher energy consumption.
- Clicking Sounds: Repeated clicking sounds from the AC unit can indicate the capacitor is struggling to discharge.
Diagnosing a Bad Capacitor: Is it Really the Problem?
Before you rush out and buy a new capacitor, it's important to confirm that it's actually the issue. Here’s how to do a basic diagnosis:
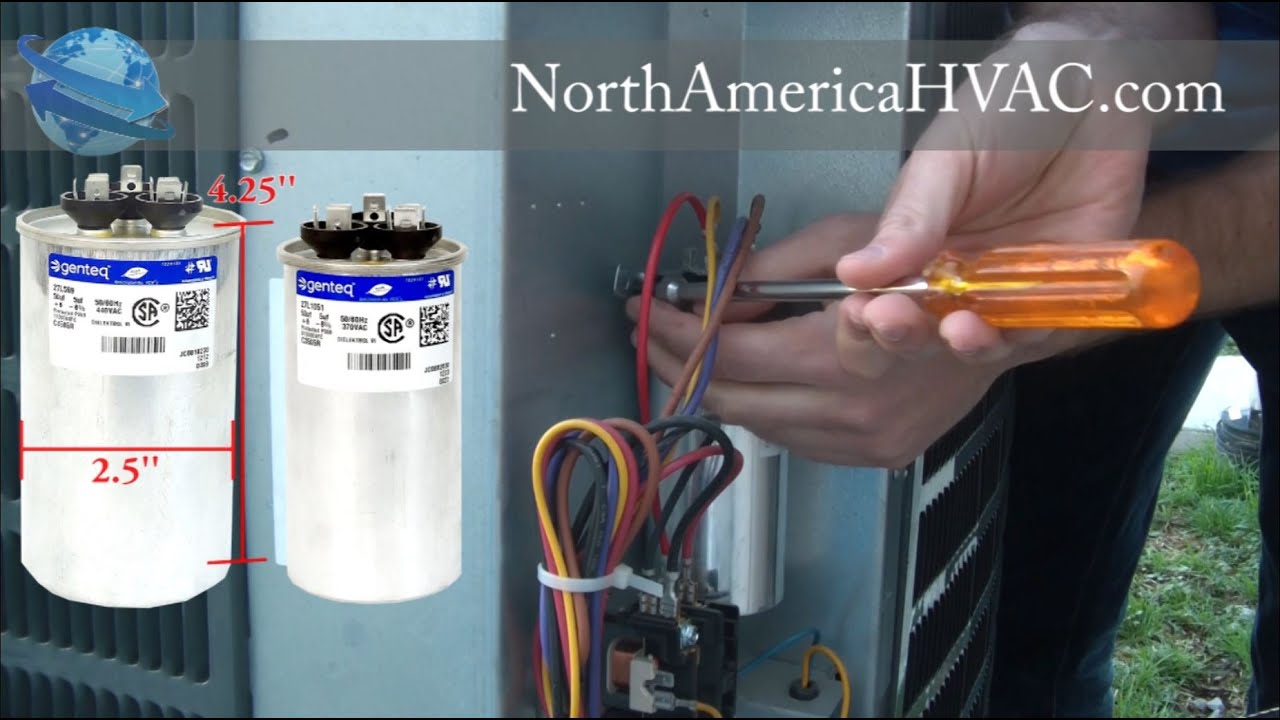
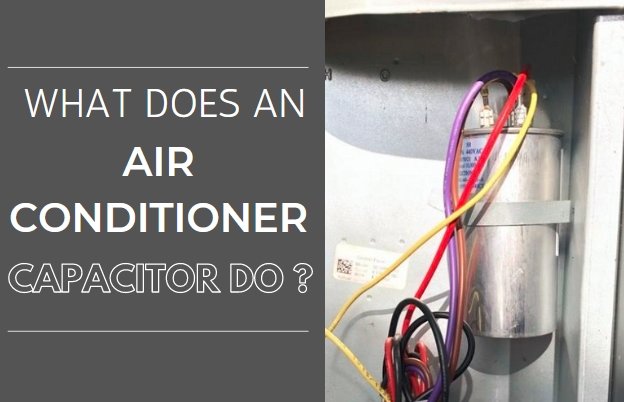
- Visual Inspection: Turn off the power to the AC unit at the breaker box! This is extremely important for your safety. Open the access panel and visually inspect the capacitor. Look for signs of bulging, leaking, or physical damage. A bulging or leaking capacitor is a sure sign of failure.
- Multimeter Testing: This requires a multimeter that can measure capacitance.
- Safety First: Discharge the capacitor before testing! This is crucial. Use an insulated screwdriver to short the terminals (after power is OFF).
- Set the Multimeter: Set your multimeter to the capacitance setting (usually marked with "uF" or "µF").
- Disconnect the Capacitor: Disconnect the wires from the capacitor terminals.
- Test the Capacitance: Connect the multimeter leads to the capacitor terminals. The meter will display the capacitance value.
- Compare the Reading: Compare the reading to the rated capacitance printed on the capacitor label. A reading that's significantly lower (more than 10% below) indicates a failing capacitor.
Important Safety Note: Capacitors store a high voltage electrical charge, even when the power is off. Always discharge the capacitor before handling it to avoid electric shock. If you are uncomfortable with this procedure, call a qualified HVAC technician.
Replacing a Capacitor: A Step-by-Step Guide (DIY with Caution)
Replacing a capacitor is a task that some homeowners with electrical experience can handle, but it's crucial to proceed with caution and prioritize safety. If you're unsure about any step, call a professional.
Tools and Materials Needed:
- New capacitor (matching the original specifications – voltage and microfarad rating)
- Screwdrivers (various sizes, including insulated)
- Multimeter
- Wire strippers
- Pliers
- Electrical tape
- Camera or phone (to take pictures of wiring before disconnecting)
- Safety glasses
- Gloves
Replacement Steps:
- Turn Off the Power: Disconnect power to the AC unit at the breaker box. Double-check with a non-contact voltage tester to ensure the power is off.
- Discharge the Old Capacitor: Use an insulated screwdriver to carefully short the terminals of the old capacitor. This will discharge any remaining electricity.
- Take a Picture: Before disconnecting any wires, take a picture of the capacitor and the wiring configuration. This is crucial for reconnecting the wires correctly.
- Disconnect the Wires: Use pliers to carefully disconnect the wires from the capacitor terminals. Note the position of each wire.
- Remove the Old Capacitor: Unscrew or unclip the old capacitor from its mounting bracket.
- Install the New Capacitor: Place the new capacitor in the mounting bracket and secure it.
- Reconnect the Wires: Refer to the picture you took earlier and reconnect the wires to the correct terminals on the new capacitor. Ensure the connections are secure.
- Double-Check Your Work: Review your connections and make sure everything is properly installed.
- Restore Power: Turn the power back on at the breaker box.
- Test the AC Unit: Turn on the AC unit and observe its operation. It should start smoothly and run normally.
Common Mistakes to Avoid
- Using the wrong capacitor: Always use a replacement capacitor with the exact same voltage and microfarad (µF) rating as the original. Using the wrong capacitor can damage the AC unit.
- Incorrect Wiring: Wiring the capacitor incorrectly can lead to serious damage. Double-check your wiring against the picture you took before disconnecting the old capacitor.
- Ignoring Safety Precautions: Failing to disconnect power or discharge the capacitor can result in a dangerous electric shock.
When to Call a Professional HVAC Technician
While replacing a capacitor might seem straightforward, there are situations where it's best to call a professional:
- You're uncomfortable working with electricity.
- You're unsure about the diagnosis.
- The problem persists after replacing the capacitor. This could indicate a more serious issue with the compressor, motor, or other components.
- You don't have the necessary tools or experience.
- Your AC unit is still under warranty. Attempting DIY repairs might void the warranty.
Cost to Replace a Capacitor
The cost to replace a capacitor can vary depending on factors such as the type of capacitor, the complexity of the job, and your location. Here’s a general estimate:
- DIY Replacement (parts only): $20 - $100 (depending on capacitor type and brand)
- Professional Replacement: $150 - $400 (including labor and parts)
The professional cost includes diagnosis, labor, and the capacitor itself. Getting multiple quotes from different HVAC technicians is always a good idea.
Preventing Capacitor Failure
While capacitors will eventually fail due to normal wear and tear, there are steps you can take to prolong their lifespan:
- Regular AC Maintenance: Schedule annual AC maintenance with a qualified HVAC technician. They can inspect the capacitor and other components for signs of wear.
- Keep the AC Unit Clean: Remove debris and vegetation from around the outdoor unit to ensure proper airflow. Overheating can shorten the capacitor's lifespan.
- Use a Surge Protector: Power surges can damage capacitors. Using a surge protector can help protect your AC unit from electrical spikes.
- Minimize AC Start/Stop Cycles: Frequent on/off cycles put extra strain on the capacitor. Avoid setting the thermostat too low or turning the AC on and off frequently.
Conclusion
The capacitor is a crucial component in your AC unit, providing the necessary boost to start the motors. Understanding its function, recognizing the signs of failure, and knowing when to attempt a DIY replacement (and when to call a pro) can save you time, money, and frustration. Always prioritize safety and remember that professional help is just a phone call away. Knowing what does the capacitor do on an AC unit is the first step to keeping your home cool and comfortable.