What Does Underground Gas Line Look Like
Understanding Your Underground Gas Line: A Homeowner's Guide
Natural gas is a common and efficient energy source for many homes, powering furnaces, water heaters, and other appliances. A crucial part of your gas system is the underground gas line that brings the fuel from the street to your meter. Knowing what to expect can help you maintain your property safely and identify potential problems early on. While some tasks can be tackled by informed homeowners, remember that gas line work is often best left to qualified professionals.
What to Expect: A Visual Overview
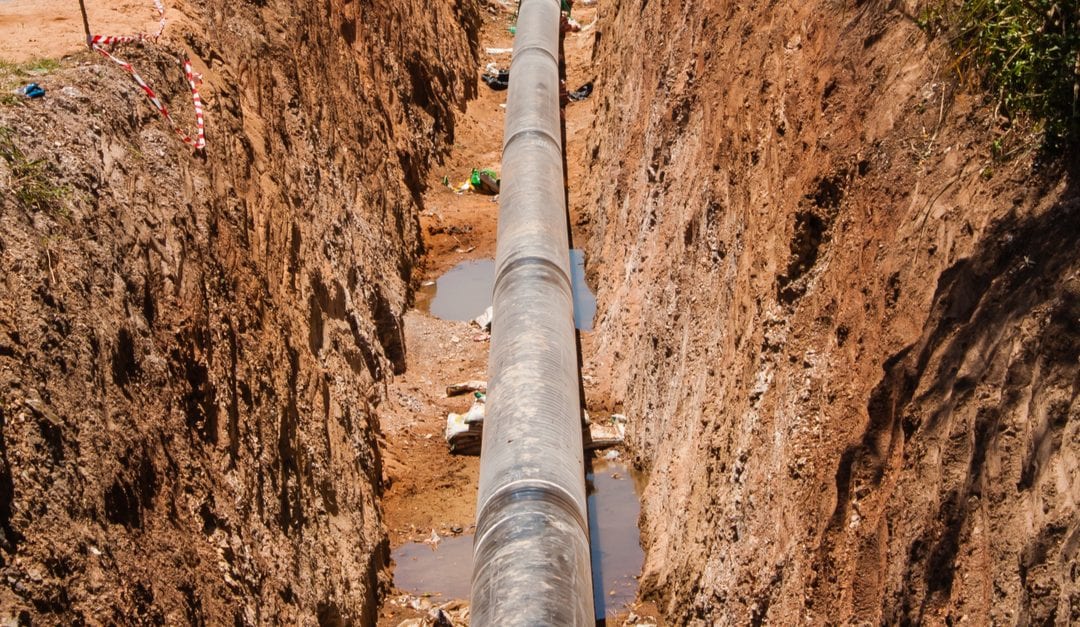
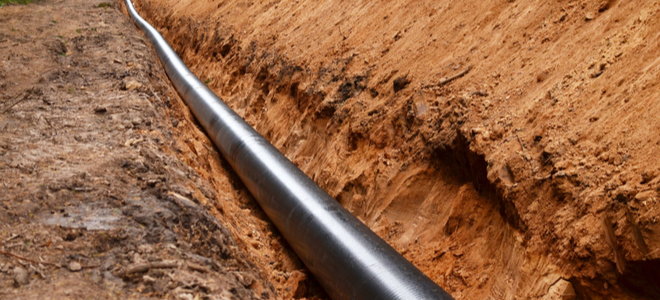
Generally, an underground gas line is a polyethylene (PE) or steel pipe buried several feet below the surface. Here's a breakdown of what you might encounter:
- The Main Line: This is the primary gas line running along your street, typically owned and maintained by the utility company.
- The Service Line: This line branches off the main line and runs to your property. This portion is usually your responsibility from the meter to the house, but check with your local utility to confirm.
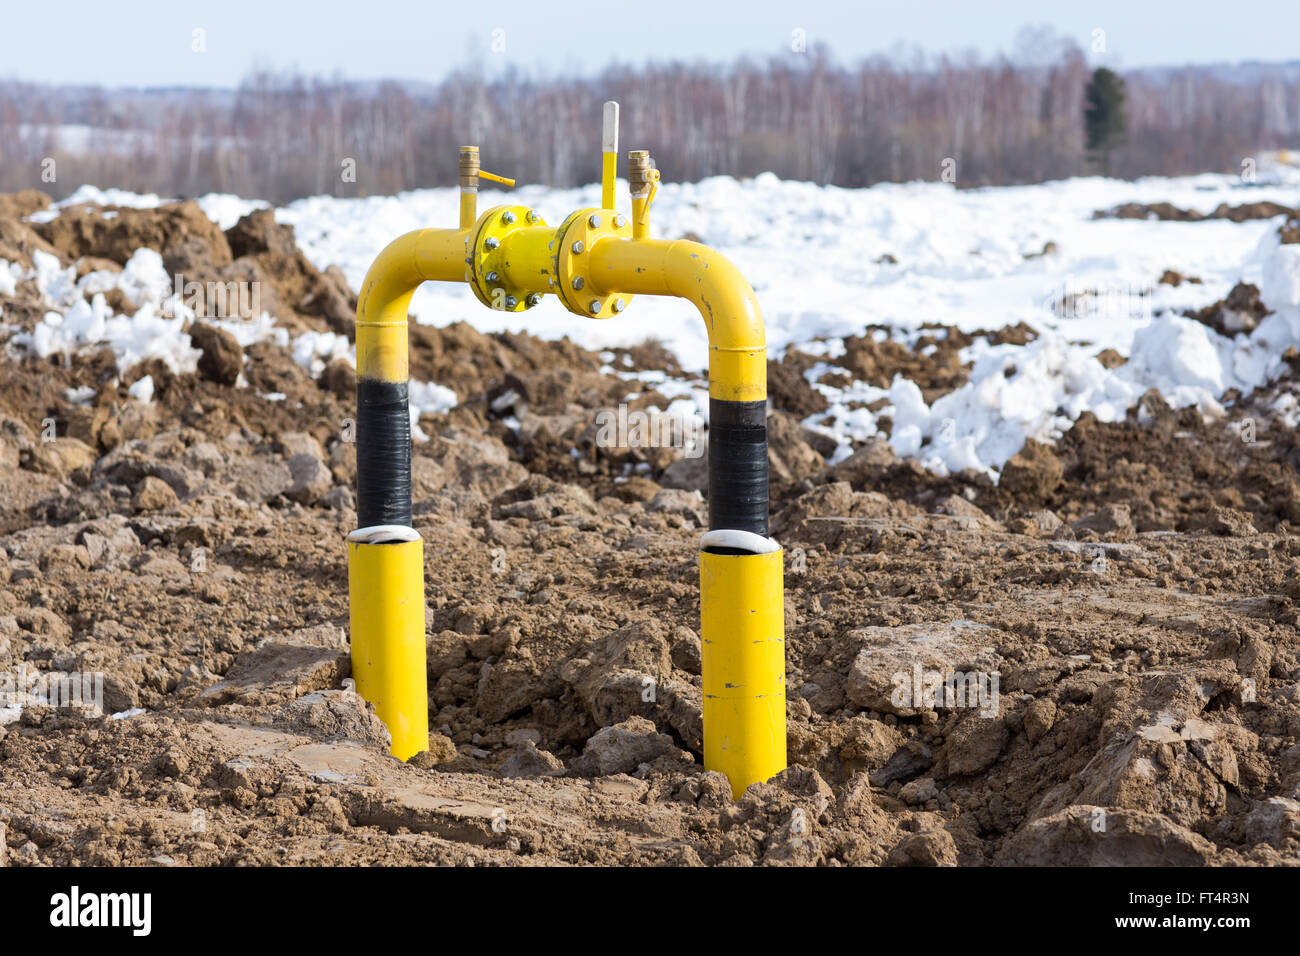
- The Riser: This is the section of pipe that comes up out of the ground, usually near your gas meter. It transitions from the underground material (PE or coated steel) to a rigid steel pipe above ground.
- The Meter: The meter measures the amount of gas you use. It's located where the service line enters your property.
Materials Used for Underground Gas Lines
Several materials are commonly used for underground gas lines, each with its own properties and lifespan:
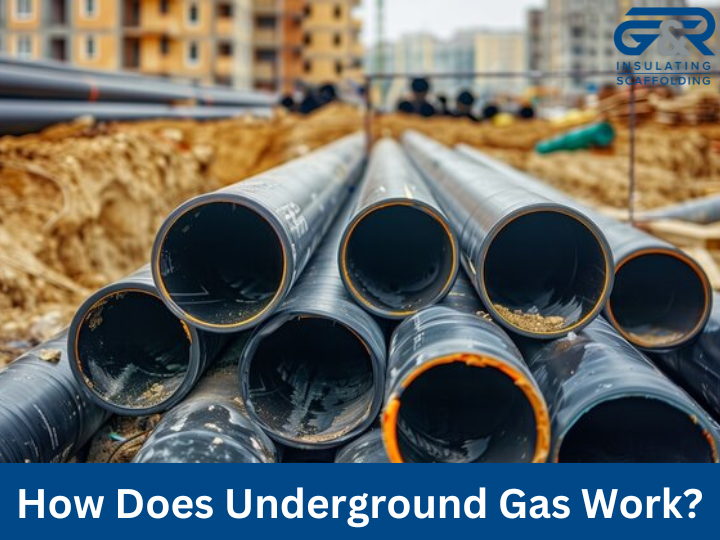
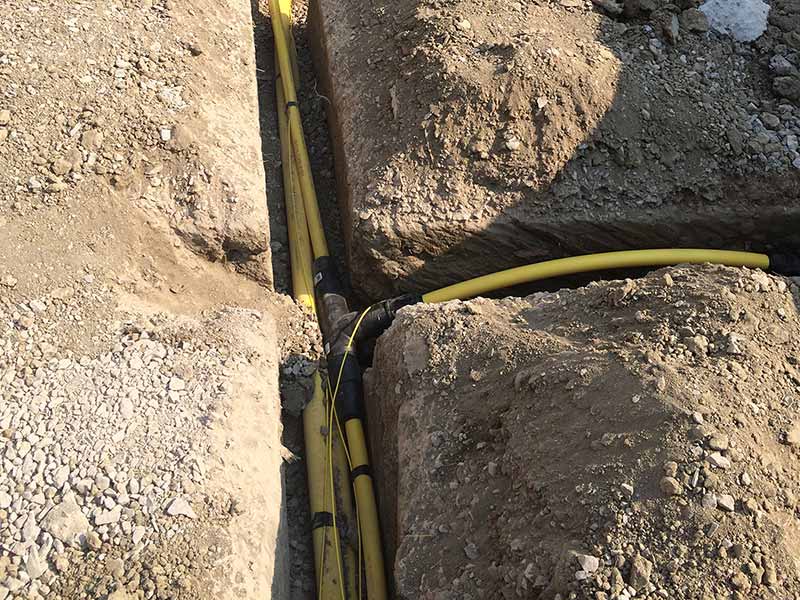
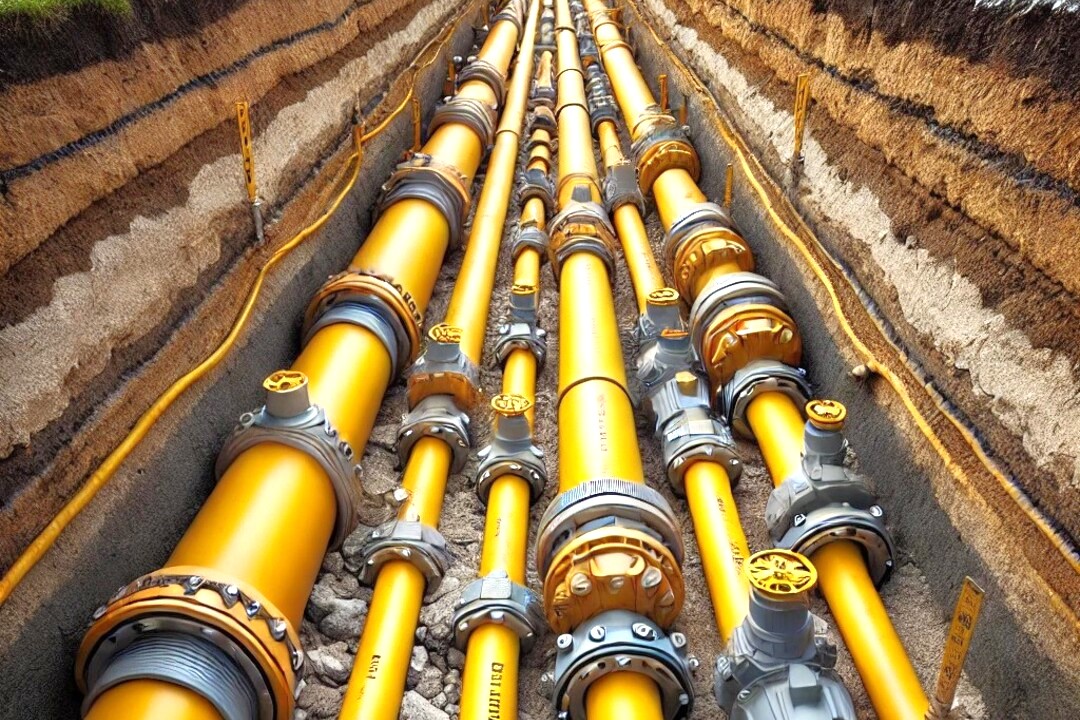
- Polyethylene (PE): A flexible plastic pipe, often yellow or orange. PE is corrosion-resistant and relatively easy to install, making it a popular choice. However, it can be damaged by sharp objects and requires specialized fittings.
- Coated Steel: Steel pipes are strong and durable but susceptible to corrosion. To prevent this, they are coated with a protective layer, such as epoxy or polyethylene.
- Black Iron: This type is used above ground; you’ll see this from the riser to the appliance.
Identifying the Gas Line on Your Property
Before digging or doing any landscaping, it's essential to locate your underground gas line. This prevents accidental damage and potential hazards. Here’s how:
- Call Before You Dig: Dial 811 (in the US) or your local "Call Before You Dig" number. They will notify utility companies to mark the locations of underground lines on your property free of charge. This is crucial!
- Look for Markers: Utility companies often place markers, such as flags or small posts, to indicate the approximate location of gas lines. These markers usually show the utility company’s name or logo.
- Check Your Property Records: Some property surveys or plats may show the location of underground utilities.
- Consult with a Professional: If you're unsure, hire a professional gas line locator or surveyor.
Common Issues with Underground Gas Lines
While underground gas lines are designed to be durable, they can experience problems over time. Here are some common issues:
- Corrosion: Steel pipes can corrode, especially in areas with acidic soil or high moisture levels. Corrosion weakens the pipe and can lead to leaks.
- Leaks: Leaks can occur due to corrosion, damage from digging, or faulty fittings. Even small leaks can be dangerous and should be addressed immediately.
- Damage from Digging: This is a leading cause of gas line damage. Always call before you dig to prevent this.
- Root Intrusion: Tree roots can sometimes grow around and damage underground pipes.
- Ground Movement: Shifts in the soil, such as those caused by earthquakes or frost heave, can stress gas lines and cause leaks.
Signs of a Potential Gas Leak
Knowing the signs of a gas leak is essential for safety. If you suspect a leak, act quickly and cautiously:
- Smell: Natural gas is odorless, but utility companies add a chemical called mercaptan to give it a distinctive rotten egg smell.
- Sound: You might hear a hissing or whistling sound near a gas line or appliance.
- Visual Signs: Look for bubbles in standing water, dead or dying vegetation in a localized area, or a visible vapor cloud.
- Physical Symptoms: Dizziness, nausea, headache, or fatigue can be symptoms of gas inhalation.
If you suspect a gas leak:
- Evacuate Immediately: Get everyone out of the building.
- Do Not Use Electrical Devices: Avoid anything that could create a spark, such as light switches, phones, or garage door openers.
- Call the Gas Company or 911: From a safe location, call the gas company or 911 to report the leak.
- Do Not Re-enter: Do not return to the building until the gas company has given the all-clear.
DIY Gas Line Projects: When to Proceed with Caution
Some minor gas line projects can be handled by experienced DIYers, but always prioritize safety and follow local codes. Here are a few examples:
- Replacing a Gas Connector: If you're comfortable working with gas fittings, you might be able to replace a flexible gas connector (the corrugated metal hose) that connects an appliance to the gas line. Always turn off the gas supply before starting, and use pipe dope or Teflon tape on the threads.
- Relocating a Gas Appliance (Slightly): Moving an appliance a short distance might be possible with flexible connectors, but ensure the connector is properly sized and approved for gas use.
However, never attempt these projects yourself:
- Installing New Gas Lines: Running new gas lines requires specialized knowledge and tools and is best left to professionals.
- Repairing Leaks: Never attempt to repair a gas leak yourself. Call the gas company immediately.
- Working on the Meter: The gas meter is the property of the utility company, and only authorized personnel can work on it.
- Any work before the meter.
Essential Tools and Materials for Minor Gas Line Work
If you're tackling a minor gas line project, make sure you have the right tools and materials:
- Pipe Wrenches: For tightening and loosening gas fittings. Use two, one to hold the pipe and one to turn the fitting.
- Pipe Dope or Teflon Tape: To seal threaded connections. Use the correct type for gas lines.
- Leak Detector Solution: A soap-and-water solution to check for leaks after making connections.
- Adjustable Wrench: For various tasks.
- Screwdrivers: For removing appliance panels and securing gas connectors.
- Gloves: To protect your hands.
- Safety Glasses: To protect your eyes.
- Gas Shut-Off Wrench: To quickly shut off the gas supply in an emergency. Know where your gas shut-off valve is located.
When to Call a Professional
While some projects can be DIYed, it's crucial to know when to call a professional. Here are some situations where a qualified gas line technician is essential:
- Any suspected gas leak.
- Installing a new gas line.
- Repairing a damaged gas line.
- Relocating a gas meter.
- If you're uncomfortable or unsure about any aspect of the project.
- If you smell gas.
Estimating Gas Line Repair Costs
Gas line repair costs can vary depending on the nature and extent of the problem. Here are some general estimates:
- Leak Repair: $250 - $1000, depending on the location and severity of the leak.
- Gas Line Replacement: $500 - $2000 or more, depending on the length of the line and the complexity of the installation.
- Gas Line Relocation: $500 - $1500, depending on the distance and complexity of the relocation.
- Emergency Service Call: $150 - $300 for an emergency call.
These are just estimates, and the actual cost may vary depending on your location, the specific problem, and the contractor you hire. Always get multiple quotes before hiring a professional.
Preventative Maintenance for Your Underground Gas Line
While underground gas lines are relatively low-maintenance, there are a few things you can do to help prevent problems:
- Call Before You Dig: Always call 811 before digging to avoid damaging the gas line.
- Maintain Landscaping: Keep trees and shrubs trimmed away from gas lines to prevent root intrusion.
- Be Aware of Construction: If you're planning any construction or landscaping projects, be sure to mark the location of the gas line.
- Regularly Inspect Above-Ground Components: Check the gas meter and riser for signs of corrosion or damage.
- Schedule Professional Inspections: Consider having a qualified gas line technician inspect your gas lines periodically, especially if you have an older home or suspect a problem.
By understanding what your underground gas line looks like, recognizing potential problems, and taking appropriate safety precautions, you can ensure the safe and efficient operation of your home's gas system. Remember that safety is always the top priority, and when in doubt, call a qualified professional.