What Happens When An Air Conditioner Capacitor Goes Bad
Your air conditioner is humming along, keeping you cool all summer. But then, one sweltering afternoon, it sputters, groans, or just… stops. Before you panic and call for expensive repairs, consider the capacitor. This small, inexpensive component is a common culprit in AC failures. Understanding what happens when an air conditioner capacitor goes bad can save you time, money, and a whole lot of frustration. This guide will walk you through the symptoms, troubleshooting steps, and whether you can (and should) tackle the replacement yourself.
Understanding Air Conditioner Capacitors
Think of a capacitor as a rechargeable battery for your AC's motors. These motors, responsible for starting the fan and compressor, require a powerful surge of energy to get going. The capacitor stores this energy and delivers it on demand. Without a functioning capacitor, these motors struggle, leading to a cascade of problems.
There are typically two types of capacitors in an AC unit:
- Start Capacitor: This type provides the initial jolt of energy to start the compressor motor. It's only in operation for a brief period during startup.
- Run Capacitor: This type provides continuous energy to keep both the compressor and fan motors running efficiently. It's always in operation when the AC is on.
Signs of a Failing Air Conditioner Capacitor
Recognizing the signs of a capacitor problem early can prevent further damage to your AC unit. Here are some common indicators:
- Humming Noise: A failing capacitor often causes the motor to hum without starting. This is because the motor isn't receiving enough power to overcome inertia.
- Hard Starting: The AC might struggle to start, taking longer than usual or starting and stopping intermittently.
- Clicking Sounds: You might hear a clicking sound coming from the unit, particularly during startup attempts. This can indicate the compressor trying unsuccessfully to start.
- Fan Not Spinning: The outdoor fan might not spin, or it might spin weakly. This could be due to a problem with the fan motor capacitor.
- Increased Energy Bills: A failing capacitor can cause the motors to work harder, leading to increased energy consumption.
- AC Shuts Down: The AC may run for a short period and then shut down. This could be due to the compressor overheating because it isn't starting properly.
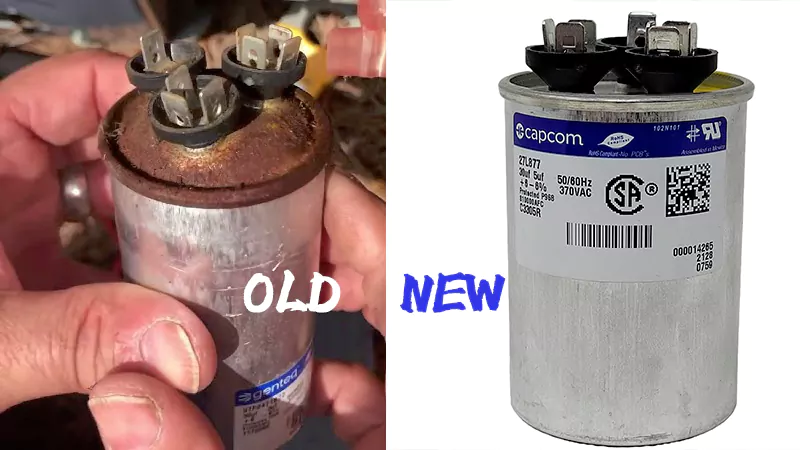
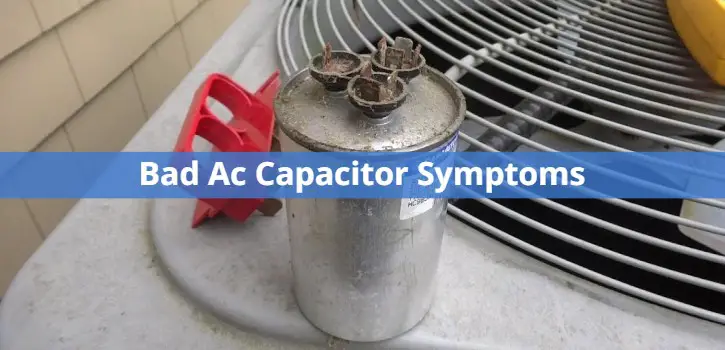
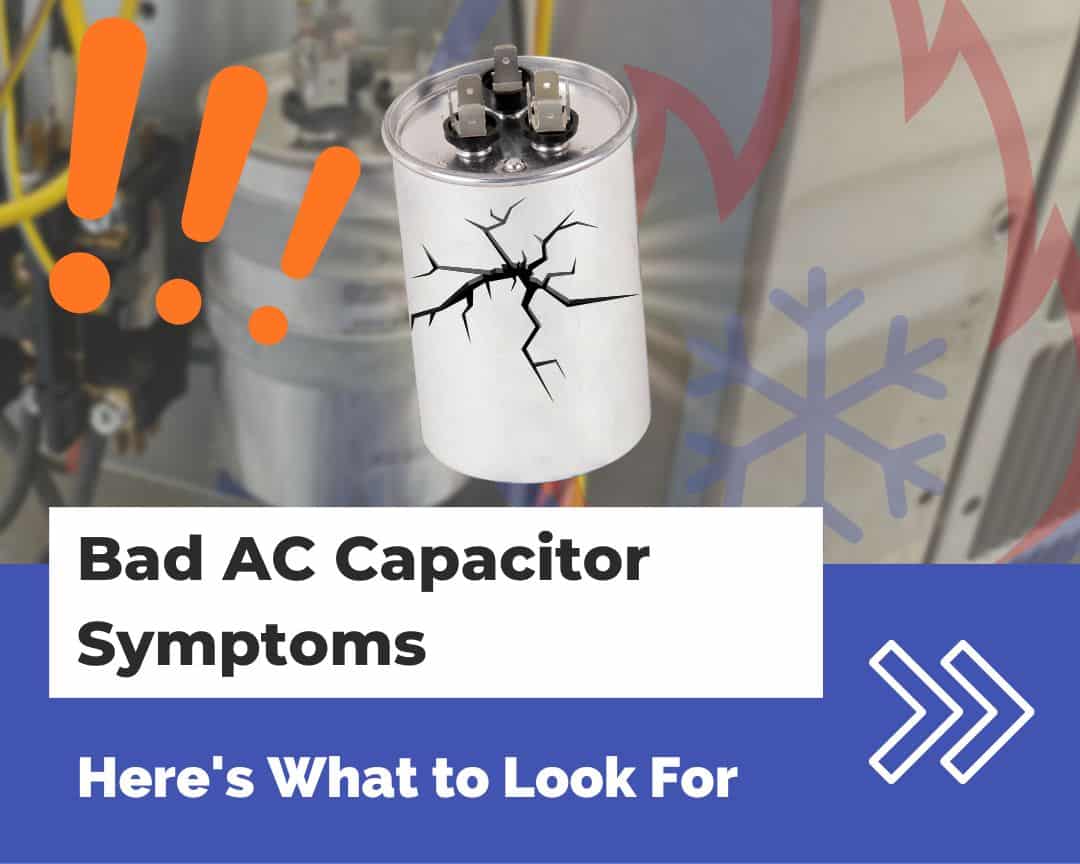
- Bulging or Leaking Capacitor: A visually damaged capacitor (bulging, leaking oil, or cracked casing) is a clear sign of failure. Never touch a bulging or leaking capacitor as it may contain harmful chemicals.
Troubleshooting a Suspected Capacitor Problem
Before jumping to conclusions, it's essential to rule out other potential issues. Here's a step-by-step troubleshooting process:
- Safety First: Turn off the power to the AC unit at the breaker box. Always disconnect power before working on electrical components.
- Visual Inspection: Carefully examine the capacitor for any signs of physical damage, such as bulging, leaking, or cracks.
- Multimeter Test (Advanced): If the capacitor looks okay, you can use a multimeter to test its capacitance. This requires knowledge of electrical testing and safety procedures. If you are not comfortable with this step, call a qualified HVAC technician. You'll need to discharge the capacitor before testing it (see safety warning below).
Safety Warning: Capacitors store electricity and can deliver a dangerous shock even after the unit has been turned off. It is crucial to discharge the capacitor before handling it. Use a properly insulated screwdriver with a well-insulated handle. Short the terminals of the capacitor by touching the screwdriver to both terminals simultaneously. Be very careful, as this can create a spark.
Tools and Parts Needed for Capacitor Replacement (DIY, proceed with caution)
If you've determined that the capacitor is faulty and you're comfortable proceeding with the replacement, you'll need the following:
- Replacement Capacitor: Match the microfarad (µF) and voltage ratings of the old capacitor exactly. This information is printed on the capacitor itself.
- Screwdrivers: Various sizes, including a flathead screwdriver for discharging the capacitor.
- Multimeter (optional): For testing the new capacitor.
- Wire Strippers/Crimpers: For preparing and connecting wires.
- Pliers: For gripping and manipulating wires.
- Insulated Screwdriver (for discharging): Crucial for safety.
- Work Gloves: For protection.
- Safety Glasses: To protect your eyes.
- Camera or Phone: To take pictures of the wiring before disconnecting anything.
Replacing the Capacitor: A Step-by-Step Guide (DIY, proceed with extreme caution)
Warning: Replacing a capacitor involves working with electricity. If you are not comfortable with electrical work, call a qualified HVAC technician. Incorrect wiring can damage your AC unit or cause serious injury.
- Turn off the power: Double-check that the power to the AC unit is turned off at the breaker.
- Discharge the capacitor: Carefully discharge the capacitor using an insulated screwdriver.
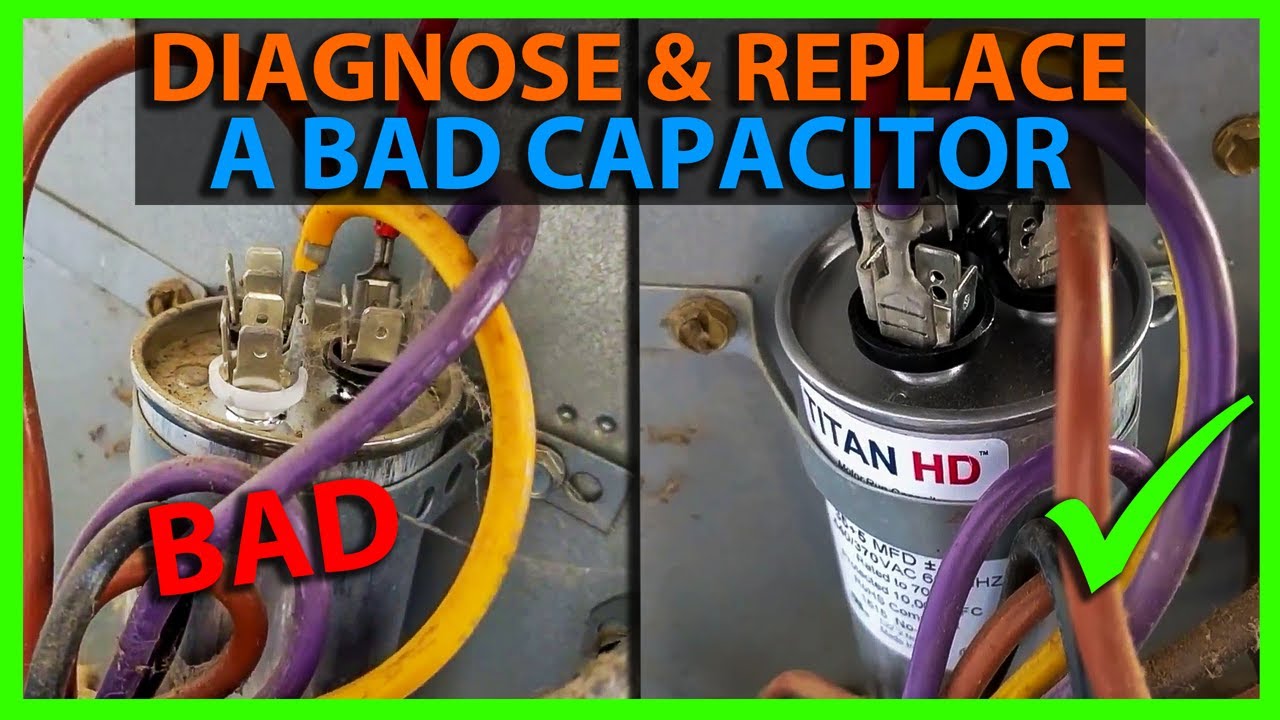
- Take pictures: Take detailed pictures of the wiring connections to the capacitor before disconnecting anything. This is crucial for reassembly.
- Disconnect the wires: Disconnect the wires from the capacitor terminals. Note the position of each wire.
- Remove the old capacitor: Loosen any mounting hardware and remove the old capacitor.
- Install the new capacitor: Place the new capacitor in the same location and secure it with the mounting hardware.
- Reconnect the wires: Reconnect the wires to the capacitor terminals, matching the original wiring configuration based on the pictures you took.
- Double-check wiring: Carefully double-check all wiring connections to ensure they are secure and correct.
- Replace access panel: Close and secure the access panel to the AC unit.
- Turn on the power: Turn on the power to the AC unit at the breaker.
- Test the AC: Turn on the AC and observe its operation. Listen for any unusual noises or problems.
When to Call a Professional
While replacing a capacitor can be a DIY project for experienced homeowners, there are situations where it's best to call a qualified HVAC technician:
- You're uncomfortable working with electricity. Electrical work can be dangerous, and it's always best to err on the side of caution.
- You're unsure about the troubleshooting process. If you're not sure whether the capacitor is the problem, a technician can diagnose the issue accurately.
- The AC unit is under warranty. Attempting to repair the unit yourself may void the warranty.
- You suspect other problems with the AC unit. A capacitor failure may be a symptom of a larger issue.
- The compressor is not starting even after replacing the capacitor. This indicates a more serious problem with the compressor itself.
Cost of Replacing an Air Conditioner Capacitor
The cost of replacing an air conditioner capacitor can vary depending on several factors, including the type of capacitor, the labor costs in your area, and whether you hire a professional or do it yourself.
- DIY: If you replace the capacitor yourself, the cost will primarily be the price of the capacitor itself, which typically ranges from $20 to $100.
- Professional: If you hire an HVAC technician, the total cost can range from $150 to $400 or more, including the cost of the capacitor and labor.
Obtain quotes from multiple HVAC technicians to ensure you're getting a fair price. Don't automatically choose the cheapest option; consider the technician's experience and reputation.
Preventive Maintenance
While capacitors can fail unexpectedly, there are steps you can take to prolong their lifespan and prevent premature failure:
- Regular AC Maintenance: Schedule regular maintenance checks with a qualified HVAC technician. They can inspect the capacitor and other components for signs of wear and tear.
- Keep the Unit Clean: Clean the outdoor unit regularly to remove debris that can restrict airflow and cause the unit to overheat.
- Minimize Start/Stop Cycles: Avoid frequently turning the AC on and off, as this puts extra stress on the capacitor.
- Use a Surge Protector: Protect your AC unit from power surges, which can damage the capacitor.
Conclusion
A failing air conditioner capacitor can be a frustrating problem, but understanding the symptoms and troubleshooting steps can empower you to take action. While DIY replacement is possible for experienced homeowners, it's crucial to prioritize safety and know when to call a professional. By performing regular maintenance and addressing issues promptly, you can keep your AC unit running efficiently and comfortably for years to come. Always remember that when in doubt, contacting a professional HVAC technician is the safest and most reliable way to ensure your AC is properly repaired and maintained.