What Is A Dual Run Capacitor

Summer heat is blazing, and your air conditioner is sputtering instead of blowing cool air? Or perhaps winter's chill has arrived, but your furnace is only offering lukewarm comfort? Chances are, a seemingly small component called the dual run capacitor might be the culprit. This unassuming cylinder plays a crucial role in the smooth operation of your HVAC system, and when it falters, you'll definitely notice.
Understanding the Dual Run Capacitor
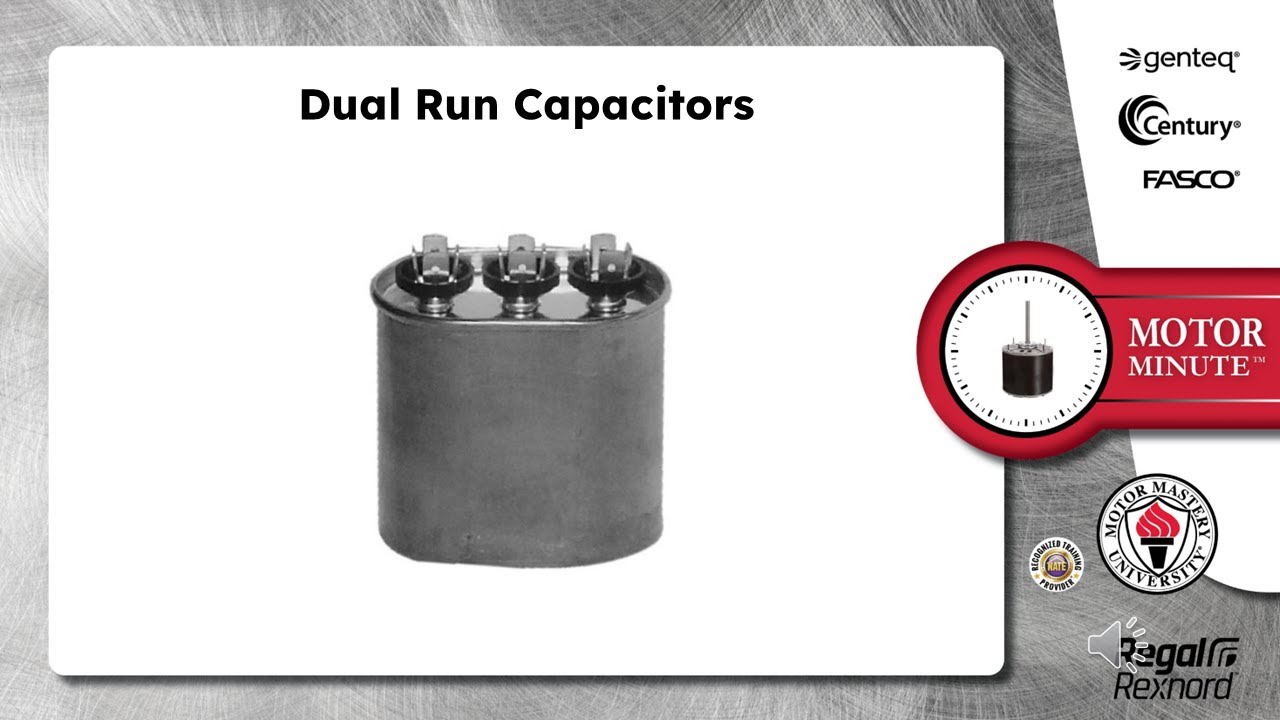
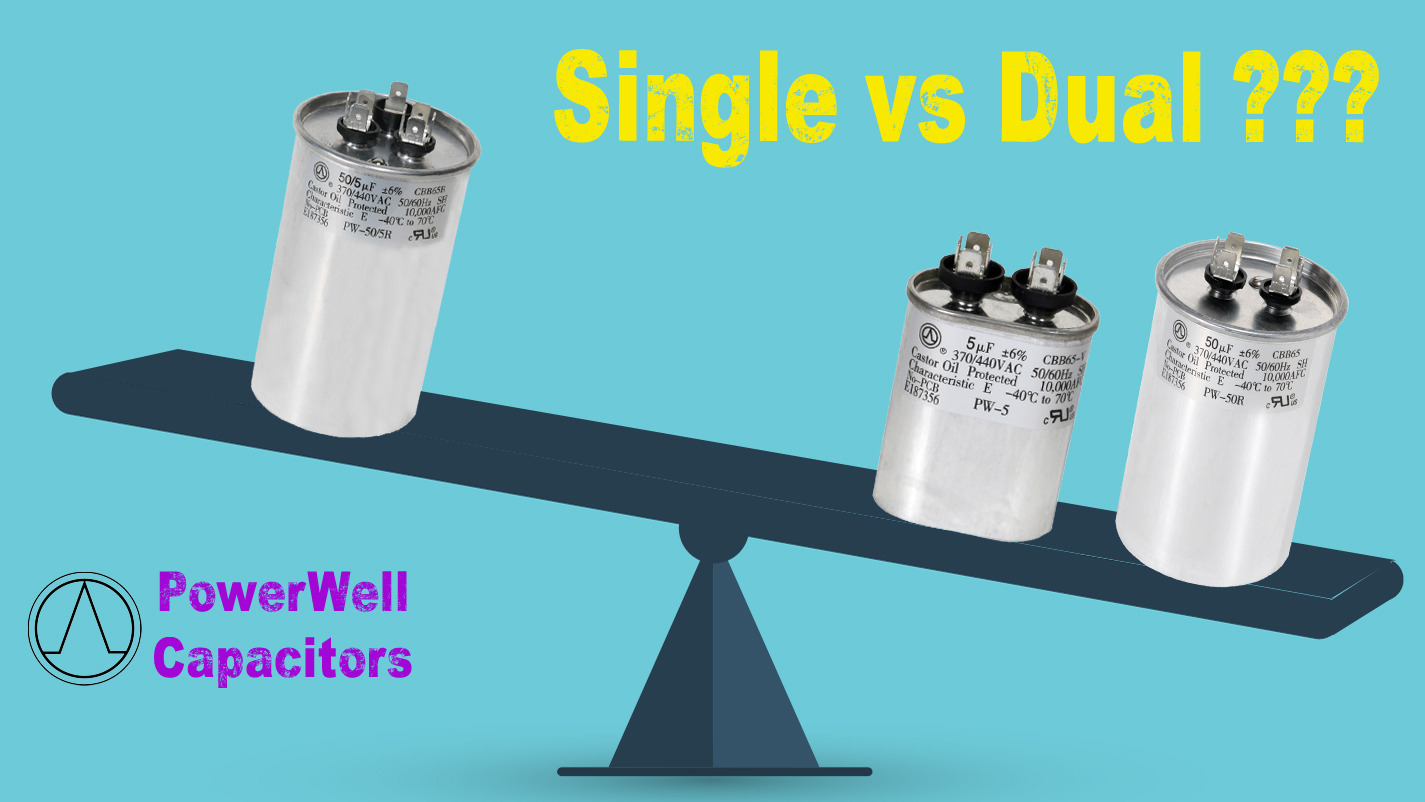
So, what exactly *is* a dual run capacitor? Think of it as a battery and signal booster rolled into one, specifically designed for HVAC systems. Unlike a battery, it doesn't store power for long periods. Instead, it provides the electrical boost needed to start and run the motors that power your air conditioner's compressor and fan, or your furnace's blower motor and fan. The "dual" part signifies that it actually houses two capacitors in a single unit, each dedicated to a different motor.
The dual run capacitor ensures these motors start quickly and run efficiently. Without it, the motors would struggle to start, draw excessive current, overheat, and potentially fail prematurely.
Diagnosing a Faulty Dual Run Capacitor: A Step-by-Step Guide
Before diving into any troubleshooting, it's essential to prioritize safety. Always disconnect power to your HVAC unit at the breaker box before working on it. This is non-negotiable.
Step 1: Preliminary Checks (No Tools Required)
- Listen Carefully: When your AC or furnace attempts to start, do you hear a humming sound that doesn't lead to operation? This is a classic sign of a failing capacitor. The motor is trying to start, but lacks the initial boost.
- Observe the Fan: In some cases, the outdoor fan (in AC units) or the indoor blower fan (in furnaces) might start very slowly or only after you give it a manual push with a stick (use caution!). This indicates the capacitor isn't providing sufficient starting power. Do NOT stick your hand near the fan blades.
- Check for Obvious Damage: Visually inspect the capacitor. Look for signs of bulging, leaking fluid, or rust. These are clear indicators of a failing or failed capacitor.
Step 2: Visual Inspection Inside the Unit (Power OFF!)
Once you've cut the power, carefully open the service panel of your outdoor AC unit or indoor furnace. Be mindful of sharp edges.
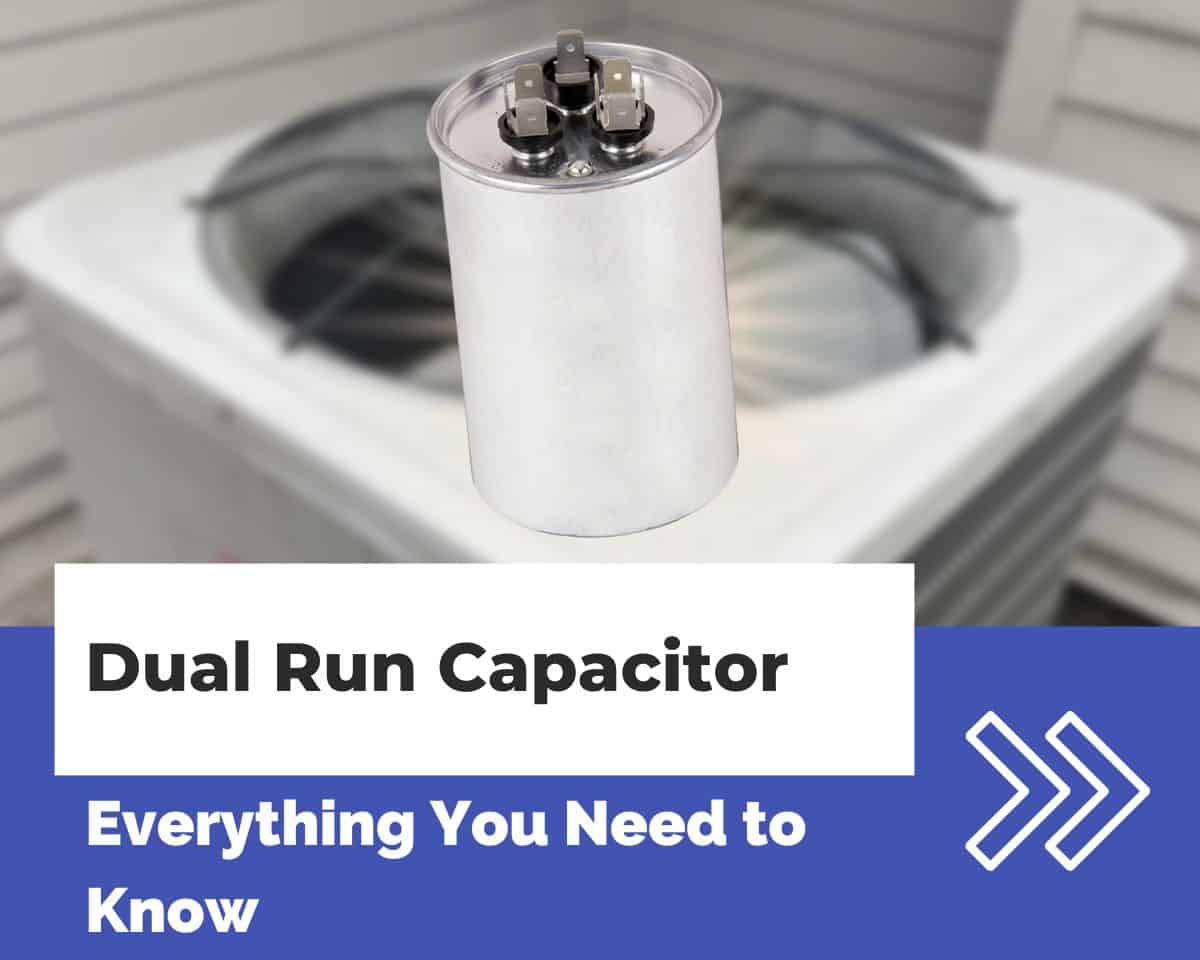
- Locate the Capacitor: It's usually a cylindrical aluminum can, typically light gray or silver in color. It will be near the compressor or blower motor.
- Closer Inspection: Look again for those signs of damage – bulging, leaking, rust. Note the terminals on the top of the capacitor and the wires connected to them. Take a picture with your phone before disconnecting anything! This is crucial for proper reconnection later.
Step 3: Testing with a Multimeter (Requires Basic Equipment & Caution)
This step requires a multimeter capable of measuring capacitance. If you're not comfortable using a multimeter, skip this step and call a qualified HVAC technician. Working with electricity can be dangerous.
Important Safety Note: Even after disconnecting power, a capacitor can hold a residual charge. Discharge the capacitor before handling it. You can do this carefully by using an insulated screwdriver with a well-insulated handle to short the terminals together. Use extreme caution! Some technicians use a resistor for a safer, slower discharge.
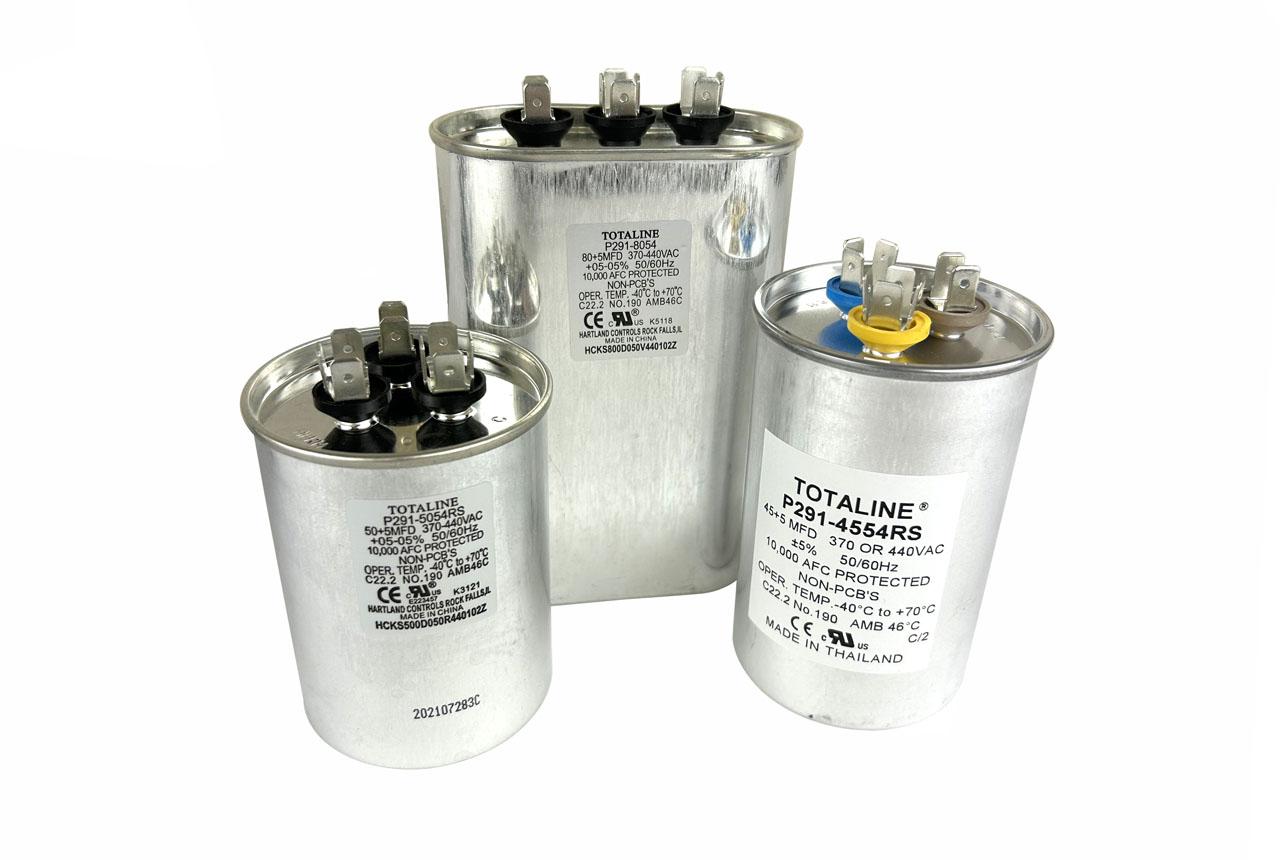
- Identify Terminals: The capacitor will have three terminals labeled "C" (Common), "FAN", and "HERM" (Hermetic – connected to the compressor motor).
- Set the Multimeter: Set your multimeter to the capacitance setting (usually denoted by "µF" or "mfd"). Select a range that's appropriate for the capacitor's rated capacitance (which will be printed on the capacitor label).
- Measure Capacitance:
- Measure the capacitance between the "C" terminal and the "FAN" terminal. Note the reading.
- Measure the capacitance between the "C" terminal and the "HERM" terminal. Note the reading.
- Compare to Rating: Compare your readings to the capacitor's rated capacitance values, which are printed on its label. A healthy capacitor should be within +/- 6% of its rated value. If the measured capacitance is significantly lower (e.g., 20% or more below the rated value), the capacitor is likely failing and needs replacement.
DIY Actions: When and How to Replace a Dual Run Capacitor
If you've diagnosed a faulty capacitor and feel comfortable working with electricity, you *may* be able to replace it yourself. However, be realistic about your skills and comfort level. If you're unsure about any step, call a professional.
When DIY is Appropriate:
- You're comfortable working with electrical components.
- You have the necessary tools (multimeter, insulated screwdrivers, wire strippers/crimpers).
- You can accurately identify the capacitor and its terminals.
- You understand the importance of safety precautions (disconnecting power, discharging the capacitor).
How to Replace the Capacitor (Power OFF!)
- Purchase a Replacement: Buy an *exact* replacement capacitor with the same voltage and capacitance ratings. These ratings are critical. Using a capacitor with incorrect ratings can damage your equipment. Get it from a reputable HVAC supply store or online retailer.
- Take Detailed Photos: Before disconnecting anything, take multiple clear photos of the wiring connections to the old capacitor. This is your reference guide for reconnecting the wires correctly.
- Disconnect the Wires: Carefully disconnect the wires from the terminals of the old capacitor. Use pliers to gently pull the connectors off the terminals. If the connectors are corroded, clean them with a wire brush or sandpaper.
- Remove the Old Capacitor: Most capacitors are held in place by a metal strap or clamp. Loosen the strap and remove the old capacitor.
- Install the New Capacitor: Place the new capacitor in the same position as the old one and secure it with the strap or clamp.
- Reconnect the Wires: Using your photos as a guide, reconnect the wires to the terminals of the new capacitor. Ensure each wire goes to the correct terminal (C, FAN, HERM). A mistake here can damage your system. Push the connectors firmly onto the terminals.
- Double-Check: Before closing the service panel, double-check all wiring connections to ensure they are secure and correct.
- Restore Power: Replace the service panel and restore power to your HVAC unit at the breaker box.
- Test the System: Turn on your AC or furnace and observe its operation. The motor should start smoothly and run without humming or sputtering.
When to Call a Professional HVAC Technician
While replacing a capacitor can sometimes be a DIY project, there are situations where it's best to leave it to the professionals.
- You're Uncomfortable: If you're not comfortable working with electricity or don't understand the steps involved, don't risk it. Call a qualified HVAC technician.
- Complex Wiring: If the wiring to the capacitor is complex or you're unsure how to reconnect it correctly, seek professional help.
- Underlying Issues: If the capacitor fails frequently, it could be a symptom of a larger problem with your compressor or motor. A technician can diagnose and address the root cause.
- Refrigerant Leaks: If you suspect a refrigerant leak, do not attempt to fix it yourself. Refrigerant handling requires specialized equipment and training.
- High Voltage: Working with high-voltage components is dangerous. If you're not experienced in this area, it's best to leave it to the pros.
- System Warranty: Replacing a capacitor yourself might void your HVAC system's warranty. Check the warranty terms before proceeding.
A licensed HVAC technician has the knowledge, experience, and tools to diagnose and repair HVAC problems safely and efficiently. They can also ensure that the repair is done correctly and that your system is operating at peak performance.
Prevention and Maintenance
While capacitors will eventually fail, you can take steps to extend their lifespan and prevent premature failure:
- Regular HVAC Maintenance: Schedule annual maintenance checks with a qualified HVAC technician. They can inspect the capacitor and other components for signs of wear and tear.
- Keep the Unit Clean: Ensure your outdoor AC unit is free of debris such as leaves, grass clippings, and weeds. This allows for proper airflow and prevents the unit from overheating.
- Use a Surge Protector: Power surges can damage capacitors. Consider using a surge protector to protect your HVAC system from voltage spikes.
By understanding the function of the dual run capacitor, recognizing the symptoms of a failing unit, and following the troubleshooting steps outlined above, you can take a proactive approach to maintaining your HVAC system and ensuring your home stays comfortable year-round. Remember to prioritize safety and don't hesitate to call a professional when needed. A little knowledge can go a long way in keeping your home cool in the summer and warm in the winter!