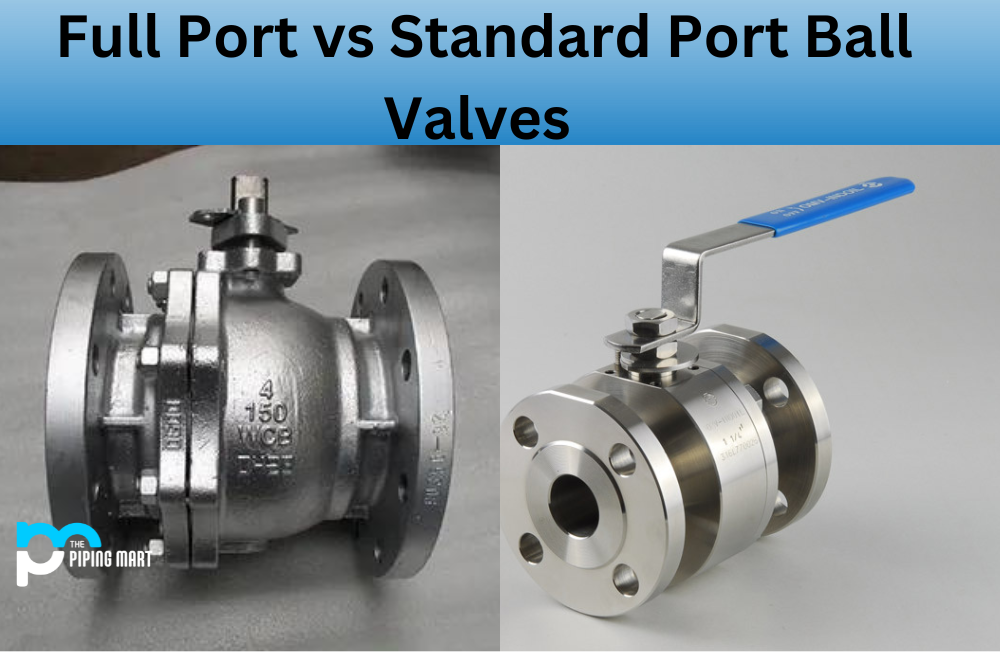
What Is A Full Port Ball Valve
Many homeowners experience frustrating inconsistencies with their home's heating or cooling. One room might be perfectly comfortable, while another feels significantly colder in the winter or hotter in the summer. This uneven temperature distribution can lead to higher energy bills and general discomfort. Often, the culprit isn't the furnace or air conditioner itself, but rather a simple component within your plumbing system that's not functioning correctly: the full port ball valve.
Understanding the Full Port Ball Valve
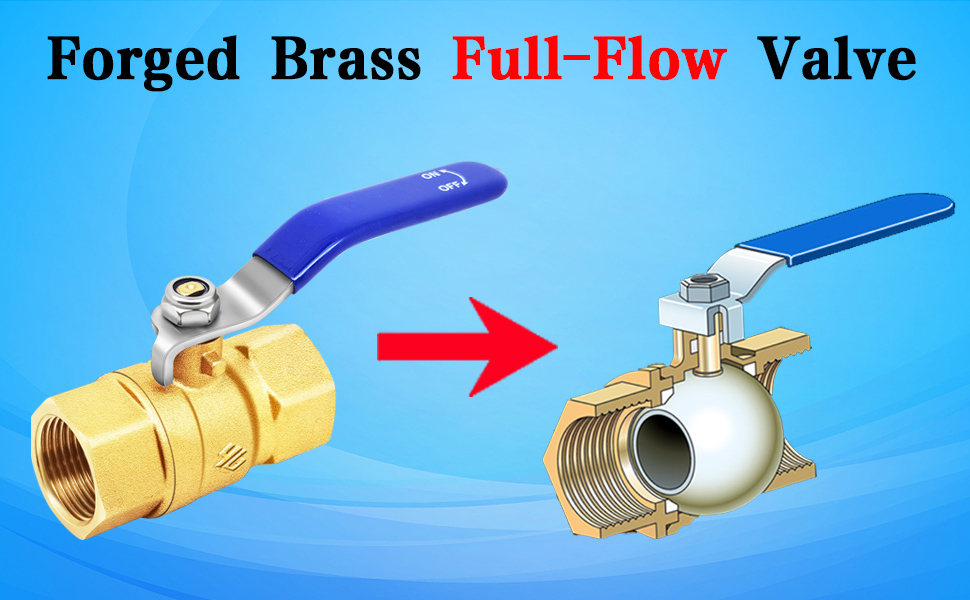
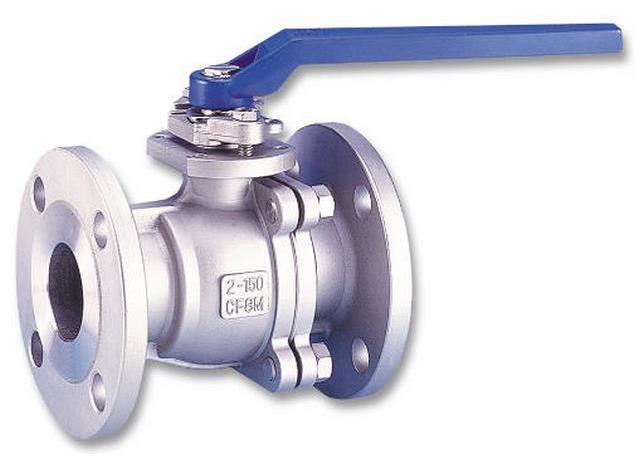
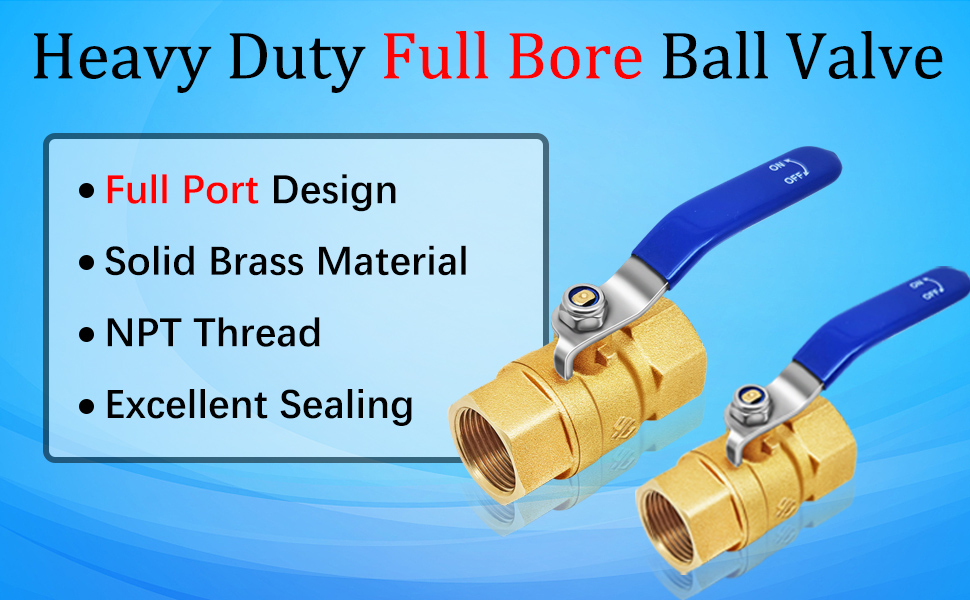
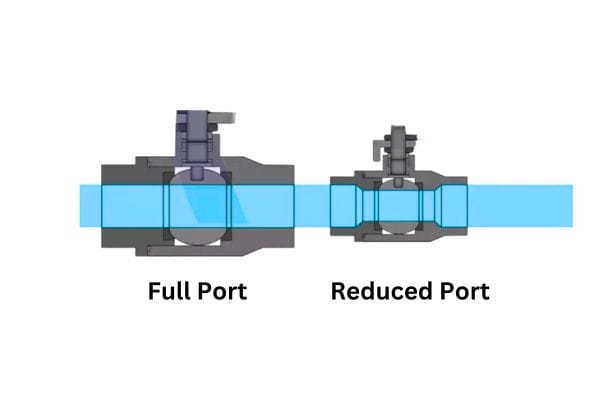
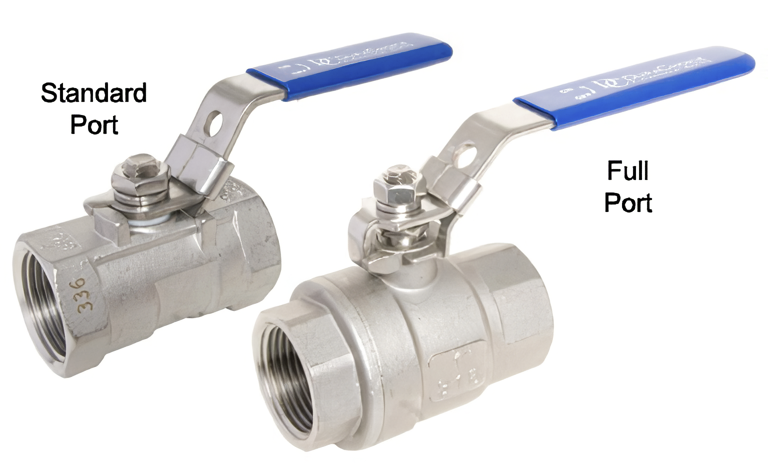
A ball valve is a type of shut-off valve that controls the flow of fluids (typically water in hydronic heating/cooling systems) through a pipe. It uses a hollow, pivoting ball to either allow or block the flow. The "full port" designation means that the diameter of the opening through the ball is the same as the inside diameter of the pipe it's connected to. This design minimizes restriction and allows for maximum flow when the valve is open.
These valves are commonly used in:
- Hydronic heating systems: Controlling flow to radiators, baseboard heaters, or zones.
- Chilled water systems: Directing coolant to fan coil units or other cooling devices.
- Domestic water systems: Isolating sections of plumbing for maintenance or repair.
When a full port ball valve fails, it can restrict or completely block flow, leading to the aforementioned temperature imbalances and system inefficiencies. Let's explore how to diagnose and potentially fix these issues.
Troubleshooting a Suspected Full Port Ball Valve Problem
Here's a step-by-step approach to diagnosing a potential issue with a full port ball valve impacting your home's heating or cooling.
Step 1: Identify the Affected Zone or Area
First, pinpoint the specific room or area experiencing the temperature problem. Carefully observe the temperature difference compared to other zones in your house. Is it consistently colder/hotter, or does the problem fluctuate?
Step 2: Locate the Relevant Ball Valve
Next, you need to find the full port ball valve that controls the flow of water to the affected zone. This can be a bit tricky, so here's how to approach it:
- Check your system diagram: If you have a diagram of your heating or cooling system, it should show the location of all valves.
- Trace the pipes: Start at the radiator, baseboard heater, or fan coil unit in the affected area. Follow the pipes back towards the main heating/cooling equipment (boiler, chiller). Look for valves along the way. Full port ball valves usually have a handle that rotates 90 degrees to open or close.
- Look for zone valve manifolds: In many modern systems, zone valves are grouped together on a manifold. This is a common place to find full port ball valves.
Important Safety Note: Before proceeding, ensure the system is not actively running (e.g., the heating system hasn't just turned on). If the pipes are hot, allow them to cool down before touching anything.
Step 3: Visual Inspection (No Tools Required)
Once you've located the valve, perform a thorough visual inspection:
- Valve Handle Position: Is the handle fully open? The handle should be parallel to the pipe when open and perpendicular when closed. Sometimes, handles can be bumped or accidentally moved.
- Leaks: Look for any signs of water leakage around the valve body, handle, or pipe connections. Even a small, persistent leak can indicate a problem.
- Corrosion: Check for corrosion on the valve body or surrounding pipes. Severe corrosion can weaken the valve and lead to failure.
- Handle Movement: Try to move the handle. Does it move freely and smoothly through its full range of motion? Or does it feel stiff, stuck, or loose?
Record your observations. Even seemingly minor details can be helpful in diagnosing the problem.
Step 4: Basic Functionality Check (Minimal Tools Required)
If the visual inspection doesn't reveal any obvious issues, you can perform some basic checks to assess the valve's functionality. You'll need a pair of pliers or a wrench (sized appropriately for the valve handle) and a non-contact thermometer (optional but helpful).
- Handle Operation: If the handle feels stiff, carefully try to move it through its full range of motion using pliers or a wrench for leverage. Be gentle! Excessive force can damage the valve. If it's completely stuck, do not force it.
- Temperature Check (Optional): With the system running (and the valve supposedly open), use a non-contact thermometer to measure the temperature of the pipe immediately before and after the valve. A significant temperature drop across the valve suggests a flow restriction.
Interpreting the Results:
- Handle Moves Freely, No Leaks, Minimal Temperature Drop: The valve is likely functioning correctly. The problem might be elsewhere in the system (e.g., air in the lines, a malfunctioning circulator pump, or a problem with the thermostat).
- Handle Stuck or Very Stiff: The valve may be internally corroded or seized.
- Leaks Present: The valve seals may be damaged, or the valve body may be cracked.
- Significant Temperature Drop: The valve is likely restricting flow, even when fully open. This could be due to internal debris or damage.
DIY Actions (With Caution)
Depending on your findings, here are a few simple DIY actions you can attempt. Always prioritize safety! If you're uncomfortable with any of these steps, call a qualified HVAC professional.
1. Gently Exercising a Stiff Valve
If the valve handle is stiff but not completely stuck, you can try gently exercising it to loosen any internal corrosion or buildup.
- Apply Penetrating Oil: Spray a small amount of penetrating oil (like WD-40 or Liquid Wrench) around the valve stem where the handle connects to the valve body. Let it soak for 15-20 minutes.
- Gently Rotate: Using pliers or a wrench, carefully try to rotate the handle back and forth through its full range of motion. Apply steady, even pressure. Avoid jerking or forcing it.
- Repeat: Repeat the oiling and rotation process several times. The handle should gradually become easier to move.
Important: If the handle remains stuck despite repeated efforts, stop! Forcing it could damage the valve beyond repair.
2. Minor Leak Tightening (Simple Adjustments)
If you notice a very small leak around the valve stem (where the handle connects to the valve body), you might be able to tighten the packing nut slightly.
- Locate the Packing Nut: This is a small nut located directly behind the valve handle, around the valve stem.
- Tighten Gently: Using a wrench (usually an adjustable wrench), gently tighten the packing nut by a very small amount (e.g., 1/8 of a turn). Do not overtighten! Overtightening can damage the valve stem or packing.
- Check for Leaks: After tightening, check for leaks. If the leak persists or worsens, loosen the nut slightly and call a professional.
Important: This is only for very minor leaks. If the leak is significant or coming from the valve body or pipe connections, do not attempt to fix it yourself. This could indicate a more serious problem that requires professional attention.
When to Call a Professional
While some minor issues can be addressed with DIY solutions, there are many situations where it's best to call a qualified HVAC professional. Here are some red flags:
- Major Leaks: Any significant leak that you cannot easily control.
- Stuck Valve: A valve that remains completely stuck despite gentle attempts to loosen it.
- Valve Body Corrosion: Significant corrosion on the valve body or surrounding pipes.
- System Complexity: If you're unfamiliar with hydronic heating/cooling systems or unsure about any of the steps involved.
- No Hot/Cold Water Shutoff: If you don't know where the water shutoff valve is for the heating/cooling system.
- Any Doubt: If you're uncomfortable or unsure about anything, it's always best to err on the side of caution and call a professional.
Trying to fix a complex plumbing or HVAC issue without the proper knowledge and tools can be dangerous and can potentially cause more damage to your system. A qualified professional has the experience and equipment to diagnose and repair the problem safely and effectively.
Preventative Maintenance
To help prevent future problems with full port ball valves, consider these preventative maintenance measures:
- Regularly Exercise Valves: Once or twice a year, fully open and close all the full port ball valves in your system. This helps prevent them from seizing up due to corrosion or buildup.
- Inspect for Leaks: Periodically inspect all valves for any signs of leaks or corrosion.
- Professional System Inspection: Schedule a professional HVAC inspection every year or two. A technician can identify potential problems before they become major issues.
By understanding how full port ball valves work and following these troubleshooting steps, you can often diagnose and potentially fix minor problems yourself. However, remember to prioritize safety and don't hesitate to call a professional when needed. Proper maintenance and timely repairs will keep your heating and cooling system running efficiently and comfortably for years to come.