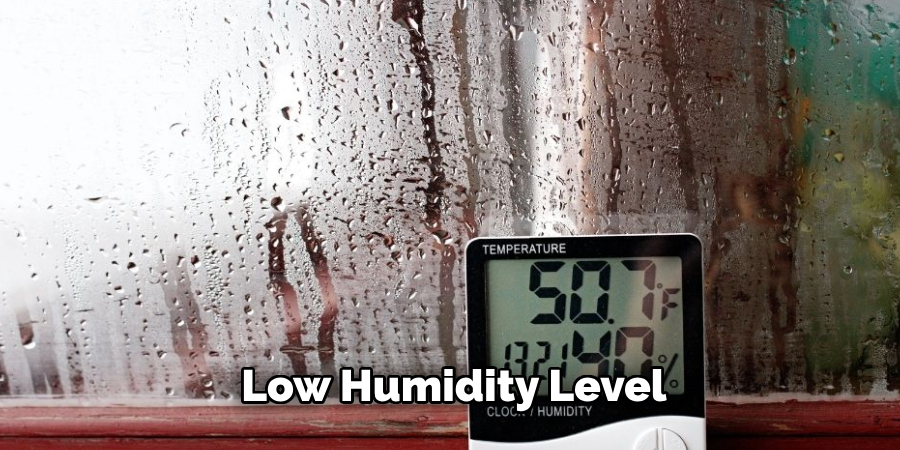
What Is A Low Humidity Level

Low humidity can be more than just uncomfortable; it can wreak havoc on your home and health. Dry air can lead to cracked skin, irritated sinuses, and even damage to wooden furniture. But what exactly constitutes "low humidity," and what can you do about it? This article will guide you through understanding low humidity and offer some practical troubleshooting steps to address it, focusing on a common household appliance: the humidifier.
Understanding Low Humidity
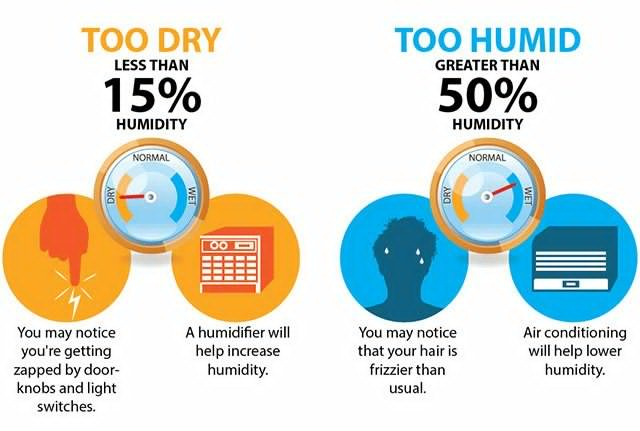
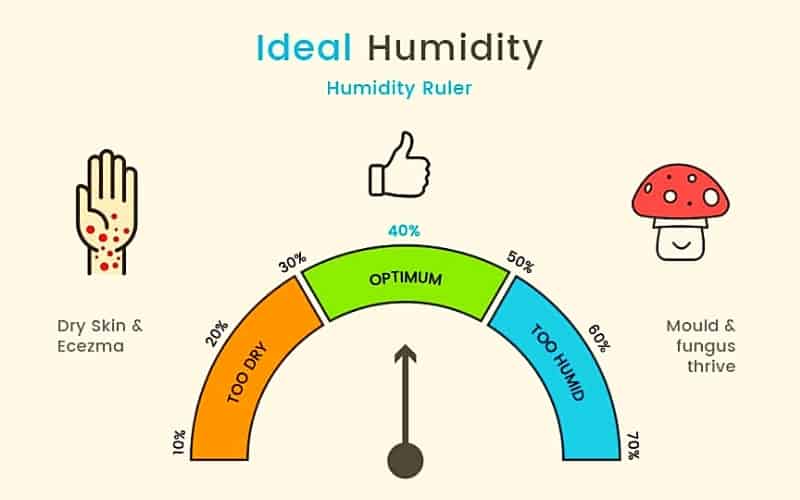
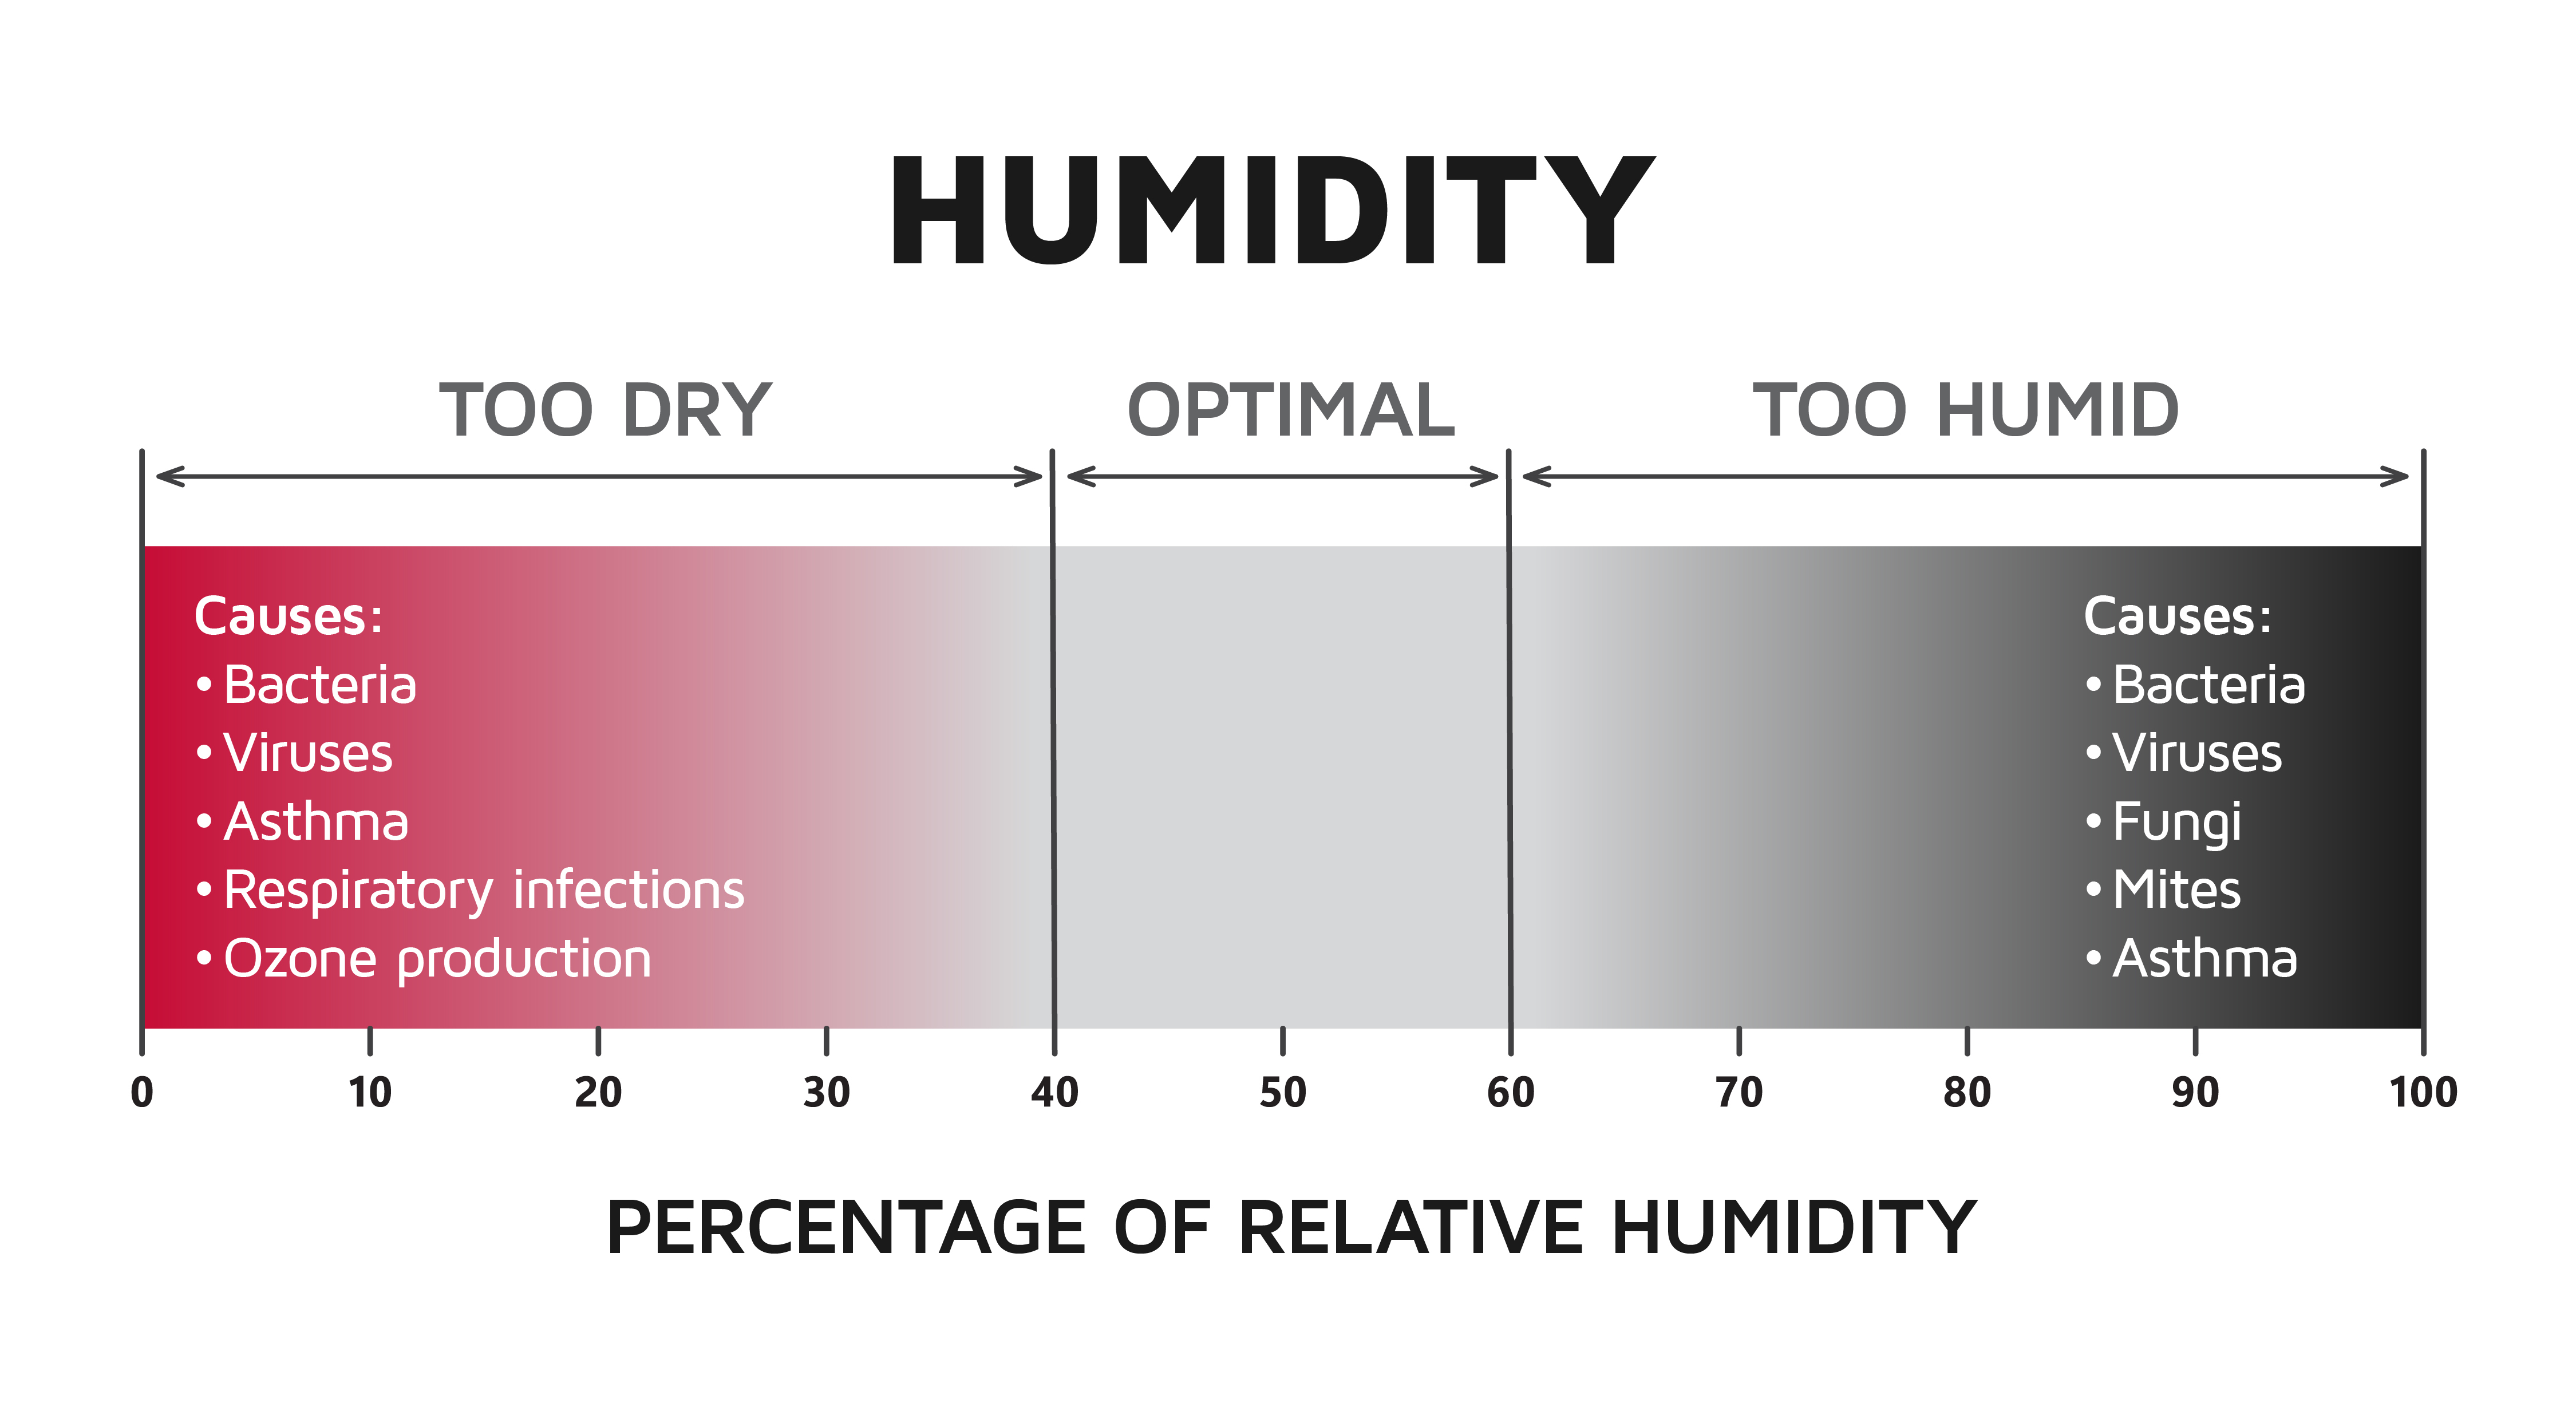
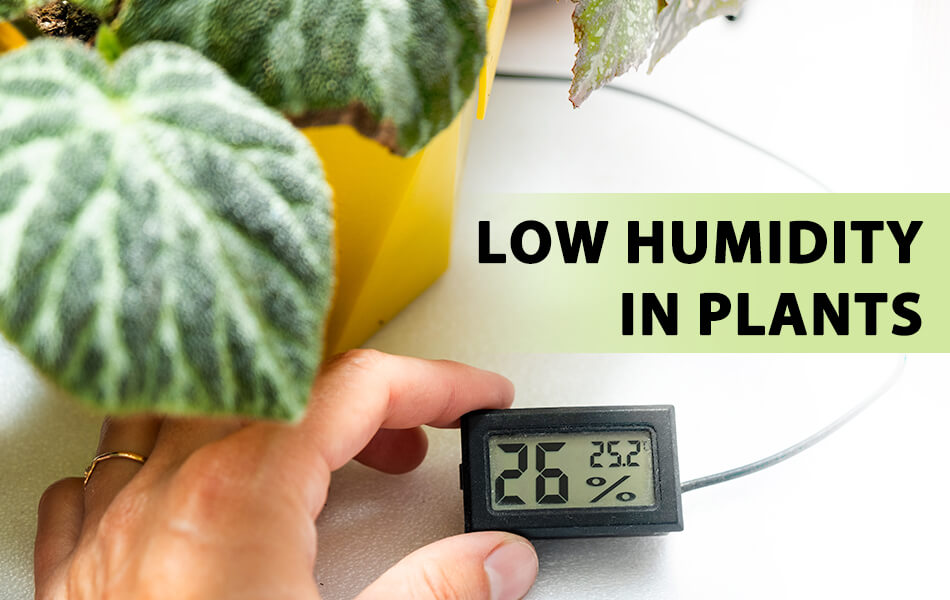
Relative humidity is the amount of moisture in the air compared to the maximum amount the air can hold at a specific temperature. It's expressed as a percentage. Ideal indoor humidity levels typically range between 30% and 50%. Anything below 30% is generally considered "low humidity."
Signs of Low Humidity
Beyond simply feeling dry, low humidity manifests in several telltale signs:
- Dry Skin and Hair: Skin may become itchy, flaky, and cracked. Hair can become brittle and static-prone.
- Respiratory Issues: Dry air can irritate nasal passages, leading to nosebleeds, sore throats, and increased susceptibility to colds and flu.
- Static Electricity: Increased static shocks when touching objects or walking across carpets.
- Damage to Wood: Wooden furniture, floors, and musical instruments can crack and warp due to moisture loss.
- Increased Dust: Dry air can make dust particles more airborne, worsening allergies and respiratory problems.
Humidifier Troubleshoot: No Moisture in Sight
Let's say your humidifier, designed to combat low humidity, isn't doing its job. No mist, no increase in humidity levels, just dry air persisting. Here's a step-by-step troubleshooting guide to get it back on track. Always unplug the humidifier before performing any maintenance or repairs.
Step 1: The Obvious - Power and Placement
Start with the basics. It might sound silly, but overlooking these simple checks is more common than you think.
- Power Cord: Is the humidifier plugged into a functioning outlet? Test the outlet with another device to be sure. Check the power cord for any visible damage (fraying, cuts). If damaged, do not attempt to repair it; the cord should be replaced by a qualified electrician or the entire humidifier replaced.
- Power Button: Is the humidifier turned on? Make sure the power button is engaged and the indicator light (if present) is illuminated.
- Placement: Is the humidifier placed on a level surface? Uneven surfaces can prevent proper operation. Make sure it's not blocked by furniture or curtains, allowing for proper air circulation.
Step 2: Water Level and Reservoir
Humidifiers need water to, well, humidify! Low or contaminated water is a frequent culprit.
- Water Level: Is the water reservoir filled to the appropriate level? Most humidifiers have a minimum and maximum fill line. Ensure the water level is within these parameters.
- Water Quality: Is the water clean? Hard water can leave mineral deposits that clog the humidifier. Consider using distilled or filtered water to prevent buildup. If you've been using tap water, inspect the reservoir for mineral scale.
- Reservoir Condition: Is the reservoir cracked or damaged? A damaged reservoir can leak water, preventing the humidifier from functioning correctly. Replace the reservoir if necessary; many manufacturers sell replacement parts.
- Float Valve/Sensor: Does your humidifier have a float valve or water level sensor? These components ensure the humidifier doesn't run dry. Check if the float valve moves freely. If it's stuck, gently clean it with a soft brush and water. If the sensor is covered in mineral deposits, carefully clean it with a damp cloth. Be gentle to avoid damaging the sensor.
Step 3: Filter and Wick Inspection (Evaporative Humidifiers)
Evaporative humidifiers rely on a filter or wick to absorb water and release it into the air as vapor. A dirty or clogged filter severely restricts moisture output.
- Filter/Wick Condition: Inspect the filter or wick. Is it dirty, discolored, or covered in mineral deposits? If so, it needs to be cleaned or replaced.
- Cleaning the Filter/Wick: Refer to your humidifier's manual for specific cleaning instructions. Generally, you can soak the filter/wick in a solution of white vinegar and water for 30 minutes to dissolve mineral deposits. Rinse thoroughly with clean water before reinstalling.
- Replacing the Filter/Wick: If cleaning doesn't restore the filter/wick's performance, replace it. Replacement filters/wicks are readily available online and at most retailers that sell humidifiers.
- Proper Installation: Ensure the filter/wick is properly installed according to the manufacturer's instructions. An incorrectly installed filter/wick won't absorb water effectively.
Step 4: Mist Output and Nozzle (Ultrasonic Humidifiers)
Ultrasonic humidifiers use a vibrating transducer to create a fine mist. Mineral buildup can impede this process.
- Mist Output: Observe the mist output. Is it weak or nonexistent? This could indicate a problem with the transducer or the nozzle.
- Nozzle Cleaning: Check the nozzle for any obstructions. Use a soft brush or cotton swab to gently clean the nozzle.
- Transducer Cleaning: The transducer is the small metal disc that vibrates to create mist. Carefully clean the transducer with a soft cloth and white vinegar. Mineral deposits can accumulate on the transducer, hindering its performance. Do not use abrasive cleaners or scrub harshly, as you could damage the delicate transducer.
Step 5: Humidity Settings and Sensor Malfunction
Some humidifiers have adjustable humidity settings and built-in hygrometers (humidity sensors). A faulty sensor or incorrect setting can lead to inaccurate readings and poor performance.
- Humidity Settings: Verify that the humidity setting is appropriate. If your humidifier has a target humidity setting, ensure it's set to a level higher than the current room humidity.
- Hygrometer Accuracy: Some humidifiers have a built-in hygrometer that displays the current humidity level. To check its accuracy, compare the reading to a separate, reliable hygrometer. If the readings differ significantly, the humidifier's hygrometer may be malfunctioning.
- Sensor Location: The location of the humidity sensor can impact its accuracy. Make sure the sensor isn't obstructed by furniture or placed near a heat source, which could skew the reading.
Step 6: Safety Features and Shut-Off Mechanisms
Modern humidifiers often have safety features like automatic shut-off when the water level is low. If these features are malfunctioning, they can prevent the humidifier from operating correctly.
- Low Water Shut-Off: Ensure the low water shut-off mechanism is functioning properly. If the water reservoir is full but the humidifier still isn't working, the shut-off mechanism may be stuck in the "off" position. Check the float valve or sensor associated with the shut-off mechanism.
- Overheat Protection: Some humidifiers have overheat protection that shuts off the unit if it gets too hot. If the humidifier has overheated, allow it to cool down completely before attempting to restart it. If it continues to overheat, there may be a more serious issue.
When to Call a Professional
While many humidifier problems can be resolved with basic troubleshooting, some situations require the expertise of a qualified technician. Never attempt repairs involving electricity, gas, or complex internal components unless you are properly trained and qualified.
Here are some scenarios when you should consult a professional:
- Electrical Issues: If you suspect an electrical problem, such as a short circuit or damaged wiring, do not attempt to repair it yourself. Contact a qualified electrician immediately.
- Gas-Powered Humidifiers: If you have a gas-powered humidifier and suspect a gas leak or other gas-related problem, evacuate the area and contact your gas company or a qualified HVAC technician.
- Complex Repairs: If you've exhausted all basic troubleshooting steps and the humidifier still isn't working, there may be a problem with a complex internal component, such as the motor, fan, or electronic control board. These repairs are best left to a professional.
- Warranty Coverage: If your humidifier is still under warranty, contact the manufacturer for repair or replacement options. Attempting to repair the unit yourself may void the warranty.
- Persistent Problems: If you're constantly experiencing low humidity despite using a humidifier, there may be an underlying issue with your home's insulation or ventilation. Consult with a qualified HVAC technician or building inspector to assess your home's overall humidity levels and identify any potential problems.
Preventive Maintenance for Humidifiers
Regular maintenance is crucial for keeping your humidifier running smoothly and efficiently, and extending its lifespan. Here are some preventive maintenance tips:
- Daily Cleaning: Empty and rinse the water reservoir daily to prevent the growth of bacteria and mold.
- Weekly Cleaning: Clean the humidifier thoroughly at least once a week, following the manufacturer's instructions. Use a solution of white vinegar and water to dissolve mineral deposits.
- Filter/Wick Replacement: Replace the filter or wick as recommended by the manufacturer, typically every 1-3 months.
- Distilled Water: Use distilled or filtered water to prevent mineral buildup.
- Proper Storage: When storing the humidifier for extended periods, empty and dry it thoroughly to prevent mold and mildew growth.
Addressing Low Humidity Beyond the Humidifier
While a humidifier is a valuable tool for combating low humidity, it's essential to consider other factors that contribute to dry air in your home. Here are some additional tips:
- Improve Insulation: Proper insulation helps retain moisture in your home, reducing the need for humidification.
- Seal Air Leaks: Seal any air leaks around windows, doors, and other openings to prevent dry air from entering your home.
- Houseplants: Houseplants naturally release moisture into the air through transpiration. Adding more plants to your home can help increase humidity levels.
- Ventilation: While proper ventilation is essential for indoor air quality, excessive ventilation can also contribute to low humidity. Adjust your ventilation system to minimize air exchange during dry periods.
- Monitor Humidity Levels: Use a hygrometer to monitor humidity levels in your home and adjust your humidifier settings accordingly.
By understanding the causes of low humidity and following these troubleshooting steps, you can create a more comfortable and healthy living environment. Remember, when in doubt, consult a qualified professional to ensure your safety and the proper functioning of your appliances.
.jpg?width=3508&name=Humidity level chart (1).jpg)