What Is A Media Filter For Hvac
Imagine this: It’s a sweltering summer day, and your air conditioner is working overtime to keep your home cool. Suddenly, you notice the airflow coming from the vents is weak, the unit is running constantly, and your energy bills are creeping higher and higher. One often overlooked culprit behind these issues is a dirty or clogged media filter.
This article will explain what a media filter is, why it’s crucial for your HVAC system, and provide a step-by-step guide to troubleshoot common problems associated with it. We’ll focus on safe, basic DIY fixes homeowners can attempt, while also emphasizing when a professional is needed. Our goal is to empower you to maintain your HVAC system efficiently and safely.
What Is a Media Filter in HVAC?
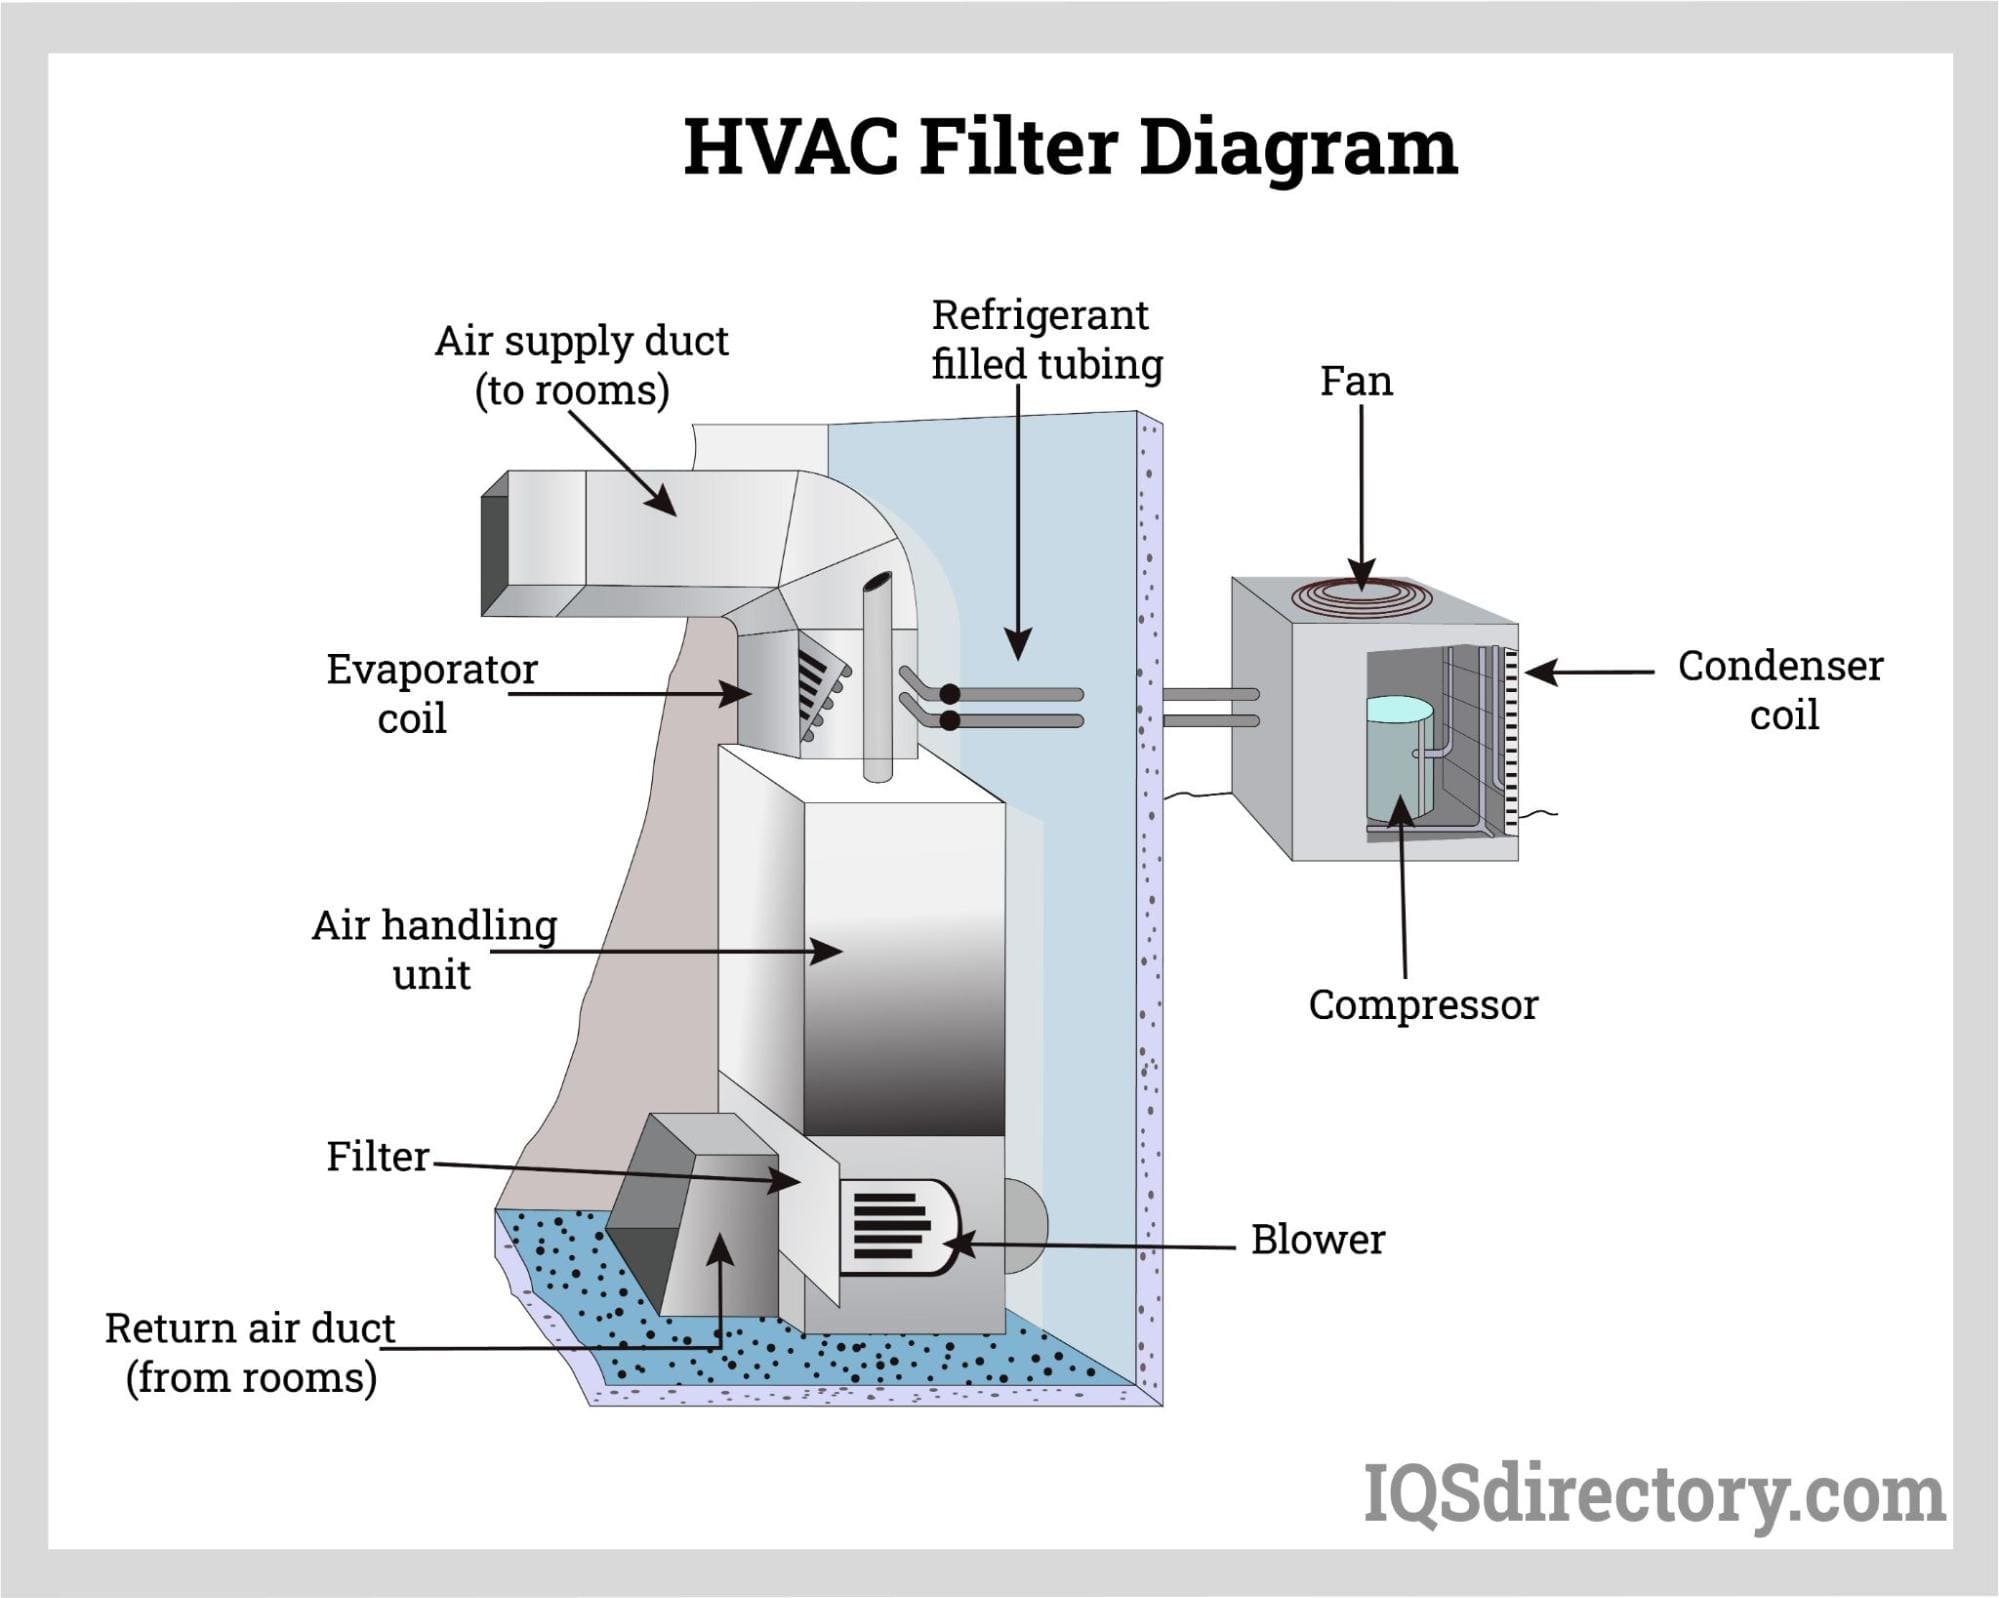
A media filter is an essential component of your Heating, Ventilation, and Air Conditioning (HVAC) system. Its primary job is to clean the air circulating through your home by trapping dust, pollen, pet dander, mold spores, and other airborne particles. This improves your indoor air quality and protects the sensitive components of your HVAC system from damage.
Unlike standard fiberglass filters, media filters are typically thicker and have a higher Minimum Efficiency Reporting Value (MERV) rating. This means they can capture smaller particles and more of them, making them more effective at filtering the air.
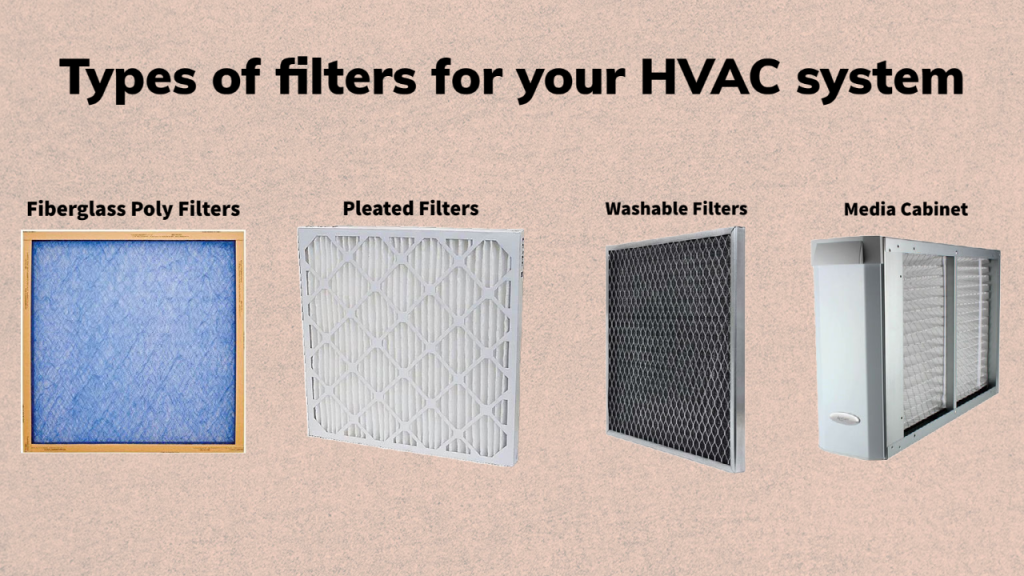
Types of Media Filters
There are several types of media filters available, each with different levels of filtration and lifespans:
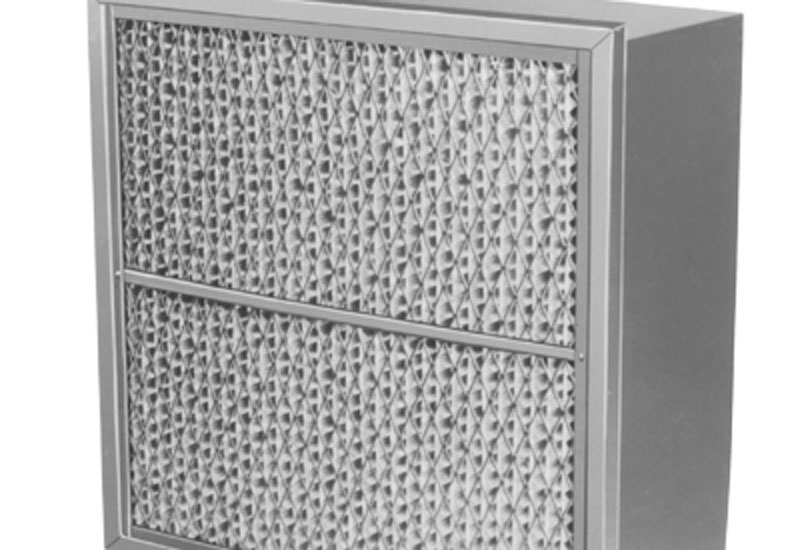
- Pleated Filters: These are the most common type of media filter. They have a pleated design that increases the surface area for filtration, allowing them to trap more particles. They usually have MERV ratings between 8 and 13 and last from 3 to 6 months.
- HEPA Filters: High-Efficiency Particulate Air (HEPA) filters are the most effective at removing airborne particles. They can capture 99.97% of particles 0.3 microns or larger. HEPA filters are often used in homes with allergy sufferers or those with respiratory problems. However, they can restrict airflow more than other types of filters and may require a more powerful HVAC system.
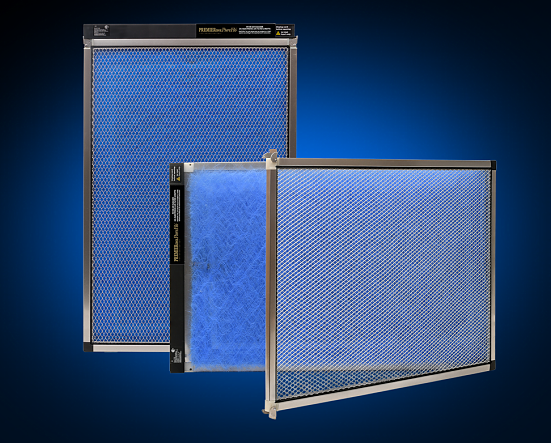
- Electrostatic Filters: These filters use an electrostatic charge to attract and trap particles. They are reusable and can be washed, but they may not be as effective as pleated or HEPA filters.
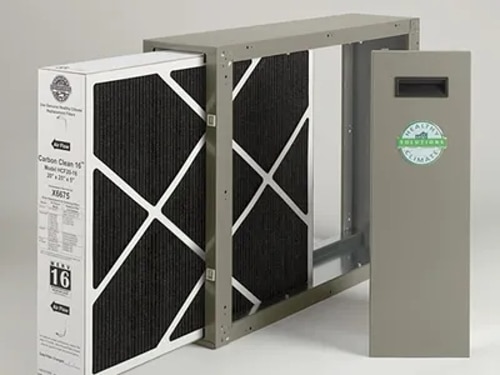
- Carbon Filters: These filters contain activated carbon, which can absorb odors and gases. They are often used in conjunction with other types of filters to improve indoor air quality.
Troubleshooting a Dirty or Clogged Media Filter: A Step-by-Step Guide
A dirty or clogged media filter can cause a range of problems, including:
- Reduced airflow
- Increased energy bills
- Overheating of your HVAC system
- Poor indoor air quality
Here's a step-by-step guide to troubleshooting a potentially problematic media filter:
Step 1: Safety First!
Before you begin any work on your HVAC system, it’s crucial to prioritize safety. Always turn off the power to your HVAC unit at the circuit breaker. This prevents accidental electrical shock. Label the breaker clearly to avoid someone turning it back on while you are working.
Step 2: Locate Your Media Filter
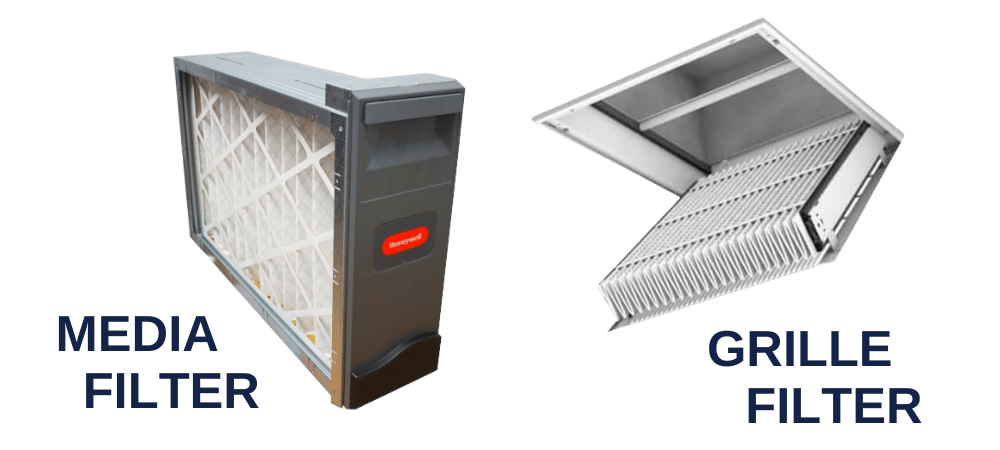
The location of your media filter will vary depending on the type of HVAC system you have. Common locations include:
- Furnace: The filter is usually located in a slot on the side or bottom of the furnace.
- Air Handler: Similar to a furnace, the filter is often found in a slot on the side or bottom of the air handler.
- Return Air Grille: Some homes have a filter located behind the return air grille in a wall or ceiling.
Once you've found the filter location, note the filter size. This information is usually printed on the filter frame. If you can't find the size, measure the filter's length, width, and depth.
Step 3: Inspect the Filter
Carefully remove the media filter. Hold it up to the light. Can you see light easily through the filter? If not, it's likely clogged and needs to be replaced. Look for visible signs of dirt, dust, pet dander, and other debris. A heavily soiled filter will often be dark gray or black.
Step 4: Check the HVAC System’s Performance
Even if the filter doesn't appear excessively dirty, its impact on your HVAC system's performance can be telling. Observe the following:
- Airflow from Vents: Is the airflow weak from the vents throughout your home?
- HVAC System Runtime: Is your HVAC system running longer than usual to reach the desired temperature?
- Unusual Noises: Are you hearing any unusual noises from your HVAC system, such as whistling or rattling?
- Energy Bills: Have your energy bills been higher than usual lately?
If you notice any of these issues, a dirty or clogged media filter is a likely contributing factor.
Step 5: Cleaning a Reusable Filter (If Applicable)
If you have a reusable electrostatic filter, you can clean it instead of replacing it. To clean it:
- Turn off the HVAC system.
- Remove the filter.
- Rinse the filter with a hose or under a faucet with low water pressure.
- Allow the filter to air dry completely before reinstalling it. Never put a wet filter back into your HVAC system.
Step 6: Replacing the Media Filter
Replacing a disposable media filter is a simple process:
- Purchase a new media filter of the correct size and MERV rating. Refer to the old filter or your HVAC system's manual for the correct specifications.
- Remove the old filter and dispose of it properly.
- Insert the new filter into the filter slot, making sure the airflow arrow on the filter frame points in the correct direction. The arrow should point towards the blower motor.
- Close the filter access panel or return air grille.
- Turn the power back on to your HVAC system.
Step 7: Monitoring System Performance After Filter Replacement
After replacing or cleaning the filter, monitor your HVAC system’s performance for the next few days. Check for the following improvements:
- Improved airflow from vents
- Shorter HVAC system runtime
- Reduced energy bills
- Improved indoor air quality
If you don’t notice a significant improvement after replacing the filter, the problem may lie elsewhere in your HVAC system. Consult a professional.
When to Call a Professional
While replacing a media filter is a simple DIY task, certain situations require the expertise of a qualified HVAC technician. Never attempt repairs you're uncomfortable with or that involve handling electrical components or gas lines.
Call a professional if:
- You suspect a refrigerant leak: Refrigerant leaks are a serious issue that can damage your HVAC system and harm the environment. Only a licensed technician can safely handle refrigerant.
- You hear unusual noises from your HVAC system: Strange noises, such as banging, grinding, or hissing, could indicate a serious mechanical problem.
- Your HVAC system is not heating or cooling properly after replacing the filter: This could indicate a problem with the compressor, blower motor, or other components.
- You suspect a problem with the electrical components: Working with electrical components can be dangerous. Never attempt to repair electrical issues yourself.
- Your HVAC system uses gas: Gas-powered HVAC systems require specialized knowledge and tools to repair safely. Never attempt to repair gas lines or components yourself.
- You are unsure about any aspect of the repair: If you are not comfortable performing a repair, it's always best to call a professional.
Attempting to repair complex HVAC issues without the proper training and experience can be dangerous and may void your warranty. A qualified technician can diagnose the problem accurately and perform the necessary repairs safely and effectively.
Preventative Maintenance Tips
To keep your HVAC system running efficiently and to prevent problems caused by a dirty media filter, follow these preventative maintenance tips:
- Check your media filter monthly: At least once a month, inspect your media filter and replace it if it is dirty or clogged. Set a reminder on your phone or calendar to help you remember.
- Change your filter regularly: The frequency of filter changes will depend on the type of filter you have, the air quality in your home, and the size of your family. As a general rule, replace standard 1-3 inch filters every 1-3 months and thicker media filters every 3-6 months.
- Consider upgrading to a higher MERV rating filter: If you have allergies or respiratory problems, a filter with a higher MERV rating can help improve your indoor air quality. However, make sure your HVAC system is compatible with a higher MERV rating filter.
- Schedule regular HVAC maintenance: Have your HVAC system inspected and maintained by a qualified technician at least once a year. A technician can clean the system, check for any problems, and make necessary repairs.
- Keep your outdoor unit clean: Clear away any debris, such as leaves, grass clippings, and branches, from around your outdoor unit. This will help ensure proper airflow and prevent the unit from overheating.
- Seal air leaks: Seal any air leaks around windows, doors, and other openings in your home. This will help improve energy efficiency and reduce the strain on your HVAC system.
Understanding MERV Ratings
The MERV rating of a filter indicates its ability to capture airborne particles. The higher the MERV rating, the more effective the filter is at removing particles.
Here's a general guide to MERV ratings:
- MERV 1-4: These filters are typically made of fiberglass and are designed to protect the HVAC system from large particles, such as dust and lint. They are not very effective at improving indoor air quality.
- MERV 5-8: These filters can capture smaller particles, such as pollen and pet dander. They are a good choice for general residential use.
- MERV 9-12: These filters can capture even smaller particles, such as mold spores and bacteria. They are a good choice for people with allergies or respiratory problems.
- MERV 13-16: These filters are capable of capturing very small particles, such as viruses and smoke. They are often used in hospitals and other healthcare facilities.
When choosing a media filter, consider your specific needs and the capabilities of your HVAC system. A filter with a very high MERV rating can restrict airflow and reduce the efficiency of your system. Consult with a qualified HVAC technician if you are unsure which MERV rating is right for you.
Conclusion
Maintaining a clean media filter is crucial for the efficiency, longevity, and performance of your HVAC system. By following the steps outlined in this article, you can troubleshoot common problems associated with a dirty or clogged filter and perform basic DIY fixes safely. Remember to prioritize safety and never hesitate to call a professional when necessary. Regularly checking and replacing your media filter will not only improve your indoor air quality but also save you money on energy bills and prevent costly repairs down the road. Empower yourself with this knowledge and enjoy a comfortable and healthy home environment.