What Is A Mini Split Ac System
Imagine this: it's a sweltering summer afternoon. You walk into your living room, expecting a blast of cool air from your mini-split AC system, but instead, you're met with the same stifling heat. The unit is running, but it's just not cooling. Frustrating, right? Before calling a professional, let's explore some common causes and DIY troubleshooting steps you can safely try.
Understanding Your Mini-Split AC System
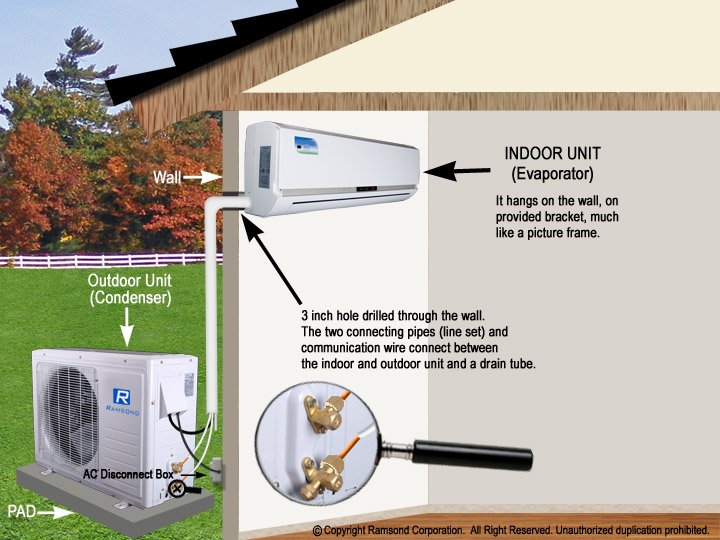
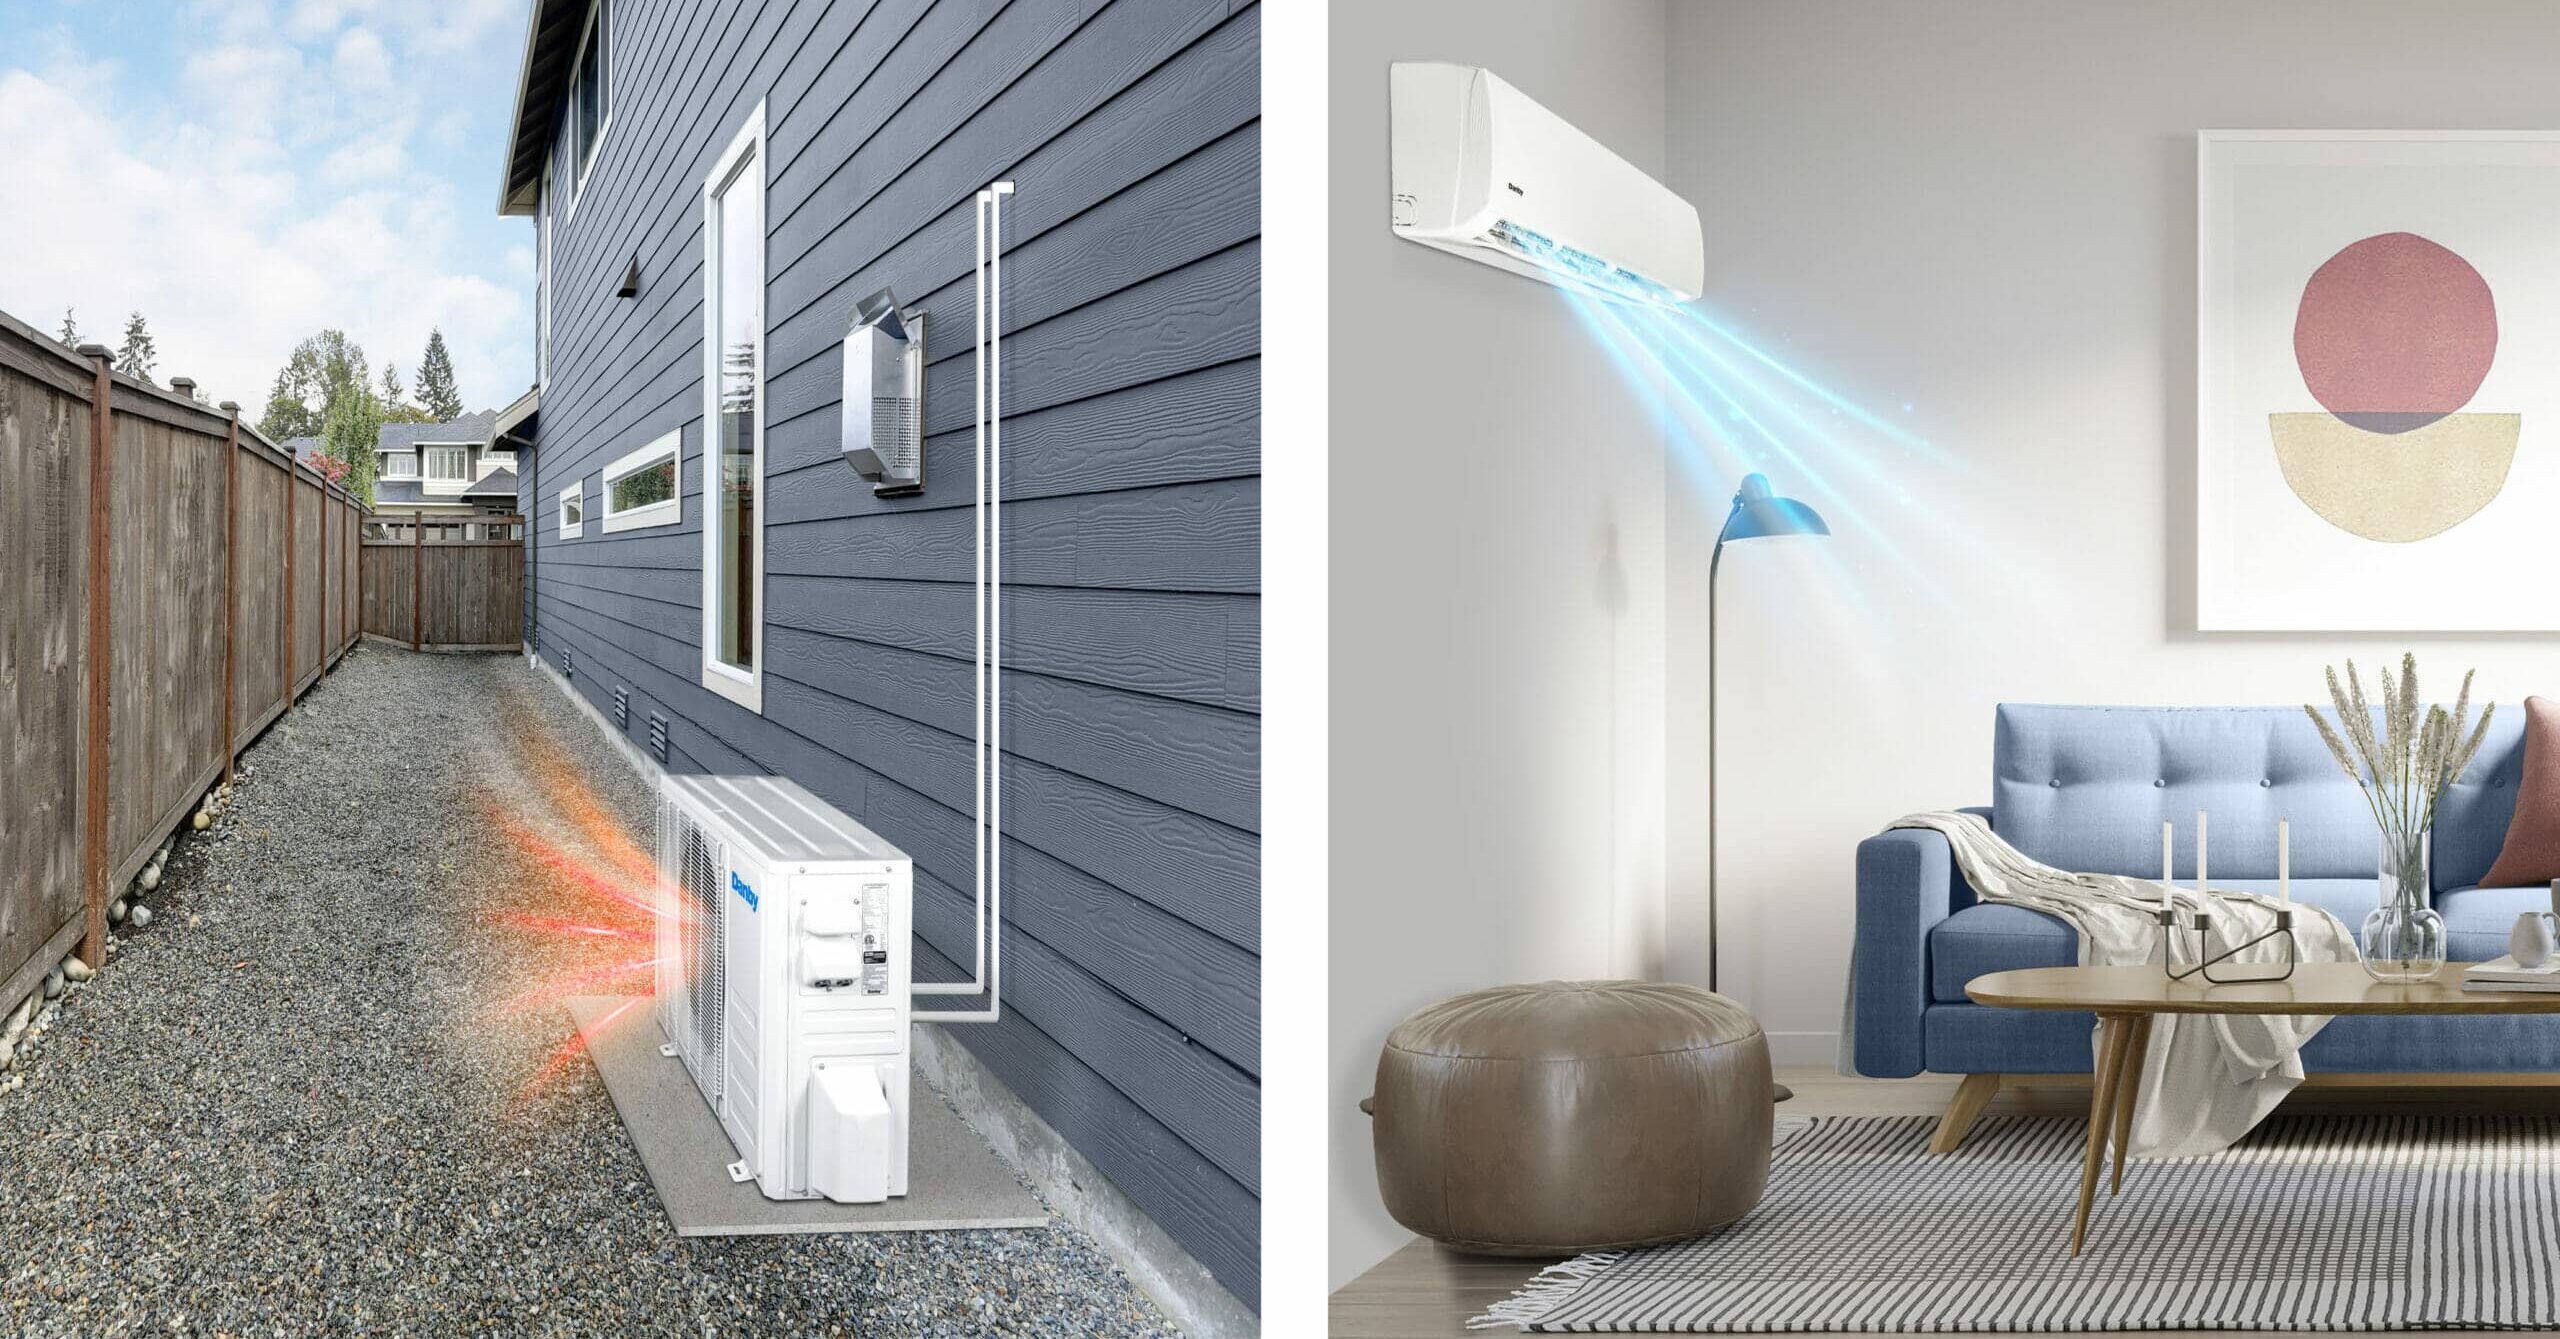
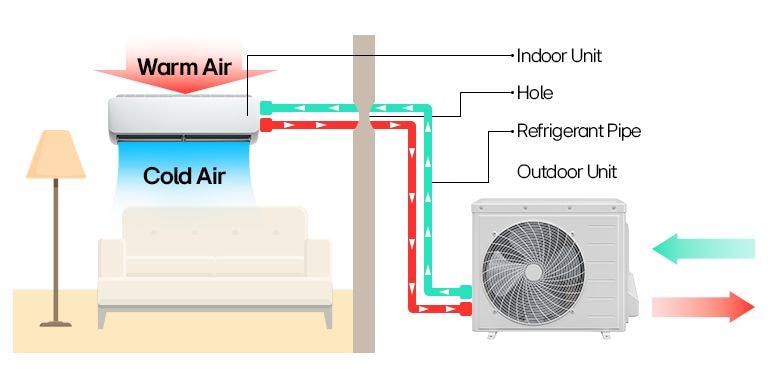
First, let's recap what a mini-split AC system is. Unlike traditional central air conditioning with bulky ductwork, a mini-split (also known as ductless) system consists of two main components:
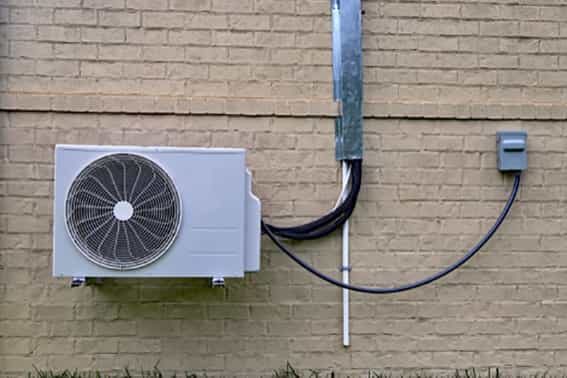
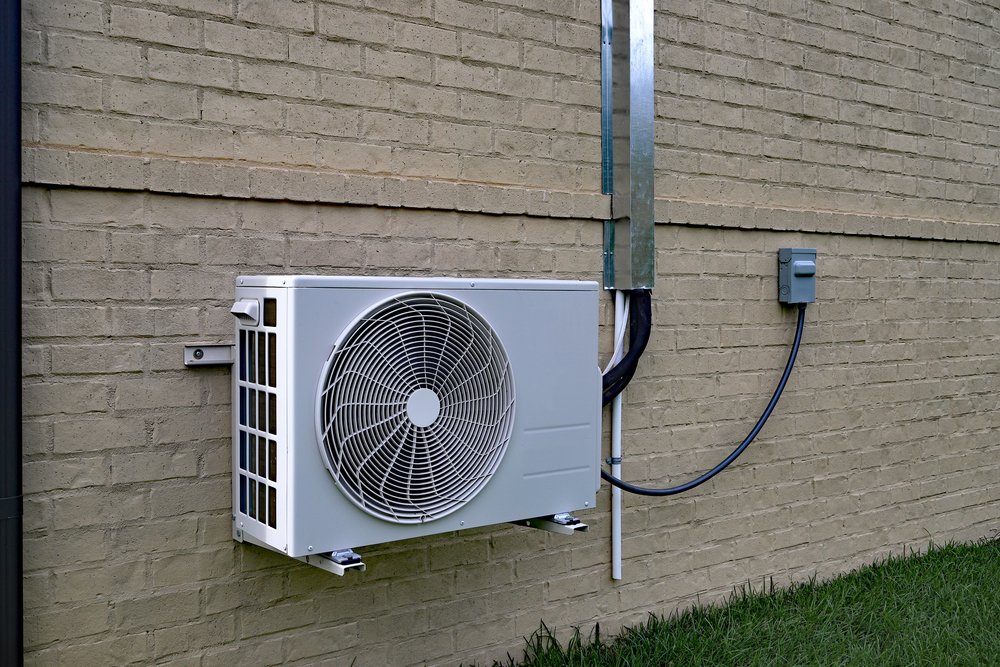
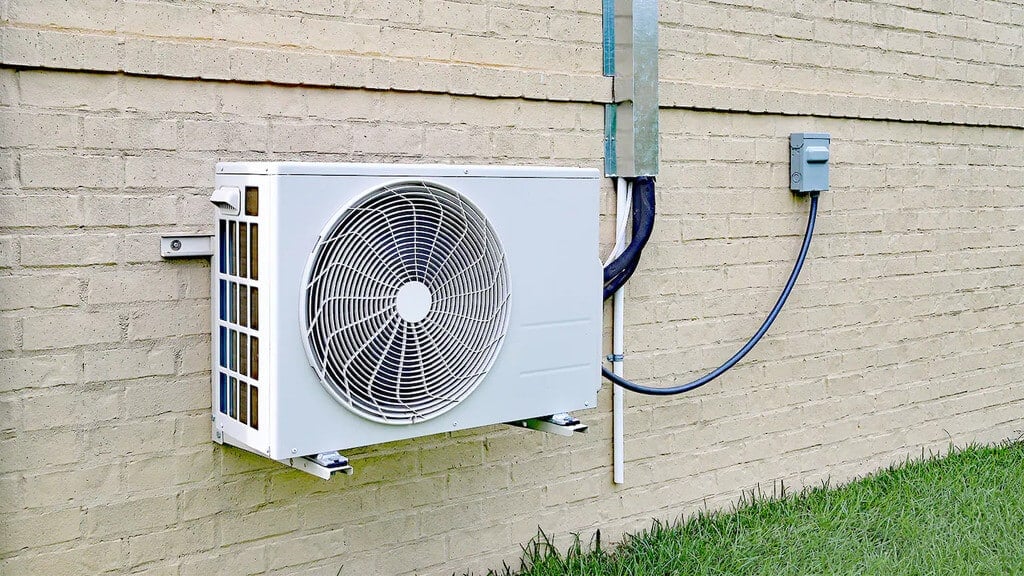
- Outdoor Unit (Compressor/Condenser): This noisy part is typically placed outside your home. It contains the compressor, condenser coil, and fan, which reject heat from your home.
- Indoor Unit (Air Handler): This is the sleek unit mounted on your wall or ceiling inside your room. It contains the evaporator coil, fan, and air filters, blowing cool air into your space.
These two units are connected by a conduit containing refrigerant lines, power cable, and a condensate drain. This allows for targeted cooling and heating in specific zones, making them energy-efficient and ideal for additions, sunrooms, or homes without existing ductwork.
Troubleshooting: No Cool Air
If your mini-split is running but not cooling, follow these steps in a logical order. Remember, safety first! If you're uncomfortable with any of these steps, call a qualified HVAC technician.
Step 1: Power Check
The most basic, yet often overlooked, step is to ensure the system is actually receiving power.
- Circuit Breaker: Locate the circuit breaker for your mini-split (usually labeled AC or HVAC). Make sure it's ON. If it's tripped (in the middle position), flip it all the way OFF and then back ON. Wait a few minutes to see if the unit restarts.
- Power Cord: Check the power cord connected to the indoor unit. Ensure it's securely plugged into the outlet. Try a different outlet to rule out a faulty outlet.
- Remote Control Batteries: Believe it or not, a low remote battery can sometimes cause operational issues. Replace the batteries with fresh ones.
If the circuit breaker trips repeatedly, DO NOT keep resetting it. This indicates a serious electrical problem that needs immediate attention from a licensed electrician.
Step 2: Thermostat and Settings
Sometimes, the problem isn't mechanical but simply a matter of incorrect settings.
- Mode: Make sure the unit is set to COOL mode. Accidentally setting it to FAN or HEAT will obviously prevent cooling.
- Temperature: Ensure the desired temperature is set lower than the current room temperature. If the thermostat is set higher, the unit won't turn on the cooling function.
- Fan Speed: Experiment with different fan speeds. A higher fan speed will circulate air more effectively.
- Timer/Schedule: Double-check that any timer or schedule settings aren't interfering with the cooling operation. You might have inadvertently set a schedule that turns the cooling off during the day.
- Remote Control: Try using the buttons directly on the indoor unit (if available) to bypass the remote control and see if that resolves the issue.
Step 3: Air Filters
Dirty air filters are a very common cause of poor cooling performance. When filters are clogged, they restrict airflow, reducing the unit's ability to cool efficiently and potentially causing the evaporator coil to freeze.
- Locate Filters: The air filters are usually located behind a removable panel on the indoor unit. Consult your owner's manual for specific instructions on how to access them.
- Inspect Filters: Remove the filters and inspect them for dirt and debris. If they're visibly dirty, they need to be cleaned or replaced.
- Clean Filters: Most mini-split air filters are washable. Rinse them with mild soap and water. Allow them to dry completely before reinstalling. Never run the unit without air filters in place.
- Replace Filters: If the filters are damaged or heavily soiled, replace them with new ones of the correct size. Refer to your owner's manual for the correct filter type.
Cleaning or replacing your air filters should be a regular maintenance task, ideally every one to three months, depending on usage and air quality.
Step 4: Outdoor Unit Inspection (Basic)
The outdoor unit is crucial for heat exchange. A dirty or obstructed outdoor unit can significantly reduce cooling efficiency.
- Clear Debris: Inspect the area around the outdoor unit. Remove any leaves, grass clippings, branches, or other debris that might be blocking airflow around the unit. Ensure there's at least 2-3 feet of clearance around the unit.
- Check the Fins: The condenser fins (the thin metal slats) on the outdoor unit can become bent or damaged. Carefully straighten any bent fins using a fin comb (available at most hardware stores). Be gentle!
DO NOT attempt to open the outdoor unit or tamper with any internal components. This involves high voltage and potentially dangerous refrigerants.
Step 5: Condensate Drain Line
A clogged condensate drain line can prevent the unit from cooling properly and can lead to water damage. The drain line removes condensation that forms on the evaporator coil.
- Locate the Drain Line: The condensate drain line is usually a small PVC pipe exiting the indoor unit, running outside or to a drain.
- Check for Blockages: Look for any signs of blockage, such as water dripping from the indoor unit or dampness around the unit.
- Clear the Drain Line: You can try using a wet/dry vacuum to suck out any clogs from the drain line. Alternatively, you can use a stiff wire (like a coat hanger) to gently poke at the drain opening and dislodge any debris.
- Flush the Drain Line: Pour a cup of white vinegar into the drain line opening to help dissolve any algae or mold growth.
Regularly flushing the drain line with vinegar can help prevent future clogs.
When to Call a Professional
While the steps above can resolve many common mini-split AC issues, some problems require professional expertise.
- Refrigerant Leaks: If you suspect a refrigerant leak (e.g., hissing sound, oily residue on the coils, significantly reduced cooling), DO NOT attempt to repair it yourself. Refrigerant is a hazardous substance, and handling it requires specialized equipment and certification.
- Compressor Problems: The compressor is the heart of the cooling system. If the compressor is making unusual noises, not running, or overheating, it's a sign of a serious problem that requires professional diagnosis and repair.
- Electrical Issues: If you're experiencing frequent circuit breaker trips, strange electrical smells, or any other electrical problems, DO NOT attempt to troubleshoot it yourself. Call a qualified electrician immediately.
- Frozen Evaporator Coil: While dirty air filters are a common cause, a frozen evaporator coil can also be caused by refrigerant leaks, airflow restrictions, or faulty components. If cleaning the filters doesn't resolve the issue, call a professional.
- Complex Repairs: If you've tried the DIY troubleshooting steps and your mini-split is still not cooling properly, it's time to call a qualified HVAC technician. They have the knowledge, experience, and tools to diagnose and repair more complex problems.
Specifically, if you encounter any of the following, it's time to call the experts:
- Any work involving refrigerant
- Any work involving the compressor
- Any work involving high-voltage electrical components
- Internal components of the outdoor unit
Preventative Maintenance
The best way to avoid mini-split AC problems is to perform regular preventative maintenance.
- Regular Filter Cleaning/Replacement: As mentioned earlier, clean or replace your air filters every one to three months.
- Outdoor Unit Cleaning: Periodically clean the outdoor unit to remove debris and ensure proper airflow.
- Condensate Drain Line Flushing: Flush the condensate drain line with vinegar regularly to prevent clogs.
- Professional Servicing: Schedule a professional HVAC service at least once a year for a thorough inspection, cleaning, and tune-up. This can help identify potential problems early on and prevent costly repairs down the road.
By following these troubleshooting steps and preventative maintenance tips, you can keep your mini-split AC system running efficiently and enjoy comfortable cooling for years to come. Remember to prioritize safety and call a professional when necessary.
Disclaimer: This guide provides general troubleshooting tips. Always consult your owner's manual and follow all safety precautions. The information provided is not a substitute for professional advice.