What Is A Normal Temperature For A House

Have you ever felt that your home's temperature is just... off? Maybe one room is freezing while another is sweltering? Or perhaps your energy bills are skyrocketing, despite not feeling any warmer (or cooler)? You're not alone. Maintaining a consistent and comfortable temperature in your home is a common challenge for homeowners. This article will help you troubleshoot temperature inconsistencies and provide simple DIY solutions, as well as guide you on when to call in a professional.
Understanding "Normal" House Temperature
First, let's define what constitutes a "normal" temperature. The ideal range is subjective and depends on personal preference, but generally:
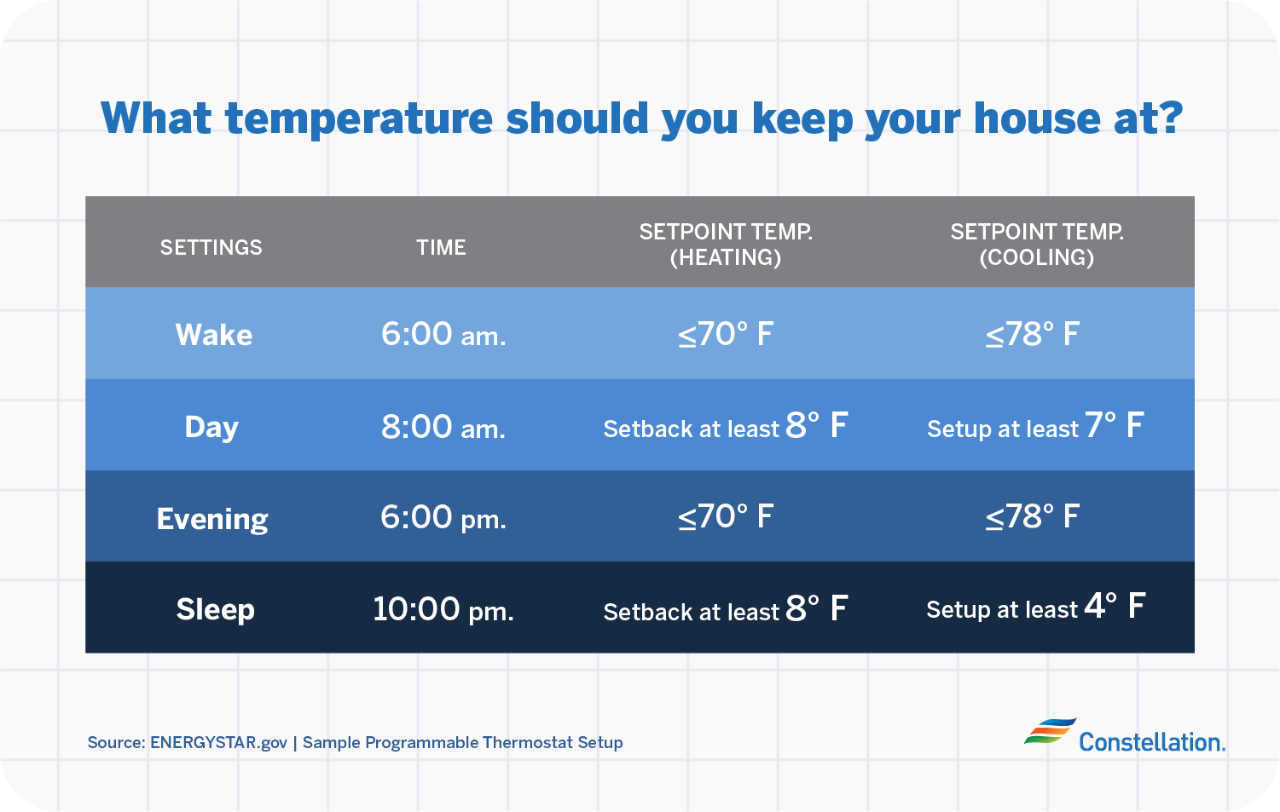
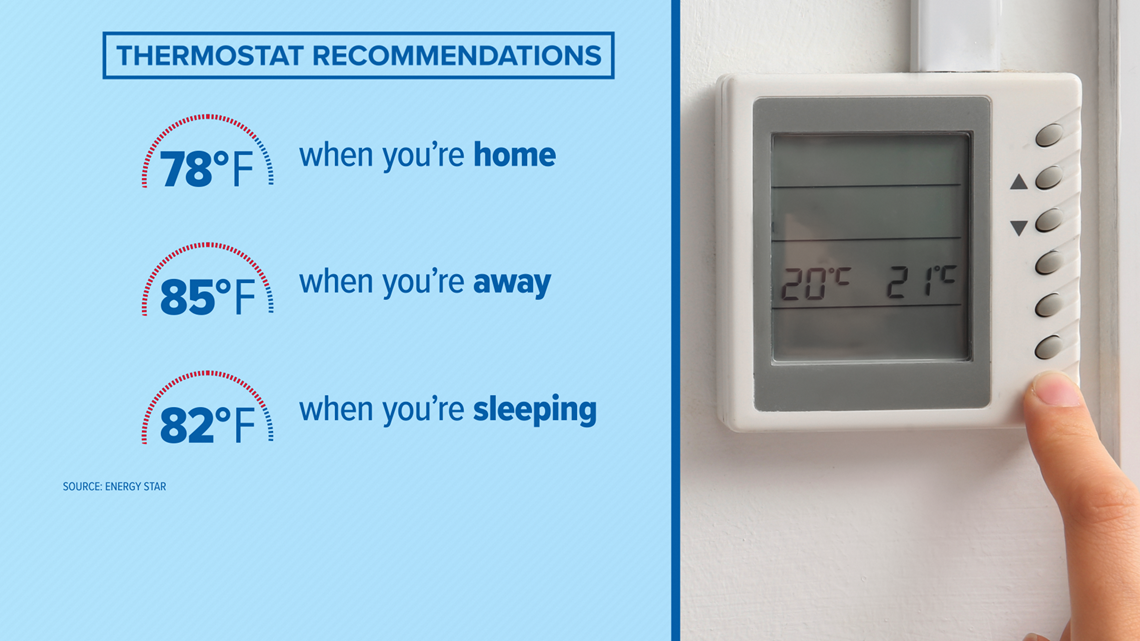
- For Comfort: 68-78°F (20-26°C) is a widely accepted range for when people are home and active.
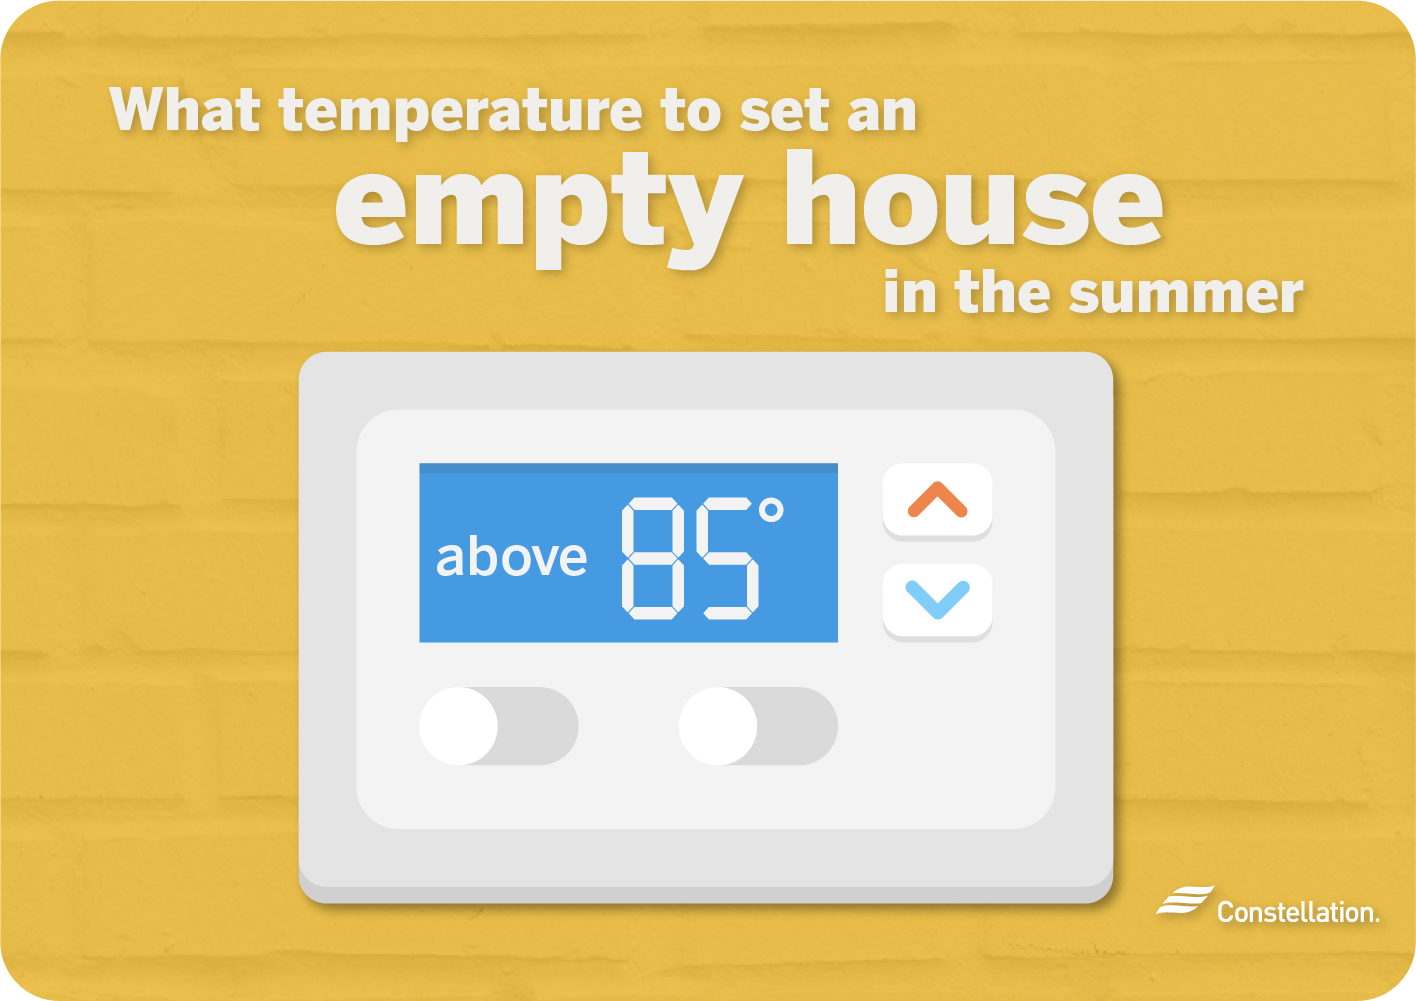
- For Energy Savings (When Away): 60-68°F (15-20°C) in the winter and 78-85°F (26-29°C) in the summer are recommended to save energy while you're away.
- For Sleeping: Many find 60-67°F (15-19°C) ideal for sleeping.
Keep in mind that these are just guidelines. Factors like humidity, air circulation, and the age of your home can all impact perceived comfort.
Common Temperature Problems & Troubleshooting
Let's dive into some common temperature-related problems and how to diagnose them.
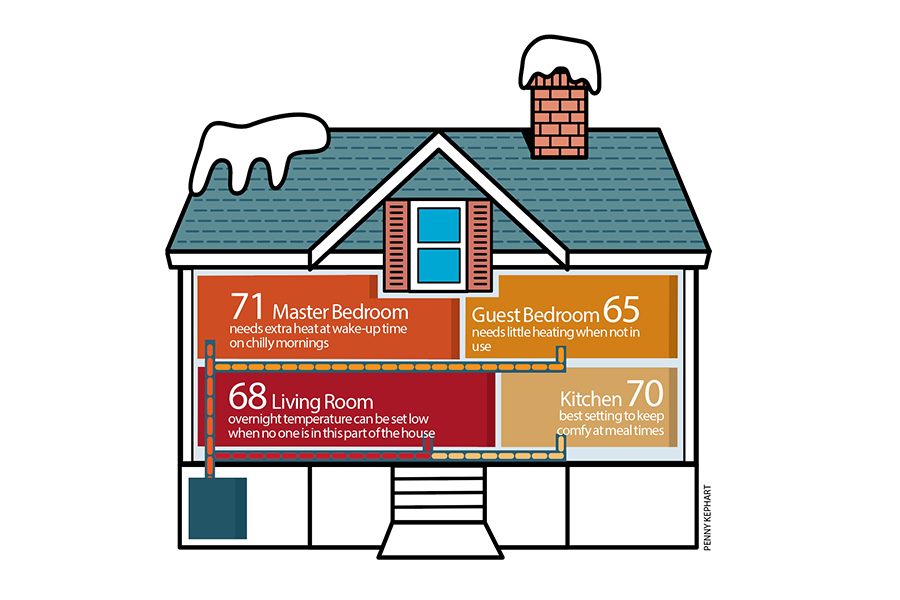
Problem 1: Uneven Temperatures Throughout the House
This is a frequent complaint. One room is consistently colder or hotter than others.
Step 1: Check Air Vents
Diagnosis: Are all vents open and unobstructed? Furniture, rugs, or even closed doors can block airflow.
DIY Fix: Ensure all vents are fully open. Rearrange furniture to allow for unobstructed airflow. Keep interior doors open as much as possible to promote air circulation.
Step 2: Inspect Ductwork (If Accessible)
Diagnosis: Can you see any obvious leaks or disconnections in the ductwork? Look for gaps, tears, or detached sections, especially in unfinished basements or attics.
DIY Fix: For minor leaks, you can use duct tape (specifically designed for ductwork, not regular tape) to seal the gaps. Ensure the surface is clean before applying the tape. For disconnected sections, try to reattach them securely. If you are unfamiliar with ductwork repair, it is not recommended to attempt complicated DIY fixes.
When to Call a Pro: If you find extensive damage, mold growth, or are uncomfortable working with ductwork, contact an HVAC professional. Damaged or leaky ductwork can significantly reduce heating and cooling efficiency.
Step 3: Evaluate Insulation
Diagnosis: Is the room with the temperature issue poorly insulated? Check walls, ceilings, and floors for adequate insulation. Are there drafts coming from windows or doors?
DIY Fix: Caulk around windows and door frames to seal any gaps. Add weather stripping to doors. For walls and ceilings, consider adding insulation (though this might be a larger project).
When to Call a Pro: If you suspect inadequate insulation in walls or ceilings and are not comfortable with DIY insulation projects, a professional can assess your insulation needs and recommend the best course of action.
Step 4: Check for Sun Exposure
Diagnosis: Does the room get a lot of direct sunlight? Rooms with excessive sun exposure will naturally be warmer, especially during summer.
DIY Fix: Use curtains, blinds, or window film to block direct sunlight during peak hours. Consider planting trees or shrubs outside to provide shade.
Problem 2: The Thermostat Reads a Different Temperature Than the Room Feels
This indicates a potential problem with thermostat placement or calibration.
Step 1: Thermostat Placement
Diagnosis: Is the thermostat located in an area that's not representative of the overall house temperature? Common problem areas include near windows, exterior doors, kitchens, or bathrooms (where temperature fluctuations are common).
DIY Fix: If possible, relocate the thermostat to a more central location away from direct sunlight, drafts, and heat sources. Ensure it's not blocked by furniture.
Step 2: Thermostat Calibration
Diagnosis: Is the thermostat accurately measuring the temperature?
DIY Fix: Many thermostats have a calibration function. Consult your thermostat's manual to see if you can adjust the temperature reading. You can also use a reliable thermometer to compare the thermostat reading to the actual room temperature. If there's a significant difference, adjust the thermostat accordingly.
When to Call a Pro: If you can't calibrate the thermostat or the problem persists after relocation, it might be faulty and require replacement by a qualified technician.
Problem 3: High Energy Bills Despite Reasonable Thermostat Settings
This often points to inefficiencies in your heating or cooling system.
Step 1: Check Air Filters
Diagnosis: Is the air filter clean? A clogged air filter restricts airflow, forcing your system to work harder and less efficiently.
DIY Fix: Replace the air filter regularly, typically every 1-3 months, depending on usage and the type of filter. A clean filter can significantly improve efficiency.
Step 2: Inspect for Drafts and Air Leaks
Diagnosis: Are there any noticeable drafts coming from windows, doors, or other openings? Air leaks allow heated or cooled air to escape, forcing your system to work harder to maintain the desired temperature.
DIY Fix: Seal gaps around windows and doors with caulk or weather stripping. Insulate outlets and switch plates on exterior walls. Check for and seal any cracks in the foundation or walls.
Step 3: Check for Proper Insulation
Diagnosis: Is your home adequately insulated? Inadequate insulation allows heat to escape in the winter and enter in the summer.
DIY Fix: Add insulation to attics, walls, and crawl spaces. Insulate hot water pipes.
When to Call a Pro: If you are not comfortable working with insulation, a professional can assess your home's insulation needs and recommend the best solutions.
Step 4: Check Your System for Leaks and other issues
Diagnosis: Are there any refrigerant leaks? Low refrigerant levels will significantly reduce cooling performance.
When to Call a Pro: Refrigerant leaks require professional attention. Do not attempt to handle refrigerants yourself. An HVAC technician can detect and repair leaks and recharge the system.
Step 5: Consider Energy Audits
Diagnosis: You may have unknown or hard-to-find energy inefficiencies.
When to Call a Pro: A professional energy audit can identify areas where your home is losing energy and recommend solutions to improve efficiency. Many utility companies offer energy audit programs.
When to Call a Professional HVAC Technician
While many temperature-related problems can be resolved with DIY solutions, some issues require professional expertise. Here are some situations where you should call an HVAC technician:
- Refrigerant Leaks: As mentioned above, these require specialized equipment and knowledge to repair safely.
- Major Ductwork Damage: Extensive damage or mold growth in ductwork necessitates professional cleaning or replacement.
- Faulty Thermostat: If you've tried relocating and calibrating the thermostat without success, it may be faulty.
- Compressor Issues: Problems with the compressor, a critical component of your air conditioner, require professional repair.
- Strange Noises or Smells: Unusual noises or burning smells coming from your HVAC system could indicate a serious problem. Turn off the system and call a technician immediately.
- No Heat or No Cooling: If your system is not producing heat or cooling at all, despite being properly set and powered on, it's time to call a professional.
- Recurring Issues: If you find yourself constantly troubleshooting the same temperature problem, it's likely a symptom of a larger underlying issue that requires professional diagnosis and repair.
- Complex Repairs: Any repair involving electrical components, refrigerant lines, or other intricate parts of your HVAC system should be left to a qualified technician.
Preventative Maintenance
The best way to avoid temperature problems is to perform regular preventative maintenance on your HVAC system. This includes:
- Changing Air Filters Regularly: As mentioned before, this is crucial for maintaining efficiency.
- Cleaning Outdoor Unit: Remove debris (leaves, twigs, etc.) from around the outdoor unit to ensure proper airflow.
- Annual HVAC Tune-up: Schedule an annual tune-up with an HVAC technician to inspect and maintain your system. This can help identify and address potential problems before they become major issues.
Additional Tips for Maintaining a Comfortable Home Temperature
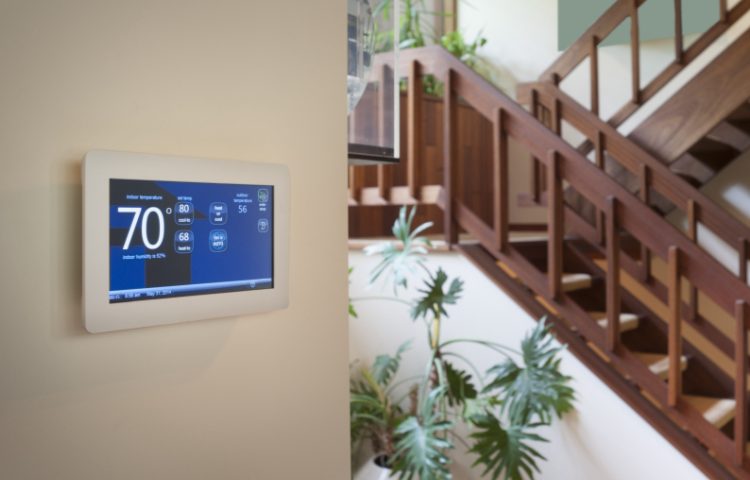
- Use Programmable Thermostats: Program thermostats to adjust the temperature automatically based on your schedule. This can save energy and maintain a comfortable temperature when you're home.
- Consider a Smart Thermostat: Smart thermostats offer advanced features like remote control, energy monitoring, and learning capabilities.
- Improve Home Sealing: Focus on sealing air leaks to prevent drafts and improve energy efficiency.
- Proper Ventilation: Ensure proper ventilation in your home to prevent moisture buildup and maintain air quality.
- Utilize Fans: Ceiling fans and portable fans can help circulate air and improve comfort.
By following these troubleshooting steps and preventative maintenance tips, you can maintain a comfortable and energy-efficient home environment. Remember, when in doubt, consult a qualified HVAC professional for assistance.