What Is Evaporator Coils On Air Conditioner
Is your home feeling stuffy despite your air conditioner running? Or perhaps you're noticing weak airflow and higher-than-usual energy bills? One of the most common culprits behind these issues is a problem with your air conditioner's evaporator coil. Understanding what it is, what it does, and how to troubleshoot potential problems can save you time, money, and discomfort. This guide will walk you through a practical approach to diagnosing evaporator coil issues and performing some basic DIY fixes.
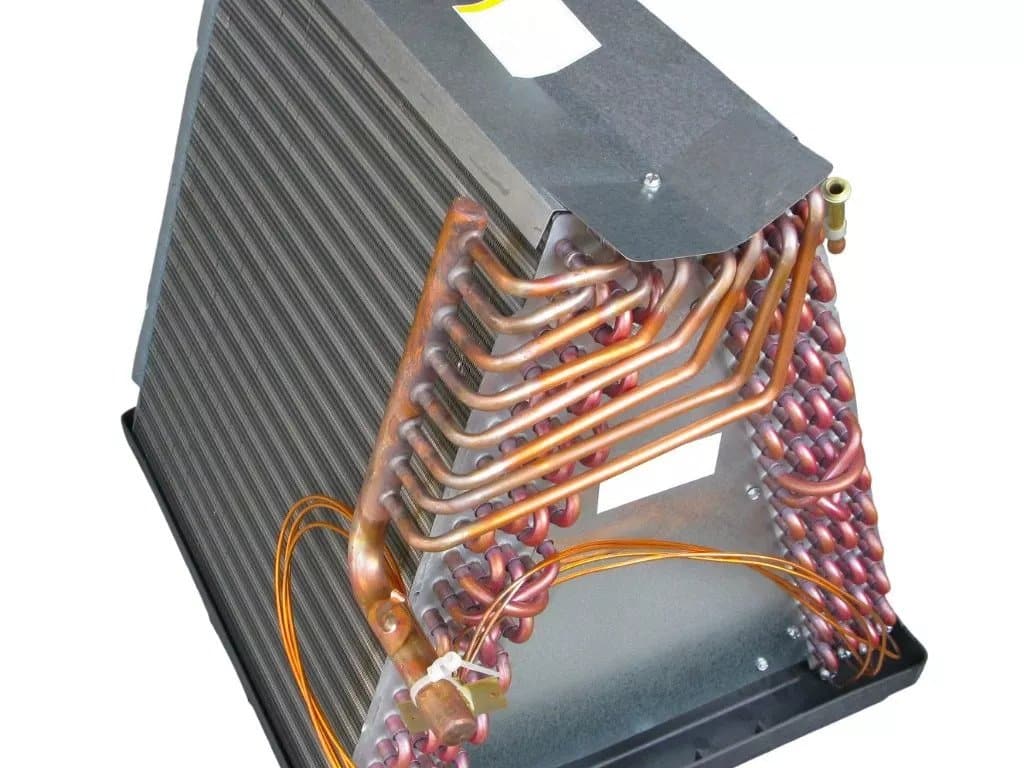
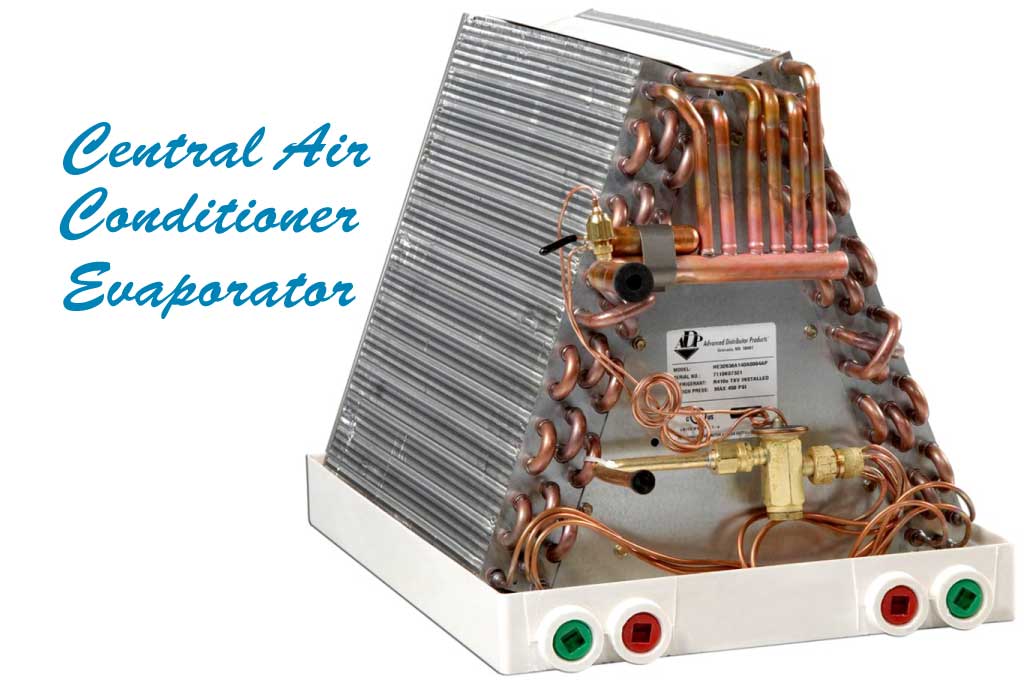
What is the Evaporator Coil and What Does It Do?
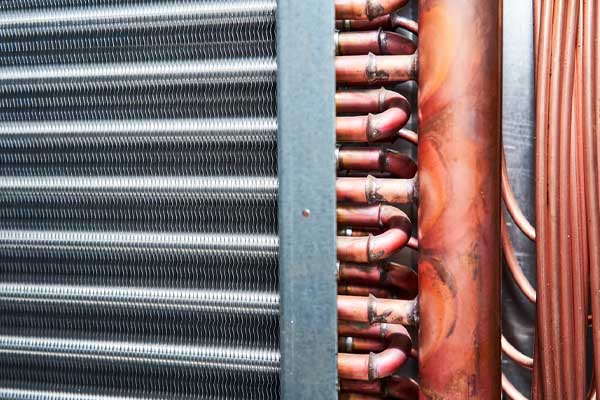
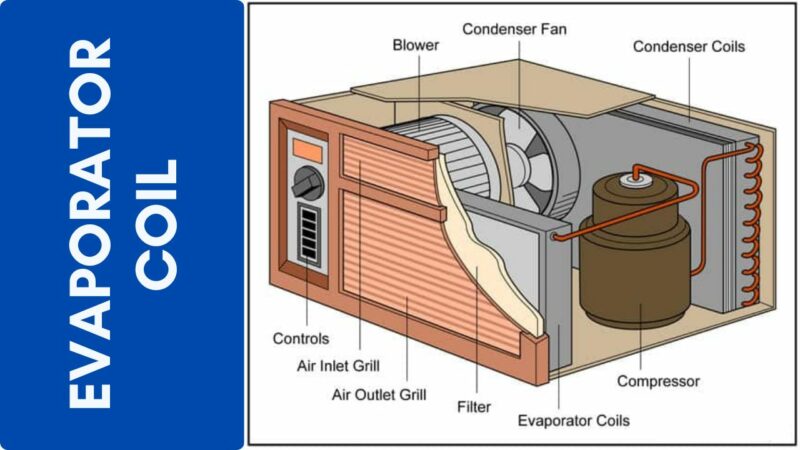
The evaporator coil is a critical component of your air conditioning system. It's typically located inside your indoor air handler or furnace. Its primary job is to absorb heat from the air passing over it, effectively cooling your home. Refrigerant flows through the coil, and as warm air blows across it, the refrigerant evaporates, drawing heat away from the air. This cooled air is then circulated throughout your house.
Think of it like this: the evaporator coil is the cold engine of your AC system. If it's not working efficiently, your AC won't be able to cool your home properly.
Common Symptoms of Evaporator Coil Problems
Several telltale signs can indicate a problem with your evaporator coil:
- Weak airflow: If you notice significantly reduced airflow from your vents, the evaporator coil might be blocked or frozen.
- Warm air: The air coming from your vents isn't as cold as it used to be, or it's barely cool at all.
- Higher energy bills: Your AC system is working harder to cool your home, leading to increased energy consumption.
- Ice buildup on the coil: Visually inspecting the coil (if accessible) reveals ice accumulation.
- Water leaks: Water might be leaking from your indoor unit, especially if the coil is frozen and melting.
- Musty or moldy odors: A dirty or moldy evaporator coil can produce unpleasant smells.
Troubleshooting Your Evaporator Coil: A Step-by-Step Guide
Before calling a professional, follow these steps to diagnose the issue. Remember to always turn off your AC unit at the breaker before attempting any inspection or maintenance.
Step 1: Check the Air Filter (No Tools Required)
This is the easiest and most crucial first step. A dirty air filter is the most common cause of evaporator coil problems, especially freezing. A clogged filter restricts airflow, causing the coil to become too cold and ice to form.
- Locate your air filter: It's usually located in the indoor air handler or furnace, often in a slot or behind a panel.
- Inspect the filter: Is it visibly dirty, clogged with dust and debris?
- Replace or clean the filter: If it's a disposable filter, replace it with a new one of the same size and type. If it's a washable filter, clean it thoroughly with water and let it dry completely before reinstalling.
- Wait and Observe: After replacing the filter, turn your AC back on and monitor its performance for a few hours. The problem might resolve itself as airflow improves.
Step 2: Check the Airflow (No Tools Required)
Even with a clean filter, restricted airflow can still be an issue. Make sure your vents are open and unobstructed.
- Inspect all vents: Ensure that all supply and return vents in your home are fully open.
- Check for obstructions: Make sure furniture, curtains, or rugs are not blocking any vents.
- Assess the blower fan: Listen to the sound of your indoor unit's blower fan. Does it sound weak or struggling? If so, the motor might be failing, requiring professional attention.
Step 3: Inspect the Evaporator Coil (Requires Basic Tools & Caution)
Important Safety Note: Turn off the power to your AC unit at the breaker before attempting this step. Also, be careful when removing panels as they may have sharp edges. If you are not comfortable with electrical work, skip this step and call a professional.
This step involves visually inspecting the evaporator coil for ice buildup, dirt, and debris. You'll need a screwdriver to remove the access panel.
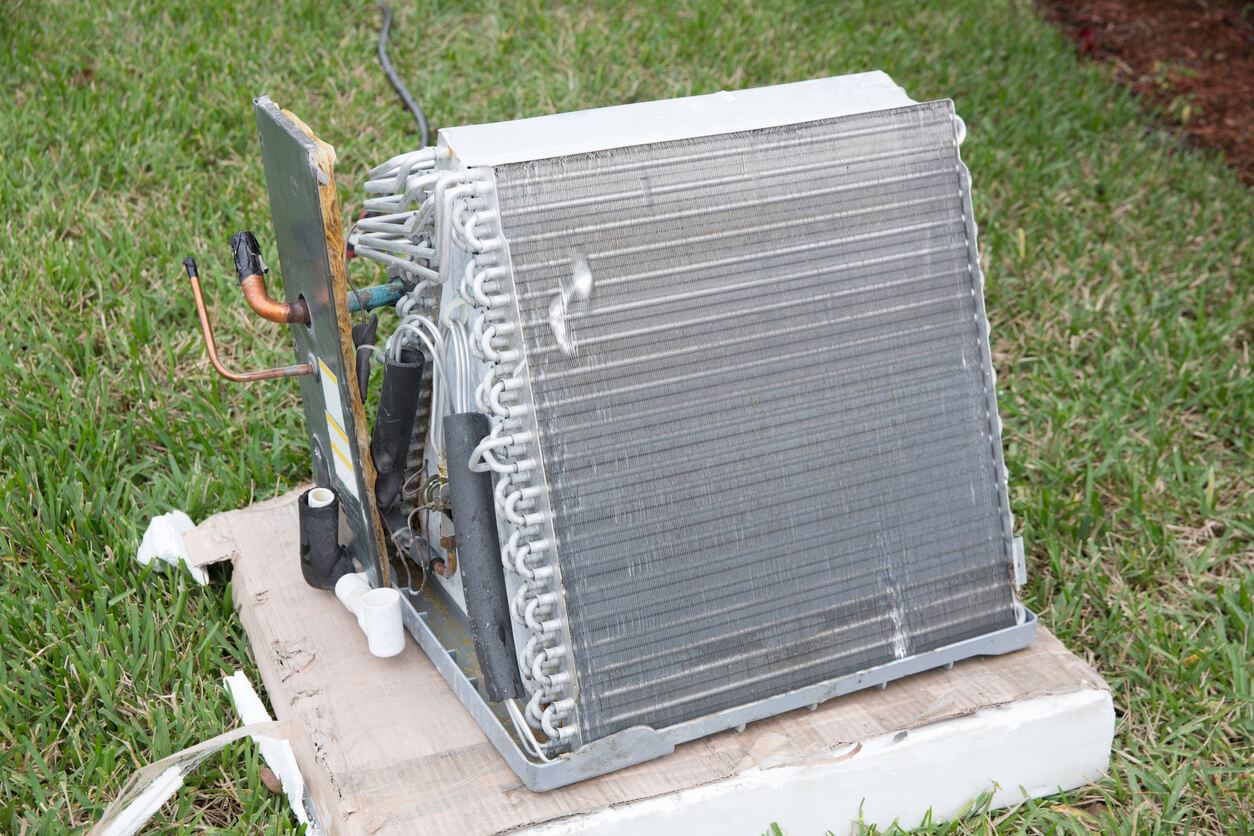
- Locate the evaporator coil: It's typically inside the indoor air handler or furnace, often behind an access panel. Consult your AC unit's manual for the exact location.
- Remove the access panel: Use a screwdriver to carefully remove the panel, exposing the evaporator coil.
- Inspect the coil: Look for the following:
- Ice buildup: A thick layer of ice on the coil is a clear indication of a problem.
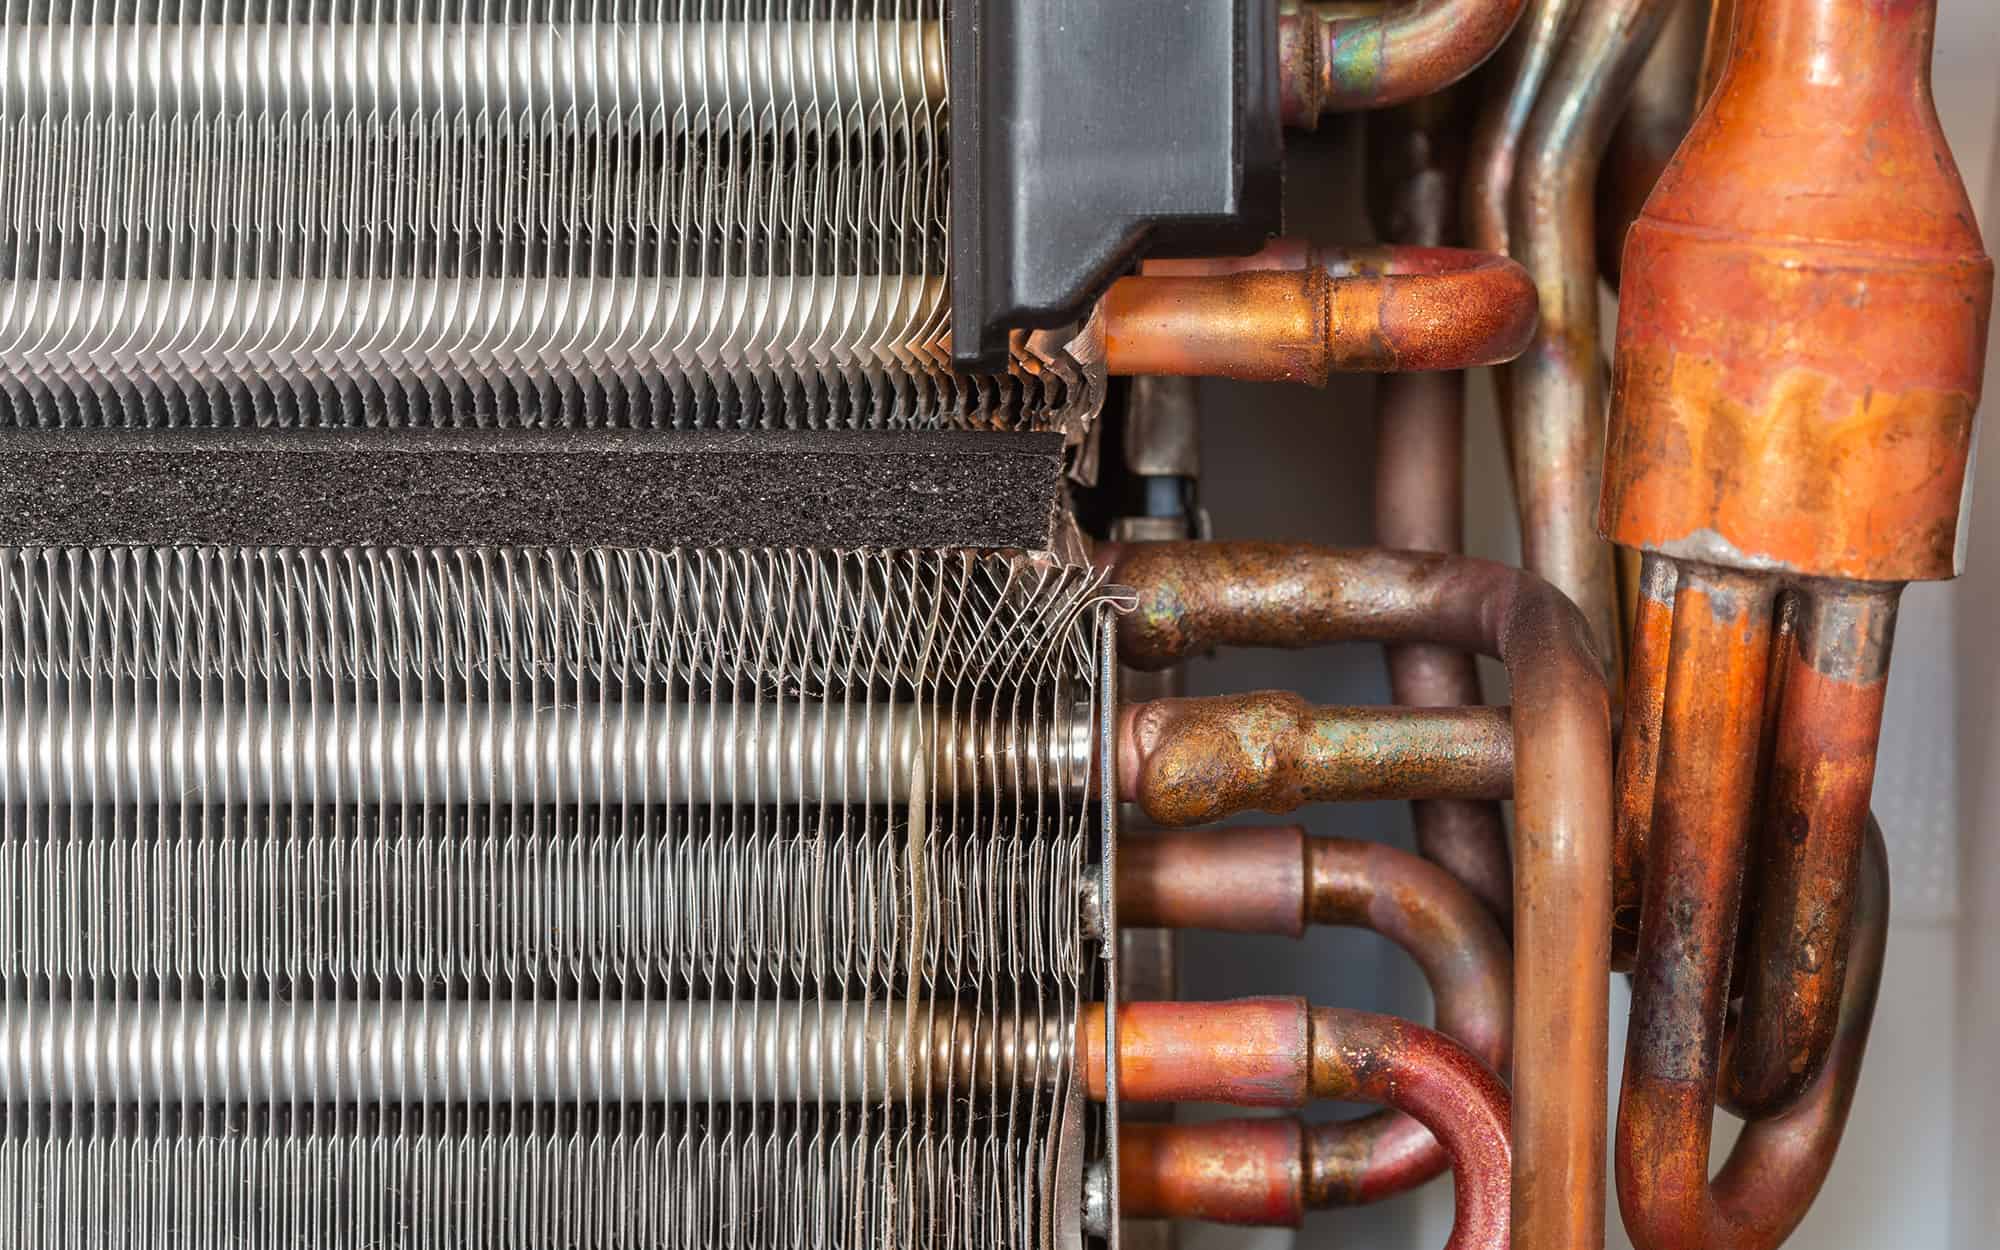
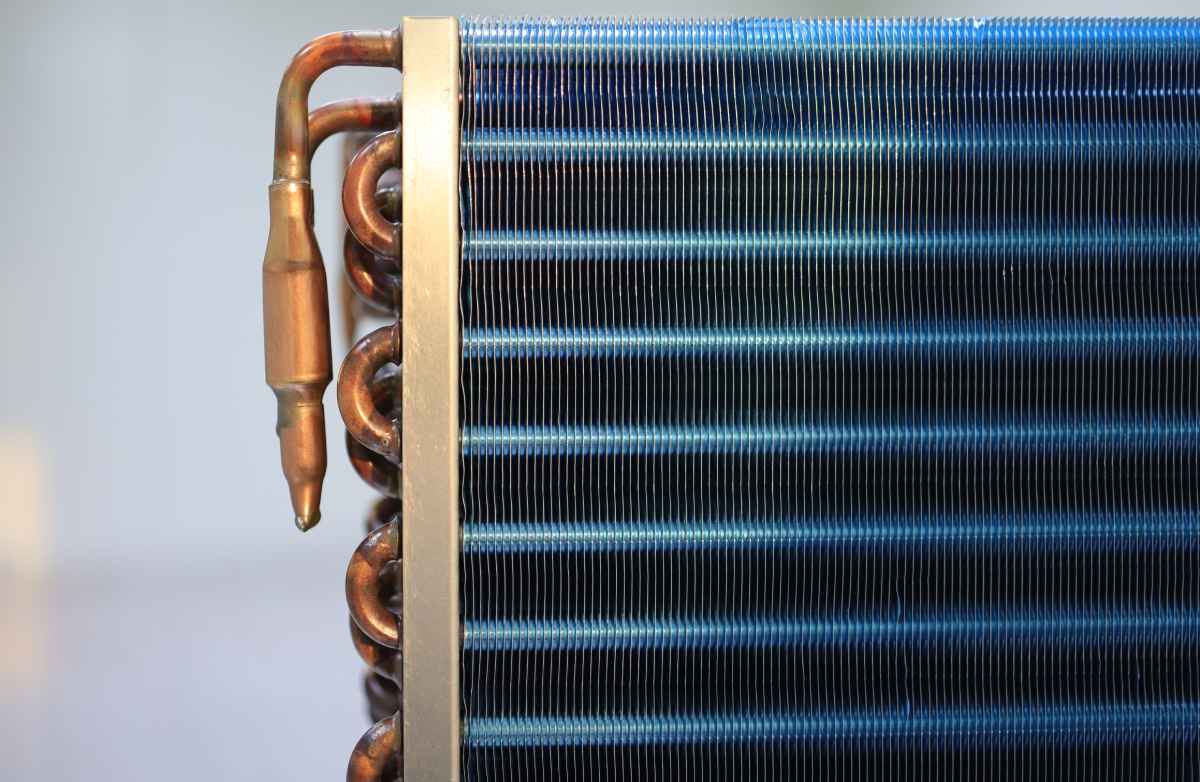
- Dirt and debris: A coating of dust, dirt, or pet hair can restrict airflow and reduce the coil's efficiency.
- Mold or mildew: Look for signs of mold growth, which can cause unpleasant odors and health problems.
- If Ice is Present:
- Turn off the AC: Leave the access panel off and allow the ice to melt completely. This may take several hours or even overnight.
- Address the Cause: Once the ice has melted, go back to steps 1 and 2 to address the underlying cause of the freezing (usually a dirty filter or restricted airflow).
- Monitor Performance: After the coil has defrosted and you've addressed the potential cause, turn the AC back on and monitor its performance. If the coil freezes again, it indicates a more serious problem that requires professional attention.
Step 4: Cleaning the Evaporator Coil (Requires Basic Tools & Caution)
Important Safety Note: Turn off the power to your AC unit at the breaker before attempting this step. Wear gloves and eye protection.
If the evaporator coil is dirty but not frozen, you can attempt to clean it. Use a soft brush or vacuum cleaner with a brush attachment to gently remove dust and debris.
- Gather your supplies: You'll need a soft brush (like a paintbrush or bottle brush), a vacuum cleaner with a brush attachment, and possibly a fin comb.
- Gently remove loose debris: Use the soft brush to gently loosen any dust or debris on the coil.
- Vacuum the coil: Use the vacuum cleaner with the brush attachment to carefully vacuum the coil, removing the loosened debris.
- Straighten bent fins (optional): If the fins on the coil are bent, use a fin comb to gently straighten them. This will improve airflow.
- Reassemble and Monitor: Replace the access panel, turn the AC back on, and monitor its performance.
Step 5: Check the Condensate Drain Line (No Tools Required)
A clogged condensate drain line can cause water to back up into the indoor unit and potentially contribute to evaporator coil problems. The drain line carries away the condensation that forms on the coil.
- Locate the drain line: It's usually a PVC pipe that exits the indoor unit and drains outside or into a drain.
- Check for clogs: Look for any signs of blockage, such as water dripping from the drain line or standing water around the indoor unit.
- Clear the drain line: You can try to clear the drain line using a wet/dry vacuum or a stiff wire. Be careful not to damage the line. You can also pour a cup of diluted bleach or vinegar down the drain line to help prevent future clogs.
When to Call a Professional HVAC Technician
While some evaporator coil problems can be addressed with DIY solutions, others require the expertise of a qualified HVAC technician. Call a professional if you encounter any of the following:
- Refrigerant leaks: If you suspect a refrigerant leak (you might smell a sweet, oily odor), do not attempt to fix it yourself. Refrigerant is a hazardous substance, and only a licensed technician can handle it safely.
- Frozen coil that keeps reoccurring: Despite cleaning the filter, improving airflow, and melting the ice, the coil continues to freeze. This indicates a more complex issue like low refrigerant levels, a faulty metering device, or a compressor problem.
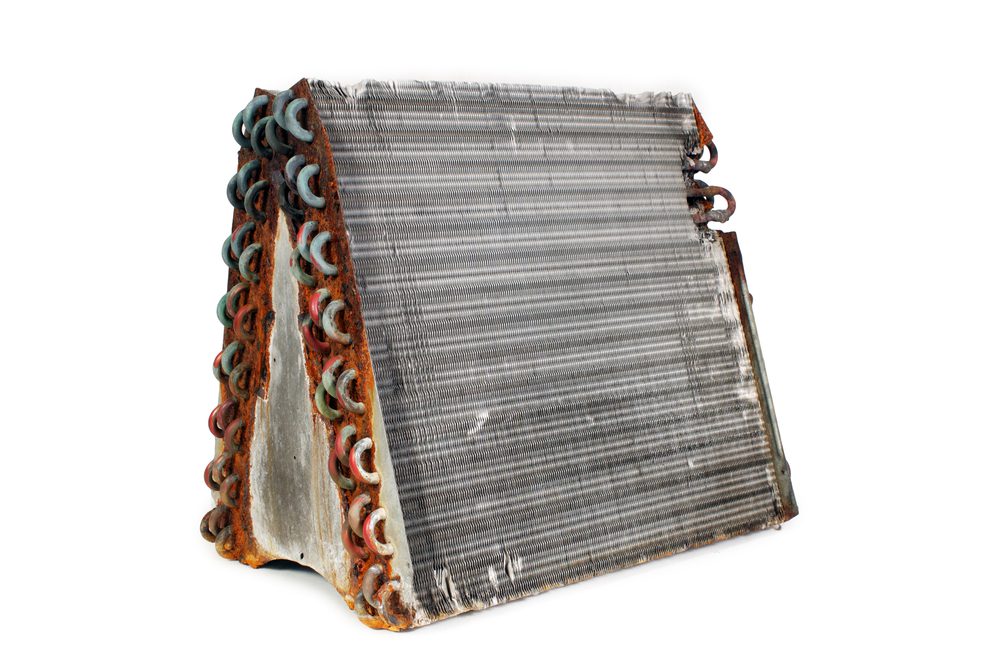
- Damaged coil: If the evaporator coil is physically damaged (e.g., bent fins, corrosion), it may need to be repaired or replaced.
- Electrical issues: If you suspect an electrical problem with the AC unit, do not attempt to fix it yourself. Electrical work can be dangerous and should only be performed by a qualified electrician or HVAC technician.
- You are uncomfortable: At any point in this process, if you feel uncomfortable, unsure, or simply don't want to proceed, calling a professional is always the safest option.
Attempting to repair complex AC issues without the proper knowledge and tools can be dangerous and can potentially damage your system further. Remember, a qualified HVAC technician has the training, experience, and equipment to accurately diagnose and repair evaporator coil problems safely and effectively. They can also perform preventative maintenance to keep your AC system running smoothly and efficiently.
Preventative Maintenance for Your Evaporator Coil
The best way to avoid evaporator coil problems is to perform regular preventative maintenance on your AC system.
- Change or clean your air filter regularly: This is the single most important thing you can do to keep your evaporator coil clean and functioning properly. Check the filter monthly and replace or clean it as needed.
- Schedule annual AC maintenance: A professional HVAC technician can inspect your AC system, clean the evaporator coil, check refrigerant levels, and perform other maintenance tasks to keep your system running efficiently.
- Keep the area around your outdoor unit clear: Make sure that the area around your outdoor unit is free of debris, such as leaves, grass clippings, and branches. This will ensure proper airflow.
- Consider UV lights: Installing UV lights in your air handler can help to kill mold and bacteria that can grow on the evaporator coil.
By following these tips, you can help keep your evaporator coil clean and functioning properly, ensuring that your AC system provides reliable and efficient cooling for your home.