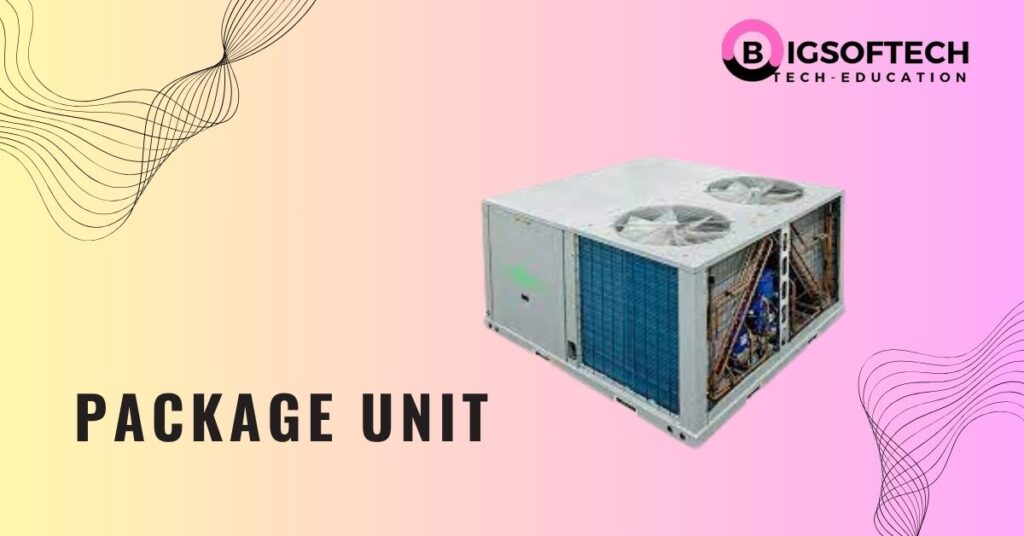
What Is Packaged Air Conditioning System

Is your packaged air conditioning system blowing lukewarm air in the summer, or failing to heat your home adequately in the winter? It's a frustrating situation many homeowners face, and often, the problem stems from a relatively simple cause. This article will guide you through a step-by-step troubleshooting process to diagnose common issues with your packaged AC unit and identify potential DIY fixes. Remember, safety is paramount. If at any point you feel uncomfortable or unsure, it's always best to call a qualified HVAC technician.
Understanding Your Packaged AC System
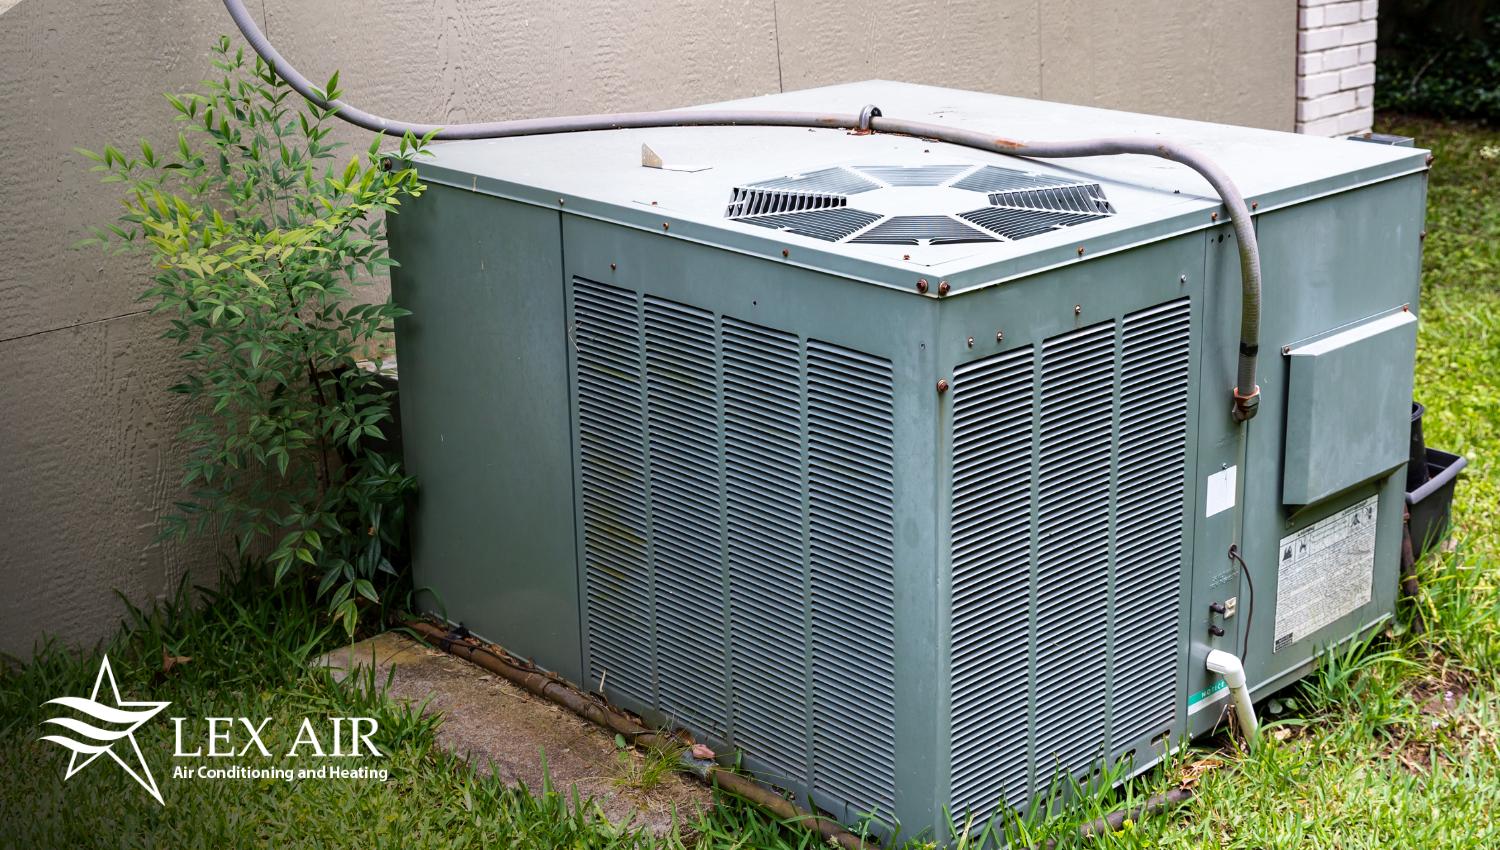
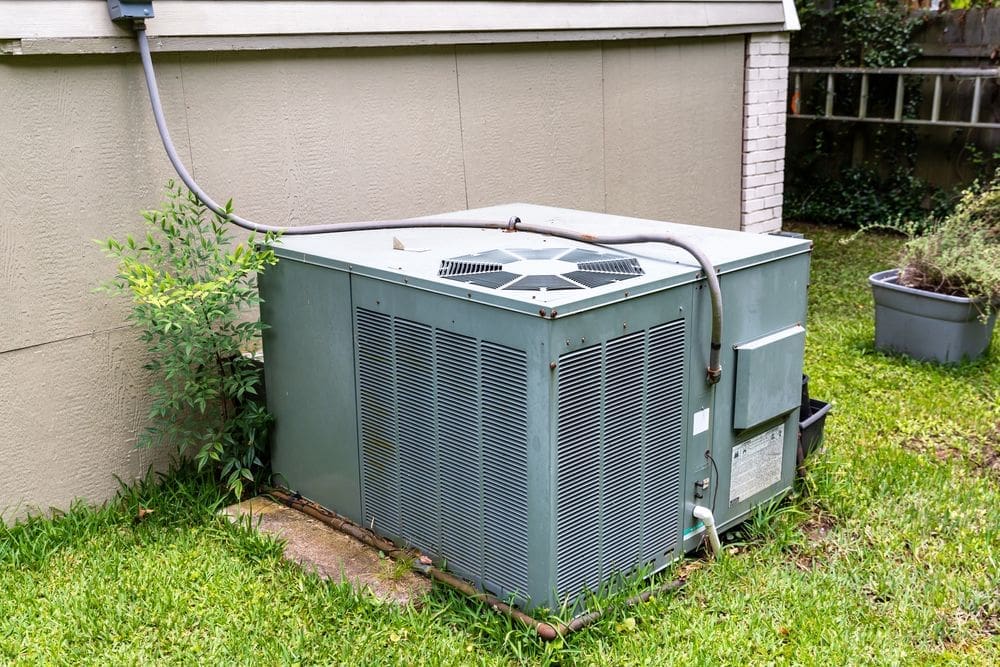
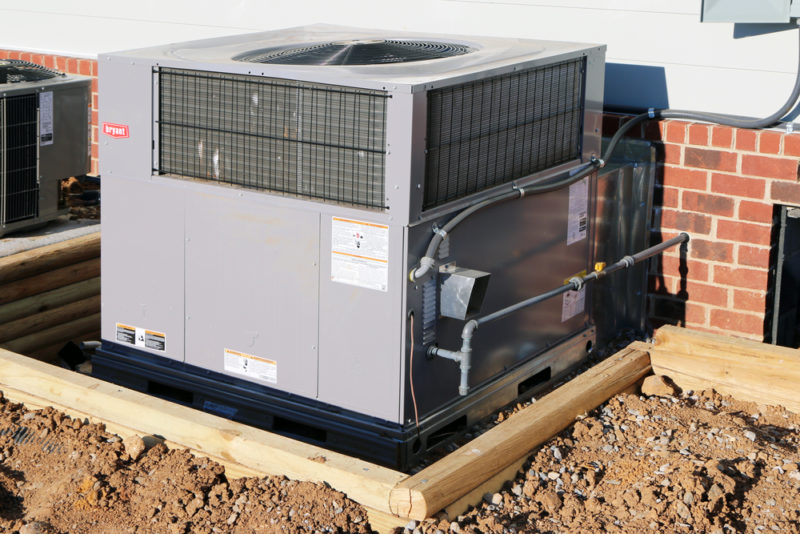
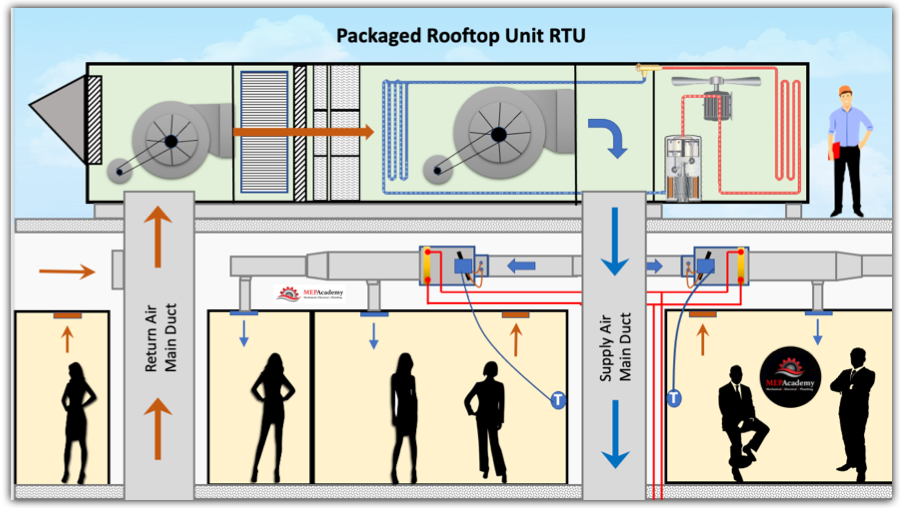
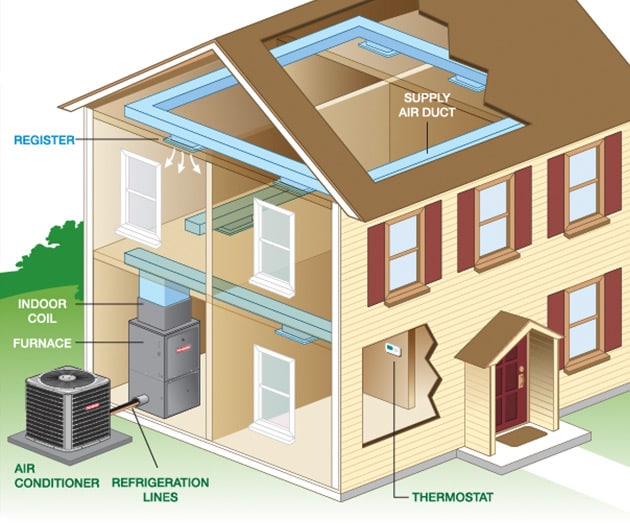
Before diving into troubleshooting, let's briefly define what a packaged air conditioning system is. Unlike split systems, where the condenser (outside) and evaporator (inside) are separate, a packaged system combines all components – the compressor, condenser coil, evaporator coil, and blower fan – into a single, self-contained unit, usually located outside your home, often on a slab or on the roof. This makes them relatively easy to access for inspection and maintenance.
Troubleshooting a Packaged AC System: A Step-by-Step Guide
Step 1: Preliminary Checks (No Tools Required)
Begin with the basics. These checks require no tools and can often pinpoint obvious problems.
- Check the Thermostat: Ensure your thermostat is set to the correct mode (cooling or heating) and temperature. A surprisingly common issue is simply an incorrect setting. Verify the thermostat is calling for heating or cooling by observing the display for a "cool on" or "heat on" indication. Also, check the batteries in your thermostat, as low batteries can cause erratic behavior.
- Inspect the Air Filter: A dirty air filter is the most frequent culprit behind poor AC performance. A clogged filter restricts airflow, making the system work harder and less efficiently. Locate the air filter compartment (usually within the unit itself or near the return air duct) and visually inspect the filter. If it's visibly dirty, replace it with a new filter of the correct size and MERV rating.
- Examine the Outdoor Unit (Visually): Walk around the packaged unit and look for any obvious signs of damage or obstruction. Are there any branches, leaves, or debris blocking the airflow around the unit? Clear away any vegetation or obstructions at least two feet around the unit. Check for any visible damage to the unit's housing, such as dents or cracks.
- Listen for Unusual Noises: Pay attention to any unusual noises coming from the unit while it's running. Grinding, squealing, or banging sounds could indicate mechanical problems that require professional attention.
- Check the Circuit Breaker: Go to your electrical panel and check the circuit breaker that supplies power to the packaged AC unit. Make sure the breaker is in the "on" position. If it's tripped to the "off" position, try resetting it. If it trips again immediately, there's likely a short circuit or overload, and you'll need to call an electrician or HVAC technician.
Step 2: Electrical Checks (Basic Equipment Required - Multimeter)
Caution: Working with electricity can be dangerous. If you are not comfortable working with electrical components, call a qualified HVAC technician. Always disconnect power to the unit at the circuit breaker before performing any electrical checks.
- Verify Power to the Unit: After disconnecting the power, carefully open the control panel of the packaged unit. Use a multimeter to verify that power is reaching the unit at the main disconnect. You should read the appropriate voltage (usually 220-240V) between the power leads. If you don't read any voltage, double-check the circuit breaker and wiring connections.
- Check the Capacitor: Capacitors are essential components that help start and run the compressor and fan motors. A faulty capacitor is a common cause of AC failure. Capacitors store electrical energy and can deliver a potentially dangerous shock even after power is disconnected. Use extreme caution. After disconnecting power and waiting several minutes for the capacitor to discharge, use a multimeter to check the capacitor's capacitance (measured in microfarads, or µF). Compare the measured value to the rated capacitance printed on the capacitor. A significant difference (e.g., 10% or more) suggests the capacitor is failing and needs replacement. Replacing a capacitor is generally a task for a qualified technician.
- Inspect Wiring Connections: Look for any loose or corroded wiring connections within the control panel. Carefully tighten any loose connections and clean any corroded terminals with a wire brush.
Step 3: Component Checks (Basic Equipment & Knowledge Required)
These checks require a basic understanding of AC system components and their function.
- Inspect the Condenser Fan: With the unit powered off and locked out (breaker off and tagged), manually spin the condenser fan. It should spin freely and smoothly. If it's stiff or doesn't spin easily, the fan motor bearings may be worn out and require replacement.
- Check the Compressor: The compressor is the heart of the AC system. If the compressor is not running, the system will not cool. Listening closely, try to determine if the compressor is attempting to start (humming sound) but failing. This could indicate a locked rotor, a sign of a failing compressor. Compressor issues typically require professional diagnosis and repair.
- Examine the Evaporator Coil (If Accessible): In some packaged units, the evaporator coil is accessible for visual inspection. Look for signs of excessive frost or ice buildup on the coil. This could indicate a refrigerant leak, restricted airflow, or a faulty metering device. Icing can also be caused by a very dirty air filter, so recheck that. Refrigerant leaks require professional repair.
- Inspect the Blower Motor: Similar to the condenser fan, check the blower motor (responsible for circulating air throughout your home). Ensure the blower wheel spins freely. A faulty blower motor can significantly reduce airflow and cooling/heating performance.
DIY Actions You Can Take
Based on your troubleshooting, here are some DIY actions you can consider:
- Replace the Air Filter: This is the most common and easiest fix. Replace it regularly (every 1-3 months) to maintain optimal performance.
- Clear Obstructions Around the Unit: Remove any debris, vegetation, or other obstructions that are blocking airflow around the packaged unit.
- Tighten Loose Wiring Connections: After disconnecting power, carefully tighten any loose wiring connections within the control panel.
- Clean the Condenser Coil (Carefully): Use a garden hose with a gentle spray nozzle to clean the condenser coil from the outside. Be careful not to damage the fins. Spray from the inside out to push debris away. Do not use a pressure washer, as it can damage the delicate fins.
When to Call a Professional HVAC Technician
The following issues require professional HVAC service:
- Refrigerant Leaks: Refrigerant leaks are harmful to the environment and require specialized equipment and expertise to repair.
- Compressor Problems: Diagnosing and repairing compressor issues is complex and requires specialized tools and knowledge.
- Electrical Problems: If you suspect a short circuit, overload, or other electrical problems, call a qualified electrician or HVAC technician.
- Major Component Failures: Replacing major components like the compressor, evaporator coil, or condenser coil requires specialized skills and equipment.
- If You're Unsure: If you're uncomfortable or unsure about any aspect of the troubleshooting or repair process, it's always best to call a professional. Your safety and the proper functioning of your AC system are worth the investment.
- Capacitor Replacement: While technically possible as a DIY, capacitor replacement involves handling high voltage components and can be dangerous if not done correctly. It's generally recommended to have a professional replace a capacitor.
- Icing Evaporator Coil: While a dirty filter can cause this, often it is due to low refrigerant, a problem only a professional can fix.
Preventative Maintenance for Packaged AC Systems
The best way to avoid AC problems is to perform regular preventative maintenance. Here are some tips:
- Change Air Filters Regularly: As mentioned earlier, replace your air filter every 1-3 months.
- Clean the Condenser Coil Annually: Clean the condenser coil at least once a year, preferably in the spring before the cooling season begins.
- Schedule Professional Maintenance: Have a qualified HVAC technician inspect and service your packaged AC system annually. This will help identify and address potential problems before they become major issues. They can check refrigerant levels, clean and inspect the system, and lubricate moving parts.
- Keep the Area Around the Unit Clear: Maintain a clear area around the packaged unit to ensure proper airflow.
By following these troubleshooting steps and performing regular preventative maintenance, you can keep your packaged AC system running efficiently and effectively for years to come. Remember, when in doubt, call a professional!