What Is The Abbreviation For Carbon Monoxide
One of the most unsettling experiences for a homeowner, especially during the colder months, is waking up to a house that's colder than expected, despite the thermostat being set at a comfortable temperature. Or, conversely, discovering your AC isn't cooling properly during the summer heat. This often leads to the dreaded question: What's wrong with my heating or cooling system?
Before you panic and call a costly HVAC technician, there are several troubleshooting steps you can take to identify and potentially resolve the issue yourself. This guide will walk you through a systematic approach, empowering you to diagnose common heating and cooling problems. We’ll also touch upon a very important safety concern: Carbon Monoxide (CO) and its abbreviation.
Understanding Carbon Monoxide & Its Abbreviation
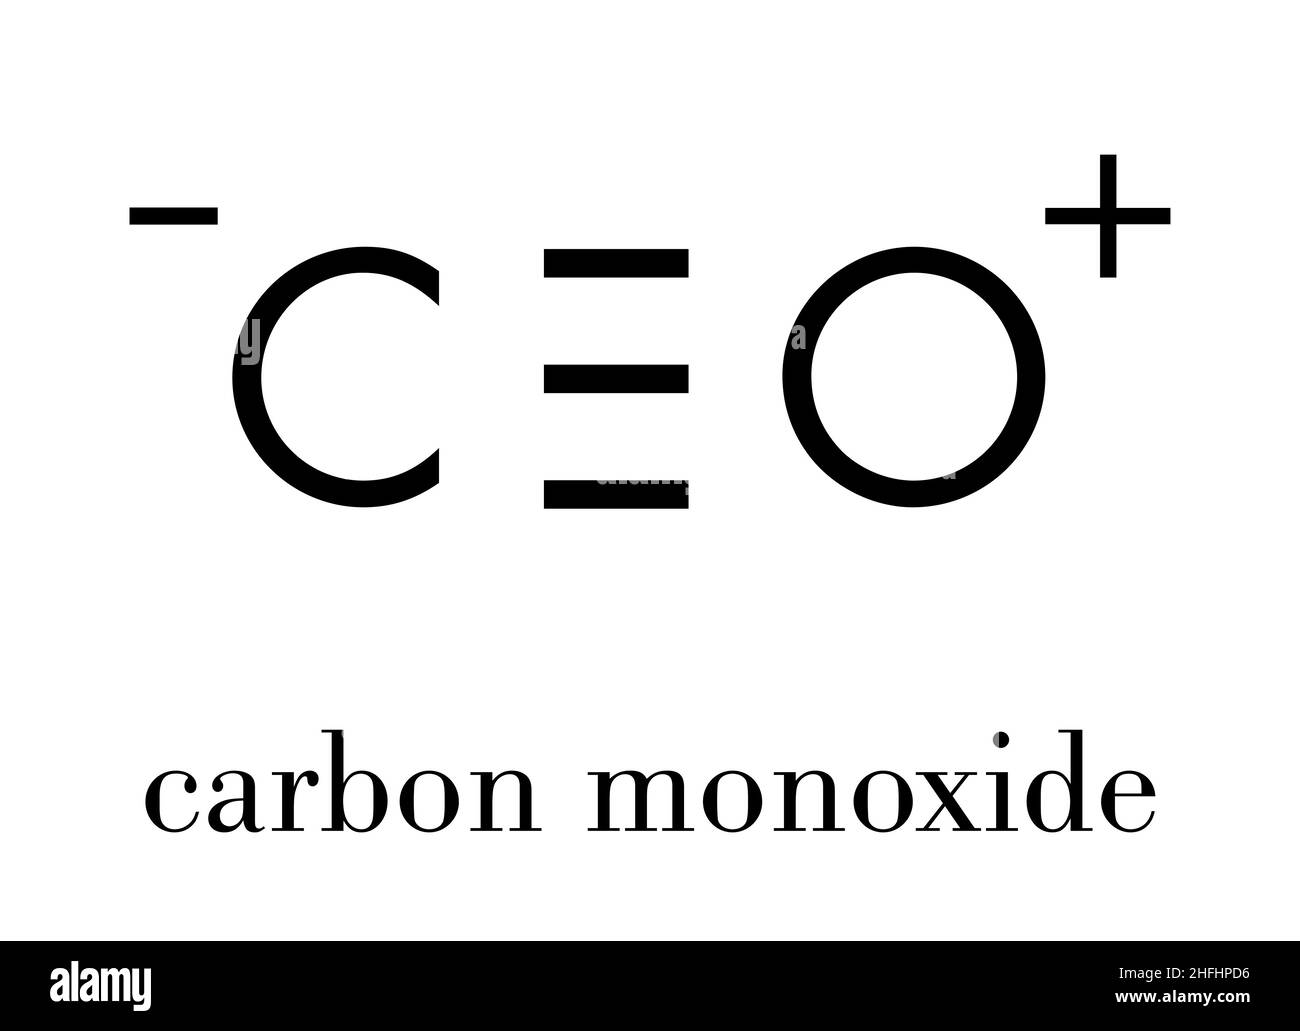
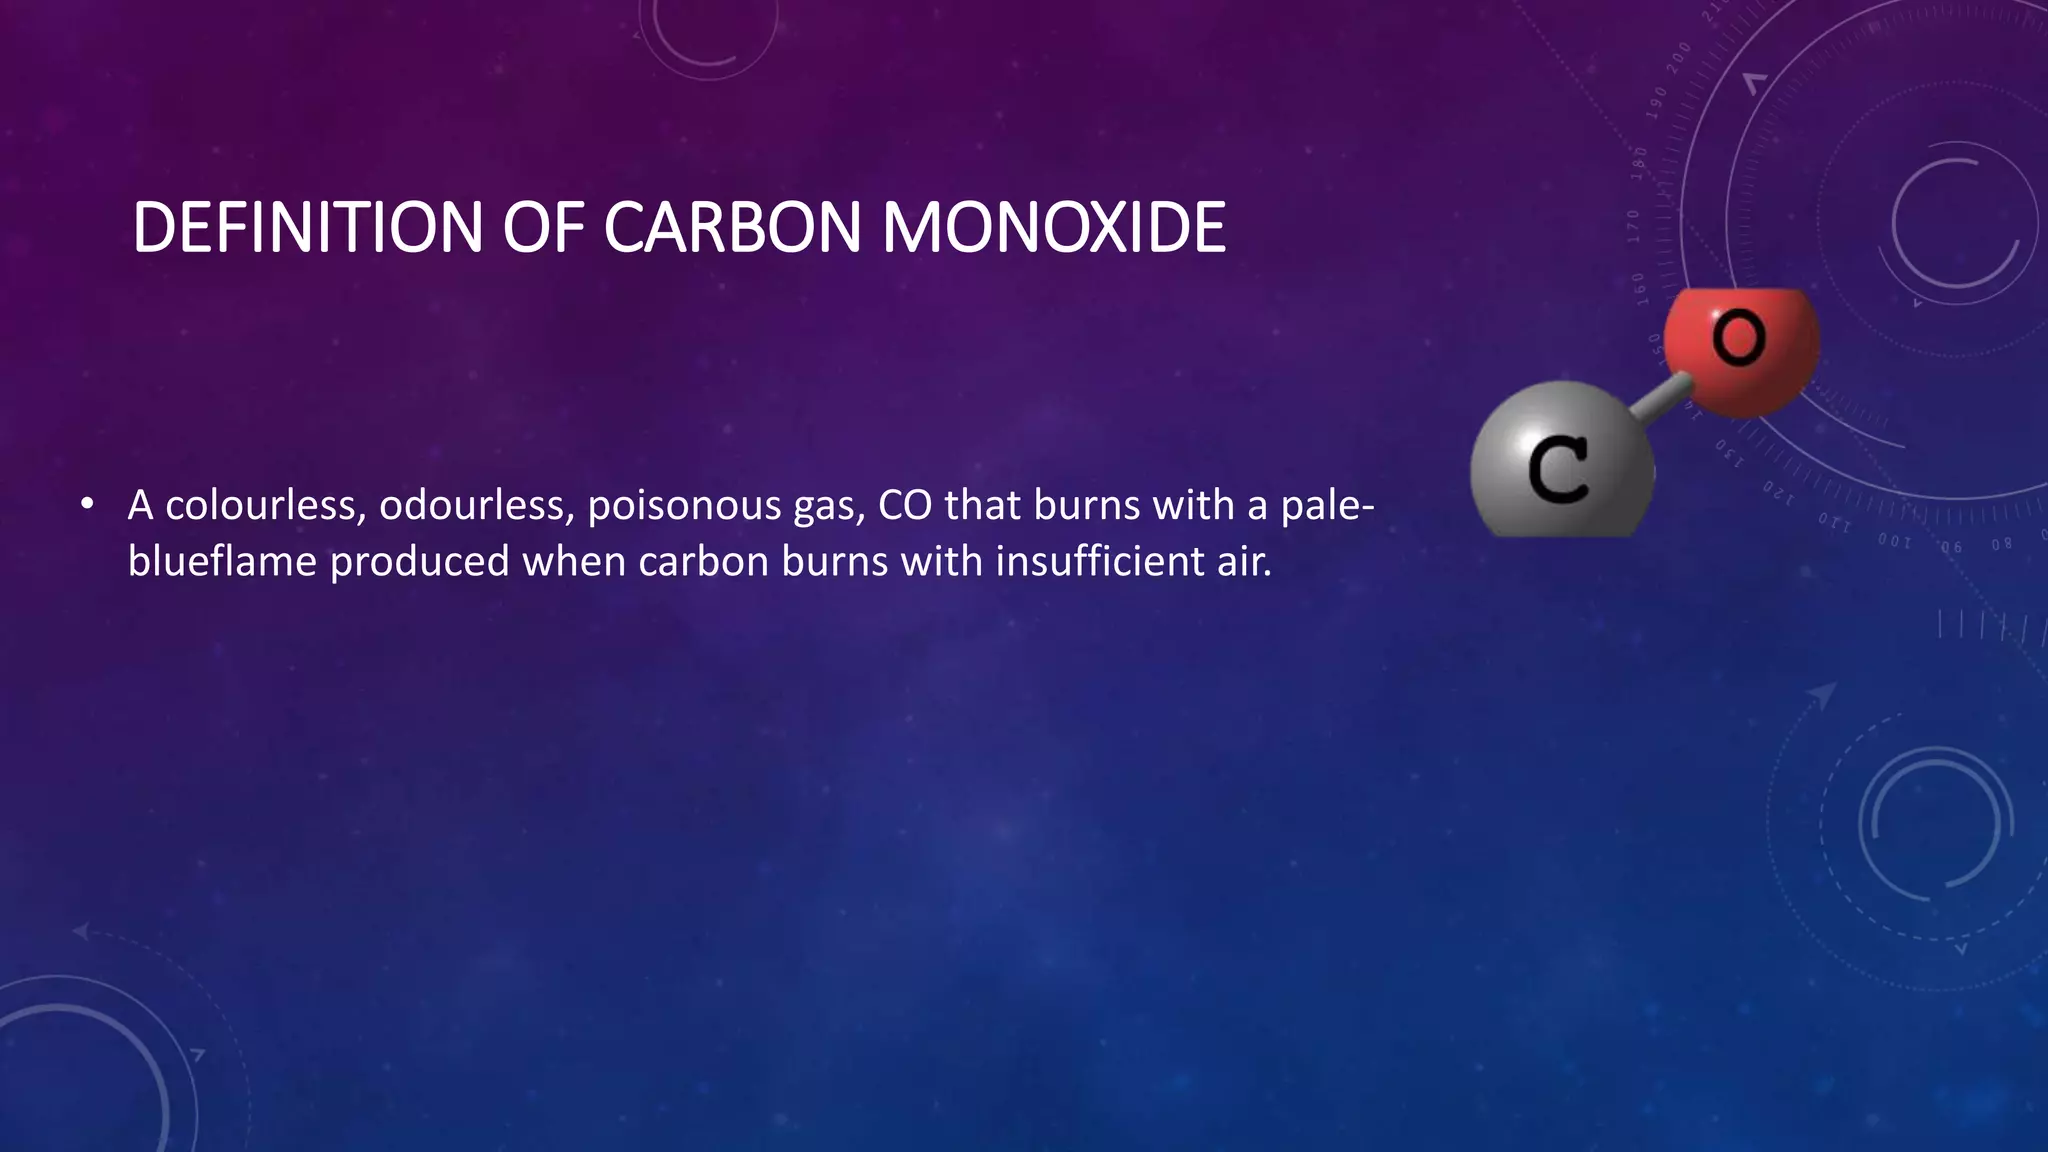
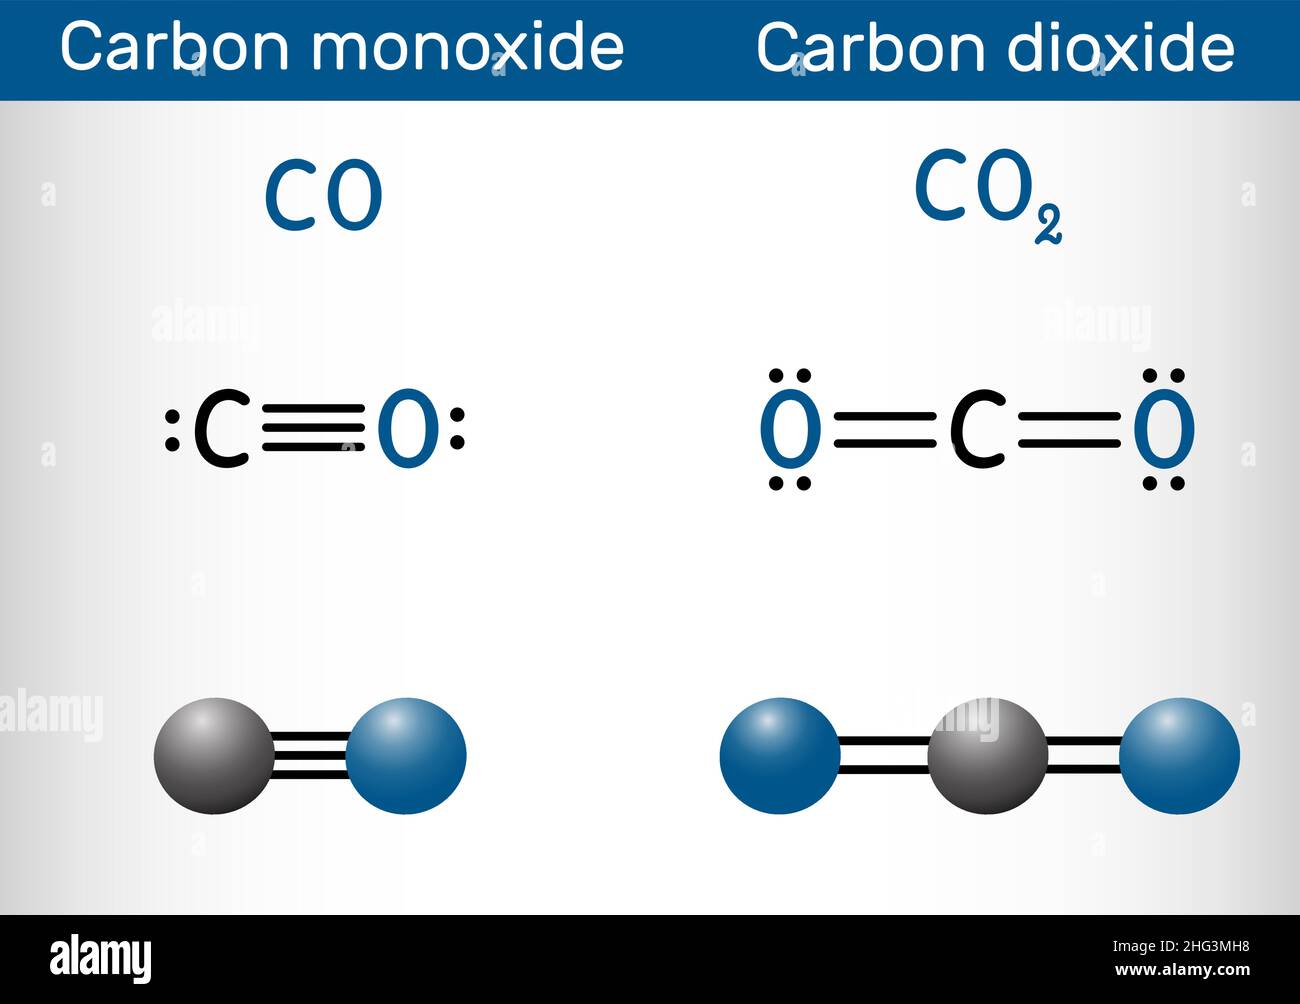
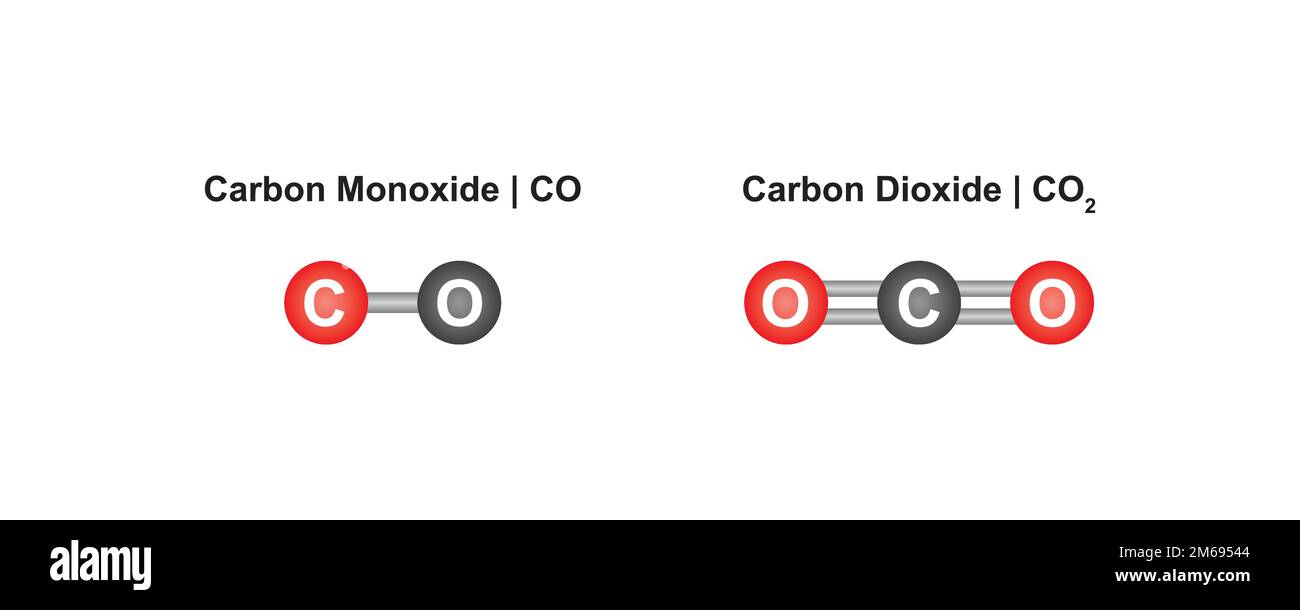
Before diving into system diagnostics, let's address a critical safety concern. Carbon Monoxide (CO) is a colorless, odorless, and deadly gas produced by the incomplete burning of fuels such as natural gas, propane, oil, kerosene, wood, or charcoal. It's a silent killer because you can't see, smell, or taste it.
The abbreviation for Carbon Monoxide is CO. It's crucial to have working CO detectors in your home, especially near sleeping areas and on every level. A malfunctioning heating system is a prime source of CO leaks, so regular maintenance and vigilance are paramount.
If your CO detector alarms, evacuate the premises immediately and call 911 or your local fire department. Do not re-enter the building until it is deemed safe by emergency personnel.
Troubleshooting Your Heating & Cooling System: A Step-by-Step Guide
Now, let's get to the troubleshooting. This guide is structured to help you pinpoint the problem, starting with the easiest checks and progressing to more complex ones.
Step 1: The Obvious Checks (No Tools Required)
These are the easiest things to check and often the culprit behind simple heating or cooling failures.
- Thermostat Settings: This might seem basic, but it's frequently the issue.
- Heating: Is the thermostat set to "Heat" and the temperature higher than the current room temperature?
- Cooling: Is the thermostat set to "Cool" and the temperature lower than the current room temperature?
- Auto Mode: If your thermostat is in "Auto" mode, is it set to the appropriate temperature range for heating and cooling? Sometimes, a wide temperature swing can confuse the system.
- Battery Check: Many thermostats run on batteries. A low battery can cause inaccurate readings or complete failure. Try replacing the batteries with fresh ones.
- Air Vents: Make sure all air vents in your home are open and unobstructed. Closed vents can restrict airflow, making it harder for the system to heat or cool effectively. Blocked vents can also cause the system to overwork itself.
- Circuit Breaker: Check the circuit breaker panel for tripped breakers. A tripped breaker could be interrupting power to your furnace, air conditioner, or blower motor. Look for a breaker that is in the "off" or "middle" position. Flip it all the way to "off" and then back to "on".
If these simple checks resolve the issue, congratulations! You've saved yourself a service call. If not, move on to the next step.
Step 2: Filter Inspection (Minimal Tools Required)
A dirty air filter is one of the most common causes of heating and cooling problems. A clogged filter restricts airflow, forcing your system to work harder and reducing its efficiency. It can also lead to overheating and potentially damage components.
- Locate the Filter: The air filter is usually located in the furnace itself or in a return air vent.
- Inspect the Filter: Remove the filter and hold it up to the light. If you can't see much light through it, it's time to replace it. A visibly dirty filter is a clear indicator.
- Replace the Filter: Replace the dirty filter with a new one of the correct size and type. The filter size is usually printed on the filter frame.
Tools needed: None, unless the filter compartment requires a screwdriver to open (a simple Philips or flathead screwdriver will suffice).
Filter Replacement Frequency: Generally, you should replace your air filter every 1-3 months, depending on the type of filter and the air quality in your home. If you have pets or allergies, you may need to replace it more frequently.
Note: Using the system without a filter can damage internal components.
Step 3: Examining the Outdoor Unit (AC Only - Weather Permitting)
If you're experiencing cooling problems, the outdoor unit (condenser) might be the culprit. *Only perform this check if the weather is suitable (no rain or snow)*.
- Visual Inspection: Check the unit for any obvious debris, such as leaves, grass clippings, or branches, blocking the fins. Clear away any obstructions carefully.
- Fin Condition: Examine the fins (the thin metal strips surrounding the unit). If they are bent or damaged, carefully straighten them with a fin comb (available at most hardware stores). Damaged fins restrict airflow.
- Power Disconnect: Locate the power disconnect switch near the outdoor unit. Ensure it is in the "on" position. Sometimes, these can be accidentally switched off.
Tools needed: Possibly a fin comb. Be very gentle when straightening fins to avoid further damage.
Step 4: Pilot Light/Ignition System (Furnace Only - If Applicable)
This step applies primarily to older furnaces with a pilot light. Most newer furnaces have electronic ignition systems, which are less prone to these issues, but it's worth checking.
- Locate the Pilot Light: The pilot light is usually located inside the furnace near the burner assembly. Refer to your furnace's owner's manual for specific instructions.
- Pilot Light Out: If the pilot light is out, carefully relight it according to the manufacturer's instructions. Most furnaces have a sticker with relighting instructions.
- Electronic Ignition Issues: If your furnace has electronic ignition and it's not igniting, you might hear a clicking sound but no flame. This could indicate a problem with the igniter, flame sensor, or gas valve. This is a situation best left to a professional.
Important Safety Note: If you smell gas, immediately turn off the gas supply to the furnace and evacuate the building. Call your gas company or fire department from a safe location.
Step 5: Checking the Blower Motor (Both Heating & Cooling)
The blower motor circulates air throughout your home. If it's not working correctly, you'll experience poor heating or cooling performance. Determining if the blower motor is the issue requires careful listening.
- Listen for the Blower: When the thermostat calls for heat or cool, listen for the blower motor to start. If you don't hear anything, it could indicate a problem with the motor, capacitor, or wiring.
- Blower Motor Capacitor: The capacitor helps the motor start and run. A failing capacitor can cause the motor to hum but not turn. Working with capacitors can be dangerous as they can store an electrical charge even when the power is off. This is a task best left to a qualified HVAC technician.
- Blocked Blower Wheel: In rare cases, debris can block the blower wheel, preventing it from turning. Accessing and cleaning the blower wheel requires disassembling part of the furnace or air handler. This should only be attempted by someone with experience.
Caution: Working with electrical components can be dangerous. If you are not comfortable working with electricity, call a qualified HVAC technician.
When to Call a Professional HVAC Technician
While these troubleshooting steps can resolve many common heating and cooling problems, some issues require the expertise and equipment of a qualified HVAC technician. Here's when it's time to call in the pros:
- You smell gas. (Evacuate immediately and call the gas company or fire department).
- Your CO detector alarms. (Evacuate immediately and call 911 or the fire department).
- You suspect a refrigerant leak. Refrigerant is a regulated substance, and handling it requires specialized equipment and training.
- You're uncomfortable working with electricity or gas. Safety should always be your top priority.
- The furnace or air conditioner is making strange noises. (Loud banging, grinding, or hissing sounds could indicate serious mechanical problems).
- The system is constantly cycling on and off. This could be a sign of a more complex problem, such as a malfunctioning control board or a restricted airflow issue that you haven't been able to identify.
- You've tried all the troubleshooting steps and the problem persists.
Remember, regular maintenance by a qualified HVAC technician can help prevent many of these problems and ensure your system operates safely and efficiently. Schedule a professional inspection at least once a year.
By following these steps and understanding your system, you can confidently address many common heating and cooling issues and know when it's time to call in the experts. And always remember the abbreviation for Carbon Monoxide is CO and the dangers it poses.