What Is The Best Air Conditioning System
Imagine this: it's a sweltering summer afternoon, and you walk into your home expecting that cool, refreshing blast of air from your air conditioning system. But instead, you're met with...stifling heat. Your AC is blowing, but it's barely cooler than the outside temperature. This is a frustrating and common problem, and before you panic and call for expensive repairs, let's explore some troubleshooting steps you can take. Remember, safety first! Always turn off the power to your AC unit at the breaker box before attempting any repairs.
Step 1: The Obvious - Check the Thermostat
This might seem too simple, but you'd be surprised how often the problem lies here. Start by ensuring your thermostat is set to "Cool" and the temperature is set significantly lower than the current room temperature. For example, if your room is 80°F, set the thermostat to 72°F or lower.
Diagnosis: Is the thermostat displaying correctly? Are the batteries fresh? Sometimes a simple battery replacement can resolve communication issues between the thermostat and the AC unit.
DIY Fix: Replace the batteries in your thermostat. Also, make sure the thermostat is clean and free of dust or debris that could be interfering with its sensors. Use a soft brush or cloth to gently clean it.
When to Call a Pro: If the thermostat is displaying error codes you don't understand, or if replacing the batteries doesn't resolve the issue, it's time to consult a professional HVAC technician. They can diagnose more complex thermostat problems or wiring issues.
Step 2: Air Filter Inspection and Replacement
A dirty air filter is one of the most common culprits behind a poorly performing AC system. A clogged filter restricts airflow, forcing your AC unit to work harder and less efficiently. This can lead to reduced cooling, increased energy bills, and even damage to your equipment.
Diagnosis: Locate your air filter. This is usually found in the indoor air handler unit, either in the wall, ceiling, or furnace. Remove the filter and visually inspect it. Is it covered in dust, dirt, and debris? If so, it's time for a replacement.
DIY Fix: Replace the dirty air filter with a new one of the correct size and type. Check your AC unit's manual or the old filter for the specifications. Air filters are typically inexpensive and readily available at most hardware stores. Change your air filter every 1-3 months, depending on usage and air quality.
When to Call a Pro: If you notice that your air filter is consistently and excessively dirty, even after frequent replacements, it could indicate a larger problem with your ductwork or air quality. A professional can assess your system and recommend solutions.
Step 3: Outdoor Unit Examination
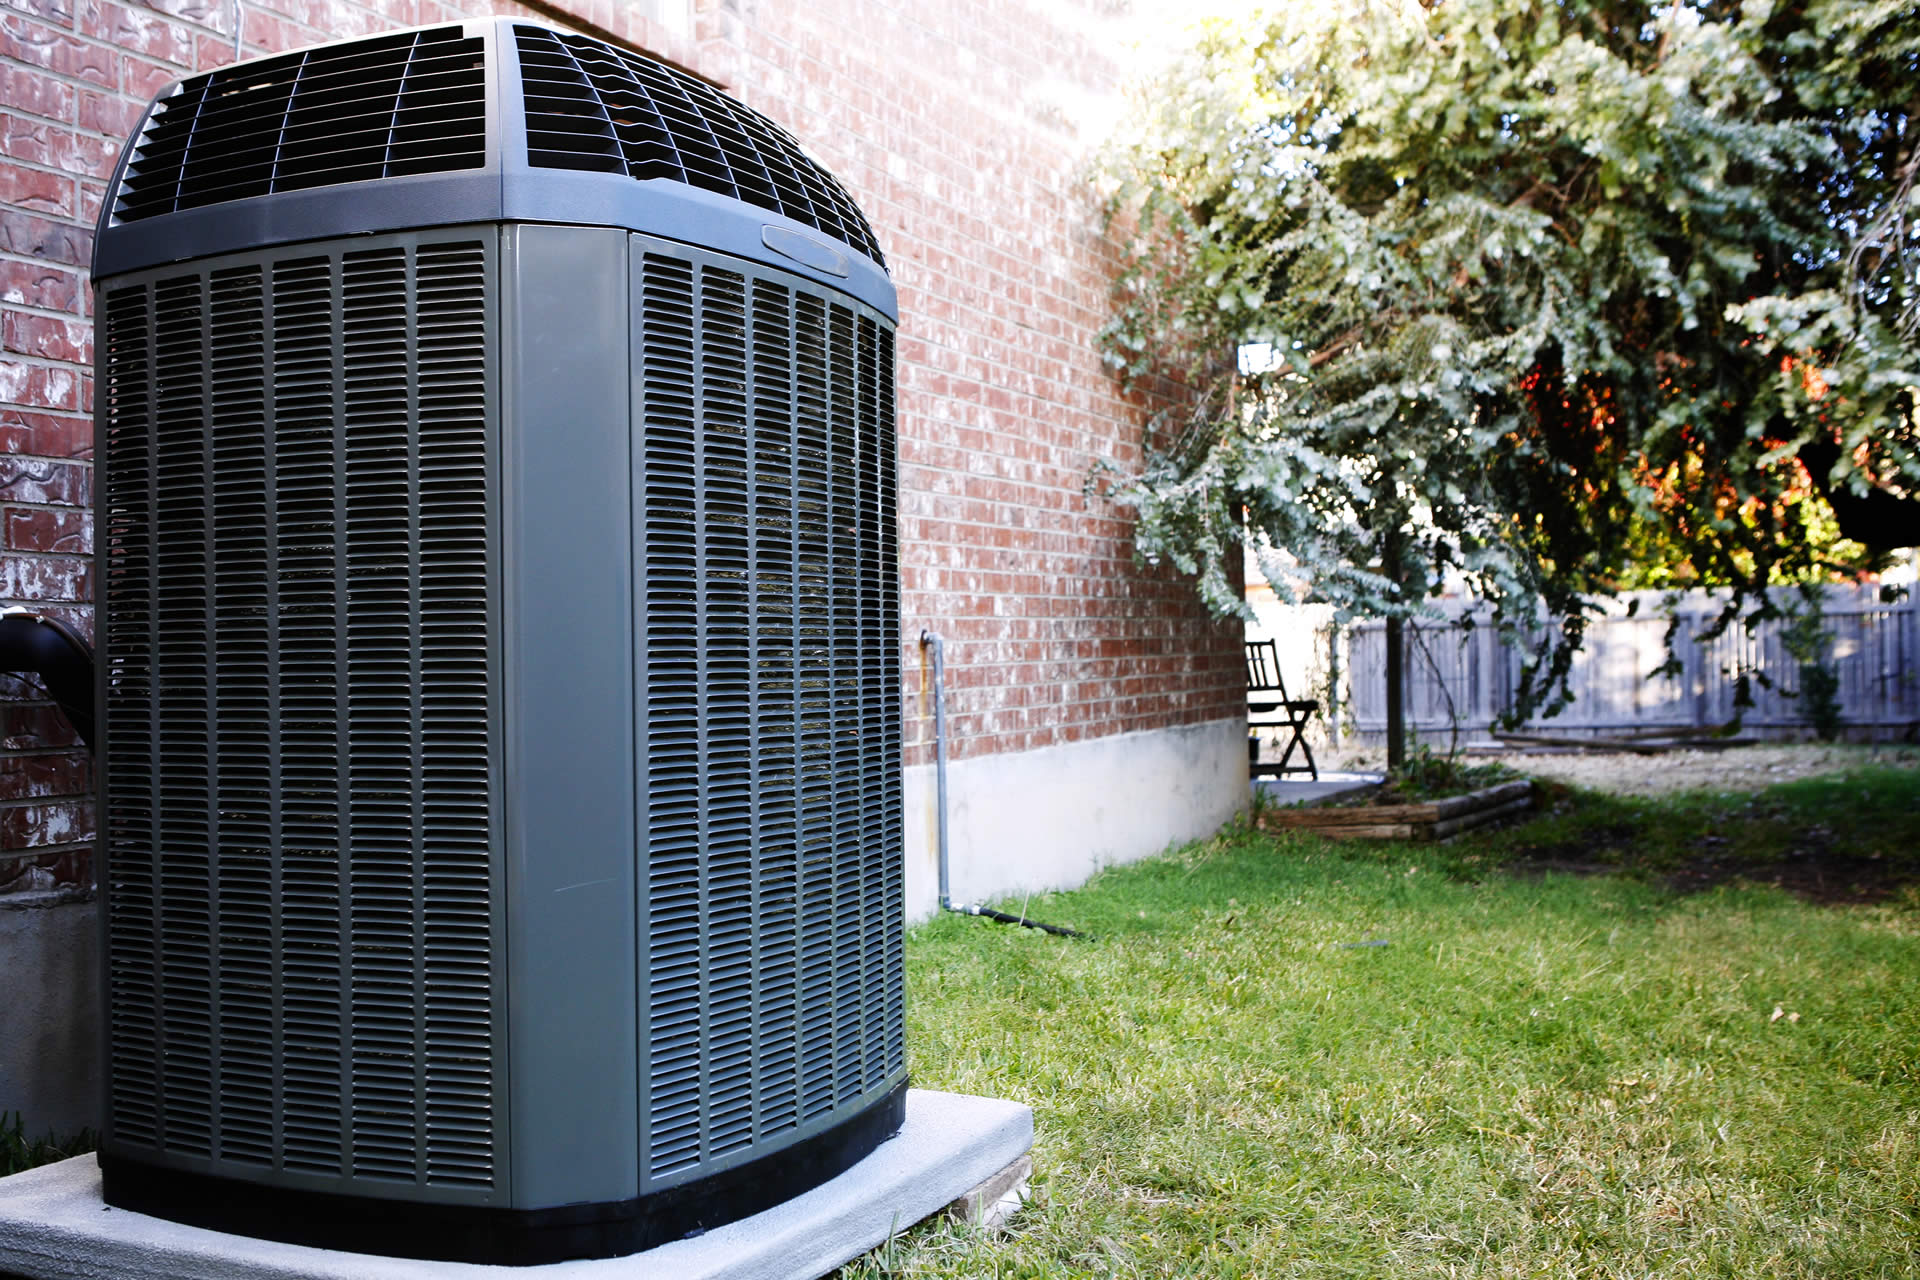
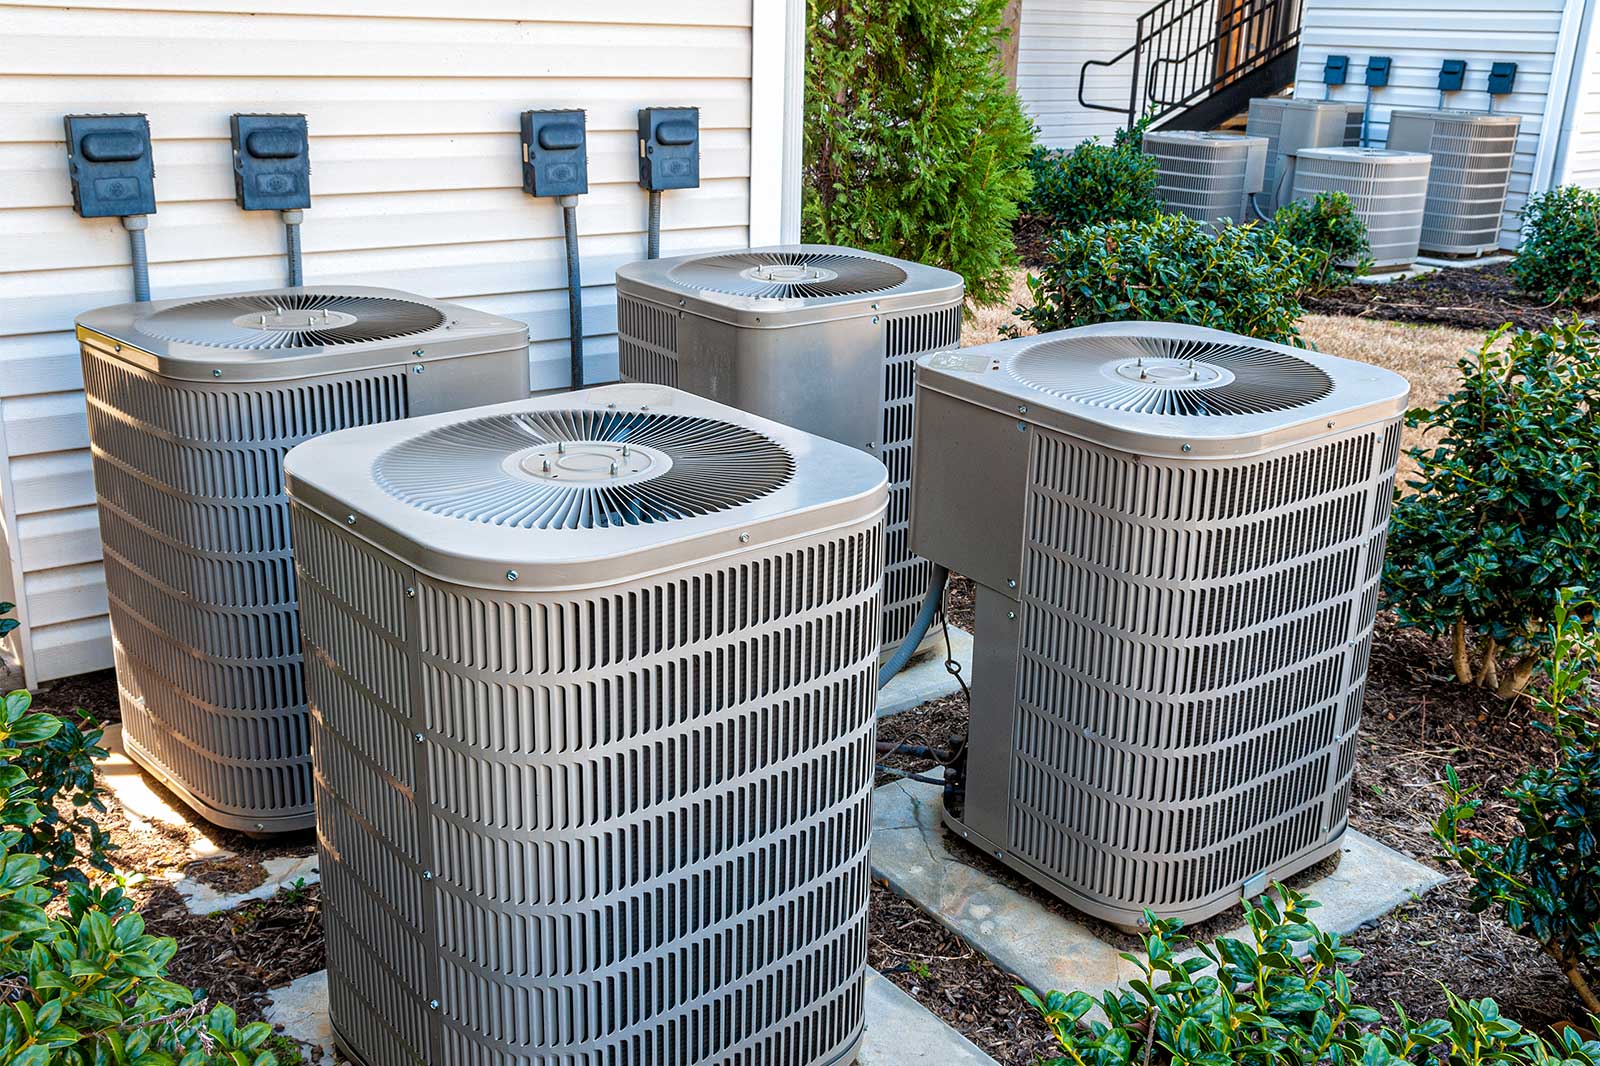
Your outdoor AC unit (the condenser) is crucial for releasing heat. If it's blocked or obstructed, it won't be able to function efficiently.
Diagnosis: Visually inspect the outdoor unit. Are there any obstructions around it, such as bushes, plants, or debris? Is the unit covered in dirt or leaves? Listen closely. Does the fan sound normal, or is it making unusual noises?
DIY Fix: Clear away any obstructions within 2-3 feet around the unit. Gently clean the unit's exterior with a garden hose. Be careful not to damage the delicate fins. Straighten any bent fins with a fin comb (available at most hardware stores). Turn off the power before cleaning the unit.
When to Call a Pro: If the fan is making loud or unusual noises (grinding, squealing), or if you suspect there's an internal issue with the compressor, immediately turn off the unit and call a qualified HVAC technician. Attempting to repair internal components yourself can be dangerous and may void your warranty.
Step 4: Check the Condensate Drain Line
Your AC system removes moisture from the air, which collects in a condensate drain pan and is then drained away through a drain line. If this line becomes clogged, it can cause water to back up, triggering a safety switch that shuts down the AC system.
Diagnosis: Locate the condensate drain line. It's usually a PVC pipe located near the indoor air handler unit. Look for signs of water leakage around the unit. Check the drain line for any visible clogs or blockages.
DIY Fix: Try clearing the drain line using a wet/dry vacuum. Attach the vacuum hose to the end of the drain line and create a tight seal with duct tape. Turn on the vacuum and let it run for several minutes to suck out any clogs. Alternatively, you can try pouring a cup of white vinegar down the drain line to dissolve any buildup. Never use harsh chemicals.
When to Call a Pro: If you're unable to clear the drain line with a vacuum or vinegar, or if you suspect the drain pan is cracked or damaged, contact a professional HVAC technician. They have specialized tools and expertise to diagnose and repair more complex drainage issues.
Step 5: Inspect the Ductwork (Visually Accessible Areas)
While a thorough ductwork inspection requires specialized equipment, you can visually inspect any accessible sections of your ductwork for obvious leaks or damage.
Diagnosis: Look for tears, holes, or disconnections in the ductwork. Pay close attention to joints and seams. Feel for air escaping from these areas while the AC is running.
DIY Fix: Seal any small leaks or holes with duct tape (not regular tape). For larger gaps, consider using foil tape or duct sealant. Ensure the area is clean and dry before applying the tape or sealant.
When to Call a Pro: If you suspect there are significant leaks or damage in inaccessible areas of your ductwork (e.g., behind walls or in the attic), it's best to call a professional. They can perform a thorough ductwork inspection using specialized equipment and recommend appropriate repairs or replacements.
Beyond DIY: When Professional Help is Needed
The troubleshooting steps outlined above can address many common AC problems. However, some issues require the expertise of a qualified HVAC technician. Here's when you should call a professional:
- Refrigerant Leaks: If you suspect a refrigerant leak (e.g., ice forming on the refrigerant lines, hissing sound), do not attempt to fix it yourself. Refrigerant is a hazardous substance, and handling it requires specialized equipment and training.
- Compressor Problems: The compressor is the heart of your AC system. If it's malfunctioning, you'll likely hear unusual noises or the unit won't cool at all. Compressor repairs are complex and should only be performed by a professional.
- Electrical Issues: If you suspect any electrical problems with your AC unit, immediately turn off the power and call a qualified electrician or HVAC technician. Working with electricity can be extremely dangerous.
- Persistent Problems: If you've tried all the DIY troubleshooting steps and your AC is still not cooling properly, it's time to consult a professional. There may be an underlying issue that requires specialized diagnosis and repair.
- Old or Outdated Systems: If your AC system is old (e.g., 10-15 years or older) and experiencing frequent problems, it may be more cost-effective to replace it with a new, energy-efficient model. A professional can assess your system and provide recommendations.
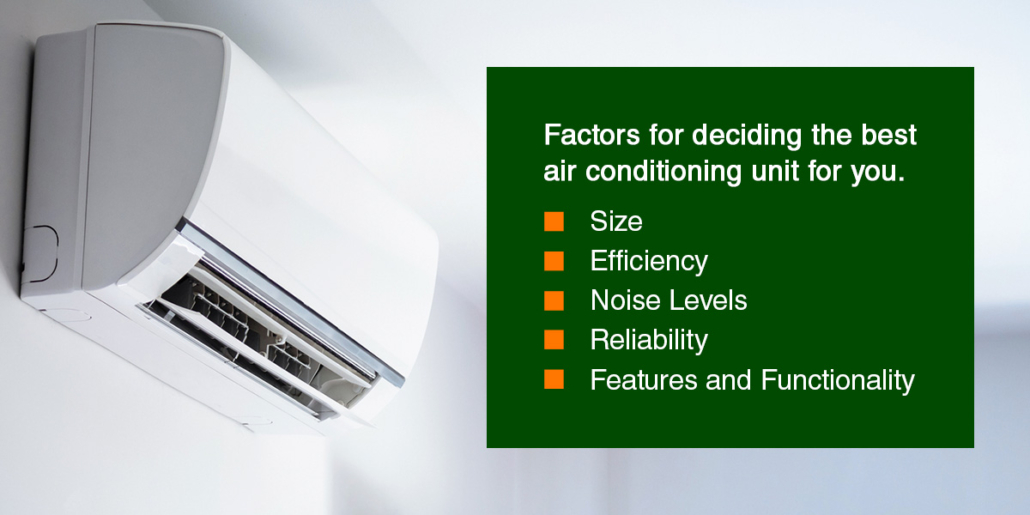
Choosing the Right AC System: A Quick Guide
So, what *is* the "best" AC system? The answer is, it depends! Several factors influence the ideal choice for your home:
- Your Climate: Homes in hot, humid climates need different systems than those in milder areas.
- Your Home's Size and Layout: A small apartment requires a different solution than a large, multi-story house.
- Your Budget: AC systems range widely in price, both for initial purchase and ongoing operating costs.
- Energy Efficiency: Look for systems with high SEER (Seasonal Energy Efficiency Ratio) ratings to save money on your energy bills.
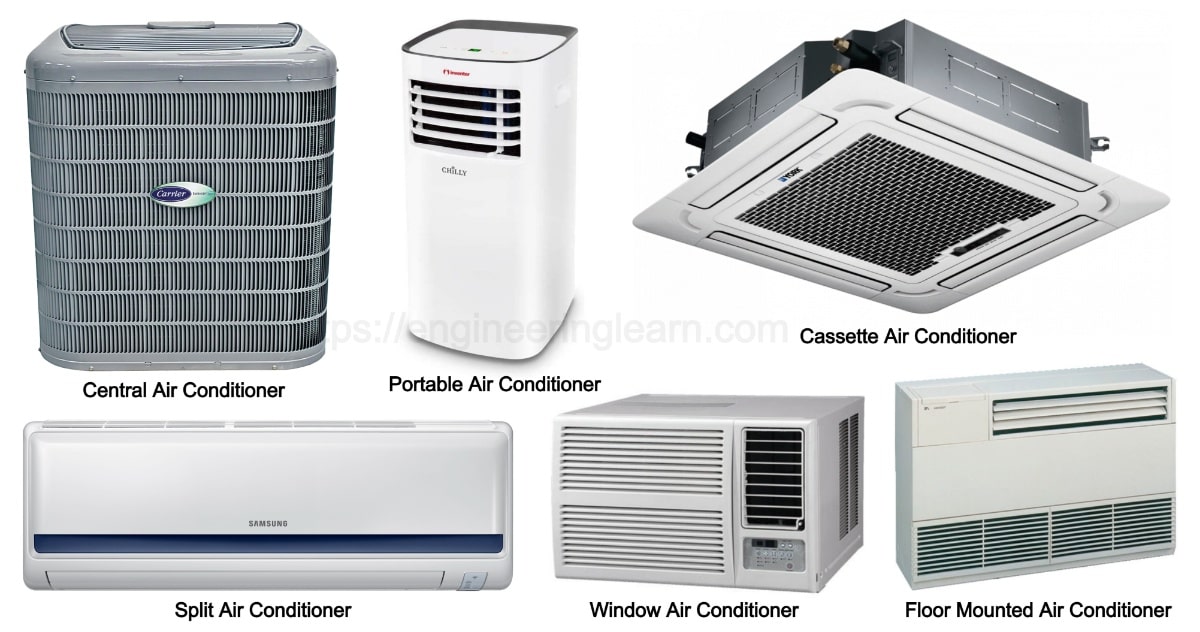
Types of AC Systems:
- Central Air Conditioners: These are the most common type for homes with existing ductwork. They offer efficient cooling for the entire house.
- Ductless Mini-Split Systems: These are a good option for homes without ductwork or for cooling individual rooms. They are energy-efficient and easy to install.
- Window Air Conditioners: These are a budget-friendly option for cooling small spaces. They are easy to install and remove.
- Portable Air Conditioners: These are a flexible option for cooling individual rooms. They don't require permanent installation but can be less efficient than other types.
Key Considerations When Choosing a New System:
- SEER Rating: A higher SEER rating means greater energy efficiency. Look for systems with a SEER rating of 15 or higher.
- Size (BTU): The size of your AC system is measured in BTUs (British Thermal Units). Choose a system that is appropriately sized for your home to ensure efficient cooling. An undersized unit won't cool effectively, while an oversized unit will cycle on and off frequently, wasting energy. A professional can help you determine the correct BTU size for your home.
- Installation: Proper installation is crucial for the performance and longevity of your AC system. Choose a reputable and experienced HVAC contractor for installation.
- Maintenance: Regular maintenance is essential for keeping your AC system running smoothly and efficiently. Schedule annual maintenance appointments with a qualified technician.
By understanding the basics of AC troubleshooting and the factors to consider when choosing a new system, you can ensure that your home stays cool and comfortable all summer long. Remember to prioritize safety and consult a professional when needed. A well-maintained and properly sized AC system will not only keep you comfortable but also save you money on your energy bills.
:max_bytes(150000):strip_icc()/what-are-central-air-conditioners-1152645_V2-390c6f1f6ca14b4ebc59426f226a78a8.png)


/residential-air-conditioning-units-556557331-580f81385f9b58564cee1e11.jpg)