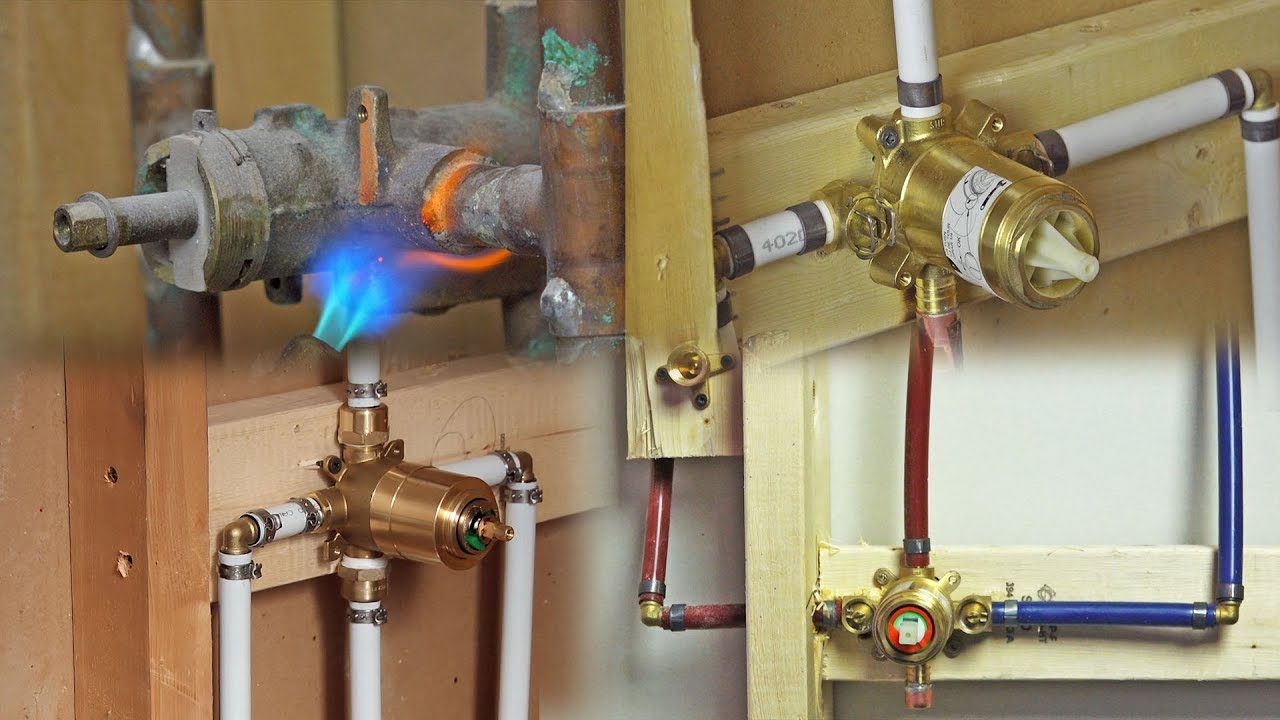
What Is The Shower Mixing Valve
We've all been there: you turn on the shower, anticipating a relaxing stream of perfectly tempered water, only to be greeted by a scalding blast or an icy shock. Or worse, you can't seem to get the temperature *just right*, constantly fiddling with the handle to achieve a comfortable flow. This frustrating scenario often points to a problem with your shower's mixing valve. But don't panic! Before you call a plumber, let's explore what a shower mixing valve is, how it works, and some simple troubleshooting steps you can take to potentially fix the issue yourself.
Understanding the Shower Mixing Valve
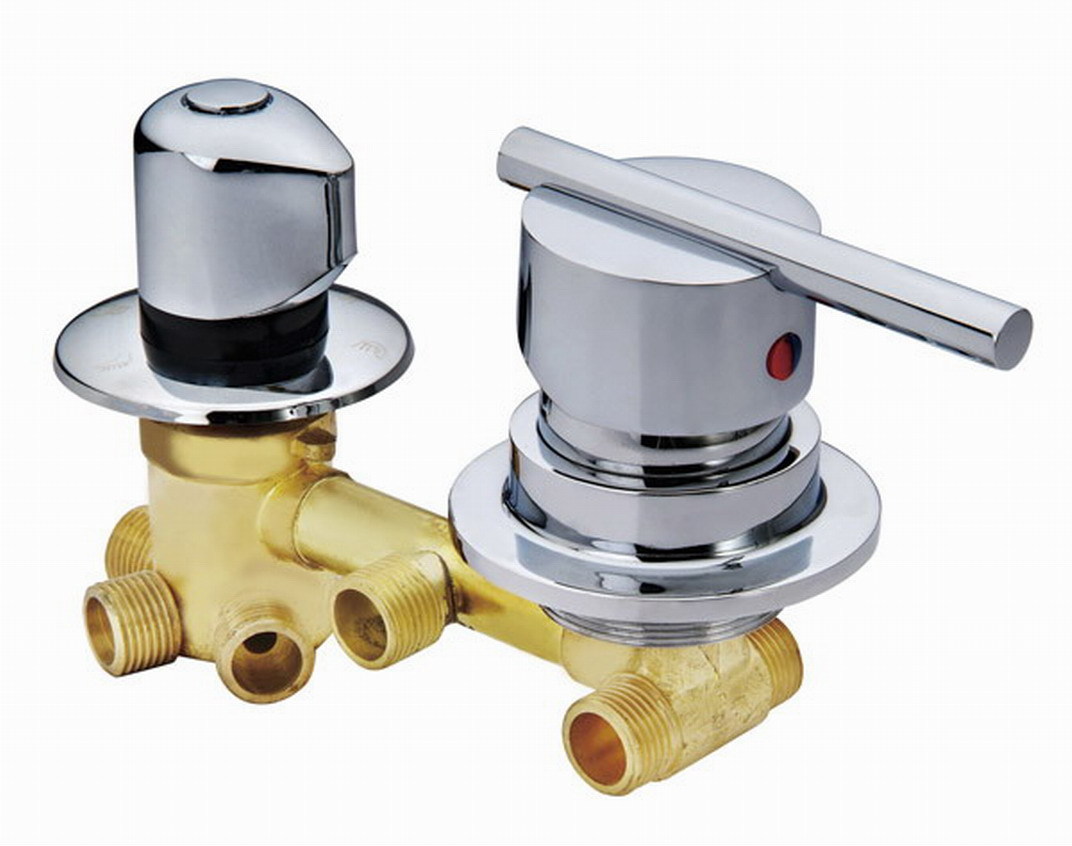
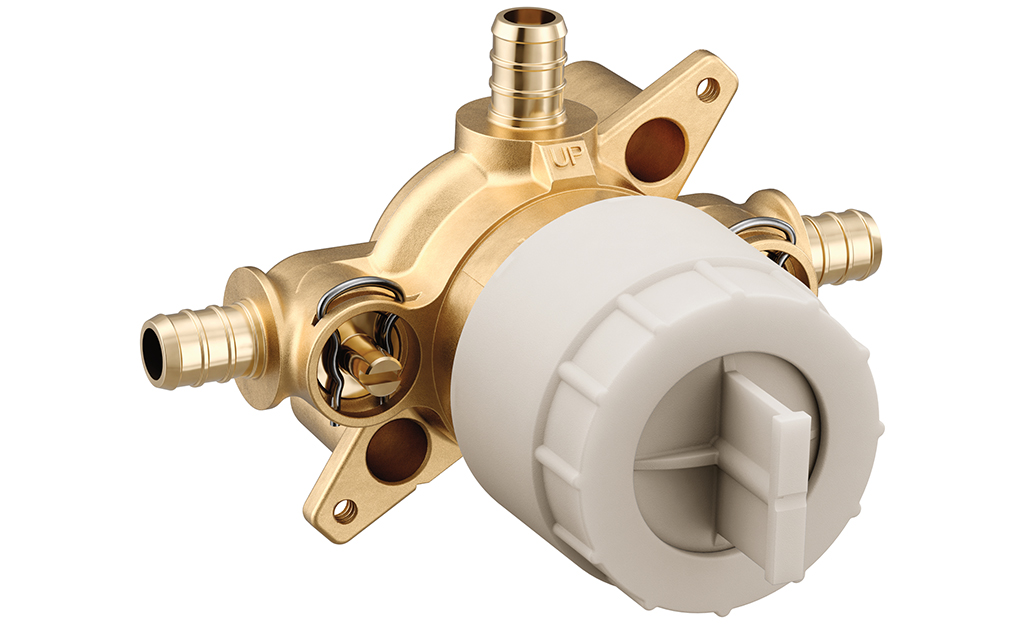
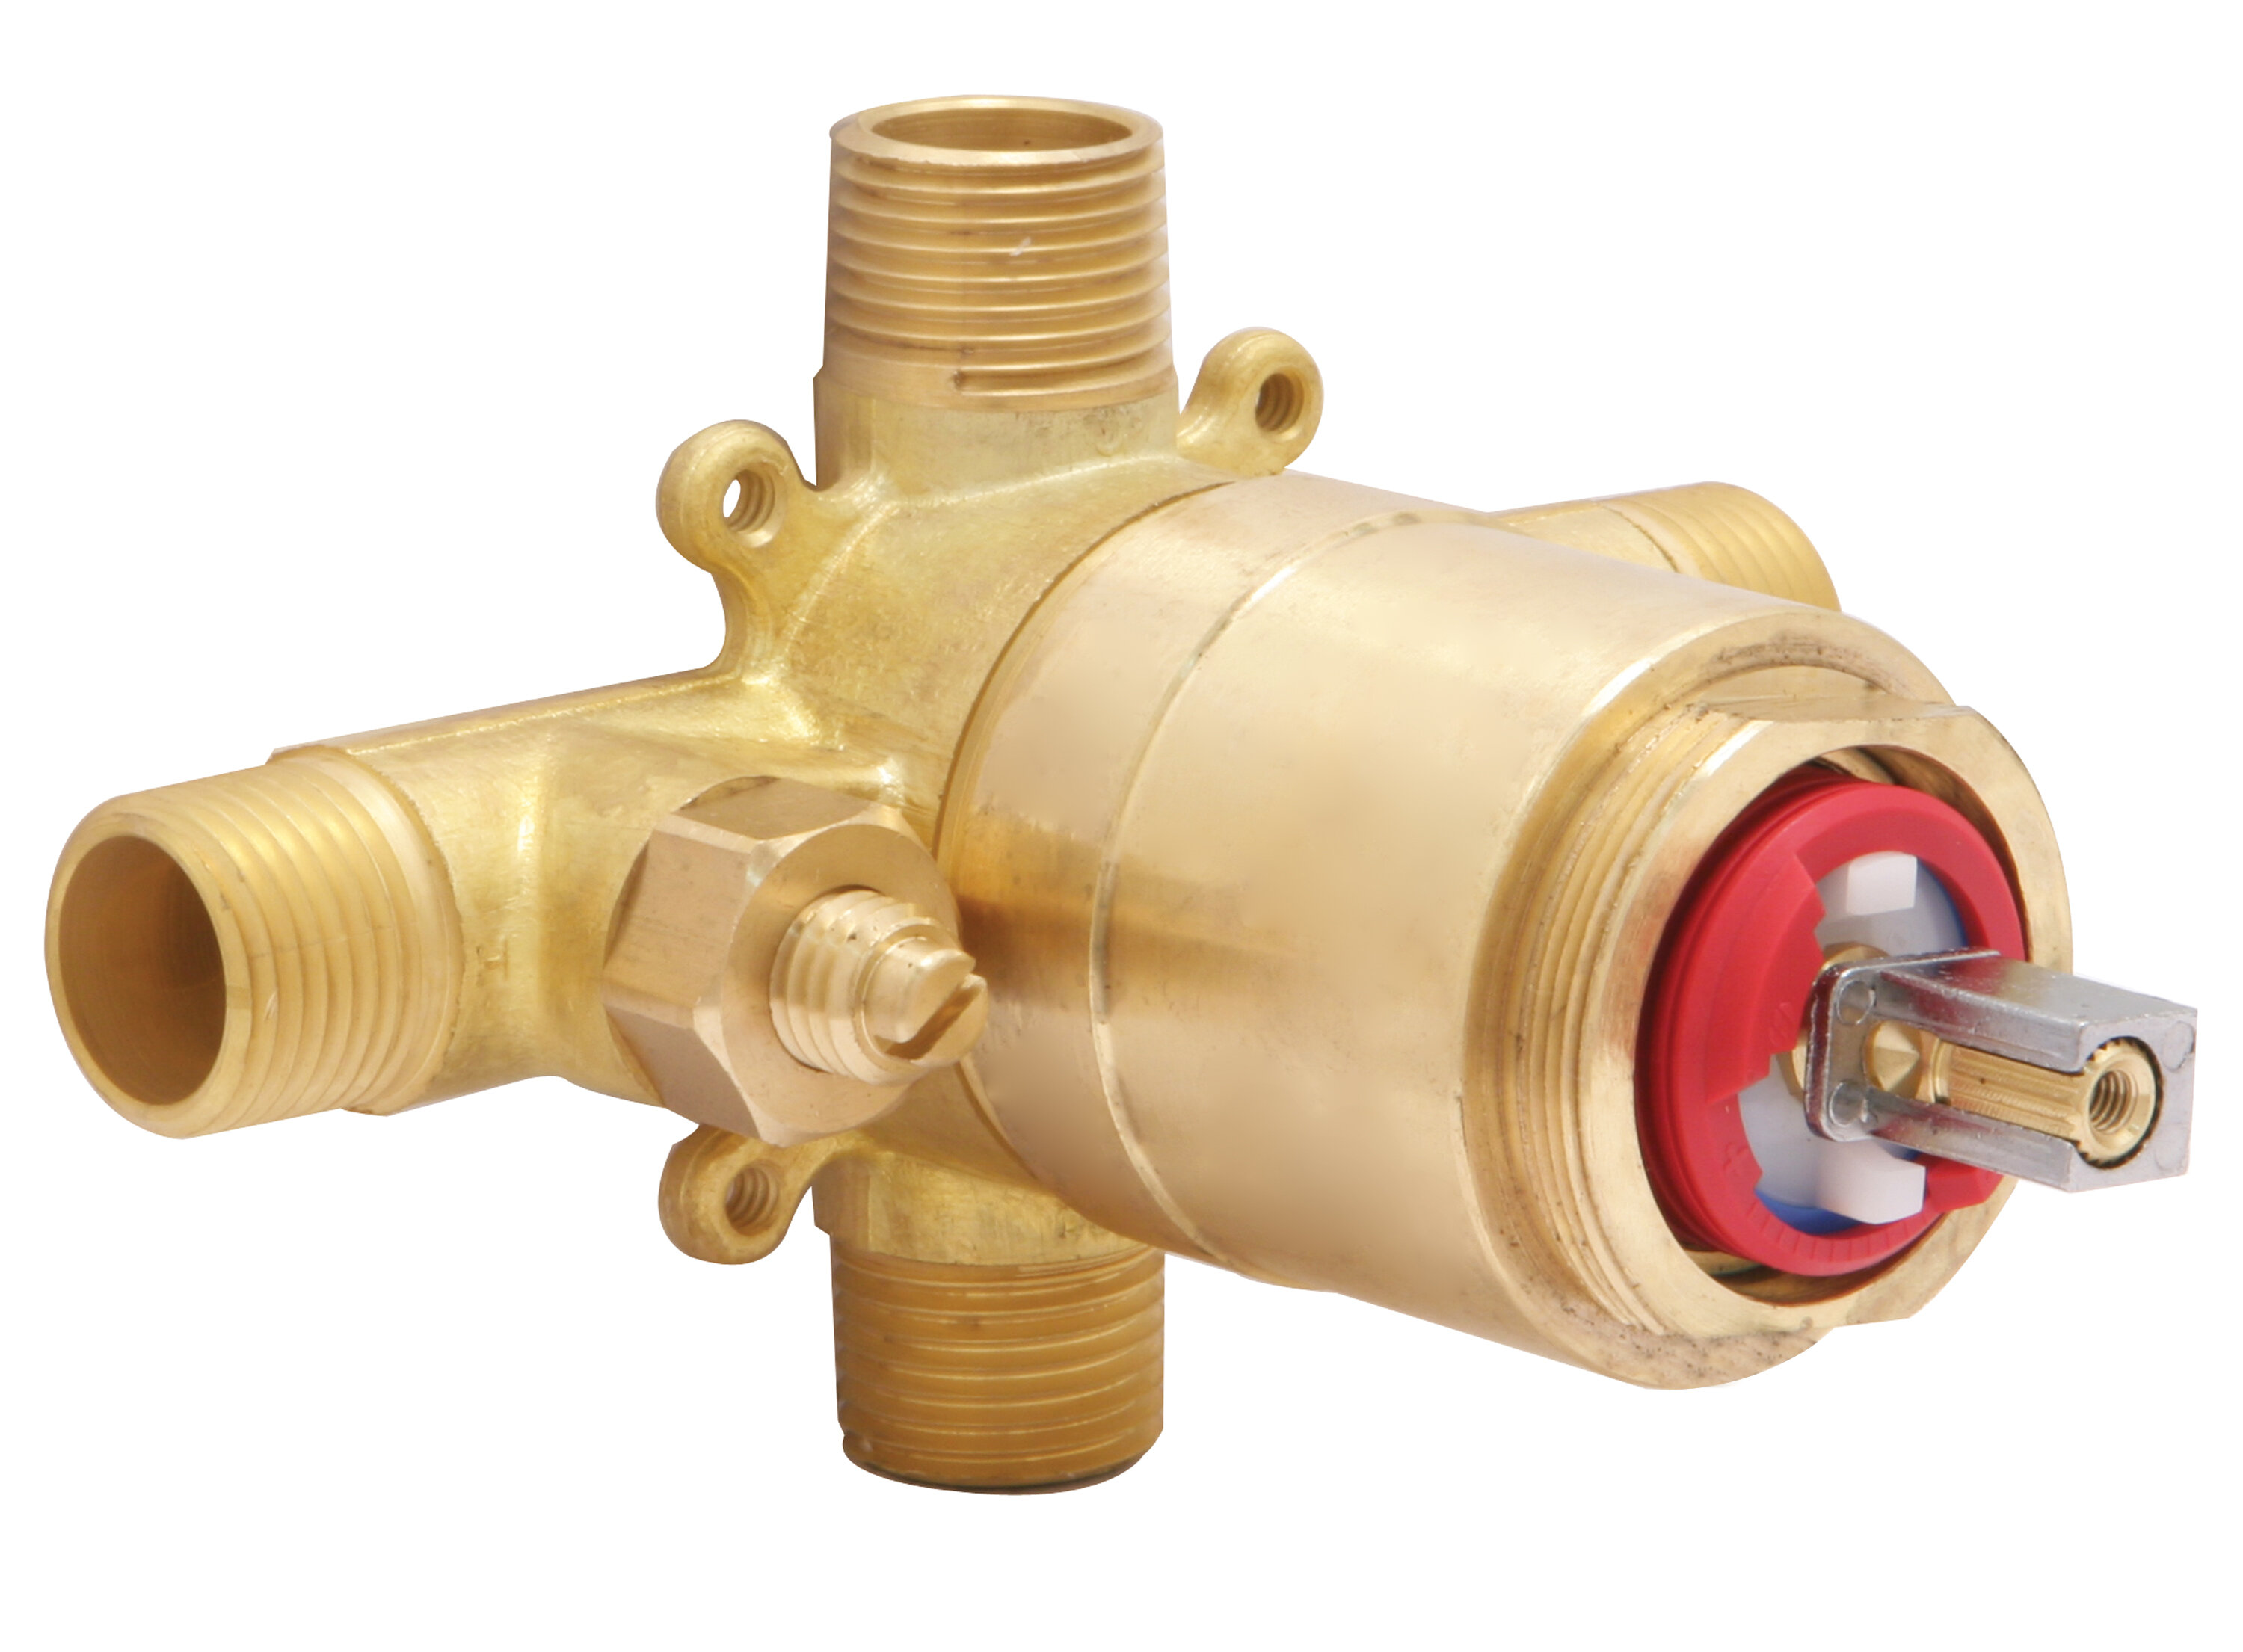
The shower mixing valve is the unsung hero behind your comfortable showers. Its primary function is simple: to blend hot and cold water to a temperature you select. It's the mechanism controlled by the shower handle that allows you to adjust the water's warmth. There are several types of mixing valves, but the underlying principle remains the same.
Here's a breakdown of the common types:
- Compression Valves: These are the oldest type, featuring separate hot and cold handles. They work by compressing a rubber washer against a valve seat to control water flow.
- Ball Valves: These valves utilize a ball with holes to regulate the mix of hot and cold water. They're often found in older single-handle faucets.
- Cartridge Valves: A very common type, cartridge valves use a replaceable cartridge with internal mechanisms to control the water mix. They're known for their ease of repair.
- Thermostatic Valves: These are the most sophisticated type, designed to maintain a consistent water temperature even when there are fluctuations in water pressure elsewhere in the house. They feature a temperature-sensing element that automatically adjusts the hot and cold water mix.
Knowing which type you have can be helpful when diagnosing problems.
Common Shower Mixing Valve Problems
Several issues can arise with your shower mixing valve, leading to inconsistent or uncomfortable water temperatures. Here are some of the most common culprits:
- Temperature Fluctuations: This is perhaps the most common complaint. The water temperature may swing wildly between hot and cold without you touching the handle.
- Low Water Pressure: While low water pressure can stem from various sources, a malfunctioning mixing valve can restrict water flow.
- Leaking Shower Head or Handle: A dripping shower head or a leak around the handle often indicates a worn or damaged valve component.
- Difficulty Adjusting Temperature: The handle might be stiff or difficult to turn, or you might struggle to find the "sweet spot" for a comfortable temperature.
- No Hot Water (or No Cold Water): This is a more serious problem, suggesting a complete blockage or failure within the valve.
Troubleshooting: A Step-by-Step Guide
Before you start any troubleshooting, always turn off the water supply to the shower. You'll usually find shut-off valves located behind an access panel in the wall behind the shower, or in the basement or crawl space directly below the bathroom. If you can't find individual shut-off valves, you may need to turn off the main water supply to the house. Make sure everyone in the household knows you're working on the plumbing to avoid unexpected water usage.
Here's a systematic approach to diagnosing and potentially fixing your shower mixing valve problem:
Step 1: Identify the Valve Type
Examine your shower handle and trim. Does it have separate hot and cold handles (compression valve)? Is it a single lever (likely a cartridge or ball valve)? Is there a temperature display or specific temperature settings (thermostatic valve)? Knowing the type will guide your troubleshooting process.
Step 2: Check for Simple Blockages
Sometimes, a simple blockage can disrupt the water flow. Remove the shower head and clean out any mineral deposits or debris. You can soak it in vinegar to loosen stubborn build-up. Also, check the shower arm (the pipe connecting the shower head to the wall) for any obstructions.
Step 3: Examine the Handle and Escutcheon Plate
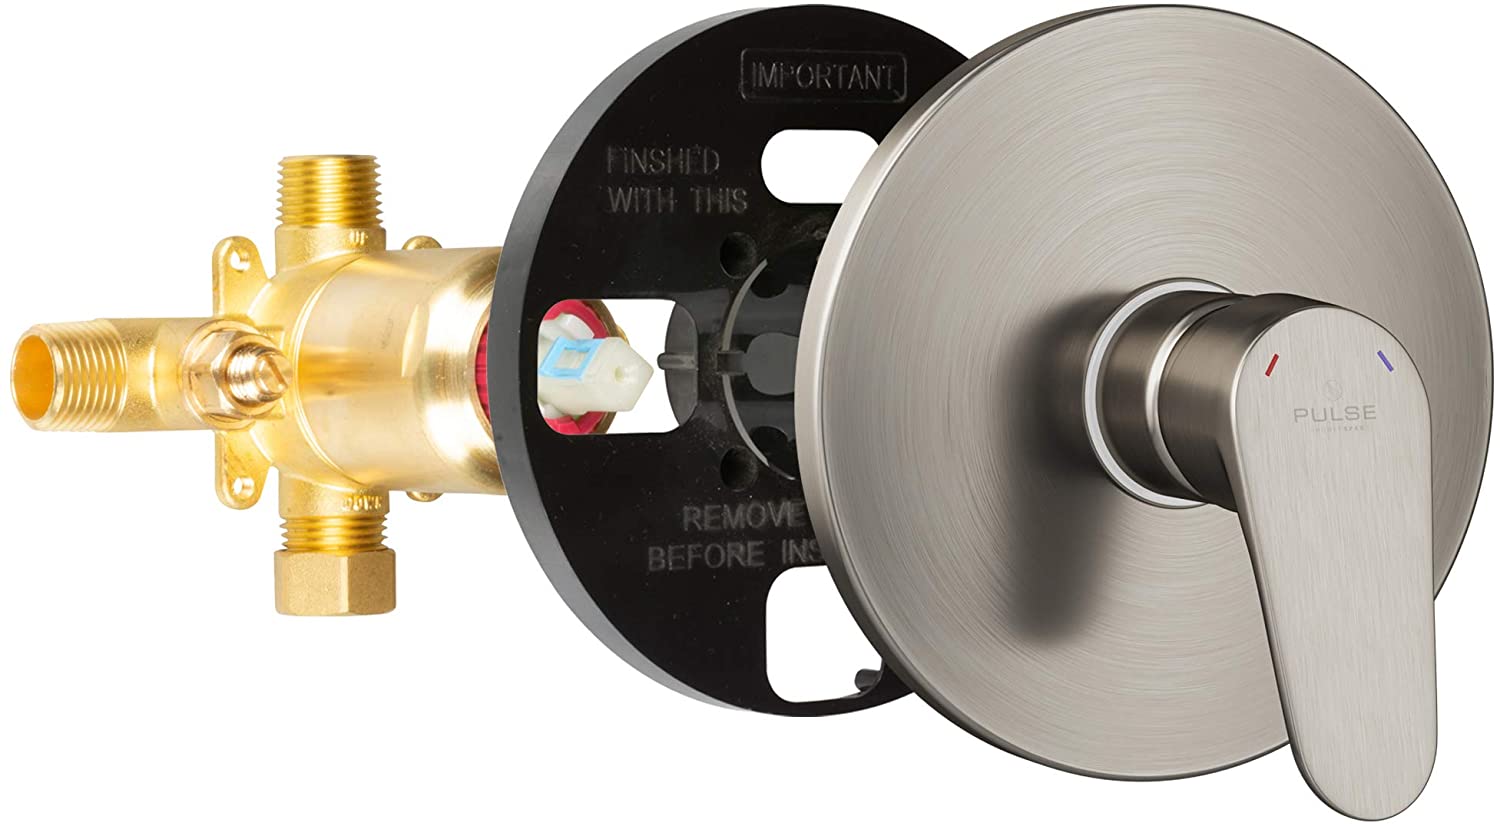
The escutcheon plate is the decorative cover behind the shower handle. Remove the handle and escutcheon plate. Look for any signs of corrosion, mineral build-up, or damage. Clean these components thoroughly. Sometimes, simply cleaning and lubricating these parts can improve handle movement and water flow.
Step 4: Inspect the Cartridge (If Applicable)
If you have a cartridge valve, this is a common source of problems. Once you've removed the handle and escutcheon, you should see the cartridge held in place by a retaining clip or nut. Carefully remove the clip or nut and pull the cartridge straight out. Be prepared for some residual water to come out.
Inspect the cartridge for cracks, breaks, or mineral build-up. If it looks damaged, it needs to be replaced. Even if it looks okay, consider replacing it anyway, as this is often the easiest and most effective solution.
To find a replacement cartridge, take the old one to your local hardware store. They can help you find an exact match. Make sure to lubricate the new cartridge with plumber's grease before installing it.
Step 5: Check the O-Rings and Washers (Compression Valves)
If you have compression valves, the problem often lies with worn-out O-rings or washers. Disassemble the valve stem (the part that the handle attaches to). You'll likely need a wrench to loosen the packing nut. Once the stem is removed, you can inspect the O-rings and washers for wear and tear. Replace any damaged parts. Again, take the old parts to your hardware store to ensure you get the correct replacements.
Step 6: Flush the Valve Body
With the cartridge or valve stem removed, briefly turn on the water supply (just a trickle!) to flush out any debris that may be lodged in the valve body. Be careful to avoid splashing water.
Step 7: Reassemble and Test
Carefully reassemble the valve, ensuring all parts are properly seated and tightened. Turn the water supply back on slowly and test the shower. Check for leaks and proper temperature control.
DIY Fixes: When to Call a Professional
Many shower mixing valve problems can be resolved with the steps outlined above. However, there are situations where professional help is essential:
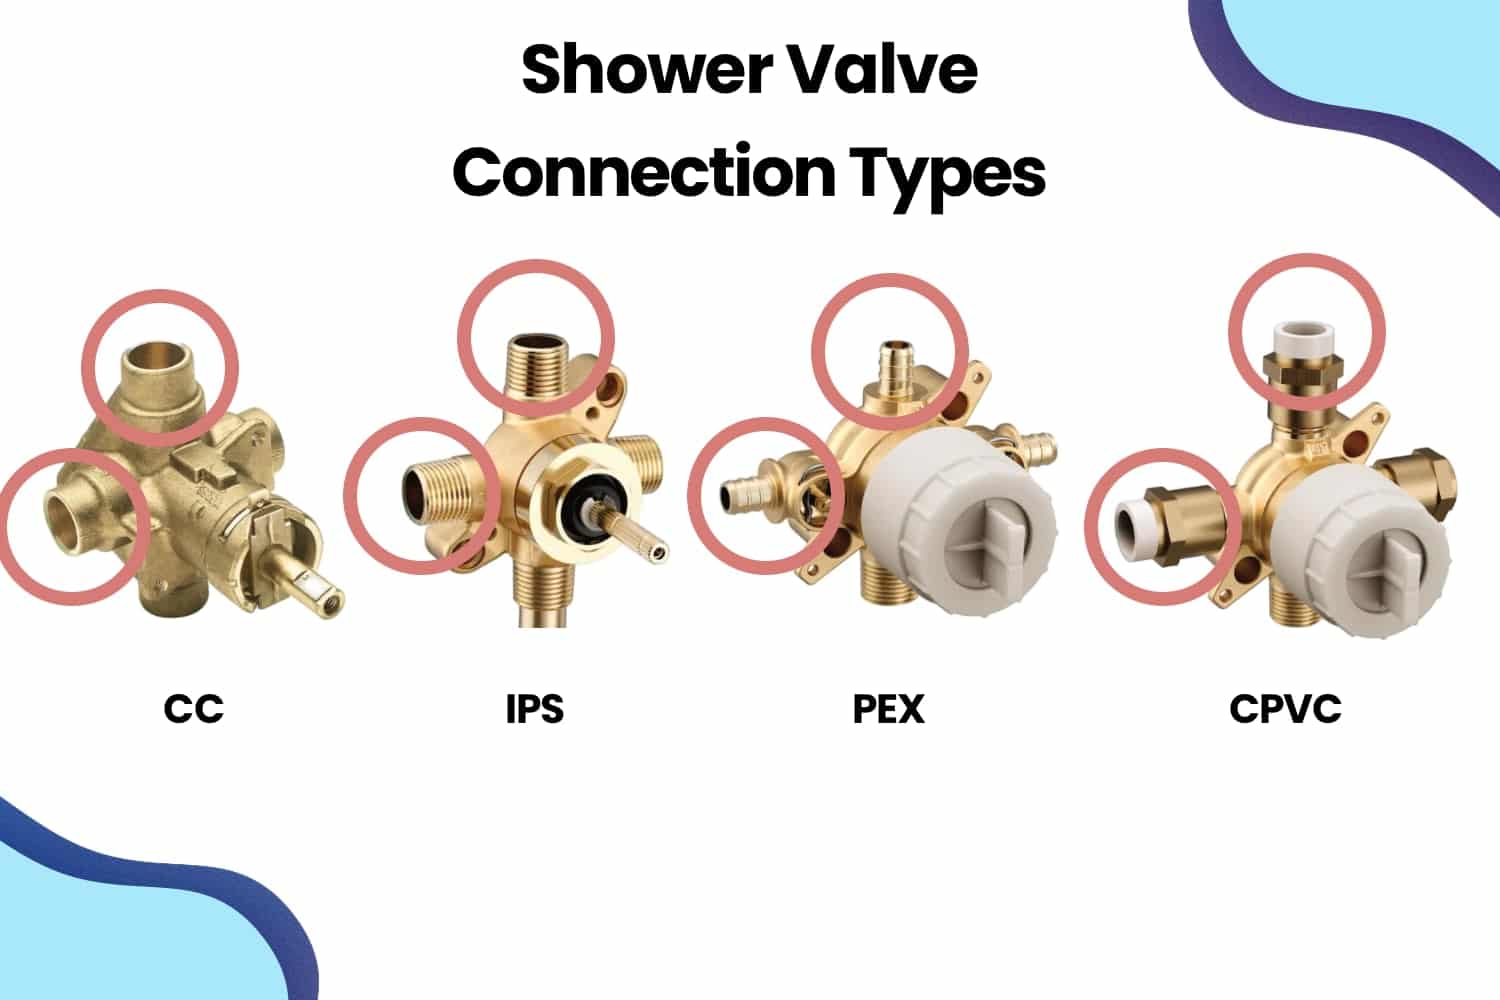
- You Can't Identify the Valve Type: If you're unsure about the type of valve you have, it's best to consult a plumber.
- You're Uncomfortable Working with Plumbing: If you're not confident in your DIY skills, don't risk damaging your plumbing system.
- The Valve Body is Damaged: If the valve body itself (the part that's embedded in the wall) is cracked or corroded, it requires professional replacement.
- You've Tried Everything and the Problem Persists: If you've followed all the troubleshooting steps and the shower still isn't working correctly, there may be a more complex issue at play.
- You Encounter Hidden Plumbing Issues: Discovering corroded pipes, leaking connections within the wall, or other unexpected issues during your troubleshooting warrants a professional assessment.
- If you live in an apartment: Check with your building management before doing any plumbing work. You may be required to use their designated maintenance personnel.
Preventative Maintenance
Like any mechanical device, your shower mixing valve benefits from preventative maintenance. Here are a few tips to keep it in good working order:
- Clean the Shower Head Regularly: Mineral build-up in the shower head can put extra strain on the mixing valve. Clean it every few months with vinegar.
- Consider a Water Softener: Hard water can accelerate mineral build-up in plumbing fixtures. A water softener can help prevent this.
- Flush Your Hot Water Tank Annually: Sediment build-up in your hot water tank can also affect the performance of your shower mixing valve.
- Listen for Unusual Noises: Pay attention to any unusual noises coming from your shower valve, such as squealing or rattling. These could be early warning signs of a problem.
By understanding how your shower mixing valve works and taking proactive steps to maintain it, you can avoid frustrating temperature fluctuations and enjoy a more comfortable and reliable shower experience. Remember to always prioritize safety and don't hesitate to call a professional when needed. Taking a methodical approach, along with a little patience, can often save you a service call and empower you to tackle common plumbing issues with confidence.