What Temp For Snow To Melt

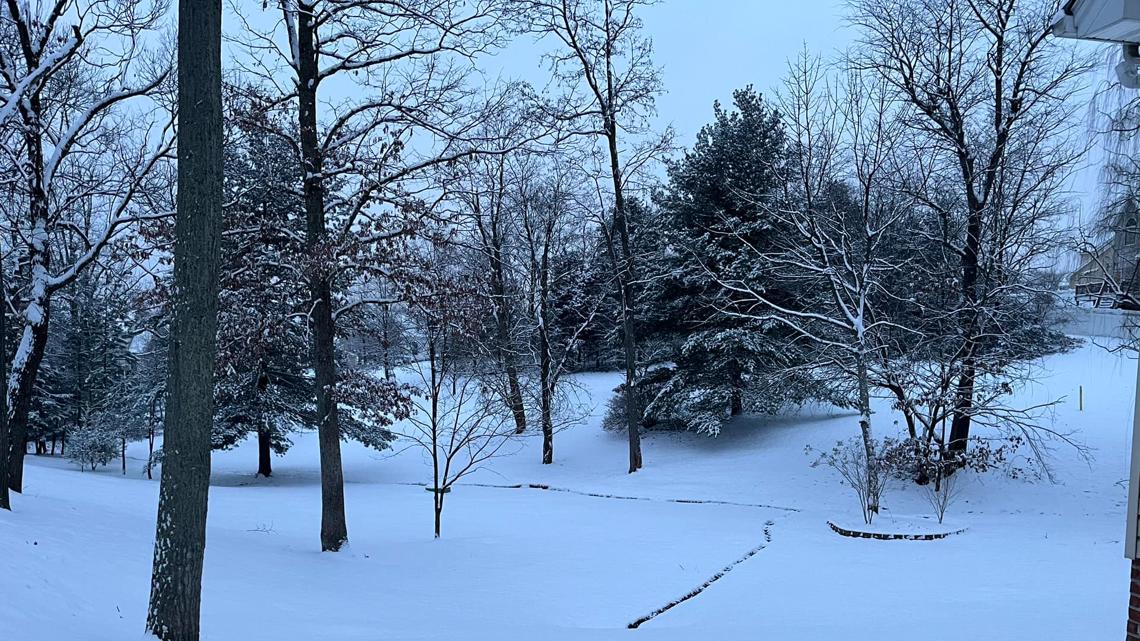
Ah, winter. The beauty of freshly fallen snow can quickly turn to frustration, especially when it stubbornly clings to your driveway, sidewalks, and roof long after the sun comes out. A common problem homeowners face is persistent snow and ice, leading to slippery conditions, potential property damage, and general inconvenience. Understanding why snow isn't melting and what you can safely do about it is key to managing winter's icy grip.
Understanding the Basics: What Temperature *Should* Snow Melt At?
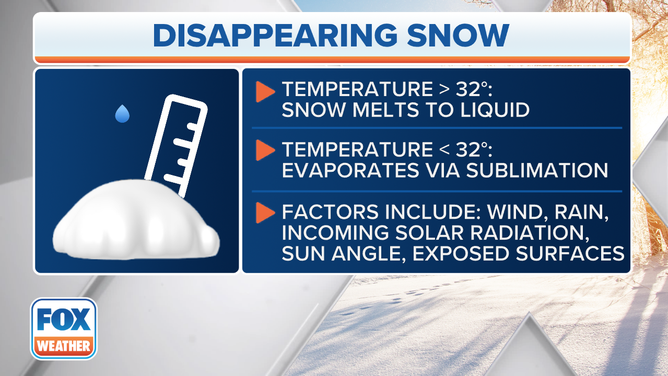
The seemingly simple question, "What temperature does snow melt at?" has a slightly more nuanced answer than you might expect. While we often say snow melts at 32°F (0°C), that's the *ideal* melting point. Several factors can influence how quickly and effectively snow melts.
- Air Temperature: Obviously, the closer the air temperature is to or above 32°F, the faster melting will occur. But even temperatures slightly below freezing can lead to some melting, especially in direct sunlight.
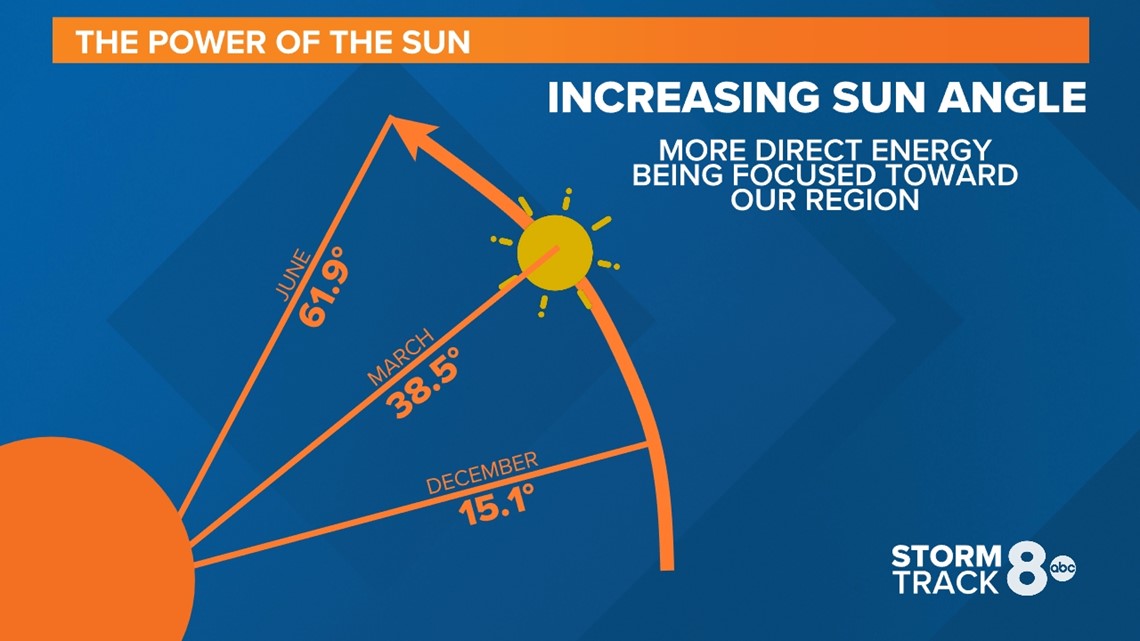
- Sunlight: The sun's energy plays a massive role. Direct sunlight warms the snow's surface, accelerating the melting process. Cloudy days, even with above-freezing temperatures, will significantly slow down melting.
- Ground Temperature: If the ground underneath the snow is warmer than freezing, it will help melt the snow from the bottom up. A cold ground, however, can act as an insulator, preventing melting.
- Wind: Wind can have a mixed effect. A warm wind can speed up melting. However, a cold wind can actually cause water to evaporate from the snow (sublimation), which cools the remaining snow and slows melting.
- Type of Snow: The density and water content of the snow affect how quickly it melts. Denser, wetter snow takes longer to melt than light, fluffy snow.
- Presence of De-icers: Applying salt or other de-icers lowers the freezing point of water, promoting melting even at temperatures below 32°F.
Troubleshooting: Why Isn't My Snow Melting?
If the temperature is at or above freezing and your snow is stubbornly refusing to melt, it's time to investigate. Here's a step-by-step troubleshooting guide:
Step 1: Verify the Temperature
Don't just rely on the general weather forecast. Use a reliable thermometer to check the temperature in the specific area where the snow isn't melting. Are you certain it's consistently above freezing? Remember, microclimates exist – a shady area might be significantly colder than a sunny spot just a few feet away.
Step 2: Assess Sunlight Exposure
Is the snow in direct sunlight? If it's shaded by trees, buildings, or even drifts of snow, melting will be much slower. Observe the area throughout the day to see how much sunlight it receives.
Step 3: Check for Ground Temperature Influence
If possible, try to get a sense of the ground temperature beneath the snow. This is difficult to measure precisely without specialized equipment, but you can infer it. Has the ground been consistently frozen for a long time? Or has it recently thawed? A consistently frozen ground will slow melting.
Step 4: Consider the Snow's Characteristics
Is the snow light and fluffy, or dense and wet? Dense, wet snow is harder to melt. Also, consider the depth of the snow. A thick layer of snow will take longer to melt than a thin dusting.
Step 5: Look for Ice Formation
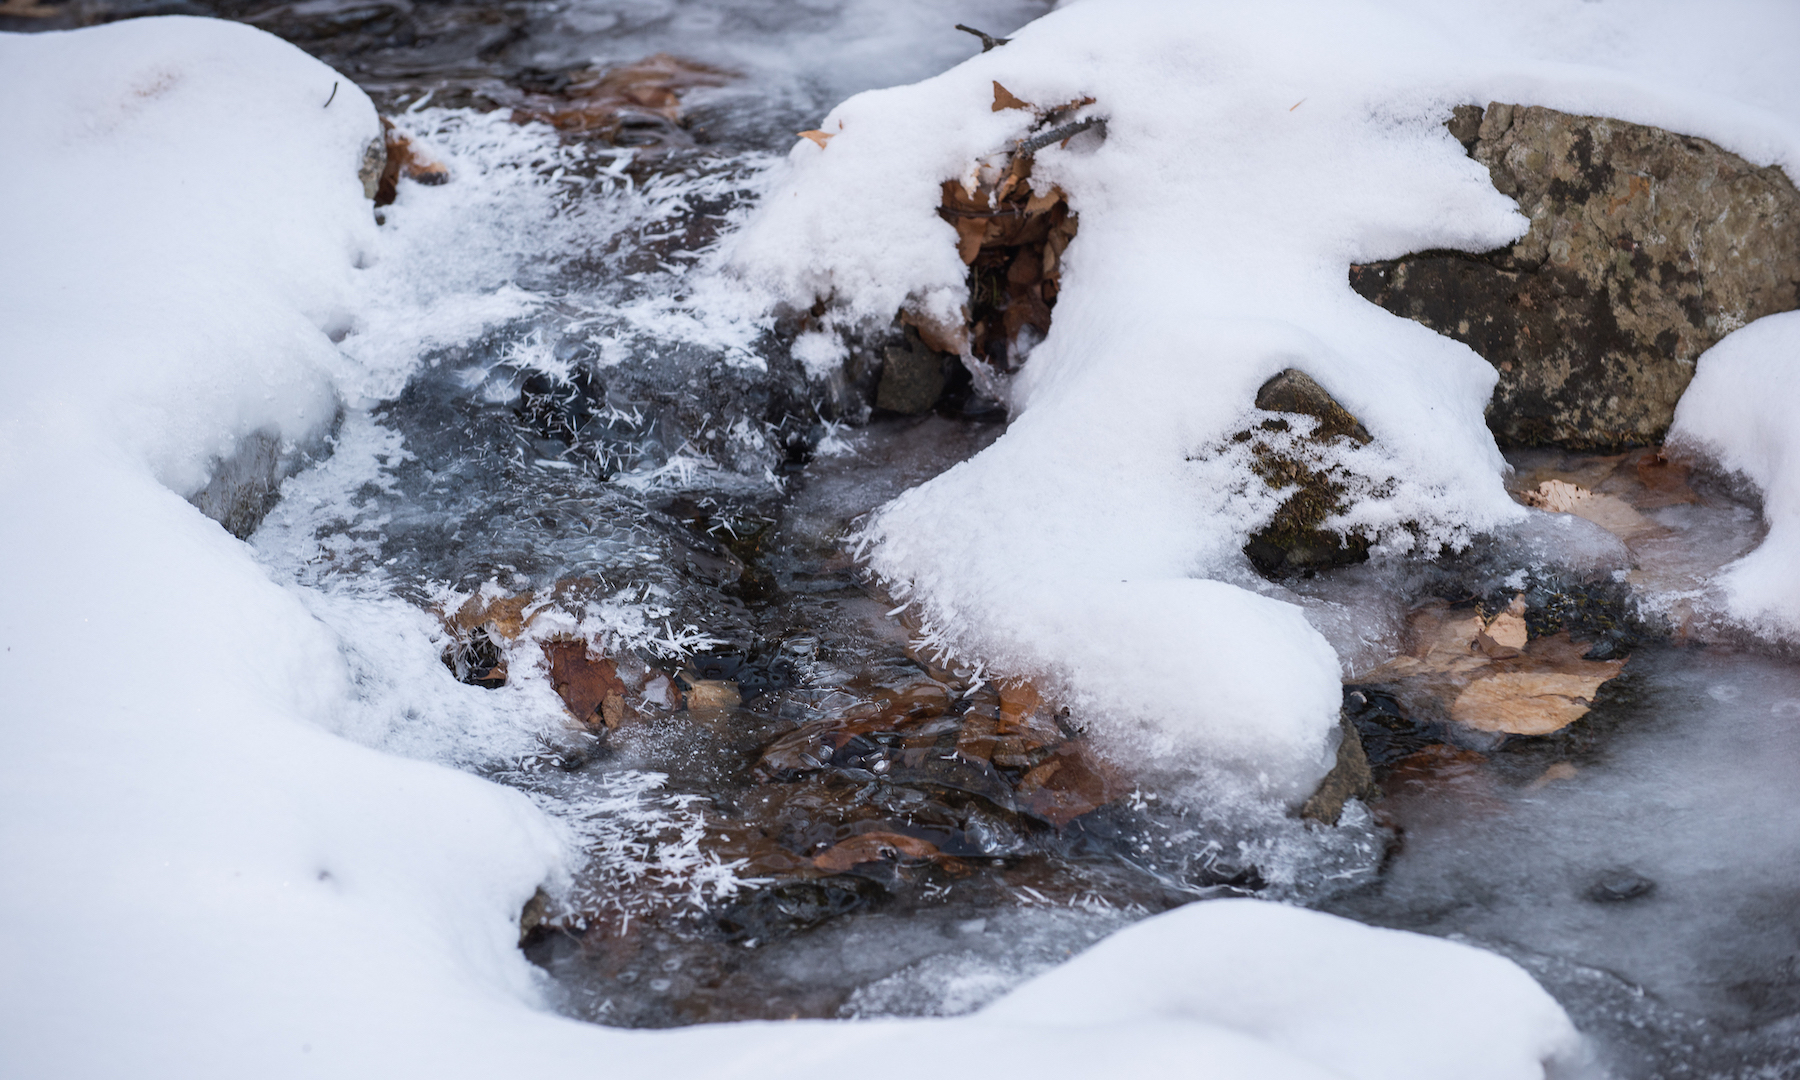
Is there a layer of ice underneath the snow? Ice is much more resistant to melting than snow. If ice is present, you'll need a different approach (see solutions below).
Step 6: Evaluate Drainage
Is meltwater able to drain away effectively? If water is pooling, it can refreeze when temperatures drop, creating more ice and hindering further melting. Poor drainage can also contribute to slippery conditions.
DIY Solutions: Safe and Effective Melting Strategies
Once you've identified the likely causes of the slow melting, you can try these DIY solutions. Always prioritize safety, especially when working outdoors in winter conditions.
1. Shoveling and Snow Removal
The simplest and often most effective solution is to manually remove the snow. Shoveling reduces the amount of snow that needs to melt, and it can also break up compacted snow and ice, making it easier for the sun to warm the ground. Focus on areas with heavy foot traffic or potential hazards. Remember to lift with your legs, not your back, and take frequent breaks.
2. Applying Salt or De-icers
Salt (sodium chloride) is a common and relatively inexpensive de-icer. It lowers the freezing point of water, allowing snow and ice to melt even when temperatures are slightly below freezing. However, salt can damage plants, corrode metal, and contaminate soil and water. Use it sparingly and choose alternatives when possible.
Alternative de-icers include calcium chloride, magnesium chloride, and potassium chloride. These are generally less harmful to the environment than salt, but they are also more expensive. Read the product labels carefully and follow the manufacturer's instructions.
Application Tips:
- Apply de-icers *before* a snowfall to prevent ice from forming.
- Spread de-icers evenly and avoid over-application.
- Use a spreader for even distribution.
- Focus on high-traffic areas and potential hazards.
3. Using Sand or Gravel
Sand and gravel don't melt snow or ice, but they provide traction on slippery surfaces. This is a good option if you're concerned about the environmental impact of de-icers. Sand and gravel are also relatively inexpensive. Spread them liberally on walkways, driveways, and steps.
4. Harnessing Sunlight
Maximize sunlight exposure by removing obstructions. Trim back branches that are casting shade on snow-covered areas. You can also use a broom or shovel to move snow away from sunny spots, allowing the sun to warm the ground.
5. Improving Drainage
Clear any obstructions that are blocking drainage paths. Remove ice dams from gutters and downspouts to allow meltwater to flow freely. Create channels in the snow to direct meltwater away from areas where it could refreeze.
6. Using a Roof Rake
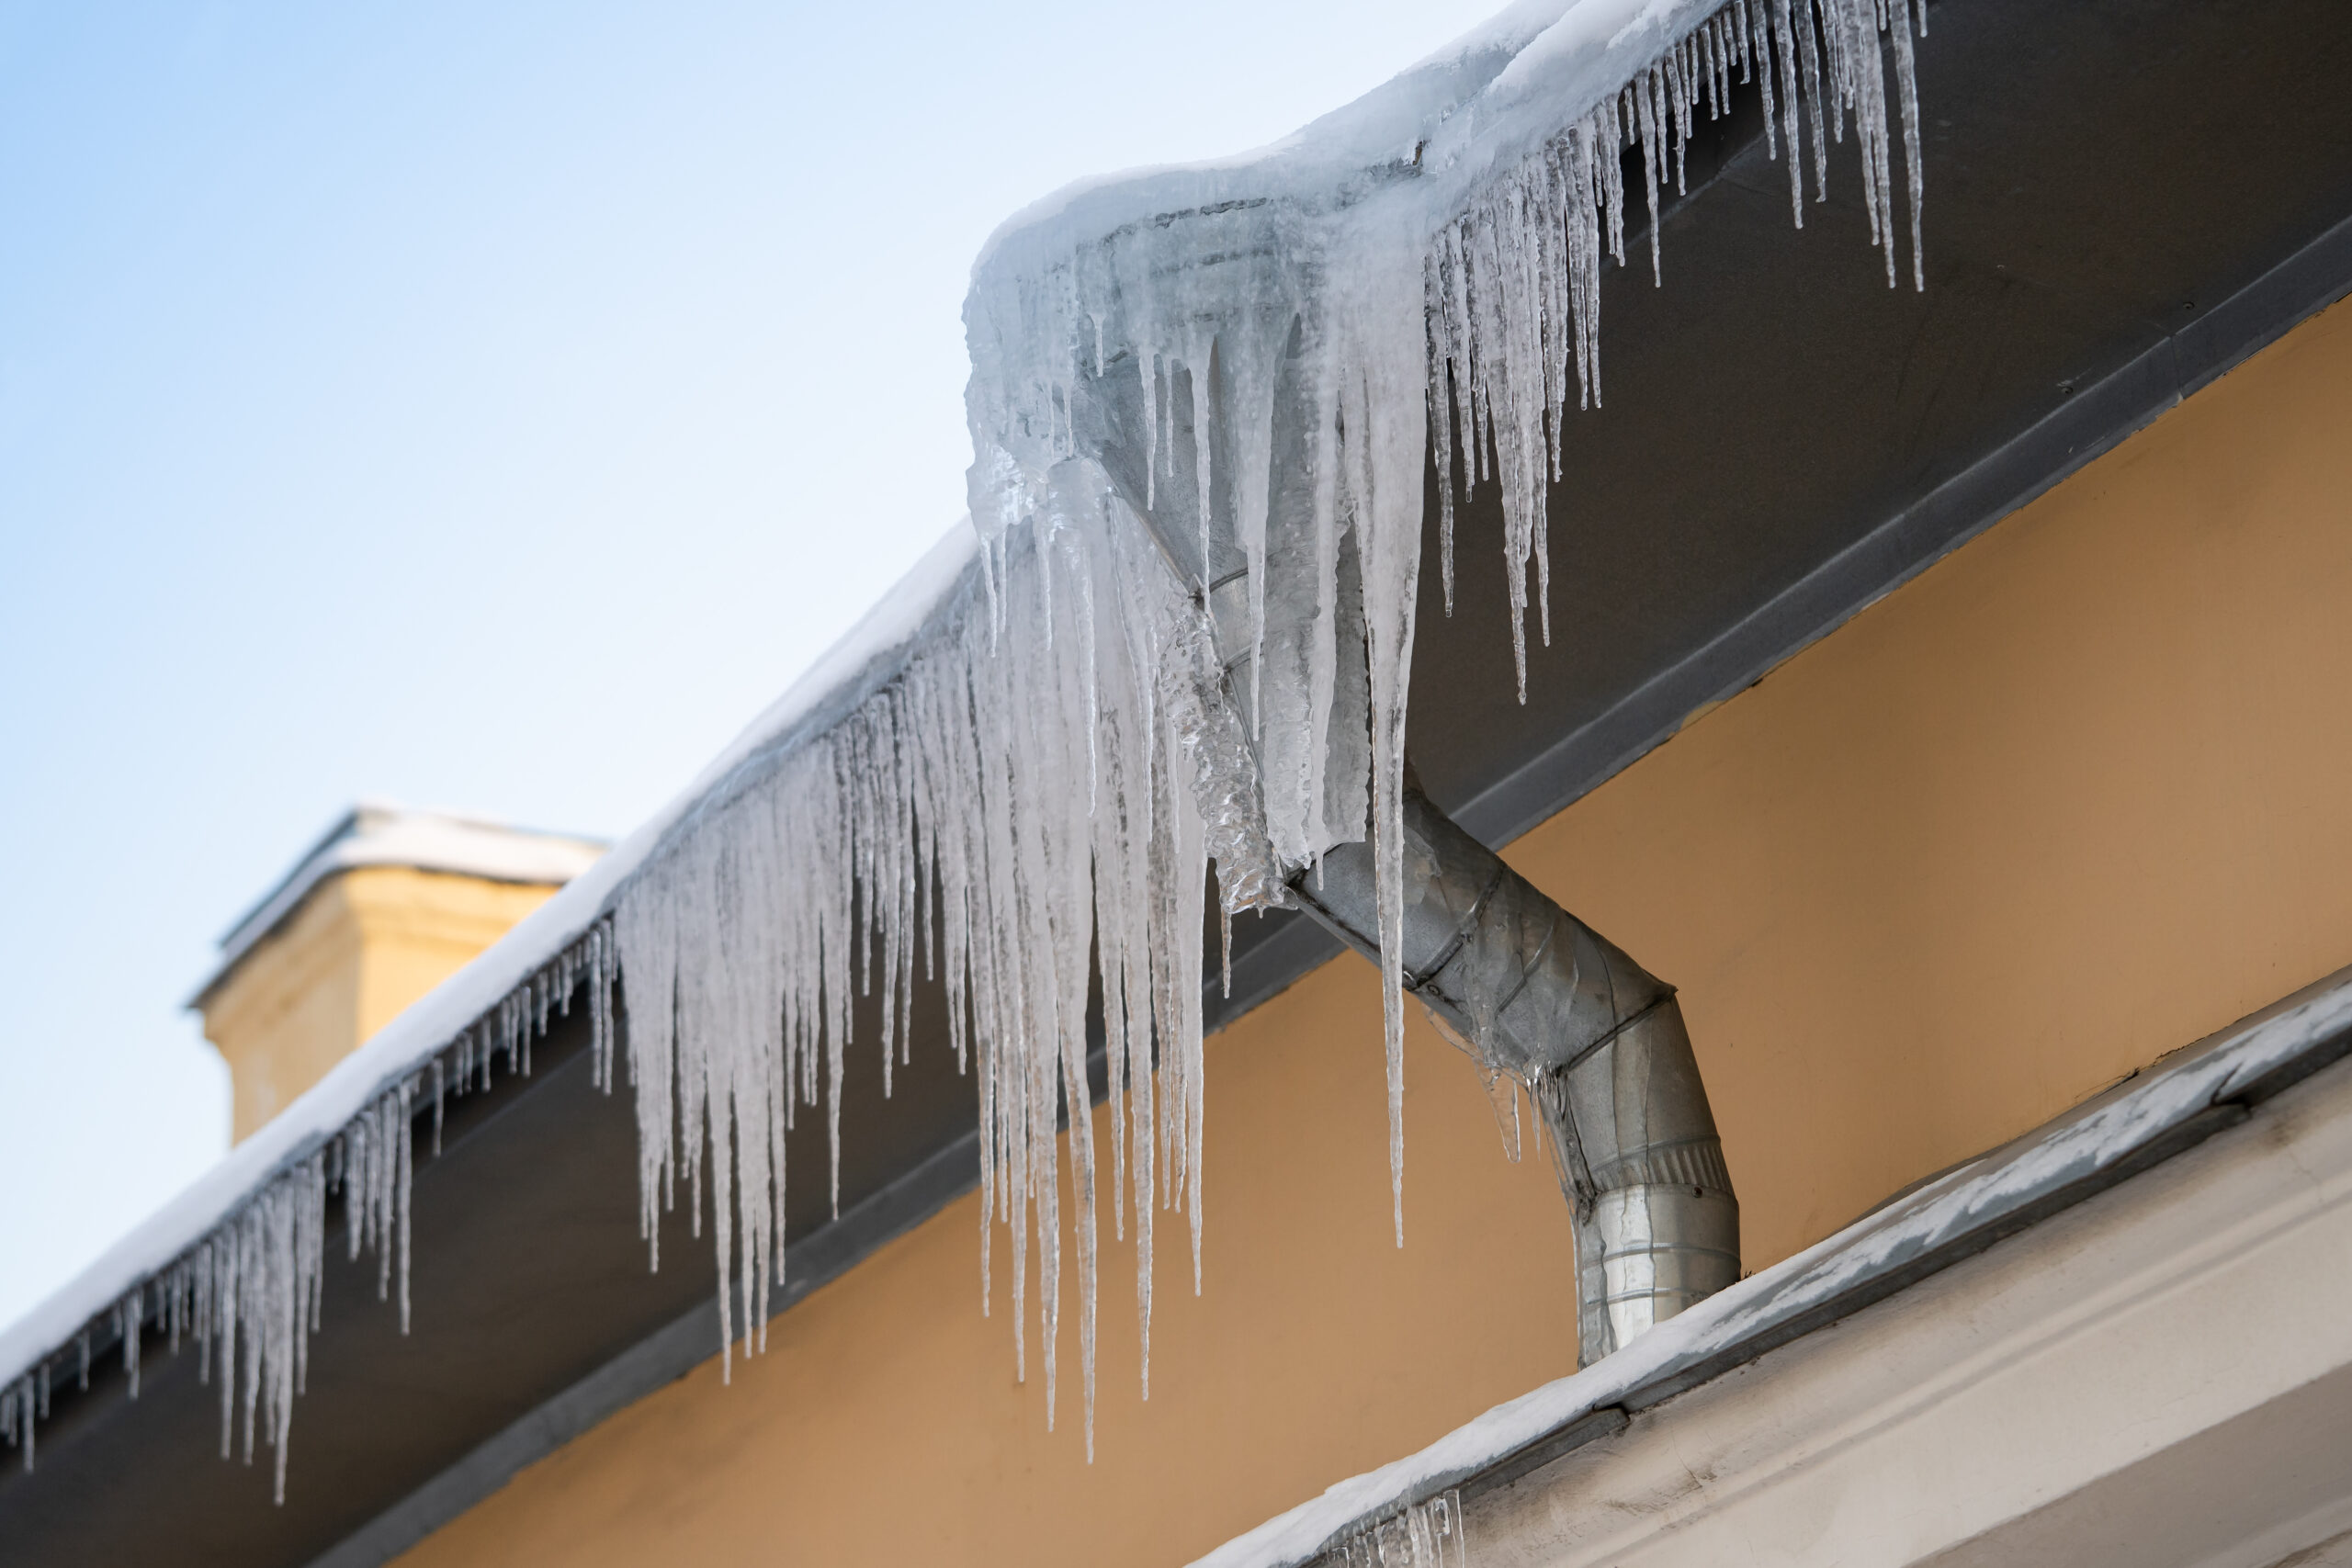
Roof rakes are long-handled tools designed to remove snow from roofs. Removing snow from your roof can prevent ice dams from forming, which can cause significant water damage. Use a roof rake carefully and avoid damaging your shingles. Consider hiring a professional for this task if you're uncomfortable working at heights.
7. Heated Snow Melting Mats
While more of an investment upfront, heated snow melting mats offer a convenient and efficient solution. These mats, typically electric, are placed on walkways, driveways, or steps and radiate heat to melt snow and ice on contact. They're safe, easy to use, and eliminate the need for shoveling or de-icers. Look for mats that are energy-efficient and designed for outdoor use.
When to Call a Professional: Recognizing the Limits of DIY
While these DIY solutions can be effective, there are times when it's best to call in a professional. Knowing when to seek expert help can save you time, money, and potential injury.
- Heavy Snow Loads on Roofs: If you have a flat or low-pitched roof and you've experienced unusually heavy snowfall, excessive weight could damage the structure. Signs of potential problems include sagging ceilings, cracked walls, and doors that are difficult to open or close. A structural engineer can assess the situation and recommend appropriate action.
- Extensive Ice Dams: If you have large ice dams forming on your roof that you can't safely remove with a roof rake, a professional ice dam removal service can help. They have the equipment and expertise to remove ice dams without damaging your roof.
- Dangerous or Difficult-to-Reach Areas: If you need to remove snow or ice from a high roof, a steep driveway, or other difficult-to-reach areas, it's best to leave it to the professionals. They have the safety equipment and training to work in these conditions.
- Underlying Structural Issues: If you suspect that the snow or ice is exacerbating existing structural problems with your home, consult with a qualified contractor or engineer.
- Health Concerns: If you have health conditions that make shoveling or other outdoor activities dangerous, don't hesitate to hire someone to do the work for you.
In Summary: If you're unsure about the safety or effectiveness of a DIY solution, or if you're dealing with a complex or potentially dangerous situation, err on the side of caution and call a professional. They can provide expert advice and services to keep your home safe and snow-free.
By understanding the factors that influence snow melting, following these troubleshooting steps, and implementing safe and effective DIY solutions, you can take control of winter's icy grip and keep your property safe and accessible. Remember to prioritize safety and seek professional help when needed. Stay warm and stay safe!