What To Do If You Smell Gas In Your Home
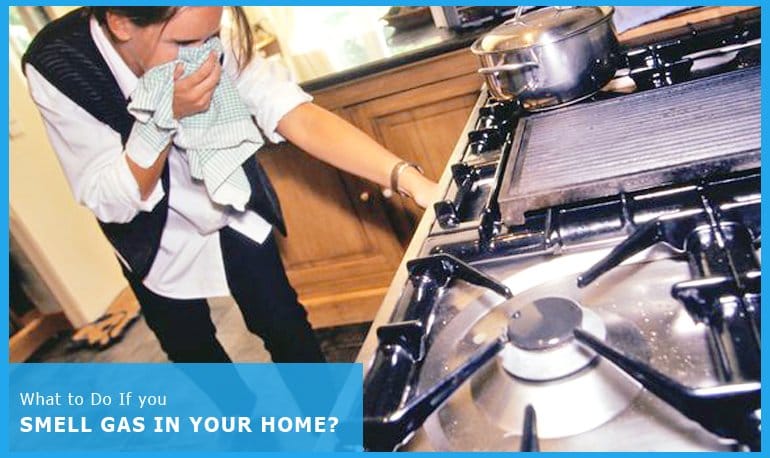
Smelling gas in your home is a serious issue that demands immediate attention. Natural gas and propane are naturally odorless, so utility companies add a chemical called mercaptan to give it that distinctive rotten egg smell. This serves as a crucial warning sign, alerting you to a potentially dangerous leak. This guide provides a step-by-step approach to addressing a gas leak, balancing DIY troubleshooting with clear indicators for when professional help is absolutely necessary.
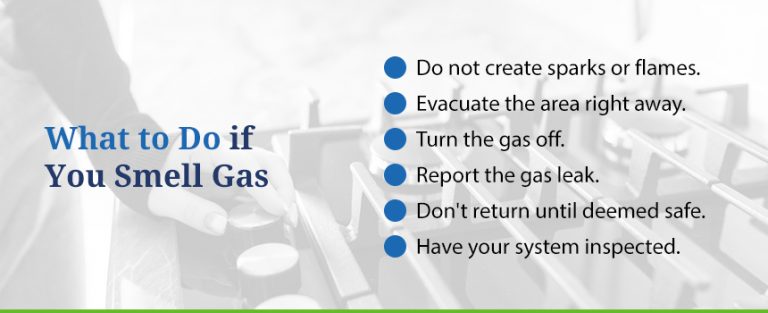
Immediate Actions: Safety First
Your safety and the safety of those around you are paramount. If you suspect a gas leak, follow these steps immediately:
- Evacuate Everyone: Get yourself, your family, and any pets out of the house immediately. Don't hesitate.
- Leave the Door Open: As you evacuate, leave the front door open to help ventilate the house.
- Don't Use Electronics: Avoid using any electronic devices inside the house, including light switches, cell phones, garage door openers, or anything that could create a spark. Even turning on a light can ignite the gas.
- Don't Start Your Car: If your car is parked in the garage, do not start it. The ignition could cause an explosion.
- Move to a Safe Distance: Once outside, move a safe distance away from the house – at least 100 feet.
- Call the Gas Company or 911: Use a neighbor's phone or your cell phone outside of the house to call your local gas company or 911. Inform them of the suspected gas leak and follow their instructions.
Once the Professionals Arrive
It's critical to let trained professionals handle the situation from this point onward. Expect the following:
- Gas Shut-Off: The gas company will likely shut off the gas supply to your home at the meter.
- Leak Detection: Technicians will use specialized equipment, such as electronic leak detectors and soap solutions, to pinpoint the source of the leak.
- Repair or Replacement: Depending on the severity and location of the leak, the gas company or a qualified HVAC technician will either repair the leak or replace the damaged component.
- Inspection: After the repair, they'll thoroughly inspect the gas lines and appliances to ensure everything is safe and functioning correctly.
- Gas Turn-On: The gas company will relight the pilot lights on your appliances and restore gas service to your home only after they've confirmed that there are no more leaks. Do not attempt to relight pilot lights yourself unless you are properly trained and comfortable doing so.
Identifying Potential Gas Leak Sources (After Professional Clearance)
Once the gas company or HVAC technician has given the all-clear and repaired the leak, you can take steps to prevent future incidents. Familiarize yourself with potential gas leak sources in your home:
- Gas Appliances: Furnaces, water heaters, stoves, ovens, dryers, and fireplaces are all potential sources of gas leaks. Pay close attention to the connections and piping leading to these appliances.
- Gas Lines: Check exposed gas lines for signs of damage, such as dents, kinks, or corrosion.
- Fittings and Connections: Gas leaks often occur at fittings and connections where pipes join together or connect to appliances.
- Pilot Lights: A malfunctioning or extinguished pilot light can release unburned gas into your home.
- Regulators: Gas regulators control the pressure of gas flowing through your lines. A faulty regulator can cause a leak or pressure problems.
DIY Troubleshooting (Proceed with Extreme Caution and Only After Professional Clearance)
Warning: Never attempt any gas line repairs yourself unless you are a qualified and licensed HVAC technician. Working with gas lines is inherently dangerous and can result in serious injury or death. The following troubleshooting steps are only for identifying potential sources of leaks after a professional has confirmed the area is safe. If you're not comfortable performing these tasks, call a qualified HVAC technician.
Tools You Might Need (For Post-Repair Inspection Only):
- Spray Bottle: For applying soapy water.
- Dish Soap: To create a bubble solution.
- Wrench (Adjustable or Pipe): For tightening fittings (only if you are qualified).
- Gas Leak Detector (Optional): For pinpointing small leaks. These can be purchased at most hardware stores.
Steps for Locating Small Leaks (After Professional Clearance):
- Mix Soapy Water: Combine a small amount of dish soap with water in a spray bottle.
- Apply to Connections: Spray the soapy water solution onto gas line connections, fittings, and valves.
- Watch for Bubbles: If you see bubbles forming, even small ones, it indicates a gas leak.
- Check Appliance Connections: Pay close attention to the connections on your gas appliances.
- Sniff Test (Use with Caution): Even after a repair, you may still detect a faint odor of gas. This could be residual mercaptan. However, if the odor is strong or persistent, call your gas company again.
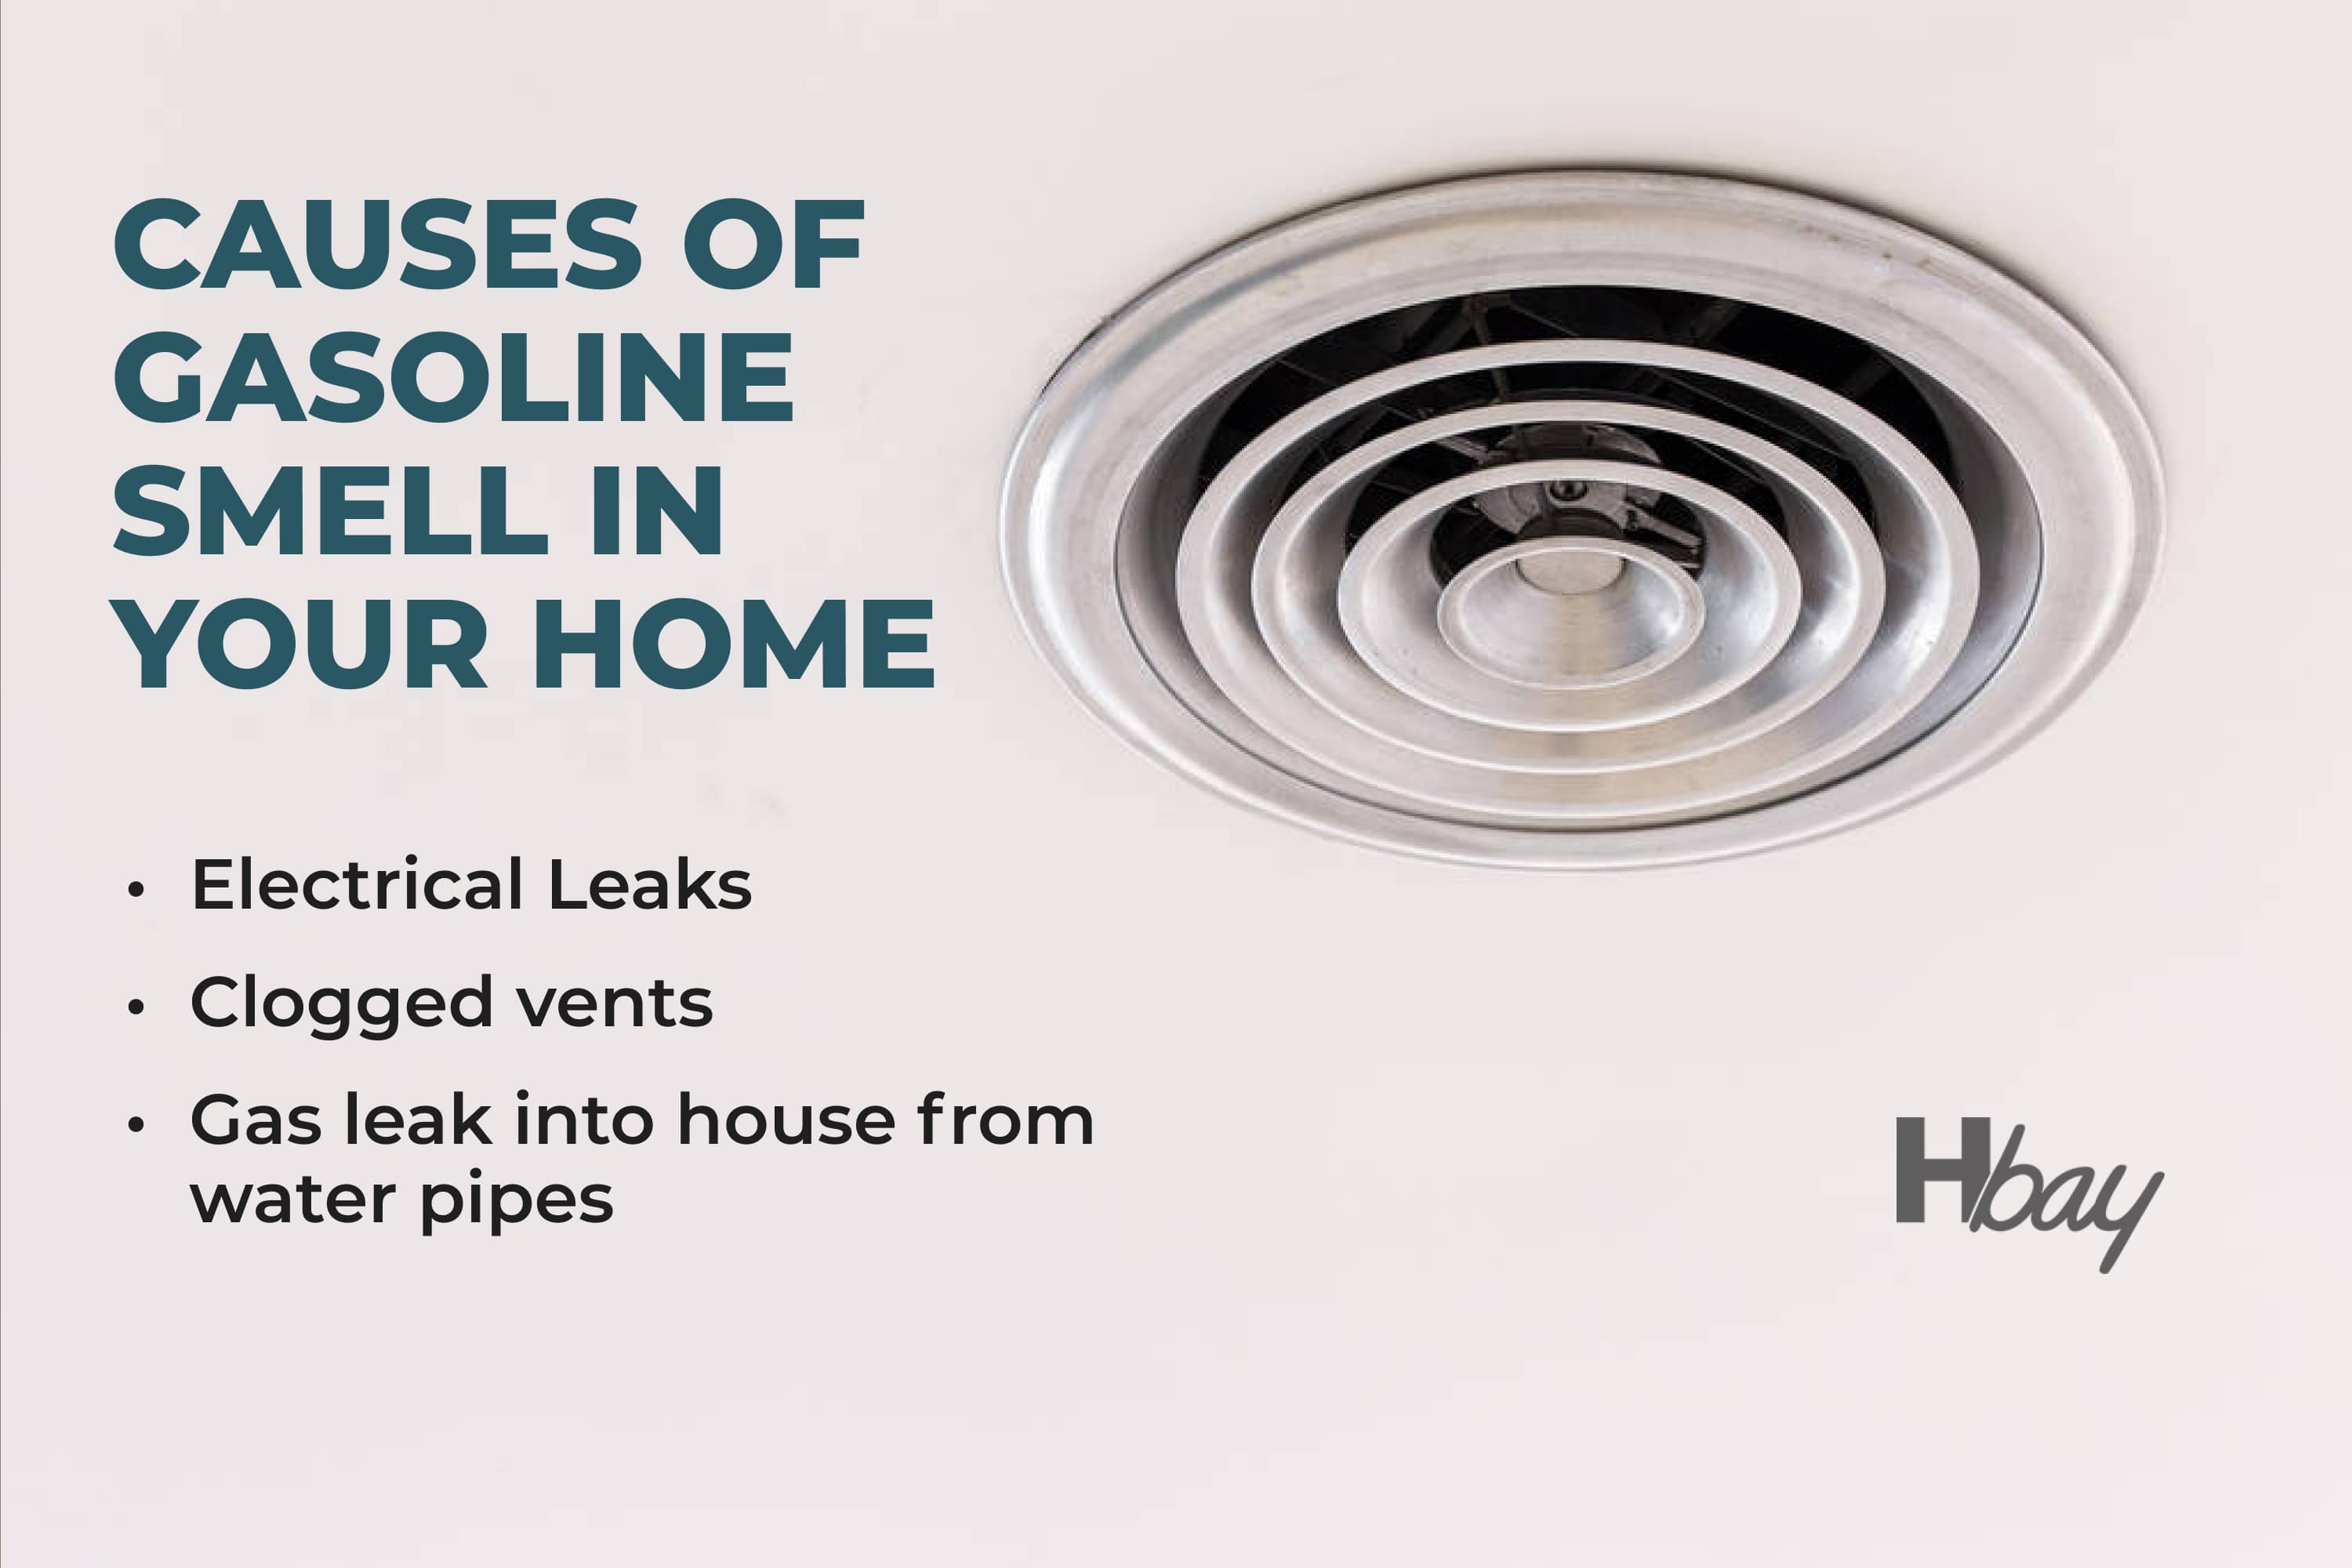
Common Causes of Gas Leaks
Understanding the common causes of gas leaks can help you prevent them in the future:
- Corrosion: Over time, gas lines can corrode, especially in damp or humid environments.
- Loose Fittings: Vibrations or temperature changes can cause gas line fittings to loosen.
- Damaged Pipes: Accidental damage from construction or landscaping can puncture or break gas lines.
- Faulty Appliances: Malfunctioning gas appliances can leak gas, especially if they are not properly maintained.
- Improper Installation: Incorrectly installed gas lines or appliances are a major cause of gas leaks.
Preventative Maintenance
Regular maintenance is crucial for preventing gas leaks. Consider the following:
- Annual Inspections: Have your gas appliances and gas lines inspected annually by a qualified HVAC technician.
- Carbon Monoxide Detectors: Install carbon monoxide detectors throughout your home, especially near sleeping areas. Carbon monoxide is a byproduct of incomplete combustion and can be deadly.
- Regularly Clean Appliance Burners: Clean the burners on your gas stove and oven regularly to ensure proper combustion.
- Check Gas Hoses: Inspect the flexible gas hoses connected to your appliances for cracks or damage. Replace them if necessary.
When to Call a Professional (No Matter What)
There are situations where DIY troubleshooting is simply not an option. Call a qualified HVAC technician or your gas company immediately if:
- You smell a strong or persistent gas odor.
- You suspect a gas leak, even if you can't pinpoint the source.
- You experience symptoms of carbon monoxide poisoning, such as headache, dizziness, nausea, or confusion.
- You are uncomfortable working with gas lines or appliances.
- You find a leak that you cannot easily repair.
Estimated Repair Costs
It's difficult to provide exact repair costs without knowing the specific cause and location of the leak. However, here are some general estimates:
- Leak Detection: $75 - $200
- Minor Gas Line Repair (e.g., tightening a fitting): $100 - $300
- Gas Line Replacement (small section): $200 - $600
- Gas Appliance Repair: $150 - $500+ (depending on the appliance and the problem)
- Gas Regulator Replacement: $200 - $500
- Running a New Gas Line: $500 - $2000+ (depending on the distance and complexity)
Important: These are just estimates. Always get a quote from a qualified HVAC technician or your gas company before authorizing any repairs. Also remember that prices can vary depending on your location and the complexity of the job. The cost of emergency or after-hours service can be significantly higher.
Conclusion
A gas leak is a serious safety hazard that requires prompt and decisive action. By understanding the proper steps to take, you can protect yourself and your family. Remember that safety should always be your top priority. While some minor troubleshooting may be possible after professional clearance, never attempt any gas line repairs yourself unless you are a qualified and licensed HVAC technician. When in doubt, call a professional. It's always better to be safe than sorry when dealing with gas.