What's The Best Carbon Monoxide Detector
:max_bytes(150000):strip_icc()/weshlgd-plug-in-carbon-monoxide-detector-f6629adfb9d2402fa73442e4b02b6f42.jpg)
Many homeowners share a common concern: the chilling thought of carbon monoxide (CO) poisoning. This invisible, odorless gas is a silent killer, making a reliable CO detector not just a convenience, but an absolute necessity. But with so many options on the market, how do you choose the best carbon monoxide detector for your home and family? Let's break it down.
Understanding the Basics: What to Look For
Before we dive into specific brands and models, let's cover the essential features to consider when selecting a CO detector.
Detection Technology
There are primarily two types of CO detection technologies:
- Biomimetic Sensor: This technology uses a gel that changes color when exposed to CO. A photoelectric sensor then measures this change.
- Metal Oxide Semiconductor: This type uses a sensor that lowers its electrical resistance when exposed to CO.
Both technologies are effective, but metal oxide sensors are generally considered to have a longer lifespan and are less susceptible to false alarms caused by humidity.
Power Source
CO detectors are powered in a few different ways:
- Battery-Powered: These are the most flexible, as they can be placed anywhere. Look for models with a long battery life and a low-battery warning.
- Plug-In with Battery Backup: These detectors plug into a standard electrical outlet and have a battery backup in case of power outages. This offers a good balance of convenience and reliability.
- Hardwired with Battery Backup: These are wired directly into your home's electrical system and also have a battery backup. They are typically more expensive to install but offer the most reliable protection.
Plug-in with battery backup or hardwired detectors with battery backup are usually preferred, as they are less likely to be disabled due to a dead battery.
Features
Consider these additional features when making your choice:
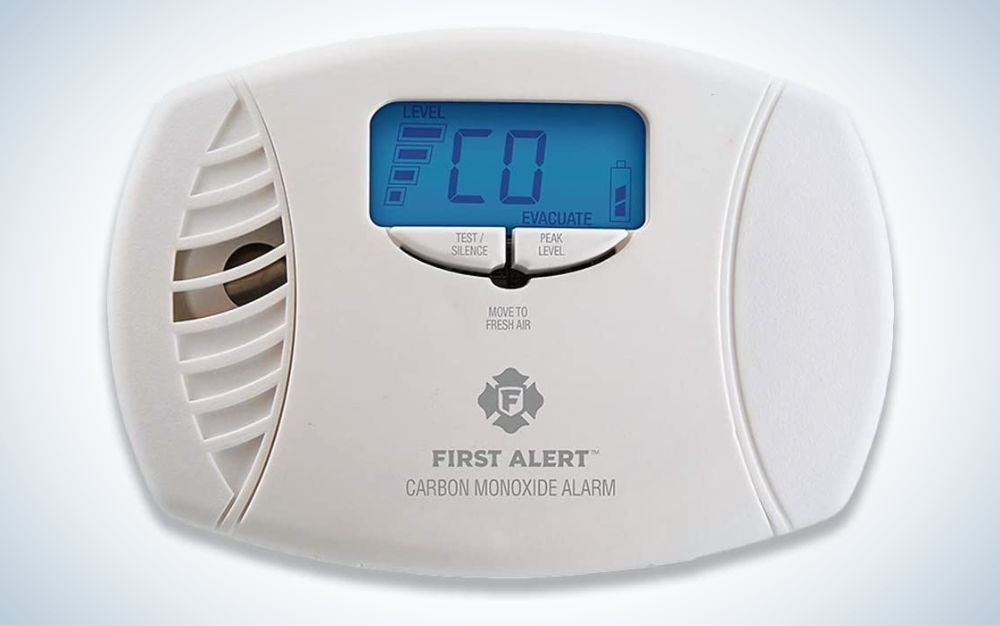
- Digital Display: Shows the CO level in parts per million (ppm), allowing you to monitor even low levels of CO.
- End-of-Life Warning: Alerts you when the detector needs to be replaced (typically after 5-10 years).
- Silence/Test Button: Allows you to silence false alarms and test the detector's functionality.
- Voice Alerts: Some detectors provide voice alerts, which can be especially helpful for children and the elderly.
- Smart Features: Some detectors connect to your home's Wi-Fi and send alerts to your smartphone.
Troubleshooting Common CO Detector Problems
Even the best CO detector can experience problems. Here's a step-by-step guide to troubleshooting common issues.
Problem: Frequent Beeping or Chirping
This is one of the most common complaints. Don't panic, but address it promptly.
Step 1: Identify the Sound. Determine if it's a chirp or a full-blown alarm.
Step 2: Check the Battery. This is the most likely culprit. Replace the battery, even if the detector is plug-in with a battery backup. Use a fresh, high-quality battery.
Step 3: Clean the Detector. Dust and debris can interfere with the sensor. Gently vacuum the detector's vents with a soft brush attachment.
Step 4: Test the Detector. Press the test button. If it sounds the alarm, it's working. If not, try replacing the battery again and testing. If it still doesn't work, replace the detector.
Step 5: Investigate Potential CO Sources. Even if the detector appears to be malfunctioning, it's crucial to rule out the presence of CO. Ensure all fuel-burning appliances are properly vented and functioning correctly. If you suspect a CO leak, evacuate the premises immediately and call the fire department or your gas company.
When to Call a Professional: If the beeping persists after replacing the battery, cleaning the detector, and testing it, and you've ruled out any potential CO sources, the detector is likely faulty and needs to be replaced. Do not ignore persistent beeping.
Problem: False Alarms
False alarms can be disruptive and frustrating, but it's important to investigate them thoroughly.
Step 1: Verify the Alarm. Ensure it's not a genuine CO alarm. Look for symptoms of CO poisoning in yourself and your family (headache, dizziness, nausea, vomiting, weakness, confusion). If anyone is experiencing these symptoms, evacuate and call emergency services.
Step 2: Identify Potential Triggers. CO detectors can sometimes be triggered by other gases, such as those released during cooking or cleaning.
- Cooking: Smoke from cooking, especially burning food, can sometimes trigger a false alarm. Ensure proper ventilation when cooking.
- Cleaning Products: Certain cleaning products, especially those containing ammonia or bleach, can release fumes that trigger a false alarm.
- Humidity: High humidity levels can sometimes affect the sensitivity of CO detectors, leading to false alarms.
- Aerosols: Sprays like hairspray or air freshener can sometimes trigger a false alarm.
Step 3: Move the Detector. If the false alarms are consistently triggered by a specific activity (e.g., cooking), consider moving the detector to a different location, away from potential triggers.
Step 4: Reset the Detector. Most CO detectors have a reset button. Press and hold the button for the recommended duration (usually 5-10 seconds) to reset the detector.
Step 5: Check the Detector's Expiration Date. CO detectors have a limited lifespan, typically 5-10 years. After this time, the sensor becomes less reliable and may be more prone to false alarms. Check the expiration date on the detector and replace it if it's expired.
When to Call a Professional: If false alarms persist despite taking these steps, and you are unable to identify a specific trigger, the detector may be faulty and needs to be replaced. Also, if you are ever unsure about the cause of an alarm, it's always best to err on the side of caution and call the fire department or your gas company to investigate.
Problem: Detector Doesn't Respond to Test Button
If your CO detector doesn't respond when you press the test button, it's a serious concern.
Step 1: Check the Battery. Replace the battery with a fresh, high-quality battery.
Step 2: Clean the Detector. Dust and debris can interfere with the detector's ability to function properly. Gently vacuum the detector's vents.
Step 3: Check the Wiring (for Hardwired Detectors). If you have a hardwired detector, check the wiring connections to ensure they are secure.
Step 4: Replace the Detector. If the detector still doesn't respond to the test button after replacing the battery, cleaning it, and checking the wiring (if applicable), it's faulty and needs to be replaced immediately. Do not delay.
When to Call a Professional: If you are uncomfortable working with electrical wiring, call a qualified electrician to inspect and repair the wiring connections for a hardwired detector.
Choosing the Right Detector for Your Needs
Now that you understand the basics and how to troubleshoot common problems, let's look at how to choose the best carbon monoxide detector for your specific needs.
Home Size and Layout
The number of detectors you need depends on the size and layout of your home. As a general rule, you should have a CO detector on every level of your home, including the basement, and outside each sleeping area. In larger homes, you may need additional detectors to ensure adequate coverage.
Budget
CO detectors range in price from around $20 to $100 or more. Consider your budget when making your choice, but don't skimp on safety. A reliable CO detector is a worthwhile investment.
Features and Functionality
Consider the features that are most important to you. Do you want a detector with a digital display? Smart features? Voice alerts? Choose a detector that meets your specific needs and preferences.
Prevention is Key
While having a working CO detector is essential, it's equally important to take steps to prevent CO poisoning in the first place.
- Install and Maintain Fuel-Burning Appliances Properly: Ensure that all fuel-burning appliances (furnaces, water heaters, stoves, fireplaces) are properly installed and maintained. Have them inspected annually by a qualified professional.
- Ensure Proper Ventilation: Never use fuel-burning appliances in enclosed spaces without proper ventilation.
- Never Run a Car in a Garage: Never run a car in a garage, even with the door open.
- Never Use a Charcoal Grill Indoors: Never use a charcoal grill indoors or in a garage.
- Be Aware of Symptoms: Learn the symptoms of CO poisoning and be alert to them.
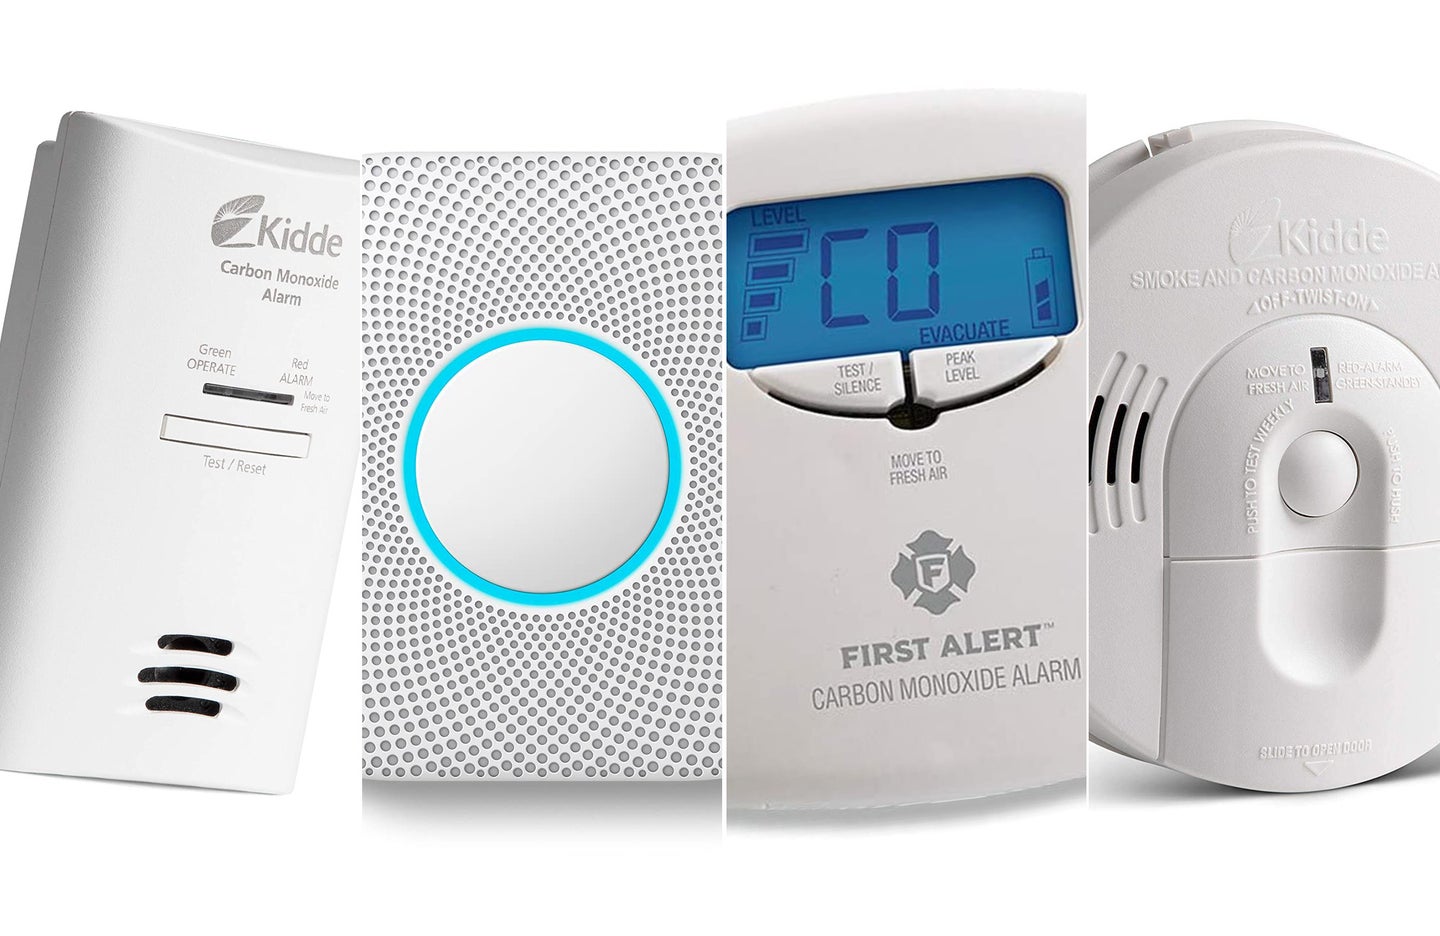
Recommended Brands (General Guidelines)
While I cannot endorse specific brands due to liability reasons, here are some brands that are generally well-regarded for their CO detectors:
- Kidde: Known for their affordability and reliability.
- First Alert: Offers a wide range of detectors with various features.
- Nest Protect: A smart CO and smoke detector with advanced features.
Always research and read reviews before making a purchase. Consider consulting with a local hardware store or home improvement professional for personalized recommendations.
Final Thoughts
Choosing the best carbon monoxide detector is a crucial decision that can protect your family's health and safety. By understanding the different types of detectors, troubleshooting common problems, and taking preventative measures, you can ensure that your home is safe from the dangers of CO poisoning. Remember, your family's safety is worth the investment. Don't delay, ensure you have working CO detectors today.
:max_bytes(150000):strip_icc()/kidde-battery-powered-carbon-monoxide-detector-96d574cd3e6749cf8432929606aa1fe9.jpg)
:strip_icc()/first-alert-carbon-monoxide-detector-6ed796282347402fa9cc78ada10e99e7.jpg)


:max_bytes(150000):strip_icc()/spr-aegislink-wireless-interlinked-combination-smoke-and-carbon-monoxide-detector-sc-rf200-karen-jones-02-027000dcc9ac4243952d122d60b38ce5.jpeg)
:max_bytes(150000):strip_icc()/Kidde-Battery-Operated-Smoke--Carbon-Monoxide-Detector-c8644729ab4d436a94c8144146e8288f.jpg)

:max_bytes(150000):strip_icc()/usbnovel-mini-carbon-monoxide-detector-alarm-10991ae120ec4e92803b01abfef4acac.jpg)