When Installing A Piping System With Iron Pipe
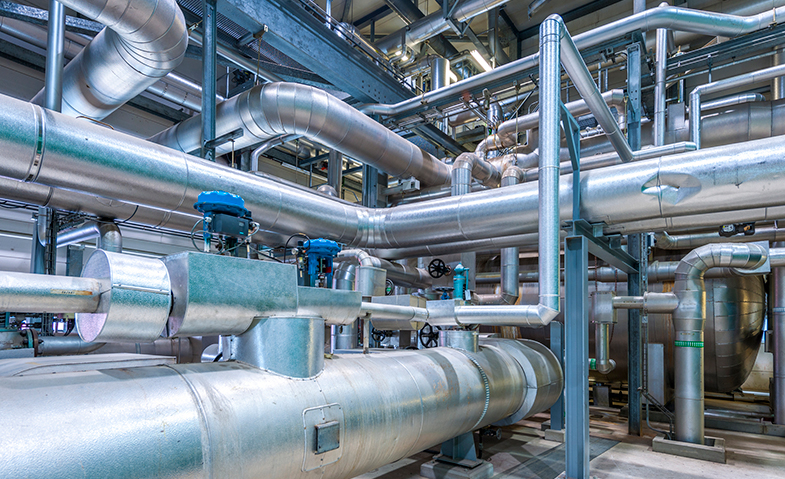
Installing a piping system using iron pipe, particularly black iron pipe or galvanized iron pipe, is a common practice in various applications, from gas lines to water distribution. While newer materials like PEX and CPVC are gaining popularity, iron pipe still holds its own due to its durability, resistance to high temperatures, and suitability for specific uses. This guide provides a comprehensive overview of considerations when installing an iron piping system.
Understanding Iron Pipe Types
Before diving into the installation process, it's crucial to understand the different types of iron pipe and their applications.
Black Iron Pipe
Black iron pipe is uncoated steel pipe. The dark color comes from the iron oxide formed on the surface during manufacturing. It's primarily used for natural gas and propane lines. Never use black iron pipe for potable water as it will rust internally and contaminate the water supply. The rust can also lead to clogging and premature failure of the system.
Galvanized Iron Pipe
Galvanized iron pipe is steel pipe coated with a layer of zinc. This zinc coating provides corrosion resistance, making it suitable for water lines and some low-pressure air applications. However, galvanized pipe is less common for potable water systems these days due to potential issues with lead contamination (particularly in older pipes) and the availability of more modern, lead-free alternatives. The galvanization process prevents corrosion from the inside of the pipe, extending its life considerably when compared to black iron pipe in a corrosive environment.
Planning Your Iron Piping System
Proper planning is essential for a successful iron pipe installation. This includes designing the layout, selecting the correct pipe size and fittings, and accounting for any necessary support structures.
Design and Layout
Start by creating a detailed diagram of your piping system. This diagram should include the location of all pipes, fittings, valves, and appliances. Consider the following factors:
- Pipe Size: Choose the correct pipe size based on the flow rate and pressure requirements of the system. Undersized pipes can restrict flow and cause pressure drops, while oversized pipes can be unnecessarily expensive. Use charts and calculations to determine proper sizing.
- Pipe Routing: Plan the most direct and efficient route for your pipes, minimizing the number of bends and turns. Every bend increases resistance to flow.
- Accessibility: Ensure that all pipes and fittings are easily accessible for inspection, maintenance, and repair. This might involve incorporating unions at strategic locations.
- Code Compliance: Adhere to all local building codes and regulations regarding pipe type, installation methods, and safety requirements. Always consult with a qualified professional if you're unsure about any aspect of the code.
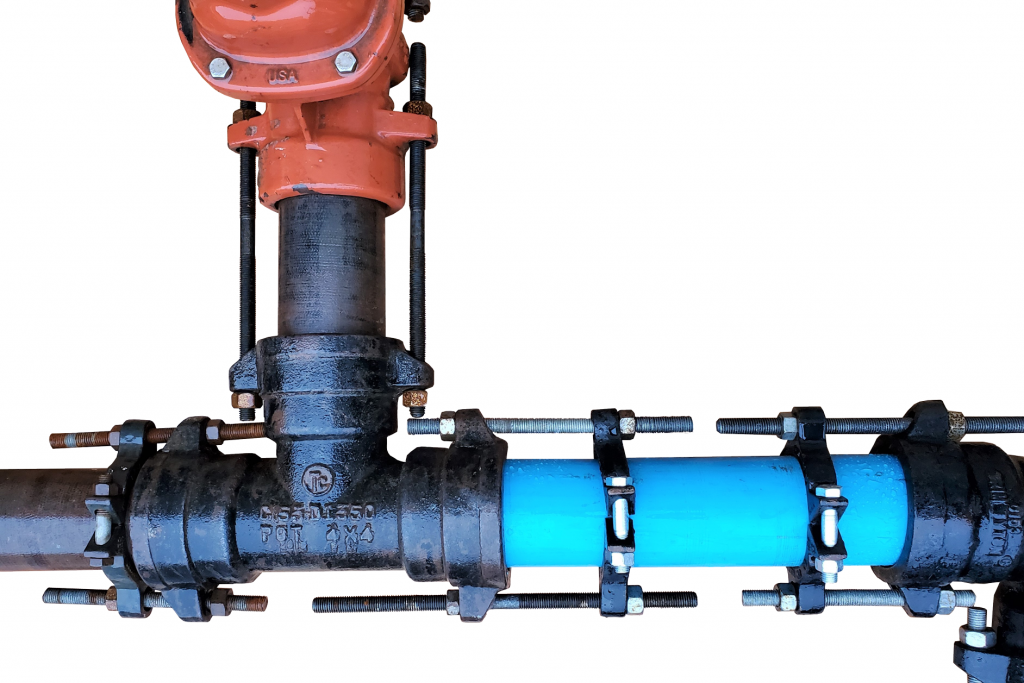
Selecting Fittings
A variety of fittings are available for iron pipe, including elbows, tees, couplings, unions, and nipples. Choose fittings that are compatible with the type of pipe you are using (black iron or galvanized) and the intended application.
- Elbows: Used to change the direction of the pipe. Common angles are 90 degrees and 45 degrees.
- Tees: Used to create a branch off the main pipe.
- Couplings: Used to join two pieces of pipe together.
- Unions: Similar to couplings, but they allow for easy disassembly of the piping system. Unions are essential for future repairs or modifications.
- Nipples: Short pieces of pipe with threads on both ends.
All fittings should be made of the same material as the pipe itself. For example, use black iron fittings with black iron pipe and galvanized fittings with galvanized iron pipe. This is crucial to prevent corrosion issues caused by dissimilar metals.
Support Structures
Iron pipes are heavy and require adequate support to prevent sagging, bending, and potential leaks. Use pipe hangers, straps, or clamps to support the pipes at regular intervals. The spacing between supports will depend on the size of the pipe and the weight of the fluid it carries. Refer to manufacturer's specifications or local codes for recommended support spacing. Think of these supports as the "skeleton" of your piping system, keeping everything securely in place.
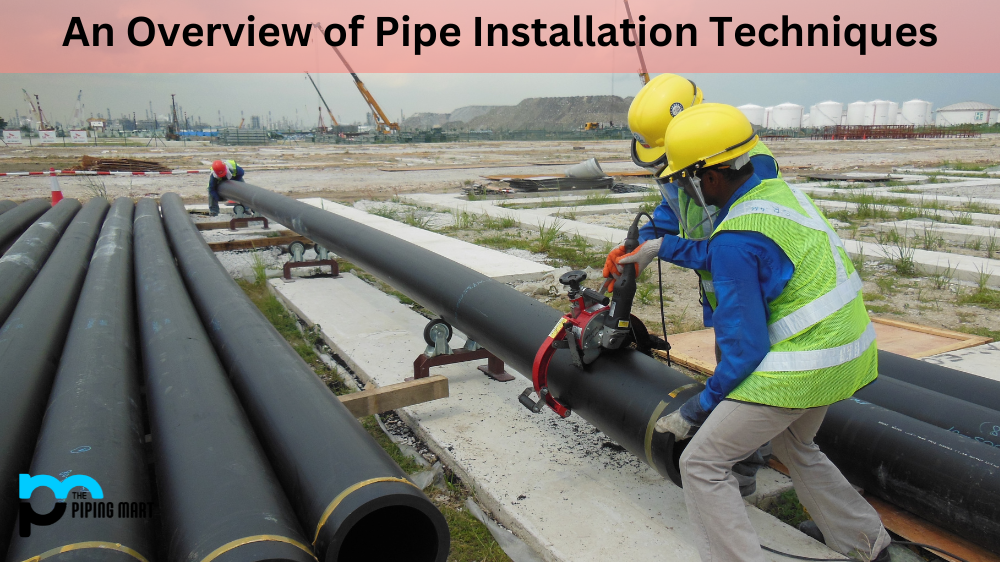
Installing Iron Pipe: A Step-by-Step Guide
The installation process involves cutting, threading, and joining the pipe segments together. Accuracy and attention to detail are critical for a leak-free system.
Cutting the Pipe
Use a pipe cutter to cut the iron pipe to the desired length. A pipe cutter provides a clean, square cut without creating burrs or sharp edges. Avoid using a saw, as it can create uneven cuts and make threading difficult. A tubing cutter slowly compresses the pipe until it separates. Make sure to rotate the cutter evenly to get a straight cut.
Threading the Pipe
Threading is essential for creating a secure, leak-proof connection between the pipe and fittings. Use a pipe threading machine or a manual pipe threader to create threads on the ends of the pipe. Apply cutting oil liberally to the pipe during the threading process to lubricate the die and produce clean, well-formed threads. Make sure to create the correct number of threads as recommended by the fitting manufacturer.
Proper threading is crucial for a leak-free system. Improper threading is one of the most common causes of leaks in iron pipe systems.
Joining the Pipe
Before joining the pipe and fittings, clean the threads thoroughly with a wire brush to remove any metal shavings or debris. Apply pipe joint compound or thread sealant tape (Teflon tape) to the male threads of the pipe. This sealant helps to create a watertight seal. Wrap the tape in the direction of the threads, overlapping each layer slightly.
Tighten the pipe and fittings together using a pipe wrench. Apply sufficient torque to create a tight seal, but avoid over-tightening, which can damage the threads or the fitting. A good rule of thumb is to tighten the fitting until it is snug, then add another one or two turns. Always use two pipe wrenches—one to hold the pipe and the other to turn the fitting. This will prevent stress on other parts of the piping system.
Testing for Leaks
After the piping system is complete, it is essential to test it for leaks. Pressurize the system with air or water to the operating pressure specified by the manufacturer or local codes. Inspect all joints and connections for leaks. If any leaks are found, tighten the fitting further or disassemble the joint, reapply sealant, and reassemble.
Safety Precautions
Working with iron pipe can be hazardous if proper safety precautions are not followed. Always wear appropriate personal protective equipment (PPE), including:
- Safety Glasses: To protect your eyes from flying debris.
- Gloves: To protect your hands from sharp edges and chemicals.
- Steel-Toed Boots: To protect your feet from falling objects.
Additionally, be aware of the following safety concerns:
- Heavy Lifting: Iron pipes are heavy. Use proper lifting techniques or ask for assistance to avoid back injuries.
- Sharp Edges: Iron pipes can have sharp edges. Handle them carefully to avoid cuts.
- Flammable Materials: When working with gas lines, ensure that there are no open flames or sources of ignition nearby.
- Confined Spaces: If working in a confined space, ensure adequate ventilation.
Alternatives to Iron Pipe
While iron pipe is still a viable option in certain scenarios, consider alternatives such as:
- PEX (Cross-linked Polyethylene): Flexible, easier to install, and resistant to corrosion. Ideal for potable water systems.
- CPVC (Chlorinated Polyvinyl Chloride): Similar to PVC but can handle higher temperatures. Often used for hot water distribution.
- Copper: Durable, corrosion-resistant, and suitable for both hot and cold water lines. However, it is more expensive than other options.
The best choice depends on the specific application, budget, and local codes. For gas lines, iron pipe remains the most common and often required material.
Conclusion
Installing an iron piping system requires careful planning, proper tools, and attention to detail. By understanding the different types of iron pipe, following the correct installation procedures, and adhering to safety precautions, you can create a durable and reliable piping system. However, if you lack experience or are unsure about any aspect of the installation process, it's always best to consult with a qualified plumbing professional. They can ensure that the system is installed correctly and safely, and that it meets all applicable codes and regulations. Taking the time to do the job right will save you headaches and money in the long run.