When To Replace Carbon Monoxide Detector

One of the most unsettling experiences for a homeowner is a beeping carbon monoxide (CO) detector. Is it a real emergency? A low battery? Or something else entirely? Understanding the different signals your CO detector might be sending is crucial for the safety of your home and family. This article provides a step-by-step guide to diagnosing common CO detector problems and knowing when it's time for a replacement.
Understanding the Beeps: Decoding Your CO Detector's Signals
Before you panic, it's important to distinguish between different types of beeps. Your CO detector is designed to communicate various messages through sound.
- Four Quick Beeps Followed by Silence: This usually indicates a dangerous level of carbon monoxide is detected. Immediately evacuate your home and call emergency services from a safe location.
- A Single "Chirp" Every 30-60 Seconds: This is the most common type of alarm and usually signifies a low battery.
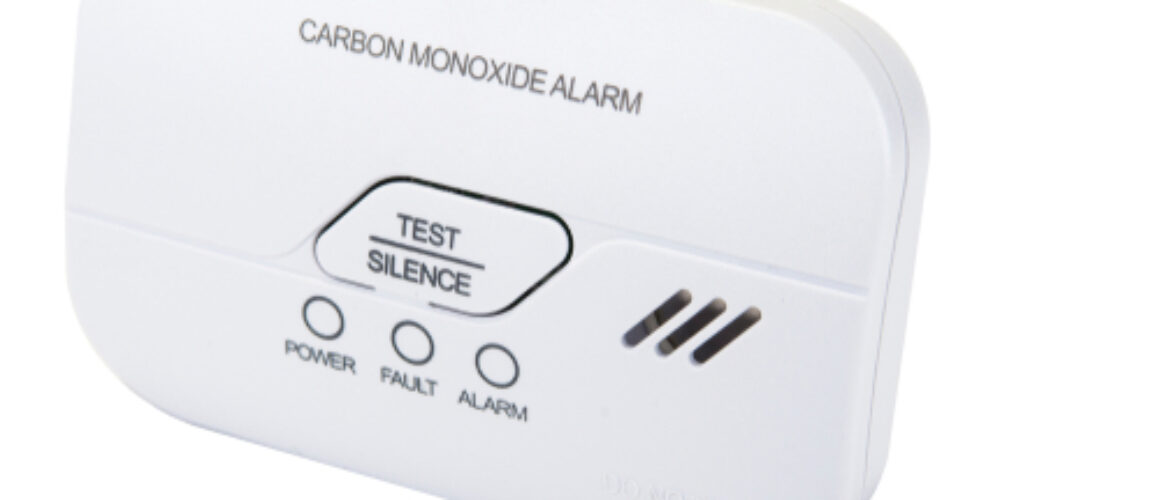
- Continuous Beeping with an Error Code on the Display: This often indicates a malfunction or end-of-life signal. Refer to your detector's manual for specific error code meanings.
- Irregular, Random Beeping: Could be due to humidity, dust, sensor failure, or other environmental factors. Further investigation is required.
Step-by-Step Troubleshooting: Is it a Real Emergency or a False Alarm?
Follow these steps to determine the cause of your CO detector's beeping.
Step 1: Ensure Immediate Safety (If You Suspect CO Poisoning)
If you experience any symptoms of carbon monoxide poisoning, such as:
- Headache
- Dizziness
- Weakness
- Nausea
- Vomiting
- Confusion
- Loss of consciousness
Immediately evacuate your home. Do not try to troubleshoot the detector. Call 911 or your local emergency number from a safe location (outside and away from your home). Let the professionals handle the situation.
Step 2: Check the Batteries
The most frequent culprit for a chirping CO detector is a low battery. Follow these steps:
- Locate the Battery Compartment: Usually on the back or side of the detector.
- Open the Compartment: Some require a screwdriver; others have a simple latch.
- Remove the Old Batteries: Note the type of battery required (usually AA or 9V).
- Install Fresh Batteries: Ensure they are the correct type and installed with the correct polarity (+/-).
- Test the Detector: Press the "Test" button. The detector should emit a loud, clear alarm sound.
If the chirping stops after replacing the batteries, you've solved the problem! It's a good practice to replace the batteries in all your CO detectors at least twice a year, ideally when you change your clocks for daylight saving time. Even if the detector isn't chirping, this ensures they're always ready to protect you.
Step 3: Cleaning Your CO Detector
Dust and debris can interfere with the sensor's ability to detect carbon monoxide, leading to false alarms or inaccurate readings.
- Turn Off the Power (If Hardwired): If your detector is hardwired, turn off the corresponding circuit breaker.
- Remove the Detector from its Mounting: Gently twist or unclip the detector from the wall or ceiling.
- Clean the Exterior: Use a soft cloth or brush to remove any dust or debris from the outside of the detector.
- Vacuum the Sensor Vents: Use a vacuum cleaner with a brush attachment to carefully vacuum around the sensor vents. Do not insert anything into the vents, as this could damage the sensor.
- Reinstall the Detector: Reattach the detector to its mounting and turn the power back on (if hardwired).
- Test the Detector: Press the "Test" button to ensure it's functioning properly.
Step 4: Check the Expiration Date
Carbon monoxide detectors have a limited lifespan. The sensor inside degrades over time, becoming less accurate. Most CO detectors last for 5-10 years, depending on the manufacturer and model. Check the expiration date printed on the detector itself (usually on the back or side) or in the user manual.
If your detector is past its expiration date, it must be replaced, regardless of whether it's beeping or not. An expired detector may not accurately detect CO, putting you and your family at risk.
Step 5: Identify Potential Sources of Carbon Monoxide
If your CO detector is sounding an alarm (four beeps followed by silence), but you don't have any symptoms of CO poisoning, try to identify potential sources of carbon monoxide in your home. Common sources include:
- Furnaces: A malfunctioning furnace is a common source of CO leaks.
- Water Heaters: Gas-powered water heaters can also produce CO.
- Fireplaces: Improperly ventilated fireplaces can release CO into your home.
- Gas Stoves and Ovens: While less common, gas stoves and ovens can produce CO, especially if they are not properly maintained.
- Portable Generators: Never operate a portable generator indoors or in a garage, even with the door open.
- Vehicles: Never run a vehicle inside a garage, even for a short period.
If you suspect a specific appliance is the source of the CO, turn it off immediately and call a qualified technician to inspect it. Do not use the appliance again until it has been repaired and deemed safe.
Step 6: Resetting the Detector
Some CO detectors have a reset button. After addressing a low-battery issue or a false alarm, resetting the detector might clear the error memory.
- Locate the Reset Button: Refer to your detector's manual. It's often near the test button.
- Press and Hold: Press and hold the reset button for the duration specified in the manual (usually 5-10 seconds).
- Listen for Confirmation: The detector may beep or display a message indicating it has been reset.
- Test Again: Press the test button to ensure the detector is functioning properly after the reset.
When to Call a Professional: Knowing Your Limits
While many CO detector issues can be resolved with simple DIY troubleshooting, there are situations where you should always call a qualified professional.
- If Your CO Detector is Alarming Repeatedly: Even after replacing the batteries, cleaning the detector, and resetting it, if the detector continues to alarm (especially with the four-beep pattern), there is likely a serious problem. Call your local fire department or a qualified HVAC technician to inspect your home for carbon monoxide leaks.
- If You Suspect a CO Leak but Cannot Identify the Source: If you experience symptoms of CO poisoning but cannot pinpoint the source of the leak, evacuate your home and call emergency services.
- If You Are Uncomfortable Working with Electrical Wiring: If your CO detector is hardwired, and you are not comfortable working with electrical wiring, do not attempt to repair or replace it yourself. Hire a qualified electrician.
- If Your Detector is Damaged: If your CO detector is physically damaged (e.g., cracked, broken), it may not function properly. Replace it immediately.
- Hardwired Detectors Failing: Interconnected, hardwired detectors can be complex systems. If one malfunctions and affects the others, professional help is generally needed.
Choosing a Replacement CO Detector: Key Considerations
When it's time to replace your CO detector, consider these factors:
- Type of Detector: Choose between battery-powered, hardwired, or combination (battery backup with hardwired) detectors. Consider interconnected detectors, which will all alarm if one detects CO.
- Sensor Technology: Electrochemical sensors are the most common and reliable.
- Digital Display: A digital display shows the CO level in parts per million (ppm), providing more information than a simple alarm.
- End-of-Life Warning: Make sure the detector has an end-of-life warning signal to alert you when it's time to replace it.
- UL Listing: Look for the UL (Underwriters Laboratories) listing mark to ensure the detector meets safety standards.
- Smart Features: Some detectors offer smart features like smartphone notifications and integration with home automation systems.
Placement Matters: Where to Install Your CO Detectors
Proper placement is crucial for effective CO detection. Follow these guidelines:
- Install on Every Level: Place at least one CO detector on every level of your home, including the basement.
- Near Sleeping Areas: Install detectors in hallways outside bedrooms, as people are most vulnerable to CO poisoning while sleeping.
- Follow Manufacturer's Instructions: Refer to the manufacturer's instructions for specific placement recommendations.
- Avoid Obstructions: Do not place detectors behind furniture or curtains, which can block airflow to the sensor.
- Away from Cooking Appliances: Keep detectors at least 10 feet away from cooking appliances to avoid false alarms.
- High on Walls or Ceilings: CO is slightly lighter than air, so install detectors high on walls (near the ceiling) or on the ceiling.
Prevention is Key: Minimizing the Risk of CO Poisoning
Beyond installing and maintaining CO detectors, take these steps to prevent carbon monoxide poisoning:
- Regular Appliance Maintenance: Have your furnace, water heater, and other gas appliances inspected and serviced annually by a qualified technician.
- Proper Ventilation: Ensure proper ventilation for all fuel-burning appliances.
- Never Use a Generator Indoors: Never operate a portable generator indoors, in a garage, or near windows or doors.
- Be Aware of Symptoms: Familiarize yourself and your family with the symptoms of CO poisoning.
- Clear Snow from Vents: During winter, clear snow and ice from vents for furnaces and other appliances to ensure proper ventilation.
By understanding your CO detector's signals, following a methodical troubleshooting process, and prioritizing prevention, you can protect your home and family from the dangers of carbon monoxide poisoning. Remember, when in doubt, call a professional. Your safety is paramount.