When To Use A Vapor Barrier With Insulation

Have you noticed unusually high energy bills? Are some rooms in your home consistently colder in the winter or hotter in the summer than others, despite your thermostat setting? This is a common homeowner problem often linked to inefficient insulation and improper moisture control. One key component in achieving efficient insulation is the correct use of a vapor barrier.
Troubleshooting: Is Insulation & Vapor Barrier the Culprit?
Before calling a professional, let's run through a methodical diagnostic process to determine if insulation and vapor barrier issues are contributing to your discomfort and high energy costs. We'll start with simple checks and progress to slightly more involved inspections.
Step 1: The Obvious - Start with a Visual Inspection (No Tools Needed!)
First, perform a walk-through of your home, paying close attention to the following:
- Exterior Walls: Look for obvious signs of damage. Are there cracks or gaps around windows and doors? Can you feel a draft coming from electrical outlets or light switches on exterior walls? These are prime entry points for air leaks, which drastically reduce the effectiveness of your insulation.
- Attic Access: Carefully inspect the access point to your attic. Is the hatch or door properly sealed? Is there noticeable discoloration or staining on the ceiling around the access point, which could indicate a past or present water leak?
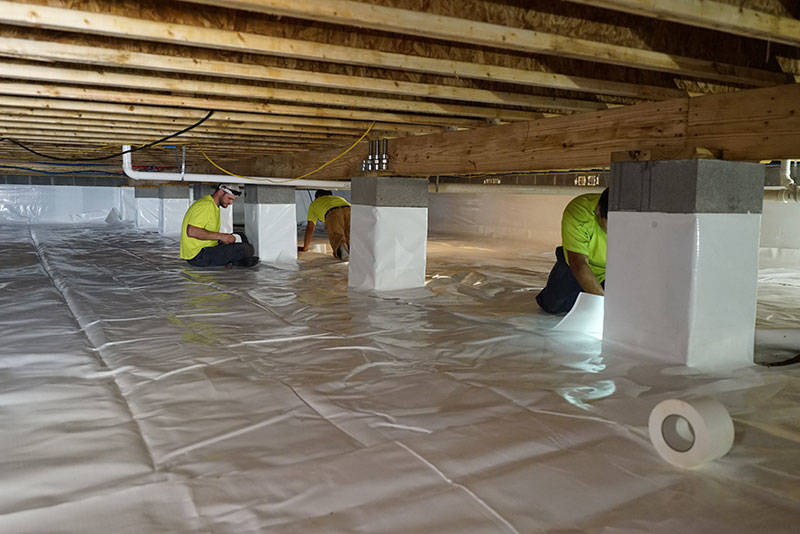
- Basement/Crawl Space: These areas are notorious for moisture problems. Check for dampness, mold growth, or musty odors. Pay particular attention to the foundation walls and any exposed insulation.
- Interior Walls: Look for signs of moisture or condensation, especially in bathrooms and kitchens. Peeling paint, wallpaper coming loose, or water stains are red flags.
Document everything you find. Take photos or notes to help you remember the details and to share with a professional later if needed.
Step 2: Assessing Insulation Levels (Requires Basic Equipment)
Now, let's move on to evaluating the insulation itself. You'll need a few basic tools for this:
- Flashlight: For illuminating dark spaces.
- Measuring Tape: To measure insulation depth.
- Ruler: For more precise measurements.
- Gloves and Mask: Safety first! Protect yourself from dust, fiberglass, and potential allergens.
Here's how to assess the insulation in different areas of your home:
Attic Insulation: The Most Important Area
The attic is where most heat loss occurs in the winter and heat gain in the summer. Safe entry to attic is critical. If you're not comfortable or lack experience navigating your attic safely, proceed with caution. Contact a professional if you are unsure.
- Safety First: Wear your gloves, mask, and eye protection. Walk only on the joists to avoid falling through the ceiling.
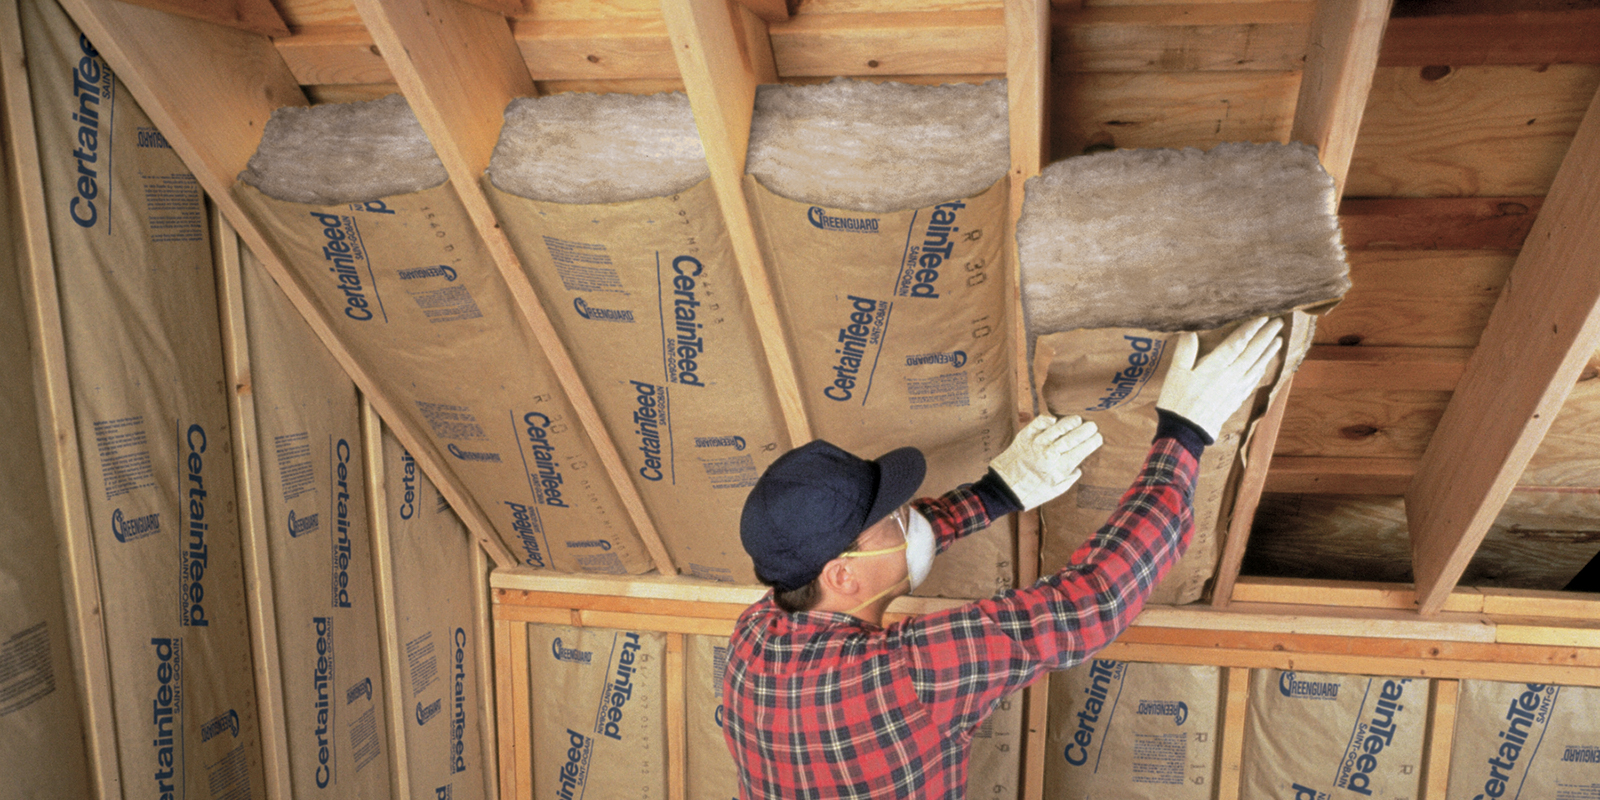
- Measure the Depth: Use your measuring tape to determine the average depth of the insulation. Compare this measurement to the recommended R-value for your climate zone. You can find R-value recommendations online based on your location.
- Assess the Condition: Look for signs of damage, such as compression, gaps, moisture, or rodent infestation. Compressed insulation loses its effectiveness. Gaps allow for air leakage and thermal bridging. Moisture can lead to mold growth and reduce the insulation's R-value.
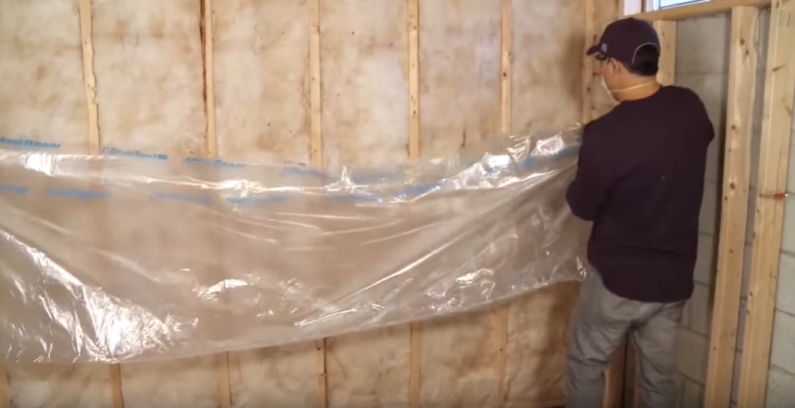
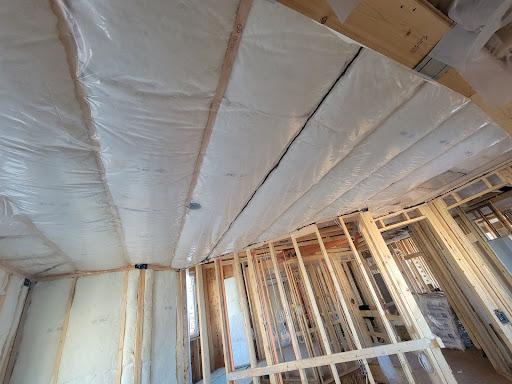
- Check for a Vapor Barrier: Identify if a vapor barrier is present and its location. Ideally, the vapor barrier (usually a plastic sheet or kraft paper facing) should be installed on the warm-in-winter side of the insulation. In colder climates, this means facing the living space. In warmer, humid climates, this can be more complex and may require professional assessment.
Wall Insulation: A Bit More Challenging
Assessing wall insulation is trickier without specialized equipment. However, you can get a general idea by:
- Checking Outlets and Switches: Turn off the power to the circuit. Carefully remove the outlet or switch cover plate. Shine a flashlight into the gap around the electrical box. You may be able to see if there is insulation in the wall cavity. Be extremely careful not to touch any wiring!
- Thermal Imaging (Optional): A thermal imaging camera can detect temperature differences on wall surfaces, which can indicate areas with missing or inadequate insulation. This requires renting or borrowing a camera, and interpreting the results can be challenging.
Basement/Crawl Space Insulation: Moisture Control is Key
Basements and crawl spaces often have unique insulation challenges due to moisture. Inspect for:
- Moisture and Mold: Look for signs of dampness, water stains, or mold growth on the insulation.
- Insulation Type: Is the insulation appropriate for a damp environment? Closed-cell spray foam or rigid foam board are generally better choices than fiberglass batts in these areas.
- Vapor Barrier Placement: The vapor barrier placement in basements and crawl spaces is heavily dependent on the climate and moisture control strategies. It's often best to consult a professional to determine the optimal approach.
Step 3: Interpreting Your Findings - Does the Vapor Barrier Matter?
After your inspection, you need to determine if the issues you found relate to inadequate insulation, improper vapor barrier placement, or a combination of both. Here are some guidelines:
- Insufficient Insulation: If the insulation depth is significantly below the recommended R-value for your climate, adding more insulation is likely necessary.
- Damaged Insulation: Replace any insulation that is compressed, wet, or infested with pests.
- Improper Vapor Barrier Placement: This is where things get tricky. The correct placement of a vapor barrier depends on your climate and the specific construction of your home.
- Missing Vapor Barrier: If you live in a cold climate, and insulation is installed without a vapor barrier facing the warm side, moisture can accumulate within the walls, leading to mold and rot. This requires attention.
DIY Actions: Simple and Safe Repairs
Based on your findings, here are some DIY actions you can take:
- Seal Air Leaks: Caulk around windows and doors. Use weather stripping to seal gaps around doors. Seal penetrations in walls (e.g., where pipes or wires enter) with caulk or expanding foam.
- Add Insulation to the Attic: If you have sufficient space and are comfortable working in the attic, you can add more insulation. Loose-fill insulation is relatively easy to install using a blowing machine (often available for rent). Follow all safety precautions, including wearing a mask, gloves, and eye protection.
- Replace Damaged Insulation: Carefully remove and replace any damaged insulation, following proper safety procedures.
Important Note: When working with fiberglass insulation, always wear gloves, a mask, and eye protection. Avoid skin contact and wash thoroughly after handling the material.
When to Call a Professional HVAC Technician
Some insulation and vapor barrier issues are best left to the professionals. Here are some situations where you should seek expert help:
- Extensive Mold Growth: Mold remediation can be a complex and hazardous process. Professionals have the training and equipment to safely remove mold and prevent it from recurring.
- Unusual Moisture Problems: If you're experiencing persistent moisture issues in your home, a professional can diagnose the underlying cause and recommend appropriate solutions.
- Complex Vapor Barrier Questions: Determining the correct vapor barrier strategy for your climate and home construction can be challenging. A professional can assess your specific situation and provide tailored recommendations.
- Spray Foam Insulation: Installing spray foam insulation requires specialized equipment and training. It's best left to qualified professionals.
- If you're uncomfortable or unsure about any aspect of the inspection or repair process. Your safety and the proper functioning of your home are paramount.
- Presence of Asbestos or Lead: Older homes may contain asbestos or lead paint. If you suspect these materials are present, do not disturb them. Contact a qualified professional for testing and remediation.
- Wall Insulation Issues: Adding insulation to existing walls can be tricky and may require specialized techniques. A professional can assess your wall construction and recommend the most effective approach.
Don't hesitate to call a professional if you're unsure about anything. It's better to be safe than sorry when it comes to insulation and moisture control.
Vapor Barrier Caveats and Climate Considerations
The appropriate use of vapor barriers depends heavily on your local climate. Here's a simplified overview:
- Cold Climates: Vapor barrier (or vapor retarder) on the warm side (inside) of the wall is usually recommended to prevent moisture from diffusing into the wall cavity.
- Hot and Humid Climates: Vapor barriers can trap moisture inside walls, leading to mold growth. They are often not recommended, or a vapor-permeable barrier may be used. In these cases, proper ventilation and dehumidification are crucial.
- Mixed Climates: These climates present the biggest challenges. The best approach often involves a combination of insulation, air sealing, and carefully selected vapor retarders. Hygrothermal modeling may be necessary to determine the optimal strategy.
Air Sealing vs. Vapor Barriers: It’s crucial to understand the difference. Air sealing prevents air movement, which carries significant amounts of moisture. Vapor barriers slow down the diffusion of water vapor through materials. Air sealing is almost always beneficial, while vapor barriers require careful consideration.
Taking the time to properly assess your insulation and vapor barrier needs can lead to significant energy savings and a more comfortable home. By following these steps and knowing when to call a professional, you can ensure that your home is properly insulated and protected from moisture damage.