Where Does My Dryer Vent Go

Is your home feeling unusually humid, even though your air conditioner is running full blast? Or perhaps you're noticing a persistent musty smell, especially near the laundry area? These are common signs that your dryer vent might not be doing its job properly. A malfunctioning dryer vent can lead to more than just discomfort; it can also increase your energy bills and even pose a fire hazard. The key is understanding where that dryer vent is supposed to go and how to ensure it's clear and functioning as it should.
Understanding Your Dryer Vent System
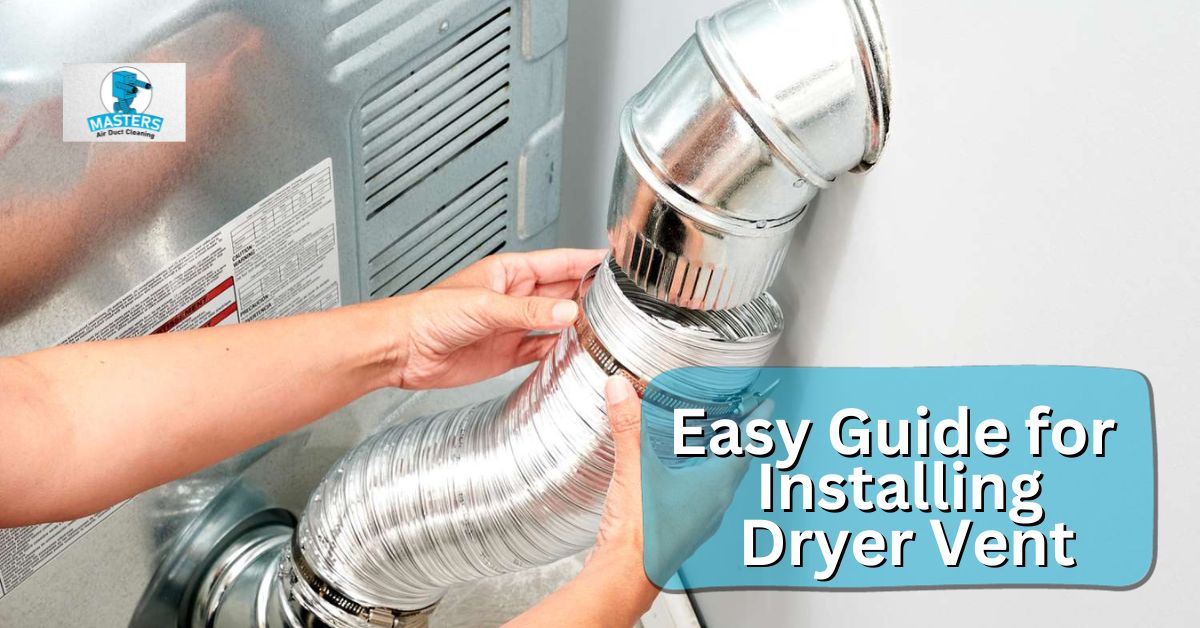
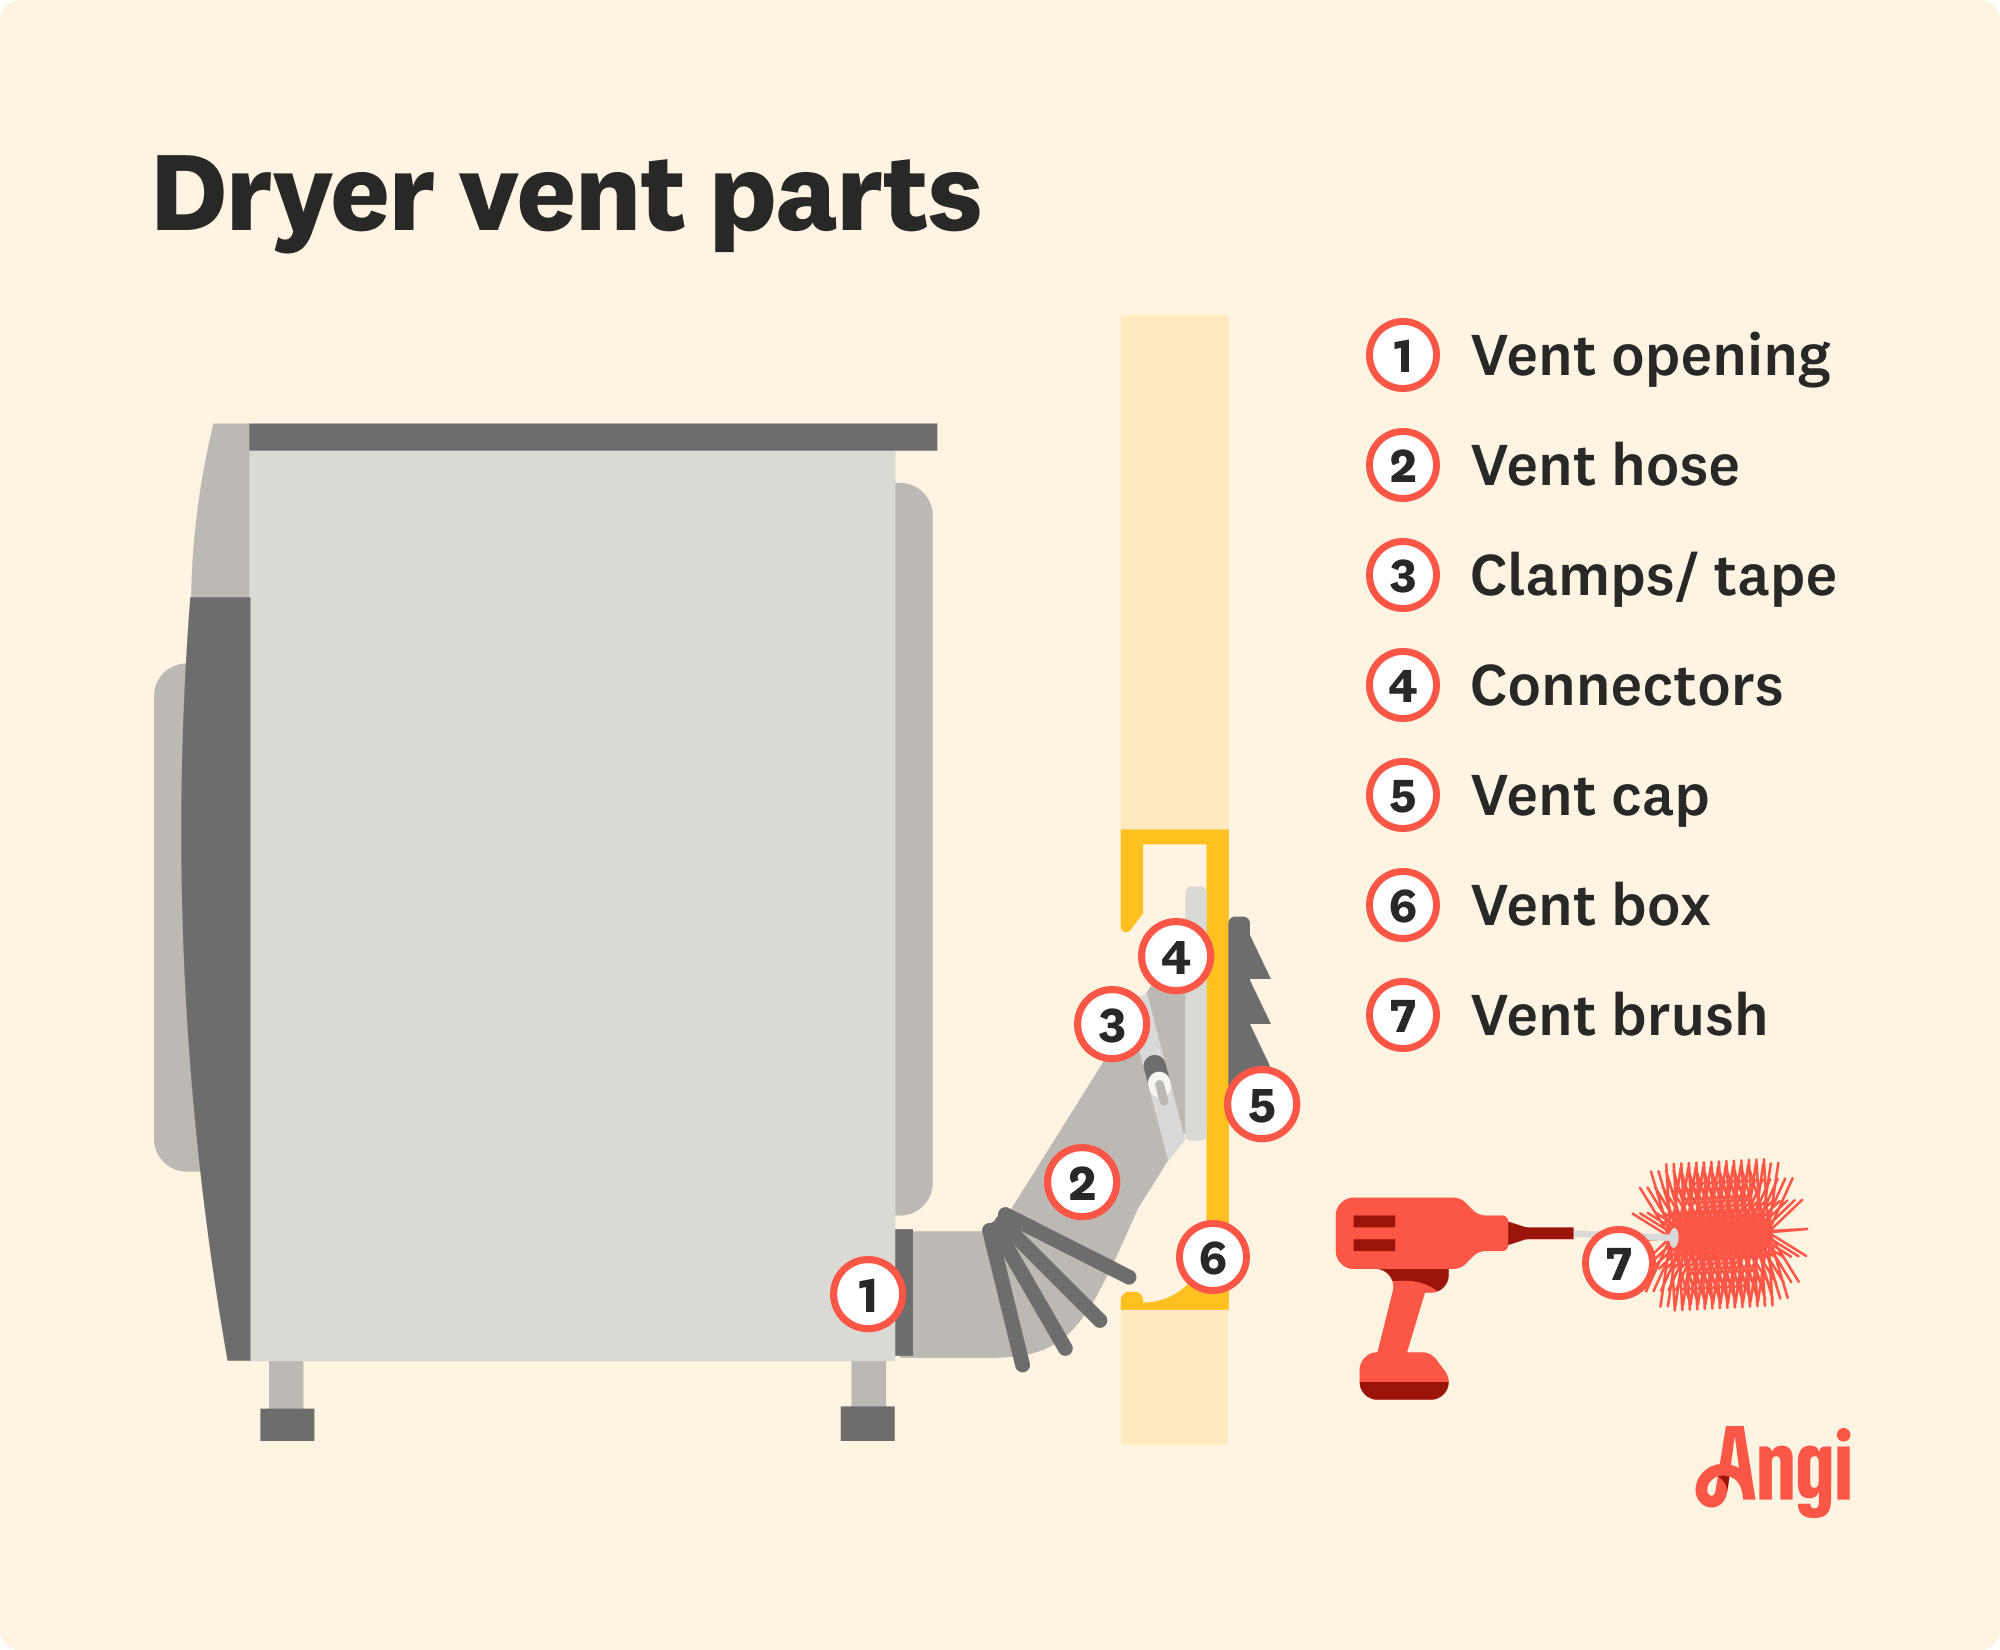
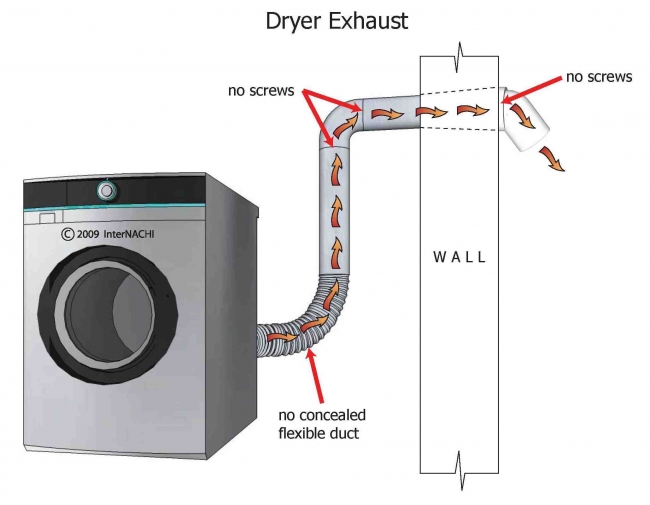
Before we dive into troubleshooting, let's understand the basics. Your dryer vent is designed to expel hot, moist air – and lint – generated by your dryer outside of your home. This prevents moisture buildup, mold growth, and keeps your home comfortable. The vent system typically consists of a flexible or rigid duct connecting the dryer to an external vent hood. This external vent hood is a critical component, directing the exhaust away from your home and preventing backdrafts.
Common Dryer Vent Destinations
Dryer vents typically exit the home in one of a few common locations:
- Side Wall: This is perhaps the most common placement, where the vent exits through an exterior wall, usually relatively close to the dryer's location.
- Roof: Some homes vent the dryer through the roof, which can be beneficial in terms of keeping the exhaust away from ground-level areas, but can also be more prone to clogs and require more maintenance.
- Basement/Crawl Space (Less Common, Often Problematic): While less common and generally not recommended, some older homes may vent into a basement or crawl space. This can lead to significant moisture issues and should be remedied immediately by venting outdoors.
Troubleshooting: Is Your Dryer Vent the Culprit?
Let's walk through a methodical approach to diagnose if your dryer vent is causing the issue.
Step 1: Initial Observation (No Tools Required)
Begin with a simple visual inspection. This can reveal a lot without needing any tools:
- Excessive Humidity: Is the laundry room noticeably more humid than other parts of the house, especially when the dryer is running? This is a strong indicator of a vent issue.
- Musty Odor: Do you smell a musty or moldy odor in the laundry room or nearby areas? This suggests trapped moisture due to poor ventilation.
- Dryer Performance: Is your dryer taking significantly longer to dry clothes than usual? This is a classic sign of a clogged vent, forcing the dryer to work harder and longer.
- Visible Lint Buildup: Check the area around the dryer and the vent exhaust point. Is there excessive lint accumulating? This indicates that the vent isn't effectively removing lint.
Step 2: Locate and Inspect the Exterior Vent (No Tools Required)
Next, locate the exterior vent hood. Here's what to look for:
- Airflow: With the dryer running (and clothes inside!), go outside and feel for airflow coming from the vent. Is the airflow weak, nonexistent, or blocked? A healthy vent will have a noticeable stream of warm, moist air.
- Lint Accumulation: Is the vent hood clogged with lint? Can you see lint visibly protruding from the vent? Clogged vents restrict airflow.
- Damaged Vent Hood: Is the vent hood damaged, broken, or missing a flap? A damaged vent can allow pests and debris to enter the system.
Step 3: Inspect the Dryer Connection (Requires Basic Tools)
Safety First! Unplug the dryer before performing this step.
You'll need a screwdriver for this step.
- Disconnect the Duct: Carefully disconnect the flexible or rigid duct from the back of the dryer.
- Inspect for Clogs: Look inside the duct and the dryer's exhaust port. Is there a significant buildup of lint? Use your hand or a small brush to gently remove any loose lint.
- Check the Duct Material: Is the duct made of a non-flammable material (rigid metal or flexible metal)? Avoid using plastic or foil ducts, as they are fire hazards. Consider replacing them with a safer alternative.
- Inspect Duct Length: The vent should be as straight and short as possible. Excessive length or sharp bends reduce efficiency. Is the duct excessively long or does it have multiple sharp bends?
Step 4: Intermediate Duct Inspection (Requires Basic Tools & Some Dexterity)
Safety First! Unplug the dryer before performing this step.
This step involves inspecting the ductwork that runs through your walls or ceiling. You may need a screwdriver and flashlight for this. Depending on the accessibility of the duct, this step can range from easy to quite difficult.
- Access Points: Most ducting systems won't have convenient access points. You might need to look for joints or seams in the ductwork where you can disconnect sections to inspect.
- Obstructions: Shine a flashlight into each section of the disconnected duct. Can you see any significant blockages, such as large clumps of lint or even foreign objects (bird nests, small animals)?
- Clean as Possible: If you can reach the obstruction, carefully remove it by hand or with a flexible brush. Be gentle to avoid damaging the duct.
DIY Solutions: Simple Fixes You Can Try
Based on your observations, here are some simple DIY solutions you can try:
- Clear the Exterior Vent: Remove any visible lint buildup from the exterior vent hood. Use a brush or your hand to clear the opening. Ensure the vent flap moves freely.
- Clean the Dryer Duct: Use a vacuum cleaner with a hose attachment to remove loose lint from the dryer duct. You can also purchase a dryer vent cleaning brush kit, which consists of a long, flexible brush that can reach further into the duct.
- Shorten and Straighten the Duct: If the duct is excessively long or has sharp bends, consider shortening it or making the path more direct. This will improve airflow.
- Replace the Duct Material: If you have plastic or foil ducting, replace it with rigid metal or flexible metal ducting. This is a crucial safety upgrade.
When to Call a Professional: Recognizing the Limits of DIY
While many dryer vent issues can be resolved with simple DIY solutions, some problems are best left to the professionals. Consider calling an HVAC technician or a dryer vent cleaning specialist if:
- You're Uncomfortable Working with Tools or Heights: Safety is paramount. If you're not comfortable climbing a ladder to reach a roof vent or disconnecting ductwork, it's best to hire a professional.
- The Vent Run is Long and Complex: Long and complex vent runs are difficult to clean thoroughly without specialized equipment. A professional has the tools and experience to ensure the entire vent system is clear.
- You Suspect a Nest or Foreign Object Inside the Duct: Removing a large nest or foreign object from the duct requires specialized tools and techniques to avoid damaging the vent system.
- You Find Mold or Water Damage: Mold growth indicates a serious moisture problem that requires professional remediation. An HVAC technician can identify the source of the moisture and recommend solutions.
- You've Tried DIY Solutions and the Problem Persists: If you've cleaned the vent, shortened the duct, and replaced the material, but the dryer is still taking too long to dry clothes, there may be a more serious underlying issue.
- Roof Vent Issues: Working on a roof can be dangerous. Call a professional for any repairs or cleaning needed on the roof level.
- Gas Dryer Concerns: Gas dryers can pose a carbon monoxide risk if not vented properly. Always consult a professional for gas appliance issues.
Preventive Maintenance: Keeping Your Dryer Vent Healthy
The best way to avoid dryer vent problems is to practice preventive maintenance:
- Clean the Lint Trap After Every Load: This is the simplest and most effective way to reduce lint buildup in the vent system.
- Inspect the Exterior Vent Regularly: Check the vent hood for lint buildup and damage at least twice a year.
- Schedule Professional Dryer Vent Cleaning: Have your dryer vent cleaned by a professional every 1-2 years, depending on how frequently you use your dryer. More frequent cleaning might be necessary for large families or if you notice signs of reduced dryer performance.
By understanding where your dryer vent goes, performing regular inspections, and addressing minor issues promptly, you can keep your home comfortable, reduce your energy bills, and prevent potentially dangerous fire hazards. Don't hesitate to call a professional when needed – your safety and the well-being of your home are always worth it!
:no_upscale()/cdn.vox-cdn.com/uploads/chorus_asset/file/21866462/vent_illo.jpg)

:max_bytes(150000):strip_icc()/dryer-vent-installation-2718616-hero-6d6fccc705634bfd96355e50a75ecc59.jpg)