Where Is The Condenser Coil Located

Is your home feeling more like a sauna than a sanctuary in the summer? Or perhaps your heating system isn't quite cutting it when the winter winds howl? One common culprit behind inadequate heating or cooling performance is a problem with the condenser coil. This crucial component plays a vital role in your HVAC system's ability to transfer heat, and understanding its location and how to troubleshoot basic issues can save you time, money, and frustration.
This article will guide you through the process of locating your condenser coil, diagnosing common problems, and performing simple maintenance. We'll also clearly outline when it's time to call in the professionals.
Locating Your Condenser Coil: The Outdoor Unit
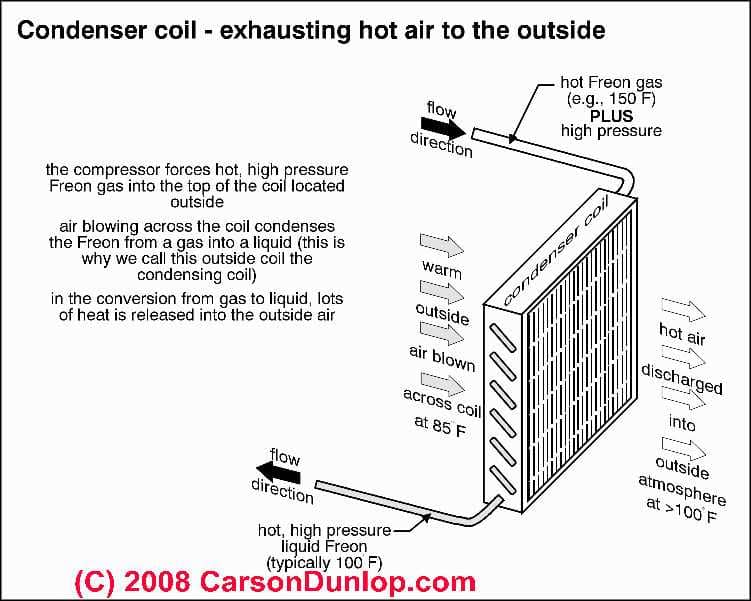
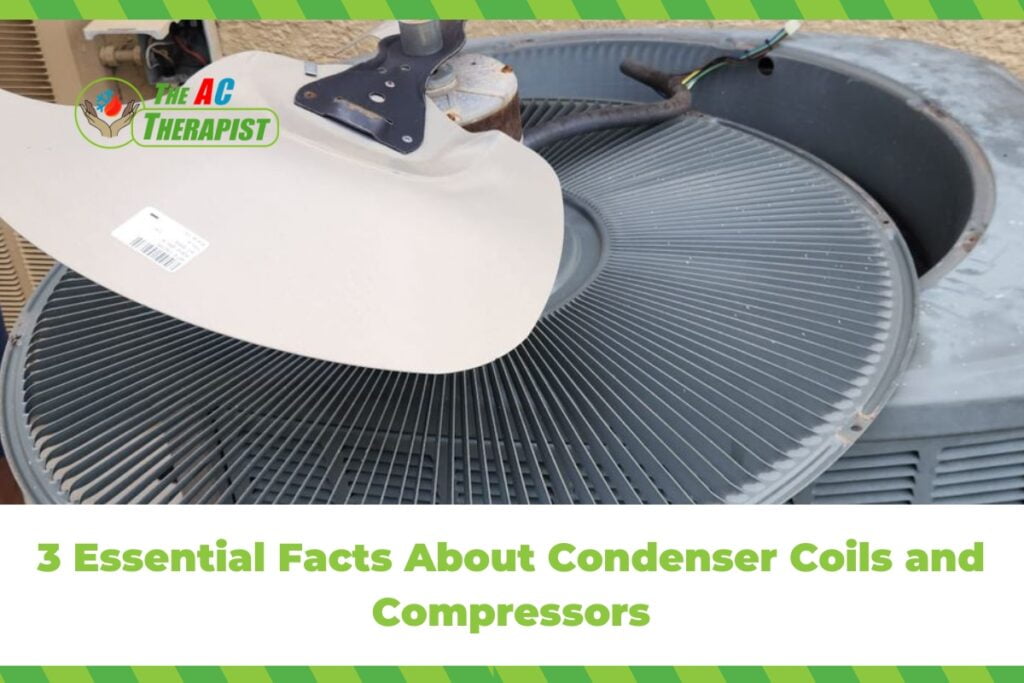
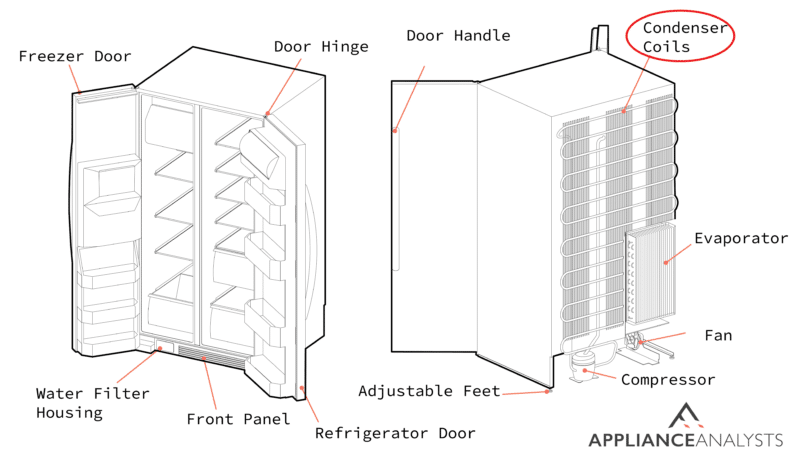
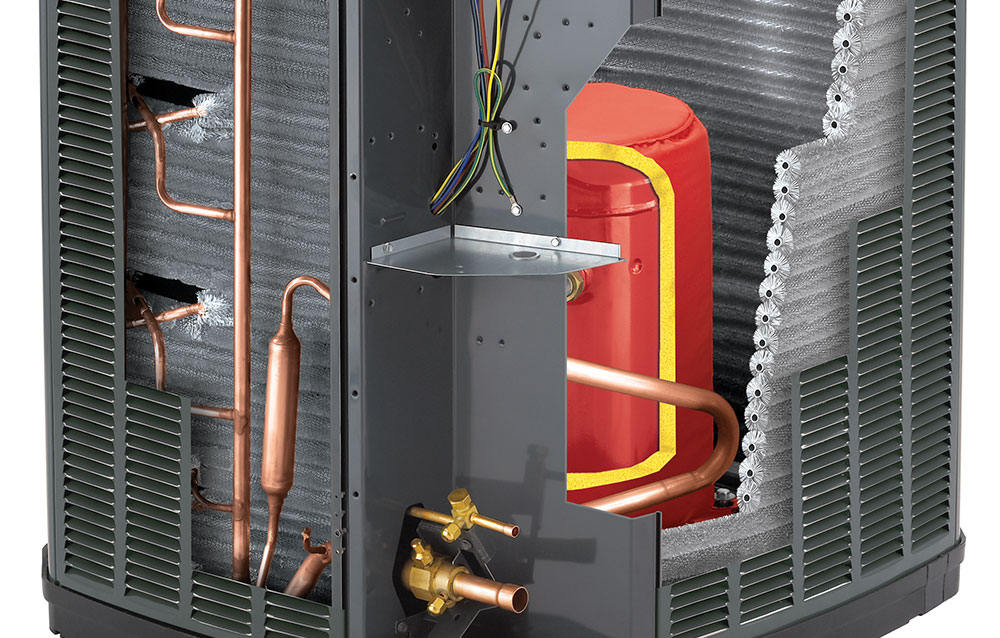
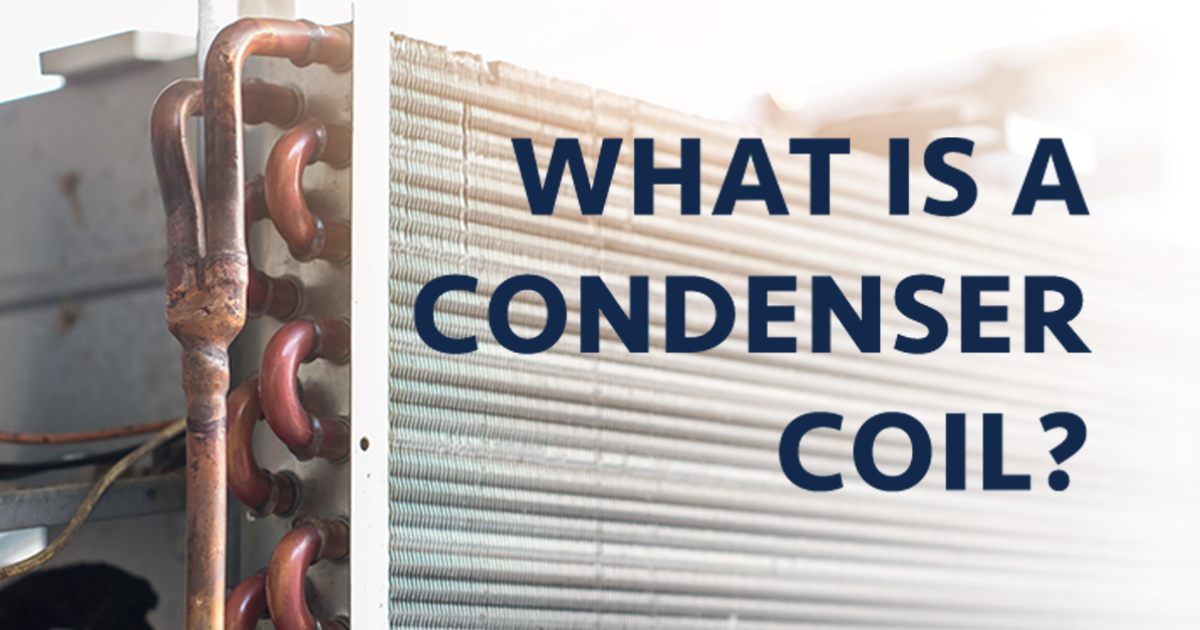
The condenser coil is almost always located in the outdoor unit of your air conditioner or heat pump. This unit is usually a large, metal box situated outside your home, often near the foundation. It's recognizable by its fan and the presence of metal fins surrounding the coil inside.
Visual Identification: Look for a metal cabinet with a fan on top or on the side. It will be connected to your house by refrigerant lines and electrical wiring. This is the condenser unit, and within it lies the condenser coil.
Safety First! Before approaching the unit, ensure the power is turned off at the breaker box. This is a critical safety precaution to prevent electrical shock.
Diagnosing Potential Problems: A Step-by-Step Approach
Once you've located the condenser unit, you can begin to diagnose potential issues. Here's a methodical approach:
Step 1: Initial Observation (No Tools Required)
- Visual Inspection: Start by visually inspecting the condenser unit. Look for any obvious signs of damage, such as bent fins, debris buildup (leaves, twigs, grass clippings), or ice accumulation.
- Fan Operation: With the power on (after visual inspection!), observe if the fan is running smoothly. If it's making unusual noises, vibrating excessively, or not spinning at all, there's likely a problem. Turn the power off immediately after observing fan operation.
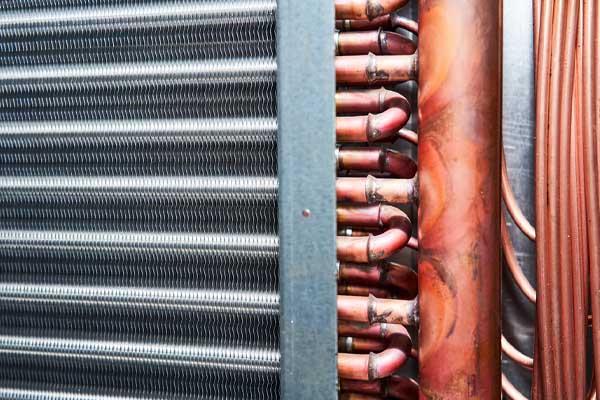
- Refrigerant Leaks: Look for signs of refrigerant leaks, such as oily residue on the coils or around the connections. Refrigerant leaks can significantly reduce your system's efficiency.
- Surrounding Area: Ensure there's adequate clearance around the condenser unit. Overgrown vegetation can restrict airflow and hinder performance. There should be at least 2-3 feet of clear space around the unit.
Step 2: Checking for Debris (Minimal Tools Required)
- Remove Surface Debris: If you find leaves, twigs, or other debris accumulated on the unit or around the coils, gently remove it by hand. A soft brush can also be helpful.
- Fin Comb: If the fins are bent, you can attempt to straighten them using a fin comb. This inexpensive tool can be purchased at most hardware stores. Gently run the comb along the fins to straighten them. Be careful not to apply too much pressure, as you could damage the fins further.
Important Note: Never use a pressure washer to clean the condenser coil. The high pressure can damage the delicate fins.
Step 3: Assessing Electrical Connections (Requires Basic Equipment & Knowledge - PROCEED WITH CAUTION!)
Warning! This step involves working with electricity and should only be attempted if you are comfortable and knowledgeable about electrical safety. If you are unsure, call a qualified HVAC technician.
- Power Off! Ensure the power to the condenser unit is completely off at the breaker box before proceeding.
- Inspect Wiring: Carefully inspect the wiring connections inside the condenser unit. Look for loose wires, corroded terminals, or signs of damage.
- Tighten Connections: If you find any loose connections, carefully tighten them with a screwdriver.
- Test with Multimeter: If you have a multimeter and know how to use it safely, you can test the voltage at the terminals to ensure the unit is receiving power. Again, this requires electrical knowledge and caution.
Simple DIY Actions You Can Take
Based on your diagnosis, here are some simple DIY actions you can take:
- Clear Debris: Regularly clear any debris from around the condenser unit to ensure proper airflow. This is a simple but effective way to maintain your system's efficiency.
- Straighten Fins: Use a fin comb to straighten any bent fins. This will improve airflow and heat transfer.
- Trim Vegetation: Trim any vegetation that is growing too close to the condenser unit. This will prevent it from blocking airflow.
- Replace Air Filter: While not directly related to the condenser coil, a dirty air filter can restrict airflow throughout your system, putting extra strain on the condenser unit. Replace your air filter regularly (every 1-3 months, depending on usage and filter type).
When to Call a Professional HVAC Technician
While some issues can be addressed with DIY solutions, certain problems require the expertise of a qualified HVAC technician. Here are some situations where you should definitely call a professional:
- Refrigerant Leaks: Refrigerant leaks are a serious issue that requires specialized equipment and knowledge to repair. Handling refrigerants is also regulated, and untrained individuals can face legal consequences.
- Electrical Problems: If you are not comfortable working with electricity, or if you suspect a major electrical problem (e.g., burnt wires, sparking), call a professional immediately.
- Compressor Issues: The compressor is the heart of your air conditioning system, and any problems with it are best left to the experts.
- Fan Motor Failure: Replacing a fan motor requires specialized tools and knowledge.
- Icing on the Coils: While some icing can be caused by restricted airflow (which you can address by clearing debris and changing the filter), persistent icing can indicate a more serious problem, such as a refrigerant leak or a faulty expansion valve.
- Unusual Noises: If your condenser unit is making loud or unusual noises (e.g., grinding, hissing, banging), it's a sign that something is seriously wrong.
- Lack of Cooling or Heating: If you've tried the basic troubleshooting steps and your system is still not cooling or heating properly, it's time to call a professional.
- You're Not Comfortable: If at any point during the troubleshooting process you feel uncomfortable or unsure, stop and call a professional. It's always better to be safe than sorry.
Preventative Maintenance: The Key to Longevity
The best way to avoid costly repairs is to perform regular preventative maintenance. Here are some tips:
- Annual Professional Tune-Up: Schedule an annual tune-up with a qualified HVAC technician. They will inspect your system, clean the coils, check refrigerant levels, and identify any potential problems before they become major issues.
- Regular Air Filter Replacement: As mentioned earlier, replace your air filter regularly to maintain proper airflow.
- Keep the Area Clear: Keep the area around the condenser unit free of debris and vegetation.
- Monitor Performance: Pay attention to how your system is performing. If you notice any changes in cooling or heating capacity, or any unusual noises, address the issue promptly.
Remember, a well-maintained condenser coil is essential for efficient and reliable heating and cooling. By following these troubleshooting steps and preventative maintenance tips, you can keep your system running smoothly and comfortably for years to come. When in doubt, don't hesitate to call a qualified HVAC technician for assistance.
By taking a proactive approach to maintaining your condenser coil, you can avoid costly repairs, extend the life of your HVAC system, and enjoy a comfortable home environment year-round.