Where Is The Drain Line On A Window Air Conditioner

A common frustration for homeowners with window air conditioners is water leaking, either inside your home or outside, in unexpected places. While some condensation is normal, excessive dripping or indoor leaks suggest a problem, often related to the drain line. Understanding where this drain line is and how it works is key to troubleshooting and potentially fixing the issue yourself.
Understanding the Window AC Drain Line
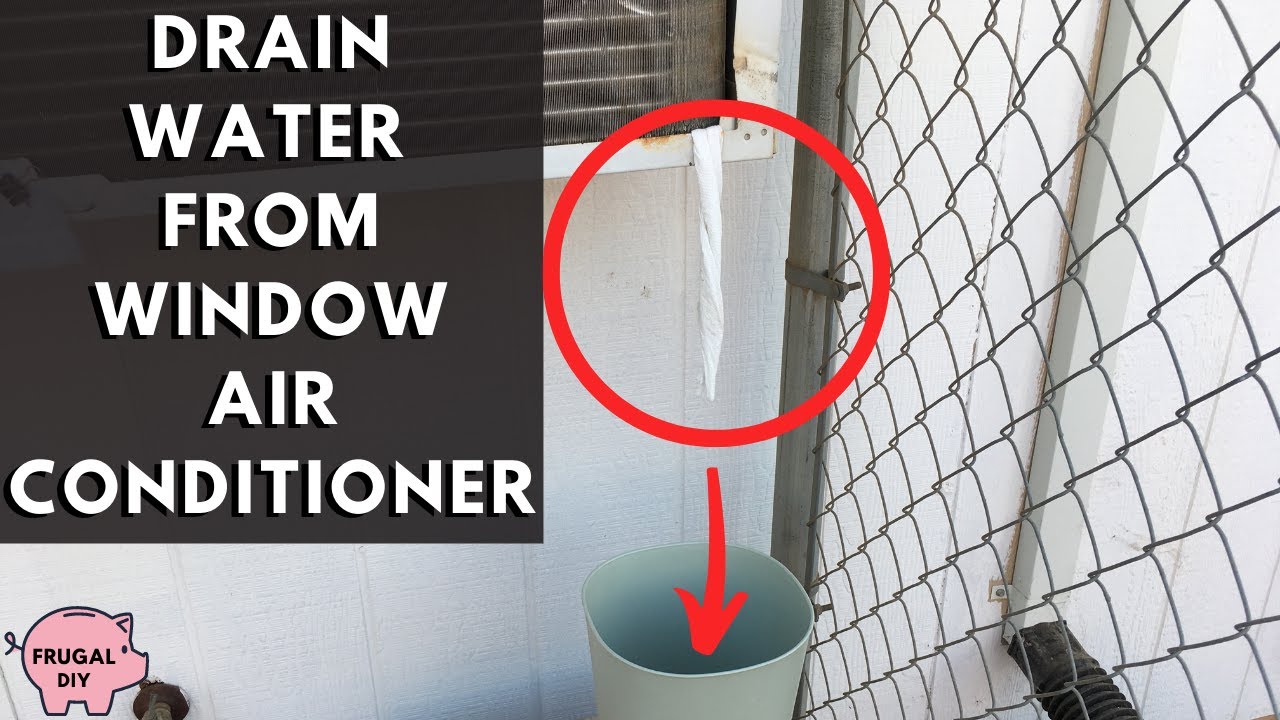
Before we start diagnosing, let's clarify what the drain line is and its purpose. In a window air conditioner, the cooling process creates condensation – water that forms as warm, humid air passes over the cold coils. This water needs to go somewhere. The drain line is essentially a pathway for this condensation to exit the unit, typically directing it outside. It might not always be a clearly visible "line" in the traditional sense, but more often a drain hole or channel designed into the unit's structure.
Sometimes, the drain system is designed to re-evaporate the water to improve cooling efficiency. In these cases, the water drips onto the condenser coils, aiding in heat transfer. However, if the system is clogged or malfunctioning, water can overflow and cause problems.
Locating the Drain Line: A Step-by-Step Guide
Finding the drain line is the first and most crucial step. Here's how to do it safely and effectively:
Step 1: Safety First!
Always unplug the air conditioner from the power outlet before you begin any inspection or troubleshooting. Water and electricity are a dangerous combination! This is non-negotiable. Your safety is paramount.
Step 2: Inspect the Exterior
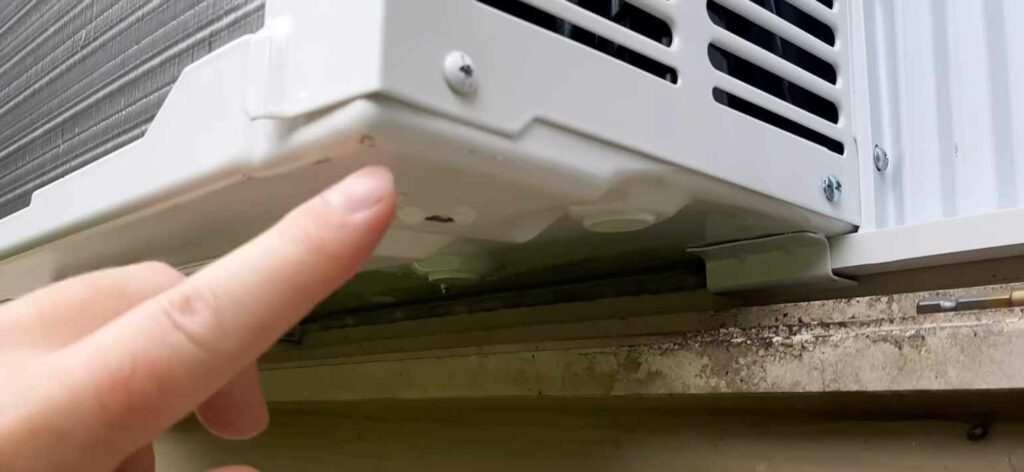
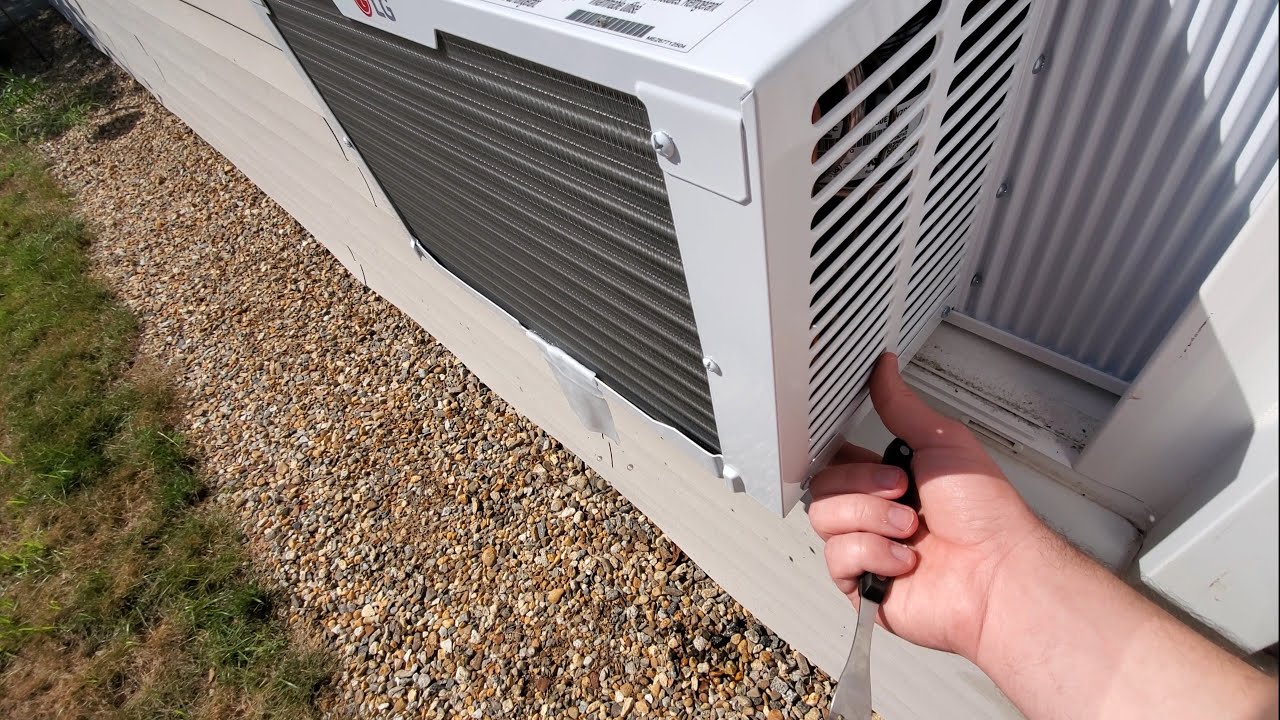
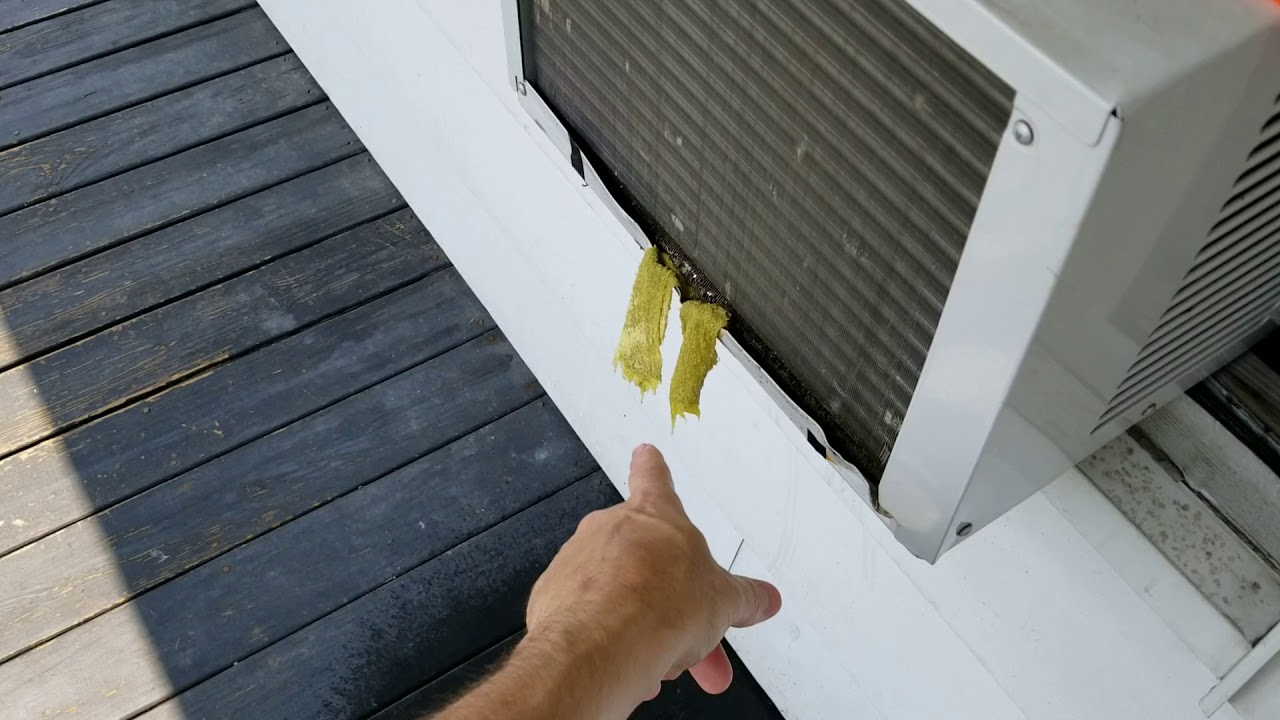
Start by carefully examining the exterior of the air conditioner. Look for a small hole or spout, usually located at the bottom of the unit, either at the back or on the sides. This is the most likely location of the primary drain. It may be partially obscured by the housing, so look closely.
What to look for:
- A small, round hole.
- A rectangular or oval opening.
- A short spout or nozzle.
- Signs of water staining or mineral buildup around a specific area.
Step 3: Inspect the Interior (Carefully!)
If you don't find an obvious drain on the exterior, you'll need to carefully inspect the interior. To do this, you'll need to remove the front cover of the air conditioner. This usually involves unscrewing a few screws (typically Phillips head) and gently lifting or sliding the cover off. Consult your air conditioner's manual for specific instructions, as the disassembly process varies between models.
Proceed with caution! Avoid touching any wires or electrical components. The goal here is to visually locate the drain, not to dismantle the entire unit.
What to look for inside:
- A small trough or channel at the bottom of the unit that collects water.
- A drain hole leading from this trough to the exterior.
- A rubber or plastic tube connected to the trough, which leads to the outside (less common, but possible).
Step 4: Use a Flashlight
A flashlight is your best friend during this process. Shine it into the interior of the unit, even if it seems well-lit. A flashlight can help you spot small details, like drain holes partially hidden by debris or mineral deposits.
Step 5: Check for a Condensate Pan
Some window AC units have a condensate pan, a shallow tray at the bottom that collects the condensation. The drain hole will be located at the bottom of this pan. Make sure the pan is properly seated and not cracked or damaged. A damaged pan can cause leaks.
Diagnosing the Problem
Once you've located the drain line, you can start diagnosing the cause of the leaking. Here are some common issues:
Clogged Drain Line
This is the most frequent culprit. Dust, dirt, algae, and mineral deposits can build up over time, blocking the drain and preventing water from escaping. This causes the water to back up and leak out through other openings.
Improper Installation
If the air conditioner is not installed level or is tilted inward towards your home, water will naturally flow in the wrong direction. This can overwhelm the drain system or bypass it entirely.
Damaged Drain Pan
As mentioned earlier, a cracked or damaged condensate pan will leak, even if the drain line is clear.
Freezing Coils
In some cases, leaking can be caused by frozen evaporator coils. This happens when airflow is restricted, often due to a dirty air filter. The ice melts and overflows the drain pan.
DIY Fixes (When Appropriate)
Now that you've identified the problem, here are some simple DIY fixes you can try:
Clearing a Clogged Drain Line
You will need:
- A small piece of stiff wire (like a coat hanger or pipe cleaner).
- A small container to catch water.
- Vinegar (optional, for stubborn clogs).
Steps:
- Unplug the air conditioner! (Again, safety first!)
- Locate the drain hole on the exterior of the unit.
- Gently insert the wire into the drain hole and try to dislodge any debris. Be careful not to push the debris further in! Wiggle the wire around to break up the clog.
- If you can access the drain hole from the interior of the unit, try clearing it from both ends.
- Once you've cleared the initial clog, pour a small amount of vinegar into the drain hole. Vinegar helps dissolve mineral deposits. Let it sit for about 30 minutes.
- Flush the drain with a small amount of water to remove any remaining debris. Observe if the water drains freely.
- Repeat the process if necessary.
Correcting Improper Installation
You will need:
- A level.
- Shims (thin pieces of wood or plastic).
Steps:
- Unplug the air conditioner!
- Carefully remove the air conditioner from the window.
- Use the level to check the window sill and the mounting brackets. Ensure they are level or slightly sloped outward (away from your home).
- Use shims to adjust the level as needed.
- Reinstall the air conditioner, ensuring it is securely mounted and tilted slightly outward.
Replacing the Air Filter
A dirty air filter restricts airflow and can lead to frozen coils. Replacing it is a simple preventative measure.
You will need:
- A new air filter (the correct size for your air conditioner – check your manual).
Steps:
- Locate the air filter compartment (usually behind the front cover).
- Remove the old air filter.
- Insert the new air filter, making sure the airflow direction arrow on the filter points in the correct direction (usually towards the back of the unit).
When to Call a Professional
While many issues can be resolved with simple DIY fixes, certain situations require professional intervention. Do not attempt repairs beyond your skill level. Improper repairs can damage the unit or create a safety hazard.
Call a professional if:
- You are uncomfortable disassembling the air conditioner.
- You suspect a refrigerant leak (this is a hazardous substance and requires specialized equipment).
- The drain pan is cracked or damaged and you are unable to replace it yourself.
- The evaporator coils are frozen and replacing the air filter doesn't solve the problem.
- You suspect an electrical issue.
- You have tried the DIY fixes and the leaking persists.
- You are unsure about any step in the troubleshooting process.
In these cases, it's best to contact a qualified HVAC technician. They have the expertise and tools to diagnose and repair more complex problems safely and effectively.
Preventative Maintenance
To minimize the risk of leaks and other issues, regular preventative maintenance is crucial.
Here are some tips:
- Clean the air filter regularly (every 1-3 months, or more often if you have pets or live in a dusty environment).
- Inspect and clean the drain line at least once a year, preferably before the cooling season begins.
- Keep the area around the air conditioner clean to prevent dust and debris from entering the unit.
- Ensure the air conditioner is properly installed and level.
- Consider using a dehumidifier in conjunction with your air conditioner, especially in humid climates. This can reduce the amount of condensation produced.
By understanding how your window air conditioner works and performing regular maintenance, you can keep it running smoothly and prevent costly repairs.