Where Is The Sensor On A Thermostat

One of the most frustrating problems a homeowner can face is a thermostat that just doesn't seem to be reading the temperature correctly. Your house might feel like a sauna, while the thermostat stubbornly displays a cool 70 degrees. Or maybe the furnace is running constantly, even though it's already plenty warm inside. Before you resign yourself to calling a costly HVAC technician, let's explore a common culprit: a malfunctioning or poorly positioned thermostat sensor. This guide will help you troubleshoot potential sensor issues and determine if a simple fix is within your reach.
Understanding the Thermostat Sensor
The thermostat sensor is the unsung hero responsible for maintaining a comfortable temperature in your home. It's the component that constantly monitors the air temperature and relays that information back to the thermostat's control system. Based on this reading and your set temperature, the thermostat then signals your heating and cooling system to turn on or off. So, when the sensor is inaccurate, the entire system goes haywire.
What Does the Sensor Do? At its core, the sensor is a temperature-sensitive resistor (thermistor) or a thermocouple. As the temperature changes, the resistance or voltage of the sensor changes, which the thermostat interprets as a temperature reading. This data is then displayed on the thermostat screen and used to control your HVAC system.
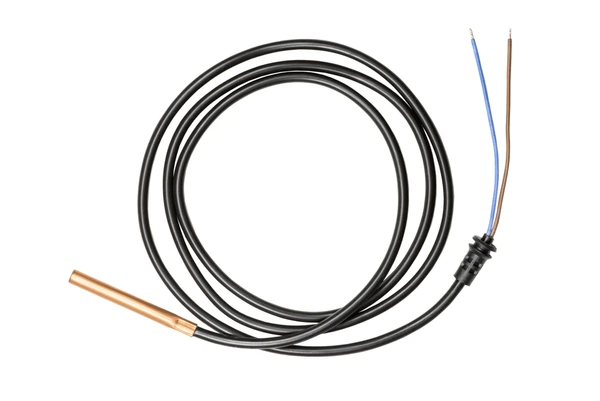
Where is the Sensor Located? The location of the sensor varies depending on the type of thermostat you have. Typically, you can find the sensor:
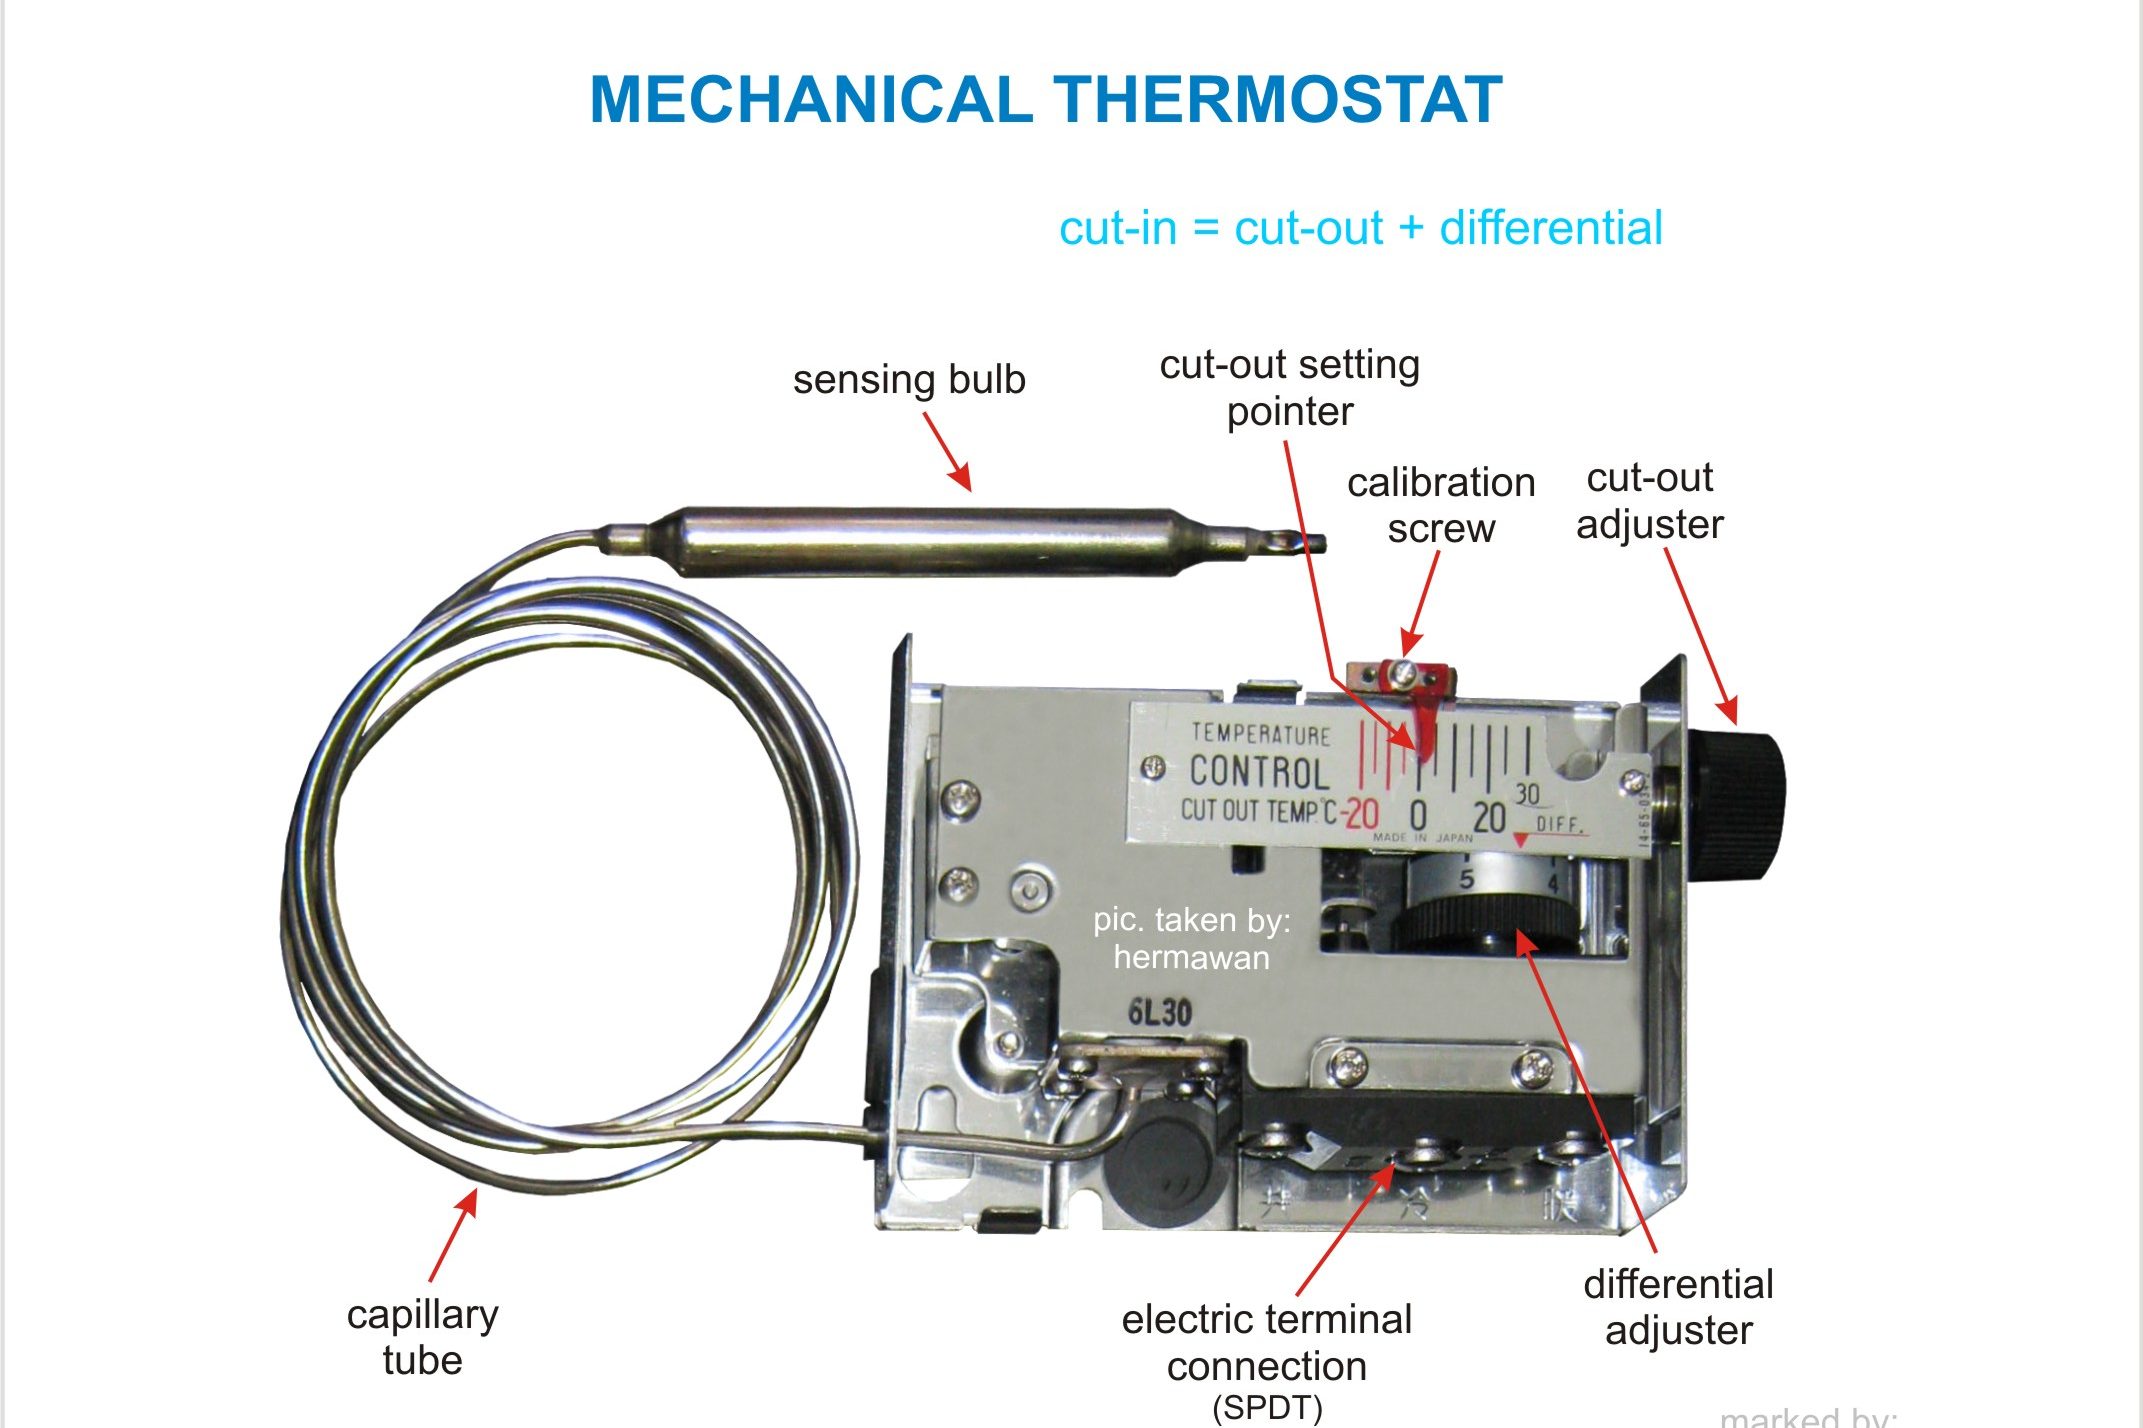
- On mechanical thermostats: Often a bimetallic coil or strip directly visible behind the temperature dial.
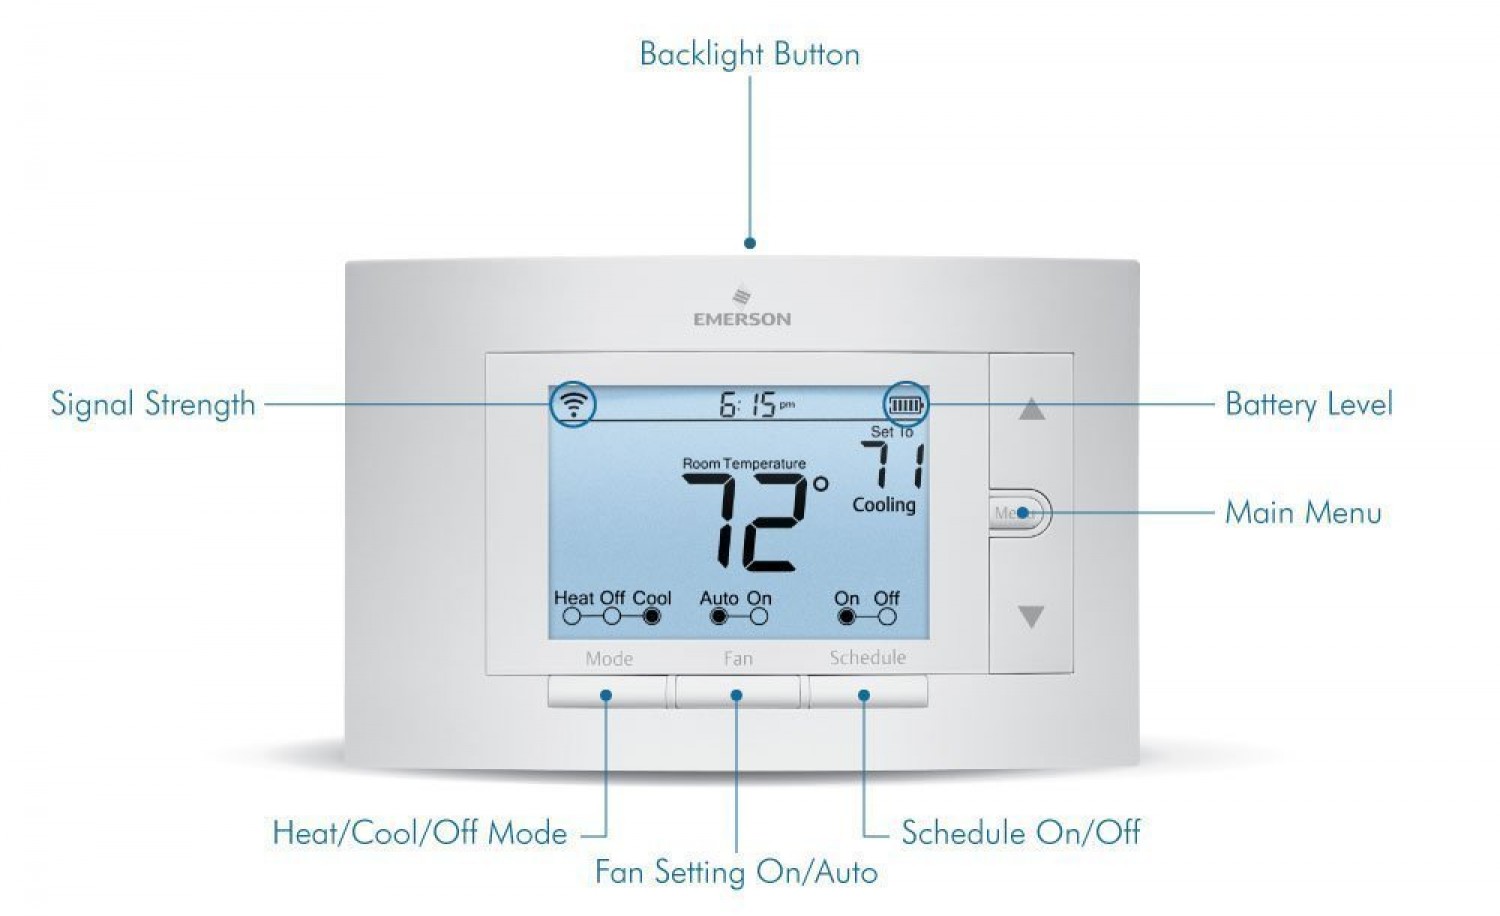
- On digital thermostats: Usually an electronic thermistor located inside the thermostat housing itself. You may need to remove the faceplate to see it, but generally, it's not directly accessible without disassembling the unit.
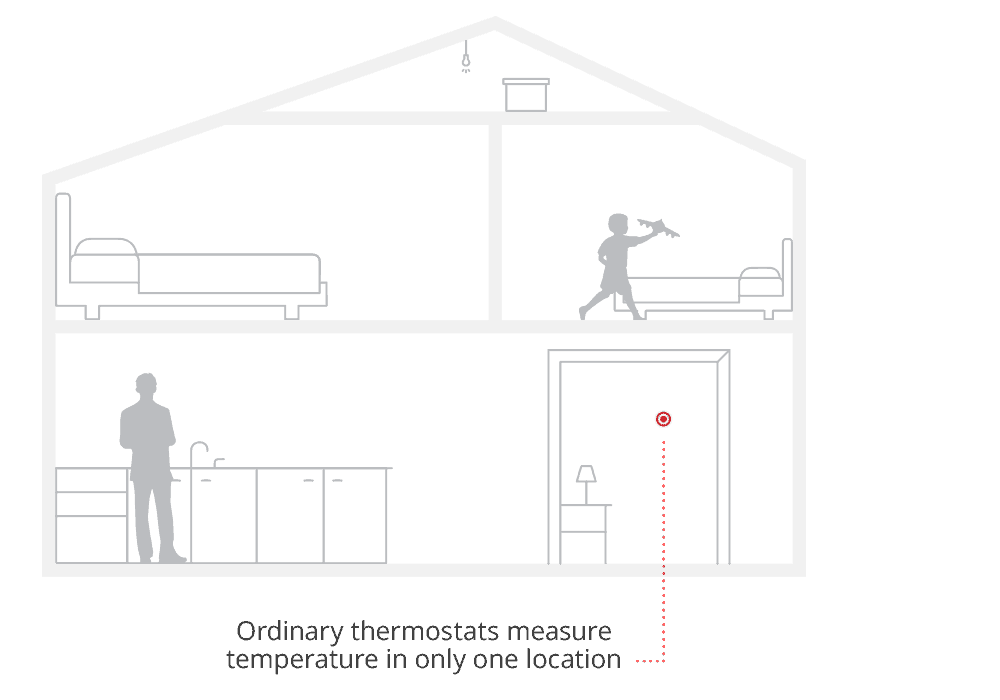
- On smart thermostats: Similar to digital thermostats, the sensor is internal, but these devices might also utilize external sensors placed in different rooms to get a more accurate average temperature for the entire house.
Diagnosing Sensor Problems
Before you start tinkering, let's try to pinpoint if the sensor is indeed the problem. Here's a step-by-step diagnostic process:
Step 1: Check the Obvious Issues
Are there any obstructions? Make sure nothing is blocking the thermostat. Curtains, furniture, or even pictures hung too close can trap air and affect the sensor's reading. Give the thermostat some breathing room.
Is the thermostat clean? Dust and debris can accumulate inside the thermostat and interfere with the sensor's accuracy. Gently clean the exterior of the thermostat with a soft, dry cloth. Avoid using liquids or harsh chemicals.
Is the thermostat level? This is more relevant for older mechanical thermostats, but a tilted thermostat can throw off the readings. Use a small level to ensure the thermostat is mounted correctly.
Step 2: The "Temperature Test"
This is a simple but effective way to gauge the sensor's accuracy. Here's how to do it:
- Gather your tools: You'll need a reliable thermometer – a digital thermometer is best for accuracy.
- Position the thermometer: Place the thermometer directly next to the thermostat (about 1-2 inches away).
- Wait and compare: Let both thermometers sit for about 15-20 minutes to stabilize. Then, compare the readings.
Interpreting the Results:
- Readings within 2-3 degrees: Your thermostat is likely functioning correctly. The slight difference could be due to minor variations in sensor placement or thermometer accuracy.
- Readings off by 5 degrees or more: This indicates a potential problem with the thermostat sensor. It could be a calibration issue or a sign that the sensor is failing.
Step 3: Consider the Thermostat's Location
Even a perfectly functioning sensor can give inaccurate readings if the thermostat is poorly located. Ask yourself these questions:
- Is it near a heat source? Direct sunlight, lamps, or appliances can artificially inflate the temperature reading.
- Is it near a draft? Windows, doors, or poorly insulated walls can cause the thermostat to register a lower temperature than the rest of the house.
- Is it in a seldom-used room? A thermostat in a spare bedroom won't accurately reflect the temperature in the areas you use most often.
DIY Fixes (Proceed with Caution!)
If you've identified a potential sensor issue and are comfortable with some basic DIY tasks, here are a few things you can try:
1. Recalibrating a Digital Thermostat (If Applicable)
Some digital thermostats have a calibration feature that allows you to adjust the temperature reading. Consult your thermostat's manual to see if this option is available and how to access it. Be cautious when making adjustments – small changes can have a big impact on your heating and cooling system.
How to Recalibrate (General Steps):
- Find the Calibration Setting: This is usually found in the thermostat's settings menu. You may need to press and hold specific buttons to access advanced options.
- Adjust the Temperature: Use the up and down arrows to adjust the displayed temperature to match the reading on your independent thermometer.
- Save Your Changes: Follow the instructions in your manual to save the new calibration setting.
2. Relocating the Thermostat (If Location is the Issue)
If you suspect the thermostat's location is the problem, consider moving it to a more central and representative location. Here are some guidelines:
- Choose an interior wall: Avoid exterior walls that can be affected by outside temperatures.
- Away from heat sources and drafts: Find a spot that's not near sunlight, appliances, windows, or doors.
- In a frequently used room: Choose a room where you spend a lot of time, such as the living room or dining room.
- About 5 feet from the floor: This is generally considered the optimal height for accurate temperature readings.
Important Safety Note: Before relocating any thermostat, turn off the power to the HVAC system at the breaker box. This will prevent electrical shock and potential damage to your equipment. If you're not comfortable working with electrical wiring, it's best to call a professional.
3. Checking and Cleaning the Thermostat (Advanced)
Caution: This step involves opening the thermostat, which can expose sensitive components. Only attempt this if you are comfortable working with electronics and understand the risks. Always turn off the power at the breaker before proceeding.
- Remove the Thermostat Cover: Most thermostats have a cover that can be easily snapped or unscrewed off.
- Inspect for Dust and Debris: Carefully examine the inside of the thermostat for any accumulated dust, cobwebs, or other debris.
- Gently Clean the Components: Use a can of compressed air to gently blow away any dust. You can also use a small, soft brush to clean sensitive areas. Avoid touching any of the electronic components directly.
- Check Wiring Connections: Ensure that all the wires are securely connected to their terminals. Loose connections can cause a variety of problems, including inaccurate temperature readings.
- Reassemble the Thermostat: Carefully reattach the thermostat cover, making sure it's properly aligned and secured.
- Restore Power: Turn the power back on at the breaker box.
When to Call a Professional
While some thermostat issues can be resolved with DIY fixes, there are situations where it's best to call a qualified HVAC technician. Here are some red flags:
- You're uncomfortable working with electricity: Never attempt any electrical work if you're not confident in your abilities. Electrical shock can be dangerous or even fatal.
- The thermostat is displaying error codes: Error codes often indicate a more complex problem that requires professional diagnosis and repair.
- You suspect a faulty sensor: If you've tried the troubleshooting steps above and the thermostat still isn't reading the temperature correctly, the sensor itself may be failing. Replacing a sensor typically requires specialized tools and expertise.
- Your HVAC system is malfunctioning: If your heating or cooling system is not working properly in addition to the thermostat issues, it's best to have a professional assess the entire system.
- The thermostat is old or outdated: If your thermostat is more than 10-15 years old, it may be nearing the end of its lifespan. Consider upgrading to a newer, more energy-efficient model.
Professional Intervention Is Needed For: Replacing sensors, dealing with complex wiring issues, diagnosing HVAC system problems beyond the thermostat, and calibrating advanced thermostat systems.
Prevention is Key
To help prevent thermostat problems in the future, consider these tips:
- Regular Cleaning: Gently dust the thermostat regularly to prevent dust and debris buildup.
- Proper Placement: Ensure the thermostat is located in a central, representative location away from heat sources and drafts.
- Consider Smart Thermostats: Smart thermostats offer advanced features such as remote control, energy monitoring, and learning capabilities, which can help improve your home's comfort and energy efficiency.
- Annual HVAC Maintenance: Schedule regular maintenance for your HVAC system to ensure it's running properly and to catch any potential problems early on.
By understanding how your thermostat works and following these troubleshooting steps, you can often resolve minor sensor issues yourself. However, remember that safety is always paramount. When in doubt, don't hesitate to call a qualified HVAC technician.