Where Should You Put A Carbon Monoxide Detector
Carbon monoxide (CO) is an odorless, colorless gas that can be deadly. Protecting your family from CO poisoning requires a proactive approach, and that starts with correctly placed carbon monoxide detectors. This guide helps you understand the best locations for your detectors to ensure maximum safety. But first, a quick word about a common household appliance that can contribute to CO: the furnace.
A Common Culprit: The Aging Furnace
Furnaces, especially older models, are a significant source of potential CO leaks. Over time, the heat exchanger within the furnace can develop cracks. These cracks allow CO, a byproduct of burning fuel (natural gas, propane, or oil), to escape into your home instead of being safely vented outside.
Initial Signs of Furnace Trouble
Before a CO detector goes off, you might notice subtle clues indicating a problem with your furnace:
- A yellow or flickering pilot light (should be blue).
- Soot around the furnace.
- A burning smell.
- Increased condensation on windows.
Important: If you suspect a CO leak, immediately evacuate your home and call your local fire department or gas company. Do not attempt any DIY repairs until professionals have deemed it safe.
Troubleshooting a Furnace (Basic Checks Only!)
Disclaimer: Working with gas appliances can be dangerous. This guide covers only basic checks. If you suspect a gas leak, smell gas, or are uncomfortable with any of these steps, contact a qualified HVAC technician immediately.
Step 1: Check the Power Supply
Sometimes the simplest solutions are the best. Make sure your furnace is receiving power.
- Check the Circuit Breaker: Locate the breaker for your furnace in your electrical panel. Ensure it's in the "on" position. If it's tripped (in the "off" or middle position), reset it by turning it fully off and then back on.
- Inspect the Power Cord: If your furnace uses a power cord, make sure it's securely plugged into the outlet.
Warning: Never work on electrical components with wet hands or while standing in water. If the breaker trips repeatedly, there's a more serious electrical issue, and you should call an electrician.
Step 2: Inspect the Furnace Filter
A dirty furnace filter can restrict airflow, causing the furnace to overheat and potentially produce more CO.
- Locate the Filter: The filter is usually located in a slot on the side or bottom of the furnace.
- Remove the Filter: Slide the old filter out. Note the direction of the airflow arrows printed on the filter.
- Inspect the Filter: If the filter is visibly dirty (covered in dust and debris), it needs to be replaced.
- Install a New Filter: Insert a new filter, ensuring the airflow arrows point in the correct direction (usually towards the furnace).
Tip: Check your furnace filter every month and replace it every 1-3 months, depending on usage and air quality.
Step 3: Check the Thermostat
A malfunctioning thermostat can prevent the furnace from operating correctly.
- Ensure the Thermostat is On: Make sure the thermostat is set to "heat" and the temperature is set higher than the current room temperature.
- Check the Batteries: If your thermostat is battery-powered, replace the batteries. Low batteries can cause erratic behavior.
- Inspect the Wiring (Advanced - Proceed with Caution): If you're comfortable, carefully remove the thermostat cover (after turning off the power to the furnace at the breaker). Inspect the wires for any loose connections or corrosion. If you find any, gently tighten the screws (again, make sure the power is off).
Important: If you are not comfortable working with electrical wiring, do not attempt this step. Call a qualified HVAC technician.
Step 4: Inspect the Flame Sensor (Advanced - Proceed with Caution)
The flame sensor is a small metal rod located near the burner. It detects whether the burner flame is present. If it's dirty, it can prevent the furnace from igniting.
- Locate the Flame Sensor: Refer to your furnace's owner's manual to locate the flame sensor. It's usually a small metal rod positioned near the burner assembly.
- Turn Off the Gas and Power: Crucially, before touching any gas components, turn off the gas supply to the furnace at the shut-off valve and turn off the power at the breaker.
- Remove the Flame Sensor: Carefully disconnect the wire connected to the flame sensor and unscrew or unclip the sensor from its mounting bracket.
- Clean the Flame Sensor: Use a piece of fine-grit sandpaper or steel wool to gently clean the metal rod, removing any carbon buildup.
- Reinstall the Flame Sensor: Reattach the flame sensor to its mounting bracket, reconnect the wire, and turn the gas and power back on.
Warning: If you smell gas after turning the gas back on, immediately evacuate your home and call the gas company. This step involves working with gas and electricity, so if you are not confident in your ability to do this safely, call a qualified HVAC technician.
When to Call a Professional
The troubleshooting steps above are for basic checks only. Any repair involving the following requires a qualified HVAC technician:
- Gas leaks
- Cracked heat exchanger
- Malfunctioning gas valve
- Complex electrical problems
- Refrigerant leaks (for heat pumps)
Trying to repair these issues yourself can be dangerous and could void your warranty.
Where to Place Your Carbon Monoxide Detectors: The Definitive Guide
Now that we've covered some basic furnace troubleshooting, let's focus on the most important part: ensuring you have correctly placed CO detectors. The placement of your CO detectors is critical to their effectiveness.
The Core Principles of CO Detector Placement
CO is slightly lighter than air and can disperse throughout your home. However, following these guidelines will maximize protection:
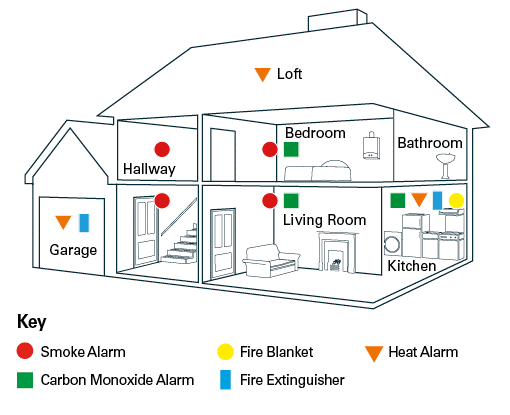
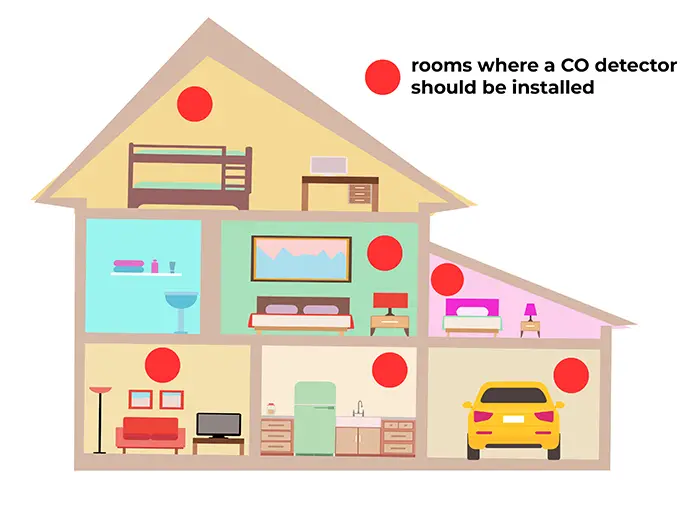
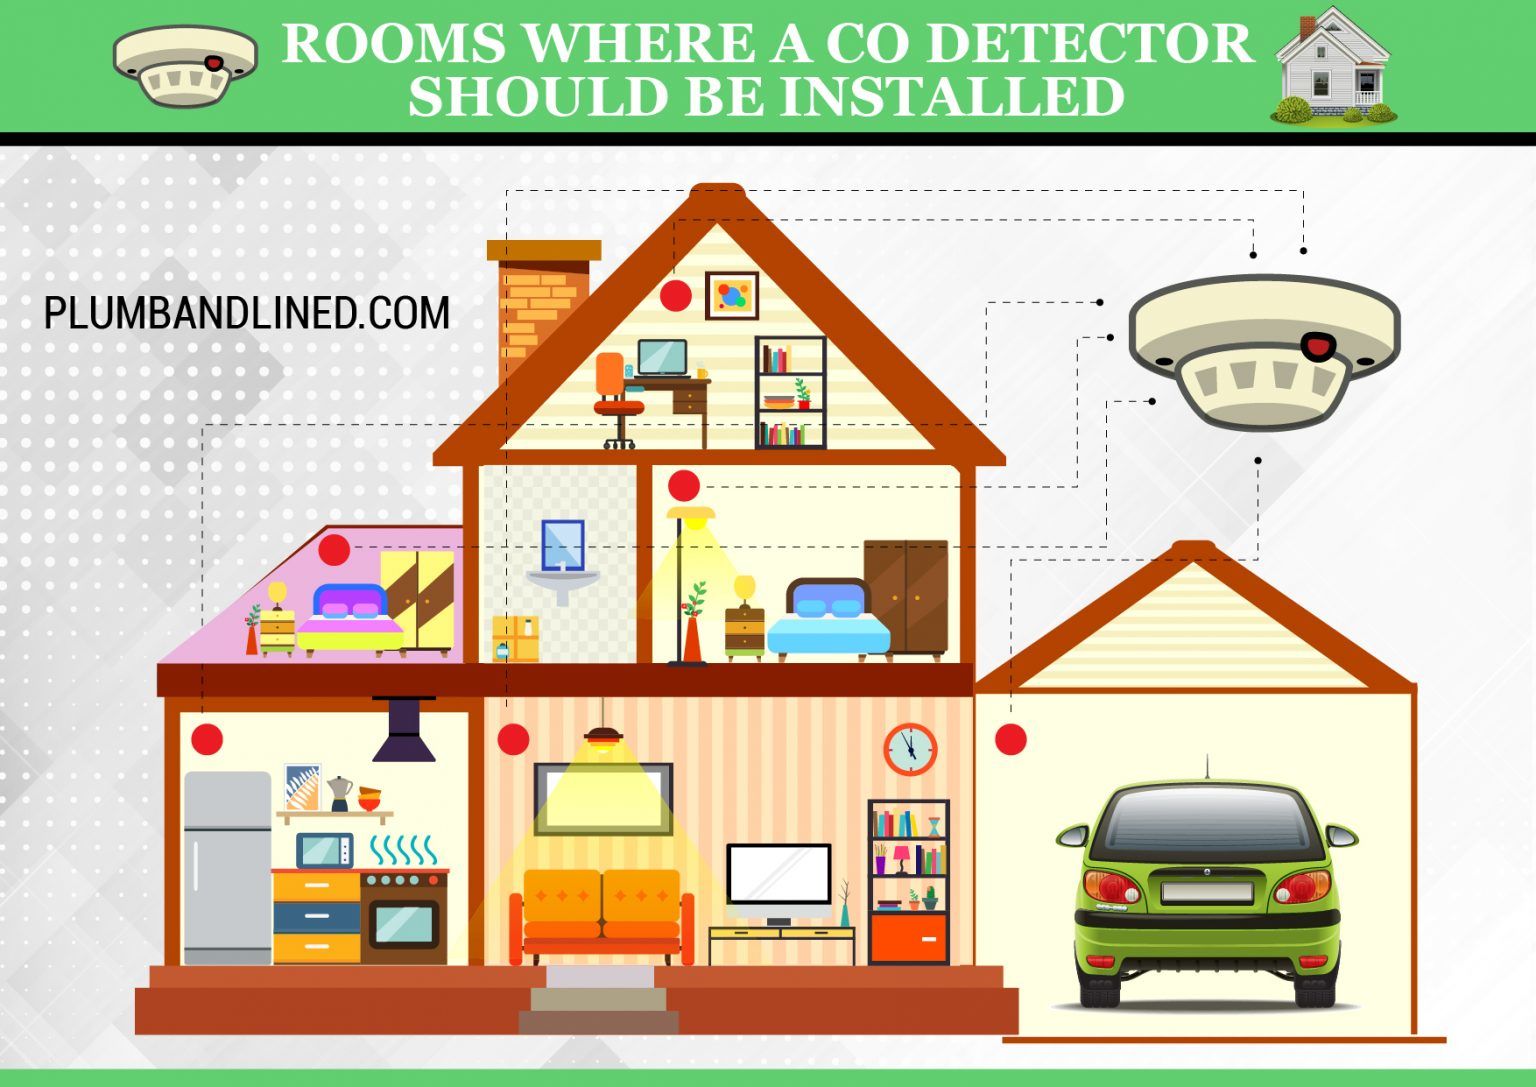
- One on Every Level: Install at least one CO detector on every level of your home, including the basement. This ensures that you are alerted to CO regardless of its source or how it's dispersing.
- Near Sleeping Areas: Place CO detectors in hallways just outside of sleeping areas. This is crucial because you are most vulnerable to CO poisoning while you are asleep and unable to detect symptoms. If bedrooms are separated by a long hallway, consider placing a detector at each end of the hallway.
- Inside Bedrooms (Recommended): For added protection, especially if you have small children or individuals with respiratory problems, consider placing a CO detector inside each bedroom.
- Avoid Obstructions: Don't place CO detectors behind furniture, curtains, or other obstructions that could block airflow to the sensor.
Specific Placement Considerations
Beyond the core principles, consider these specific factors when choosing locations:
- Distance from Fuel-Burning Appliances: While you want to be protected from appliances like furnaces, water heaters, and stoves, avoid placing CO detectors directly next to them (within 10-20 feet unless otherwise specified by the manufacturer). This can cause false alarms due to temporary CO fluctuations during appliance start-up.
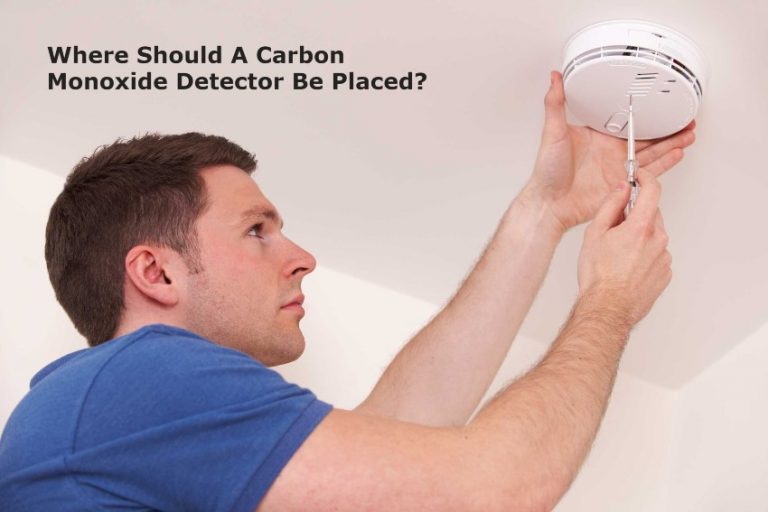
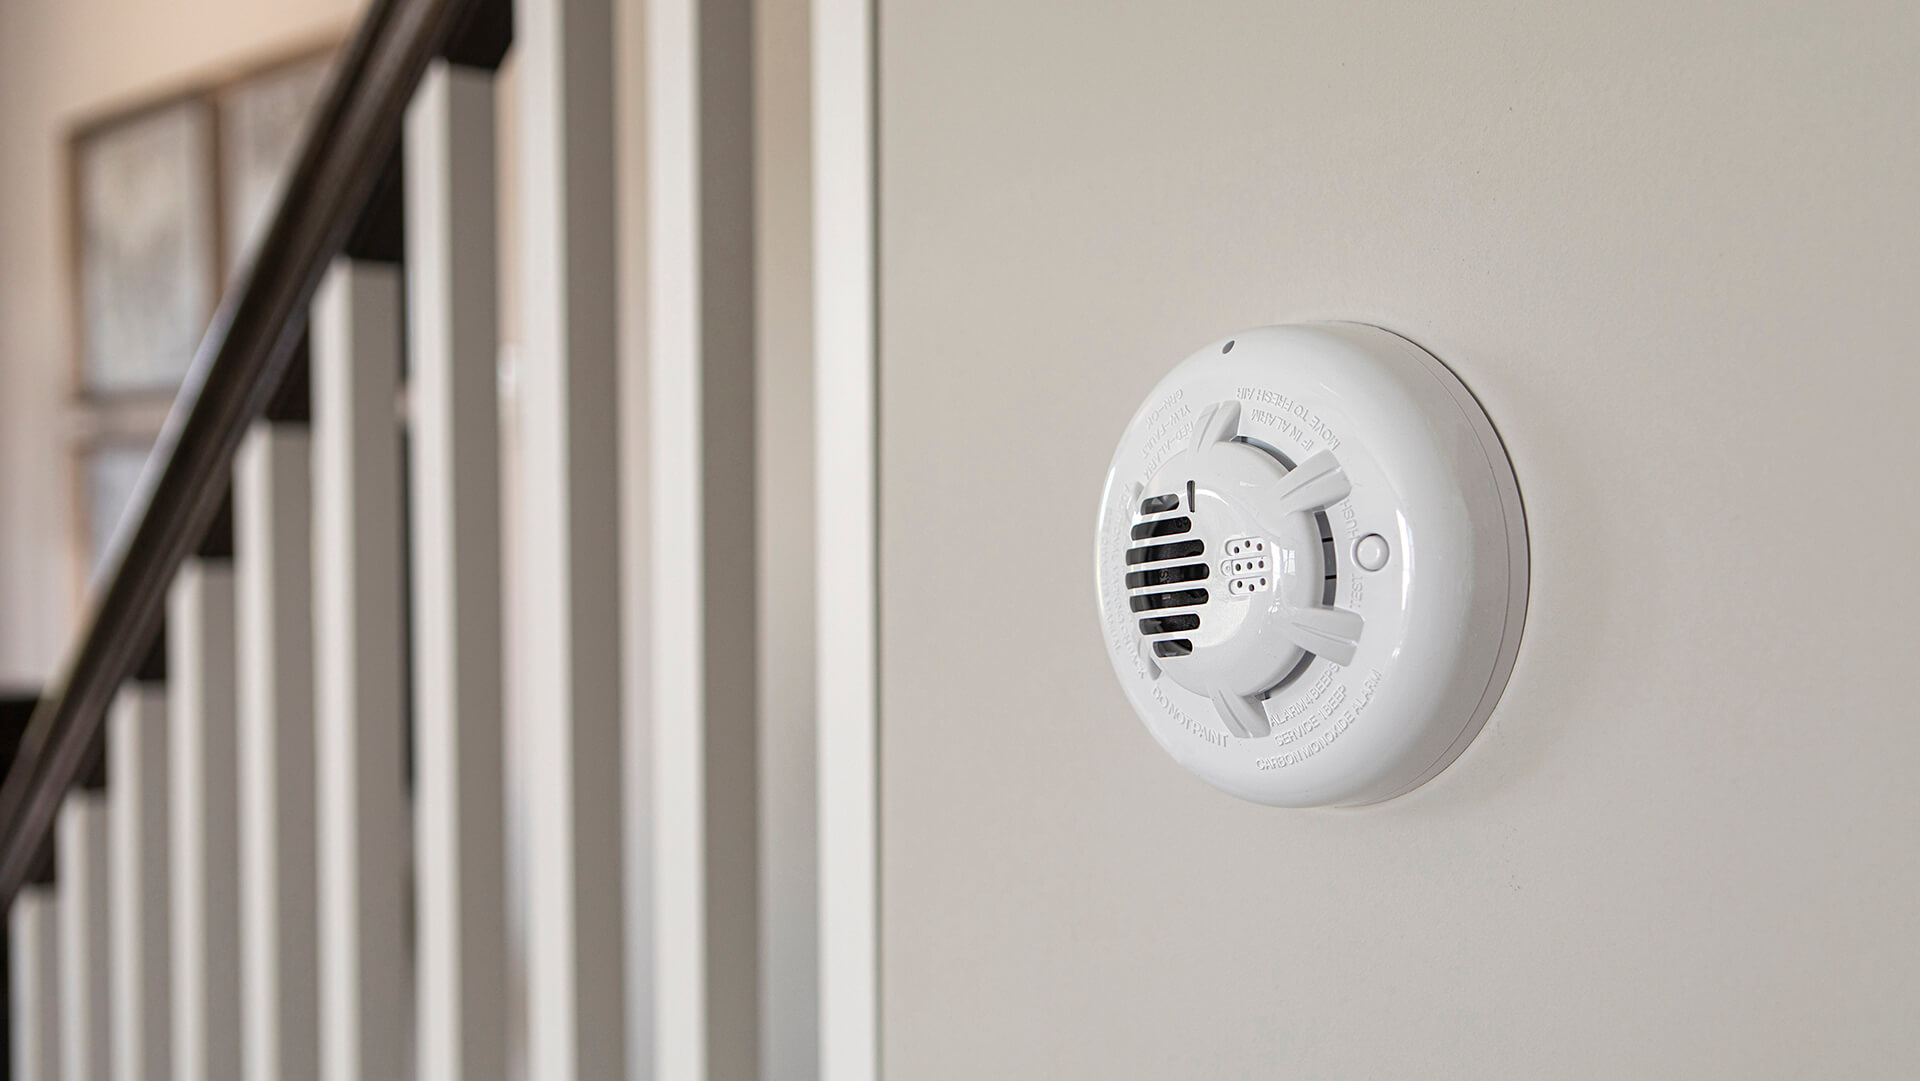
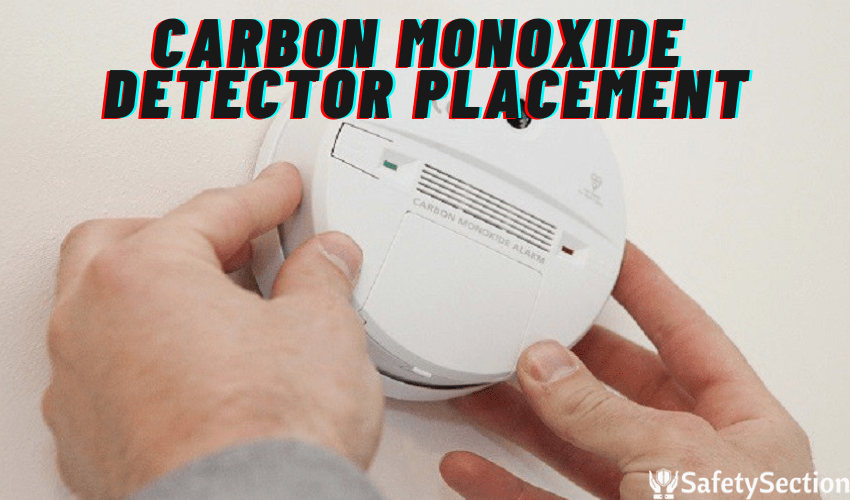
- Ceiling vs. Wall Mounting: Most CO detectors are designed to be mounted on either the ceiling or the wall. Follow the manufacturer's instructions. If wall mounting, typically place the detector about 5 feet from the floor. If ceiling mounting, place it at least 4 inches from the wall.
- Avoid Humid Areas: Don't place CO detectors in bathrooms or laundry rooms where high humidity can damage the sensor.
- Avoid Direct Sunlight: Prolonged exposure to direct sunlight can also damage the sensor.
- Follow Manufacturer's Instructions: Always refer to the CO detector's manual for specific installation instructions and recommendations. Different detectors may have slightly different placement requirements.
Special Situations
Consider these situations for even better coverage:
- Homes with Attached Garages: If you have an attached garage, place a CO detector in the hallway leading from the garage into the house. Cars idling in the garage can produce dangerous levels of CO.
- Homes with Multiple Stories: In multi-story homes, place at least one CO detector on each level, including the basement. Ensure that detectors are placed near sleeping areas on each floor.
- Homes with Fireplaces: If you have a fireplace, ensure that the damper is open before lighting a fire. Consider placing a CO detector in the room with the fireplace.
- RVs and Boats: If you own an RV or boat, install CO detectors according to the manufacturer's instructions. These vehicles often have propane appliances that can be a source of CO.
Testing and Maintenance
Proper placement is only half the battle. Regular testing and maintenance are essential to ensure your CO detectors are functioning correctly.
- Test Regularly: Test your CO detectors at least once a month by pressing the test button.
- Replace Batteries: Replace the batteries in your CO detectors at least once a year, or when the low-battery indicator sounds. Some detectors have sealed batteries that last for the lifespan of the detector.
- Replace Detectors: CO detectors have a limited lifespan, typically 5-10 years. Check the manufacturer's instructions for the expiration date and replace your detectors accordingly. Many detectors will chirp to indicate the end of their lifespan.
- Clean Detectors: Gently vacuum or dust your CO detectors regularly to remove any dust or debris that could block the sensor.
By following these guidelines, you can ensure that your carbon monoxide detectors are properly placed and maintained, providing maximum protection for you and your family against the dangers of CO poisoning. Remember, prevention is key. Stay safe!



/where-to-place-smoke-detectors-1152485_V2-3c5086adfaa646d69d312b45d342c621.png)