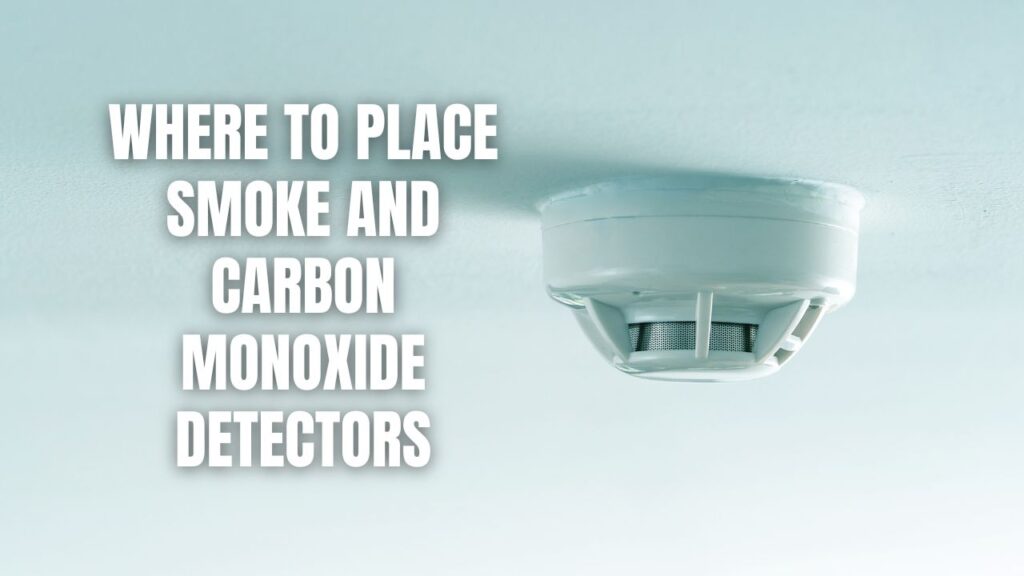
Where To Site A Carbon Monoxide Detector

One of the most common, and frustrating, issues homeowners face during heating season is a furnace that's running, but not effectively heating the house. You set the thermostat, you hear the furnace kick on, but the rooms remain chilly. Or perhaps the furnace runs constantly, driving up energy bills but never quite reaching the desired temperature. Before you call in a costly HVAC professional, there are several troubleshooting steps you can take yourself, especially when it comes to proper carbon monoxide (CO) detector placement.
Understanding the Risk: Why CO Detector Placement Matters
A malfunctioning furnace can produce carbon monoxide (CO), an odorless, colorless, and deadly gas. Proper placement of your CO detectors is critical for your family's safety. Before you even begin diagnosing furnace issues, ensure your CO detectors are correctly positioned. This is a task you can – and should – handle yourself.
Step 1: Number and Type of CO Detectors
The first step is ensuring you have enough CO detectors. Every level of your home should have at least one CO detector, including the basement. Additionally, you should have one outside each sleeping area. For example, if you have three bedrooms upstairs, place one detector in the hallway outside the bedrooms, not inside individual rooms. While some choose to place them inside each bedroom for enhanced security, this is not typically required.
Consider the type of CO detector. You have two main options:
- Standalone CO detectors: These are battery-powered or plug-in units that only detect CO.
- Combination Smoke/CO detectors: These detect both smoke and carbon monoxide.
Choose the option that best suits your needs. Replace your detectors every 5-7 years, or as specified by the manufacturer.
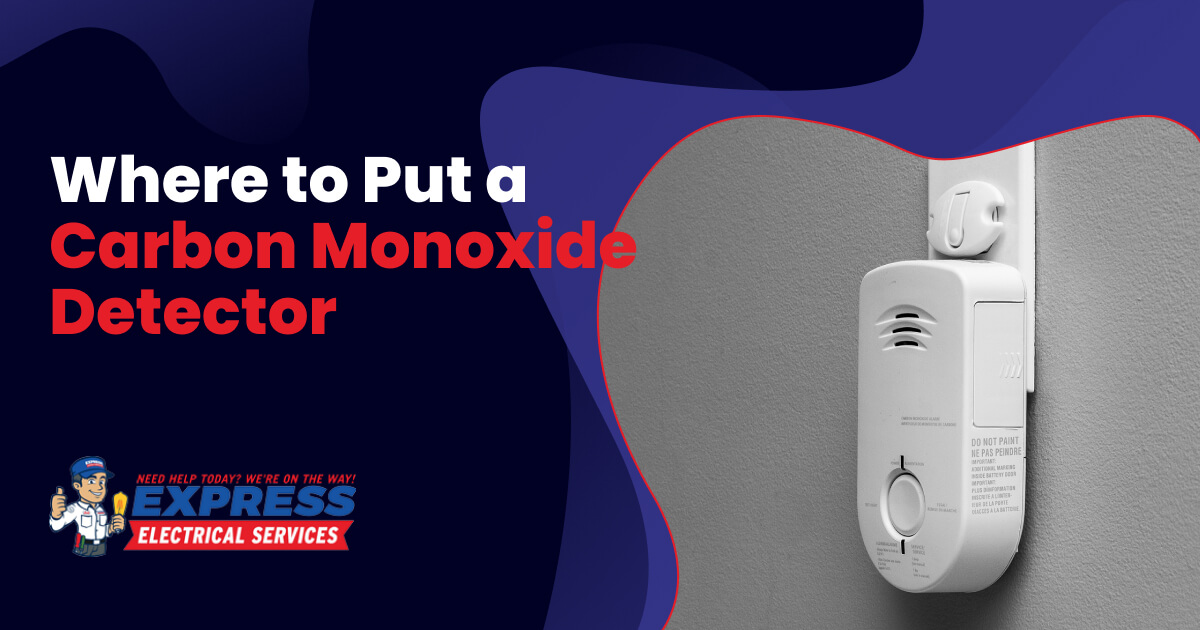
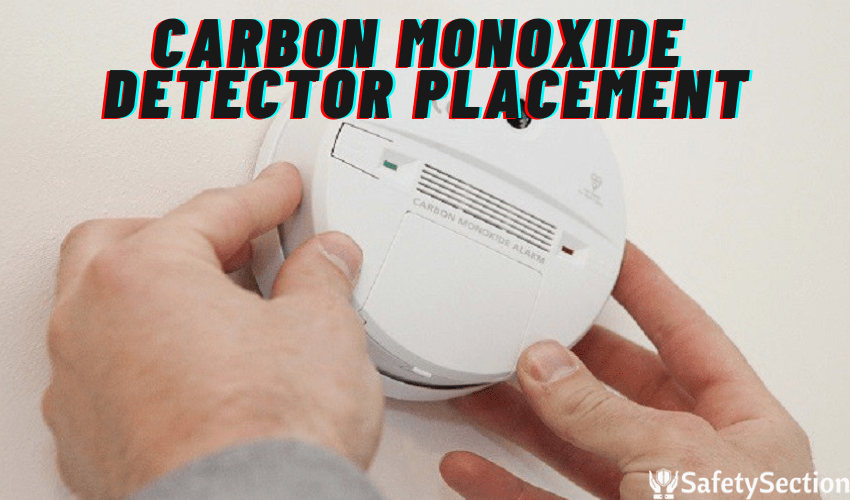
Step 2: Optimal Placement Locations
This is where the troubleshooting comes in. Improper placement can render your CO detector ineffective. Avoid these common mistakes:
- Near Fuel-Burning Appliances: While it seems logical to place a CO detector *next to* your furnace or water heater, this is generally not recommended. Small, transient amounts of CO can occur during normal operation of these appliances. Placing the detector too close can lead to nuisance alarms, causing you to distrust the detector and potentially disable it. Instead, place the detector at least 10 feet away from these appliances, unless otherwise specified by the manufacturer’s instructions. Always prioritize the manufacturer's guidelines.
- In Garages: Cars produce high levels of CO. Placing a detector in a garage is likely to trigger false alarms. If you have an attached garage, ensure the CO detector is not located near the door that leads into the house. Seal any cracks or openings between the garage and living spaces.
- Near Windows or Doors: Drafts can dilute the CO concentration, preventing the detector from sensing a dangerous level. Keep detectors away from windows, doors, and vents.
- Near the Ceiling: CO is slightly lighter than air and can accumulate near the ceiling. While many older guides recommended ceiling placement, current thinking favors wall placement, approximately 5 feet from the floor. This is because people are more likely to be at this height when they are asleep or resting. Check the manufacturer's instructions for their recommended height.
- In Damp or Humid Areas: Moisture can damage the detector's sensor. Avoid placing detectors in bathrooms or laundry rooms with high humidity.
- In Dusty or Dirty Areas: Dust and debris can clog the detector's sensor, reducing its effectiveness. Keep detectors clean by vacuuming them regularly.
Best Practices:
- Mount CO detectors on walls at a height of approximately 5 feet.
- Place detectors outside each sleeping area, on every level of the home.
- Keep detectors at least 10 feet away from fuel-burning appliances.
- Read and follow the manufacturer's instructions carefully.
Step 3: Testing and Maintenance
Once you've placed your CO detectors, it's crucial to test them regularly. Most detectors have a "Test" button. Press this button weekly or monthly to ensure the alarm sounds.
Battery-Powered Detectors: Replace the batteries at least twice a year, or when the detector signals a low battery. A good habit is to replace the batteries when you change your clocks for daylight saving time. Don't wait for the detector to start chirping incessantly – that's a sign you've waited too long!
Hardwired Detectors: Even hardwired detectors typically have a battery backup. Check and replace the backup battery as needed.
Cleaning: Gently vacuum your CO detectors every few months to remove dust and debris.
Record Keeping: Keep a record of when you installed each detector and when you last replaced the batteries. This will help you keep track of when it's time to replace the entire unit.
Diagnosing Furnace Issues: Beyond CO Detector Placement
Now that you've ensured your CO detectors are properly placed, you can move on to diagnosing why your furnace isn't heating your home effectively.
Step 1: Check the Thermostat (No Tools Required)
This might seem obvious, but it's the most common culprit. Ensure the thermostat is set to "Heat" mode and that the temperature is set higher than the current room temperature. A simple mistake can lead to a cold house!
Is the thermostat battery dead? Replace the batteries and try again. Some thermostats require fresh batteries to function correctly, even if they are hardwired.
Is the thermostat set to "Auto" or "On"? When set to "Auto," the fan only runs when the furnace is actively heating. When set to "On," the fan runs constantly, which can make the house feel colder if the furnace isn't producing enough heat. Try setting the fan to "Auto."
Step 2: Inspect the Air Filter (No Tools Required)
A dirty air filter is a very common cause of heating problems. A clogged filter restricts airflow, forcing the furnace to work harder and reducing its efficiency. This can lead to overheating and even furnace shutdown.
Locate your furnace's air filter. It's usually located in the blower compartment or in a wall or ceiling register near the furnace.
Remove the filter and inspect it. If it's visibly dirty, dusty, or clogged, it needs to be replaced. Hold it up to the light. Can you easily see through it?
Replace the filter with a new one of the correct size and type. Pay attention to the airflow direction arrows on the filter and install it accordingly. This is one of the easiest and most effective DIY actions you can take.
Step 3: Check the Furnace Pilot Light or Igniter (May Require Caution)
Important Safety Note: If you smell a strong odor of gas, do not attempt to light the pilot light yourself. Evacuate the house immediately and call your gas company or fire department.
If your furnace has a pilot light:
- Locate the pilot light access panel.
- Check if the pilot light is lit. If it's out, carefully follow the manufacturer's instructions for relighting it. Most furnaces have a diagram showing the relighting procedure.
- If the pilot light keeps going out, there may be a problem with the gas supply or the thermocouple (a safety device that shuts off the gas if the pilot light goes out). This is a job for a qualified HVAC technician.
If your furnace has an electronic igniter: You'll typically hear a clicking sound as the igniter tries to light the burner. If you don't hear the clicking, or the burner doesn't light after a few attempts, the igniter may be faulty. This requires testing with a multimeter, which is best left to a professional.
Step 4: Inspect the Blower Motor (Requires Basic Equipment & Caution)
Warning: Turn off the power to the furnace at the circuit breaker before inspecting the blower motor.
The blower motor is responsible for circulating air throughout your home. If the blower motor is not working, the furnace may overheat and shut down.
Locate the blower motor compartment. This is usually a large metal box attached to the furnace.
Remove the access panel. You may need a screwdriver or nut driver.
Visually inspect the blower motor. Look for any signs of damage, such as burnt wires or loose connections. Smell for any burnt smells.
Check the blower motor capacitor (if applicable). The capacitor is a small cylindrical component that helps start the motor. A bulging or leaking capacitor is a sign of failure. Replacing a capacitor requires some electrical knowledge and safety precautions. If you're not comfortable working with electrical components, call a professional.
Using a multimeter, you can test the blower motor windings for continuity. If there's no continuity, the motor is likely faulty and needs to be replaced. This is a job for an HVAC technician.
Step 5: Check the Ductwork (No Tools Required)
Inspect your ductwork for any leaks or disconnections. Leaks can cause a significant loss of heat, making your furnace work harder and increasing your energy bills.
Check for obvious gaps or holes in the ductwork. You can seal small leaks with duct tape (aluminum foil tape is best) or duct sealant. For larger leaks or disconnections, you may need to call a professional.
Ensure that all registers are open and unobstructed. Closed or blocked registers can restrict airflow and cause the furnace to overheat.
When to Call a Professional
While you can troubleshoot many common furnace issues yourself, some problems require the expertise of a qualified HVAC technician. Call a professional if:
- You smell a strong odor of gas.
- The pilot light keeps going out.
- You suspect a problem with the gas valve.
- You're not comfortable working with electrical components.
- You suspect a problem with the furnace control board.
- The furnace is making unusual noises.
- The furnace is repeatedly shutting down.
- You have a complex or persistent heating problem that you can't diagnose yourself.
Remember, your safety is paramount. If you're ever unsure about something, don't hesitate to call a professional.
By following these troubleshooting steps, you can potentially save yourself a costly service call and keep your home warm and comfortable all winter long. And most importantly, you'll have peace of mind knowing that your carbon monoxide detectors are properly placed and functioning, protecting your family from the dangers of CO poisoning.