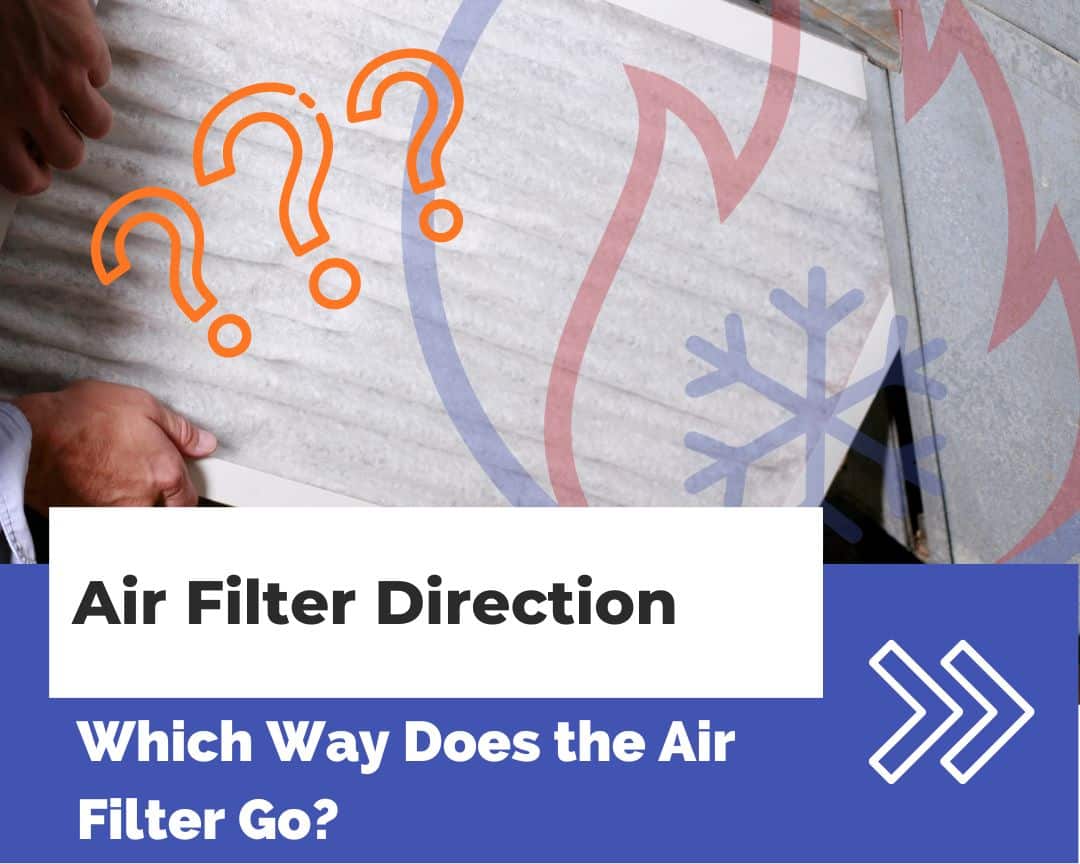
Which Way Does The Air Filter Go In My Ac
One of the most common, and easily preventable, issues homeowners face with their HVAC systems is incorrect air filter installation. You might not think it's a big deal, but installing your air filter backwards can significantly reduce your system's efficiency, lead to costly repairs, and even impact your indoor air quality. Let's walk through how to ensure your air filter is installed correctly, and what to do if you suspect you've made a mistake.
The Problem: A Backwards Air Filter
So, what's the big deal about putting your air filter in backwards? The primary function of your air filter is to trap dust, pollen, pet dander, and other airborne particles, preventing them from entering your HVAC system and circulating through your home. When installed correctly, the filter allows air to flow freely while effectively capturing contaminants. When installed backwards:
- Reduced Airflow: The filter's construction is designed for air to flow in a specific direction. Reversing it can restrict airflow, making your system work harder to circulate air.
- System Overheating: Restricted airflow leads to the system overworking, which causes components to overheat and potentially fail.
- Poor Air Quality: A backwards filter might not seal properly within the filter compartment, allowing unfiltered air to bypass it and circulate throughout your home.
- Increased Energy Bills: As your system struggles to move air, it consumes more energy, leading to higher energy bills.
- Component Damage: Over time, the increased strain on your system can damage components like the blower motor and the evaporator coil, resulting in expensive repairs.
The good news is that this is usually a very easy problem to solve yourself. Let’s get started!
Step-by-Step Guide: Identifying and Correcting a Backwards Air Filter
Step 1: Locate Your Air Filter
First things first, you need to find where your air filter is located. This varies depending on your HVAC system type:
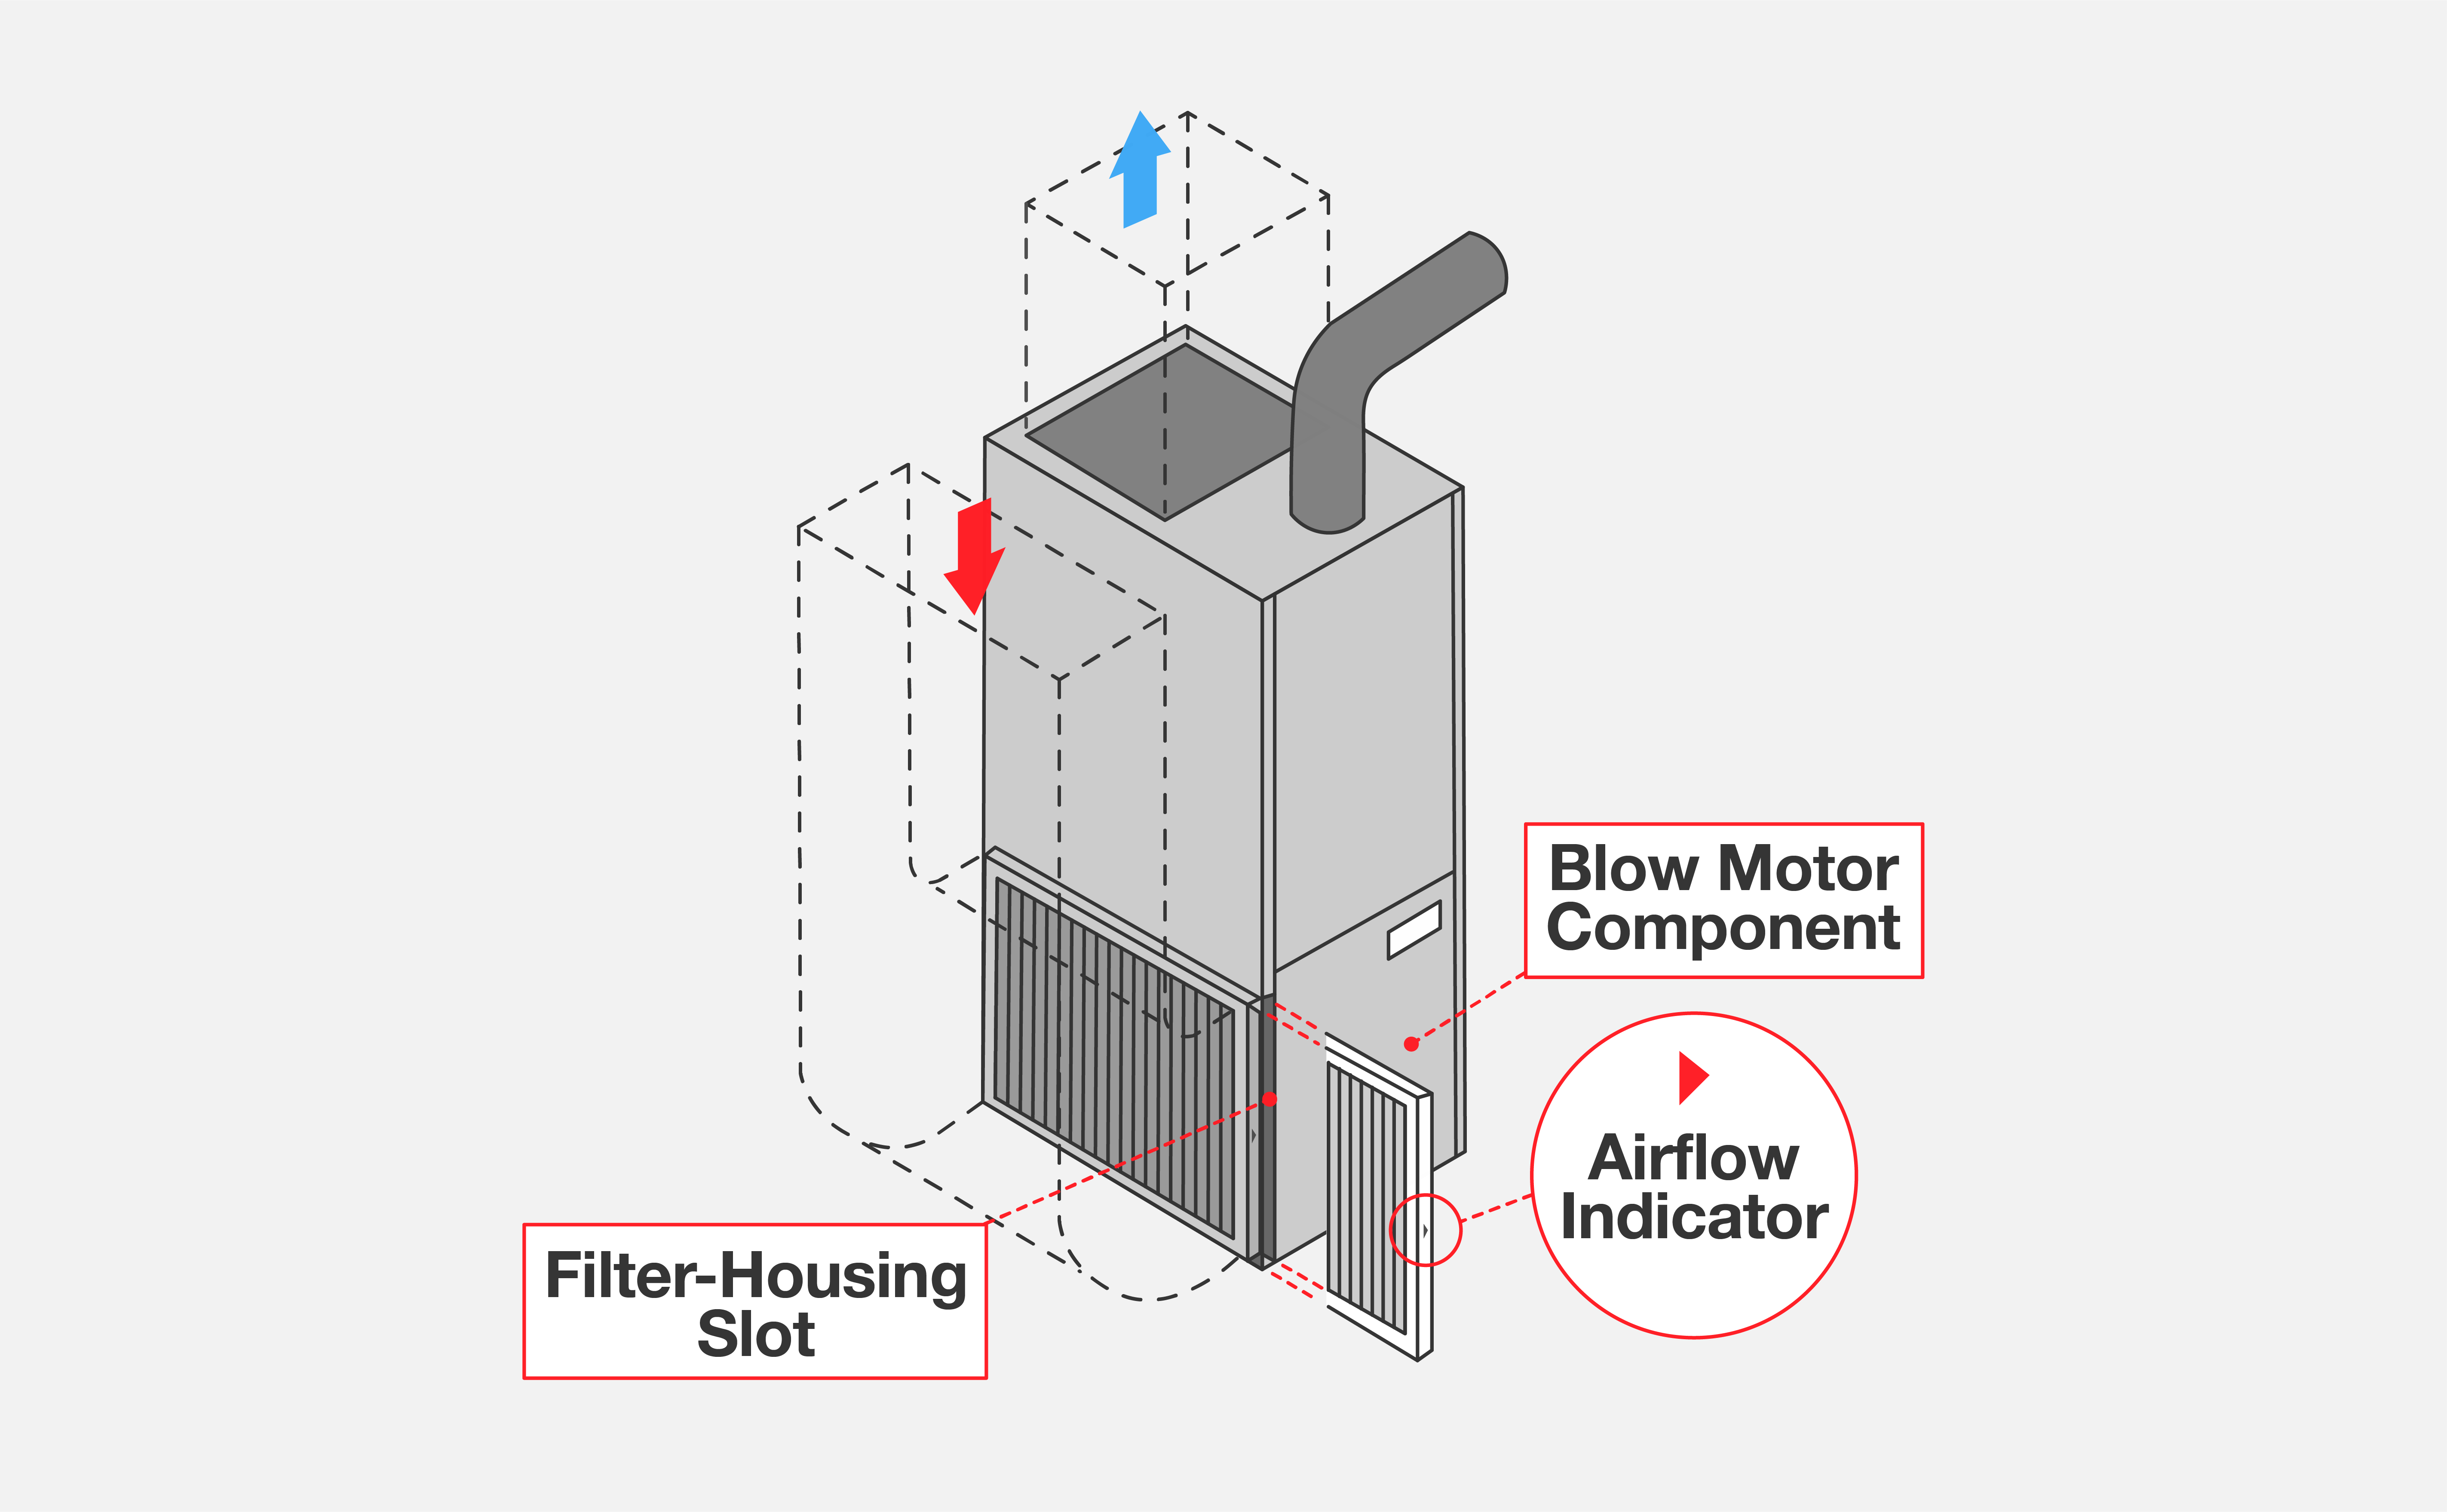
- Forced-Air Furnaces: The filter is typically located in the blower compartment, often a slot on the side or bottom of the unit. Look for a rectangular access panel.
- Central Air Conditioners: If you have a separate AC unit, the filter might be located behind a grill on the unit itself, or at the return air vent inside your home.
- Heat Pumps: Heat pumps often have their filter located in the return air vent, similar to central AC systems.
- Return Air Vents: These are usually large grills on the walls or ceilings in your home. The filter will be located behind the grill.
Once you've located the filter access point, ensure the system is turned off before proceeding. This is a crucial safety precaution to prevent any accidental injury.
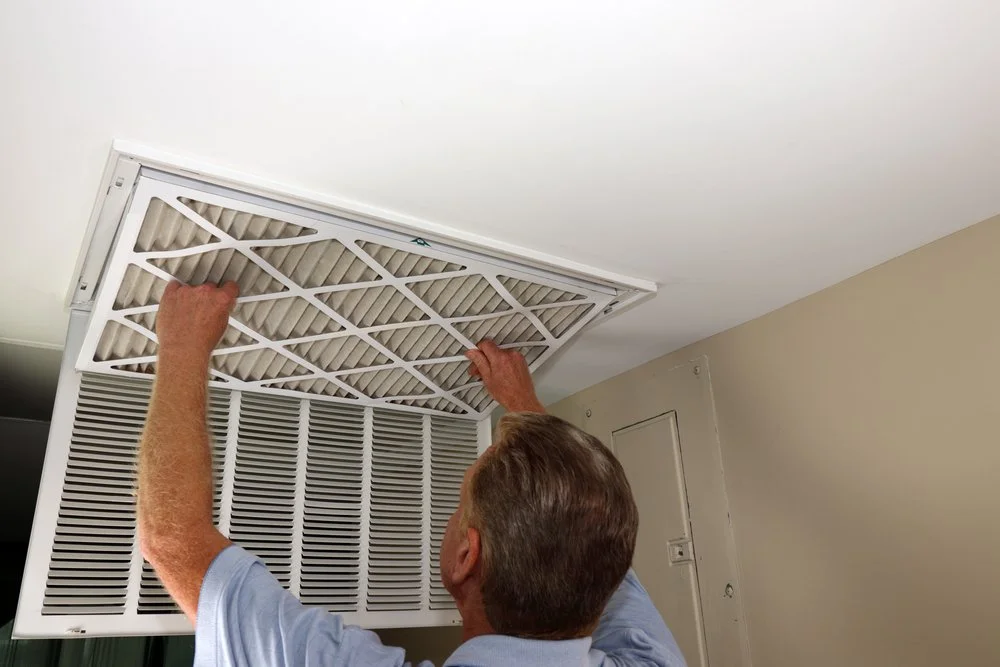
Step 2: Remove the Air Filter
Open the access panel or remove the grill covering the filter. Carefully slide the air filter out. Pay attention to the direction the filter is facing as you remove it. This is your first clue as to whether it was installed correctly.
Step 3: Inspect the Air Filter
Examine the filter closely. There are a few things to look for:
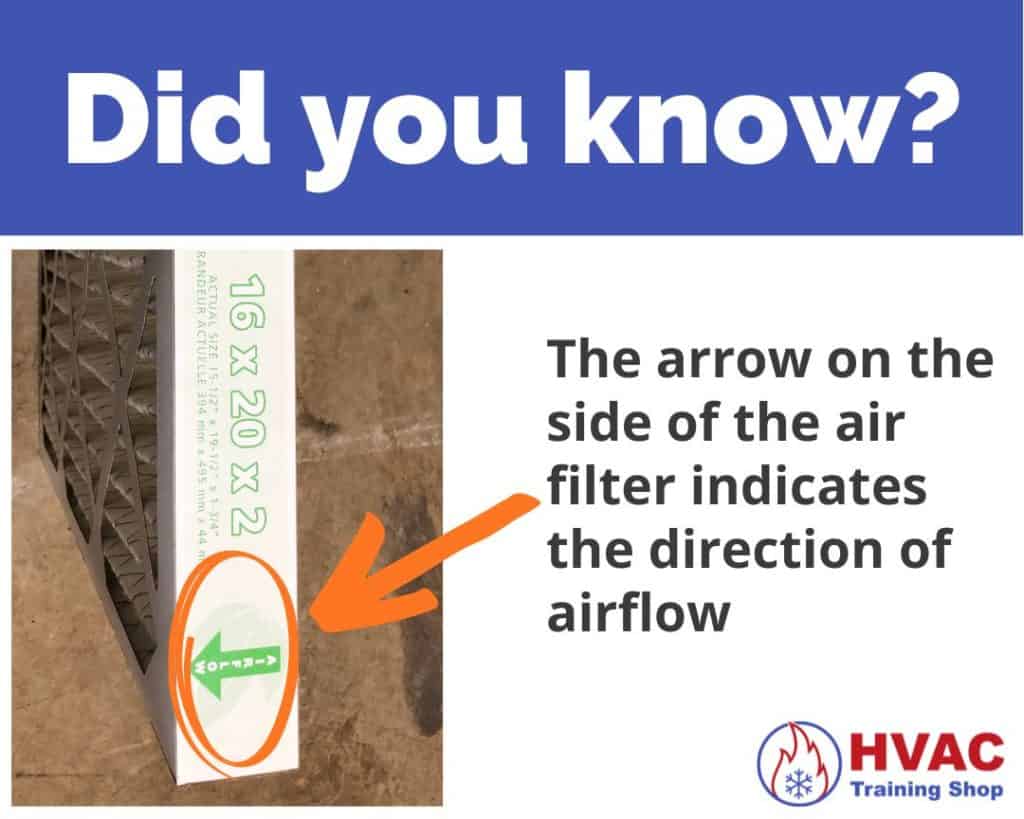
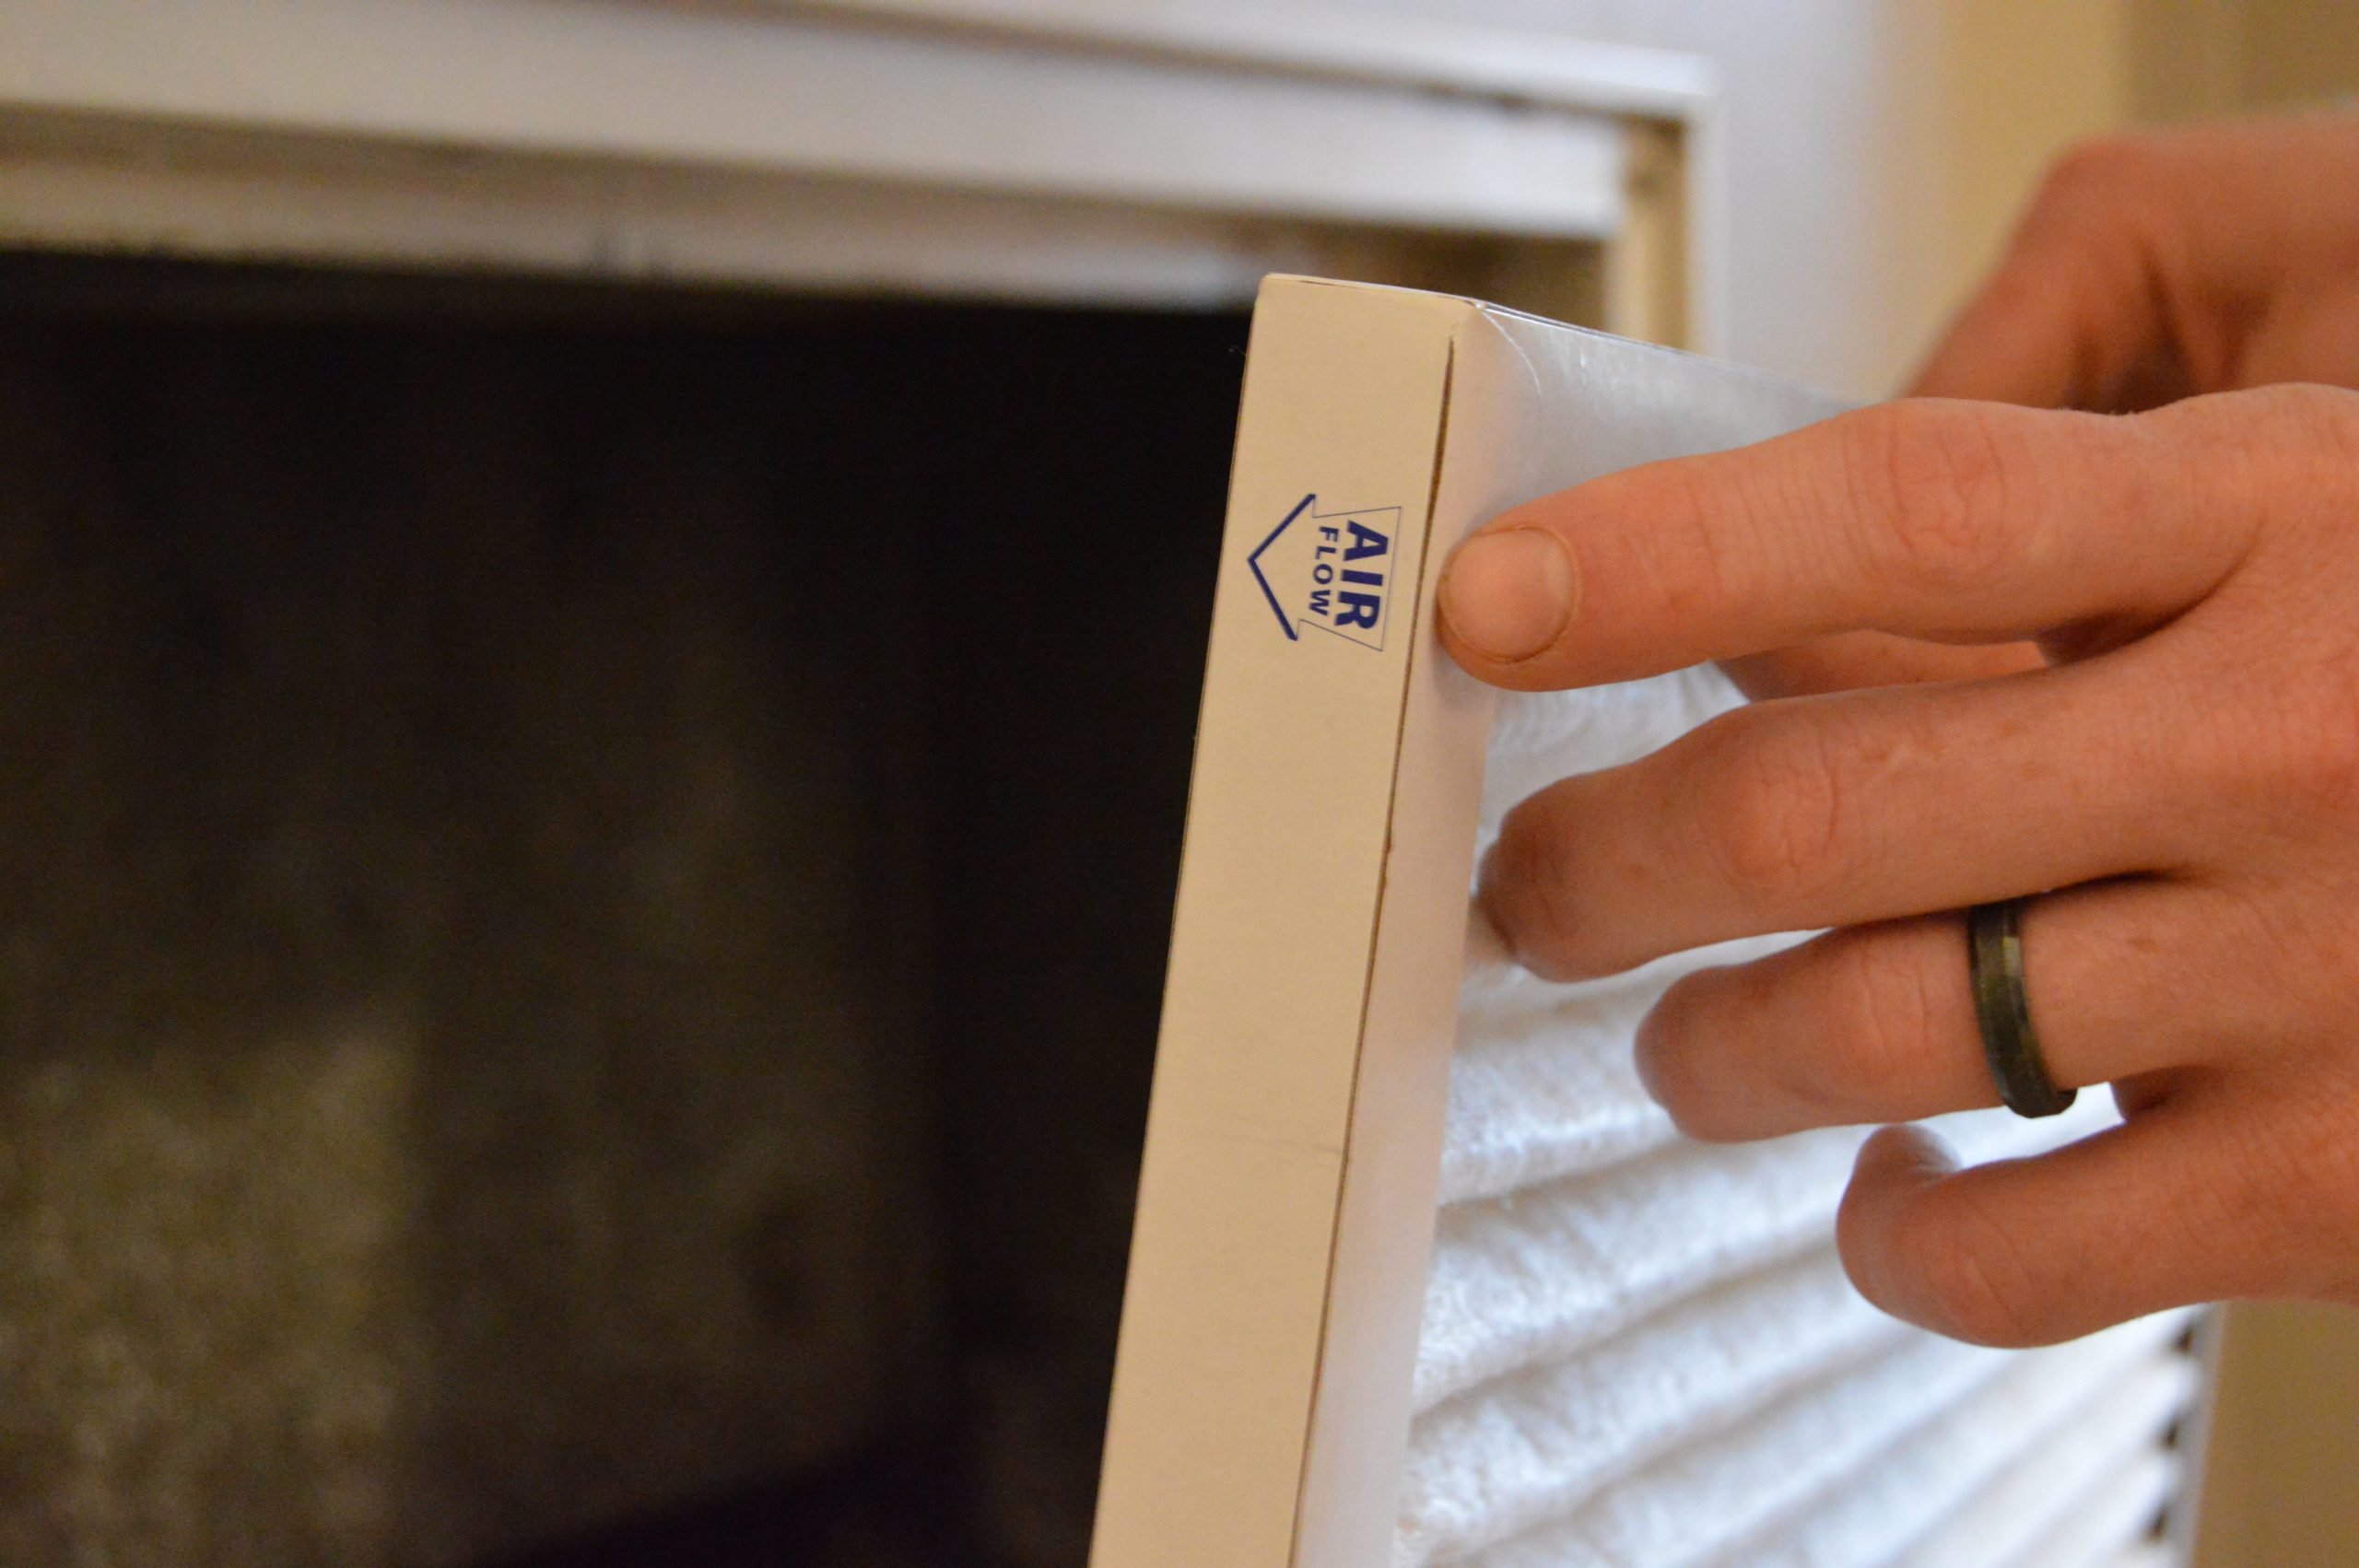
- Arrow Markings: Most air filters have an arrow printed on the side. This arrow indicates the direction of airflow.
- Dirt Accumulation: If the filter was installed correctly, the dirt and debris should be concentrated on the side facing the airflow direction (i.e., the side that was facing into the unit or vent). If the dirt is mostly on the other side, it's likely the filter was installed backwards.
Step 4: Identify the Airflow Direction
Determining the airflow direction is crucial for correct installation. Here's how to figure it out:
- Furnace/AC Unit: The airflow direction is always toward the unit itself. The filter prevents dust from getting pulled into the unit, not pushed out of it.
- Return Air Vent: The airflow is into the vent. This is where air is being drawn back into the system to be heated or cooled.
Look for markings on the unit or vent itself that indicate airflow direction. Sometimes, there will be an arrow molded into the plastic or stamped onto the metal.
Step 5: Correct the Filter Direction (If Necessary)
Now that you know the airflow direction and have inspected the filter, you can correct the installation if needed.
- Align the Arrow: Ensure the arrow on the air filter is pointing in the direction of airflow. In other words, the arrow should point towards the furnace/AC unit or into the return air vent.
- Slide it In: Carefully slide the air filter back into its slot, making sure it fits snugly. Don't force it.
- Secure the Access Panel: Replace the access panel or grill, ensuring it is securely fastened.
Step 6: Record the Date
Write the date of installation on the filter frame with a permanent marker. This will help you keep track of when it needs to be replaced. Most standard air filters should be replaced every 1-3 months, depending on the filter type, your indoor air quality, and whether you have pets.
Troubleshooting: What If…?
Here are some common questions and scenarios you might encounter:
- What if my filter doesn't have an arrow? If your filter doesn't have an arrow, look at the construction of the filter media. Typically, one side has a wire mesh or grid to support the filter material. This side usually faces the direction of airflow leaving the vent. If you’re still unsure, you can try calling the manufacturer.
- What if the filter is too big or too small? Using the wrong size filter will prevent it from sealing properly, allowing unfiltered air to bypass it. Always use the correct size filter as specified by your HVAC system manufacturer. You should be able to find the dimensions printed on the side of your old filter or in your system's manual.
- What if the filter is clogged with dirt? A heavily clogged filter restricts airflow, putting a strain on your system. Replace the filter immediately.
- What if I've been running the system with a backwards filter for a long time? Monitor your system closely for any unusual noises, reduced airflow, or increased energy consumption. If you notice any of these issues, it's best to call a professional HVAC technician.
When to Call a Professional
While correcting a backwards air filter is a simple DIY task, there are situations where you should seek professional help:
- Unusual Noises: If you hear strange noises coming from your furnace or AC unit, such as banging, rattling, or screeching, it could indicate a more serious problem.
- Reduced Airflow: If you've corrected the filter direction and airflow is still significantly reduced, there might be an obstruction in the ductwork or a problem with the blower motor.
- System Overheating: If your system is overheating frequently, it's a sign that it's working too hard, potentially due to a more complex issue.
- Icing on the Evaporator Coils: If you notice ice forming on the evaporator coils of your AC unit, it's a sign of restricted airflow or a refrigerant leak.
- Increased Energy Bills: If your energy bills have been consistently higher than usual, despite normal usage, it could indicate a problem with your HVAC system.
- You are uncomfortable working on electrical or mechanical systems: Don’t put yourself at risk! Call a professional to handle the issue.
Attempting to diagnose or repair complex HVAC issues without proper training and experience can be dangerous and can potentially damage your system. It's always best to err on the side of caution and call a qualified HVAC technician when in doubt.
Preventative Maintenance: Keeping Your System Running Smoothly
Correct air filter installation is just one aspect of maintaining a healthy HVAC system. Here are some additional tips for preventative maintenance:
- Regular Filter Changes: Replace your air filter every 1-3 months, or more frequently if you have pets or allergies.
- Professional Tune-Ups: Schedule annual professional tune-ups for your furnace and AC unit. A technician can inspect your system, clean components, and identify potential problems before they become major issues.
- Clean Return Air Vents: Regularly clean the return air vents to remove dust and debris that can restrict airflow.
- Clear Outdoor Units: Keep the area around your outdoor AC or heat pump unit free of obstructions, such as plants, leaves, and snow.
- Monitor Your System: Pay attention to any changes in your system's performance, such as unusual noises, reduced airflow, or increased energy consumption.
By following these simple steps, you can help ensure that your HVAC system runs efficiently and reliably for years to come.
Taking the time to understand how to properly maintain your HVAC system, starting with something as simple as the air filter, can save you money, improve your indoor air quality, and extend the life of your equipment. Don't hesitate to reach out to a qualified HVAC technician if you have any questions or concerns about your system.