Why Does My Ac Not Feel As Cold As Usual

Why is My AC Not Cold Enough? A Homeowner's Troubleshooting Guide
Is your air conditioner blowing air that's just…not cold enough? That's a frustrating problem, especially during the hottest months. Before you call a professional, let's explore some common reasons why your AC might be underperforming and what you can do about it. This guide provides a step-by-step approach to troubleshooting, but remember, safety first! If you're uncomfortable working with electrical components or refrigerants, don't hesitate to contact a licensed HVAC technician.
1. Check the Thermostat Setting
This might sound obvious, but it's the first thing to verify. Ensure your thermostat is set to "Cool" and the temperature is set lower than the current room temperature. Double-check that the fan is set to "Auto" rather than "On." When set to "On," the fan runs continuously, even when the compressor isn't cooling, which can reduce the overall cooling efficiency. You also want to make sure the thermostat is properly calibrated. If the thermostat is reading incorrectly, then the AC may not be activating properly.
2. Inspect the Air Filter
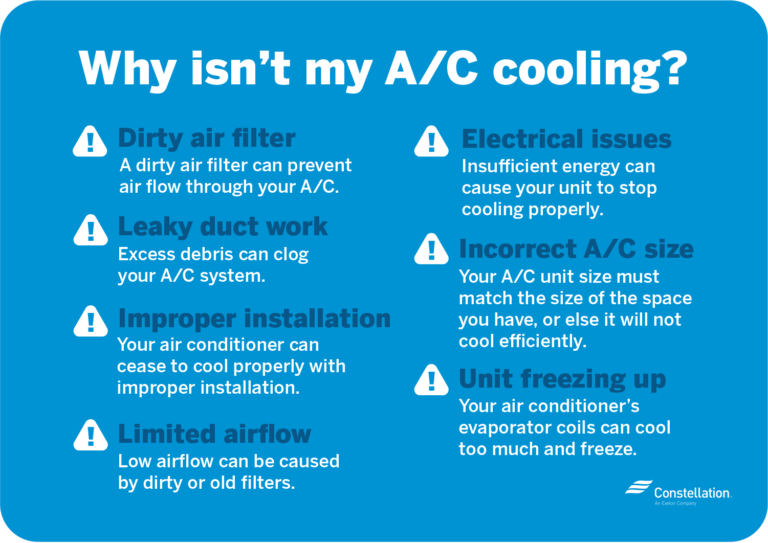
A dirty air filter is one of the most common causes of a poorly performing AC. A clogged filter restricts airflow, making the unit work harder and reducing its cooling capacity. This can lead to overheating and even compressor failure over time. It also can freeze up your inside coil.
How to Check and Change Your Air Filter:
- Locate the air filter housing, usually in the return air duct or the indoor unit itself.
- Remove the old filter and examine it. If it's visibly dirty, it needs replacing.
- Note the filter size (printed on the filter's frame) and purchase a replacement of the same size.
- Insert the new filter, ensuring the airflow direction arrow on the filter matches the airflow direction in the housing.
Recommended Filter Change Frequency:
- Every 1-3 months for standard 1-inch filters
- Every 3-6 months for thicker 4-5 inch filters
3. Examine the Outdoor Condenser Unit
The outdoor condenser unit is responsible for releasing heat from your home. If it's blocked or dirty, it can't do its job efficiently.
Steps to Inspect and Clean the Condenser:
- Safety First: Turn off the power to the condenser unit at the breaker box.
- Remove any debris surrounding the unit, such as leaves, grass clippings, and branches. Allow at least 2-3 feet of clearance around the unit.
- Inspect the condenser fins for dirt and debris.
- Use a garden hose with a gentle spray nozzle to clean the fins. Spray from the inside out to avoid bending the fins. You can also use a fin comb to straighten any bent fins.
- Avoid using high-pressure washers, as they can damage the fins.
- Turn the power back on after the unit is completely dry.
4. Check for Blocked Vents and Registers
Ensure that all supply vents and return registers in your home are open and unobstructed. Blocked vents can restrict airflow and reduce cooling efficiency in certain areas.
5. Look for Leaks in Ductwork
Leaky ductwork can waste a significant amount of cool air, leading to higher energy bills and reduced cooling performance. Inspect your ductwork for visible tears or disconnections. You can often find leaks at duct joints and seams.
DIY Solutions for Minor Duct Leaks:
- Use duct tape (not regular tape) to seal small leaks.
- Apply mastic sealant to larger gaps and seams.
For extensive ductwork problems, it's best to consult a professional HVAC technician for duct sealing or replacement.
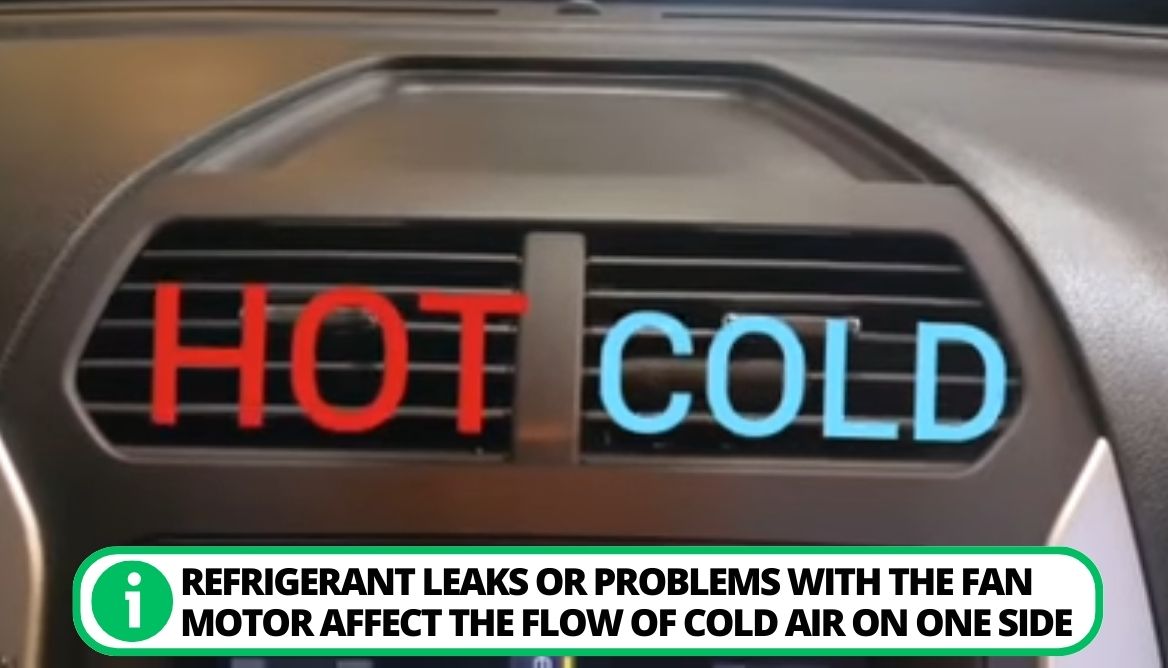
6. Inspect the Refrigerant Lines
The refrigerant lines connect the indoor and outdoor units. Check these lines for signs of damage or leaks. A common sign of a refrigerant leak is ice buildup on the lines. Do not attempt to repair refrigerant leaks yourself. Refrigerant handling requires specialized equipment and certification.
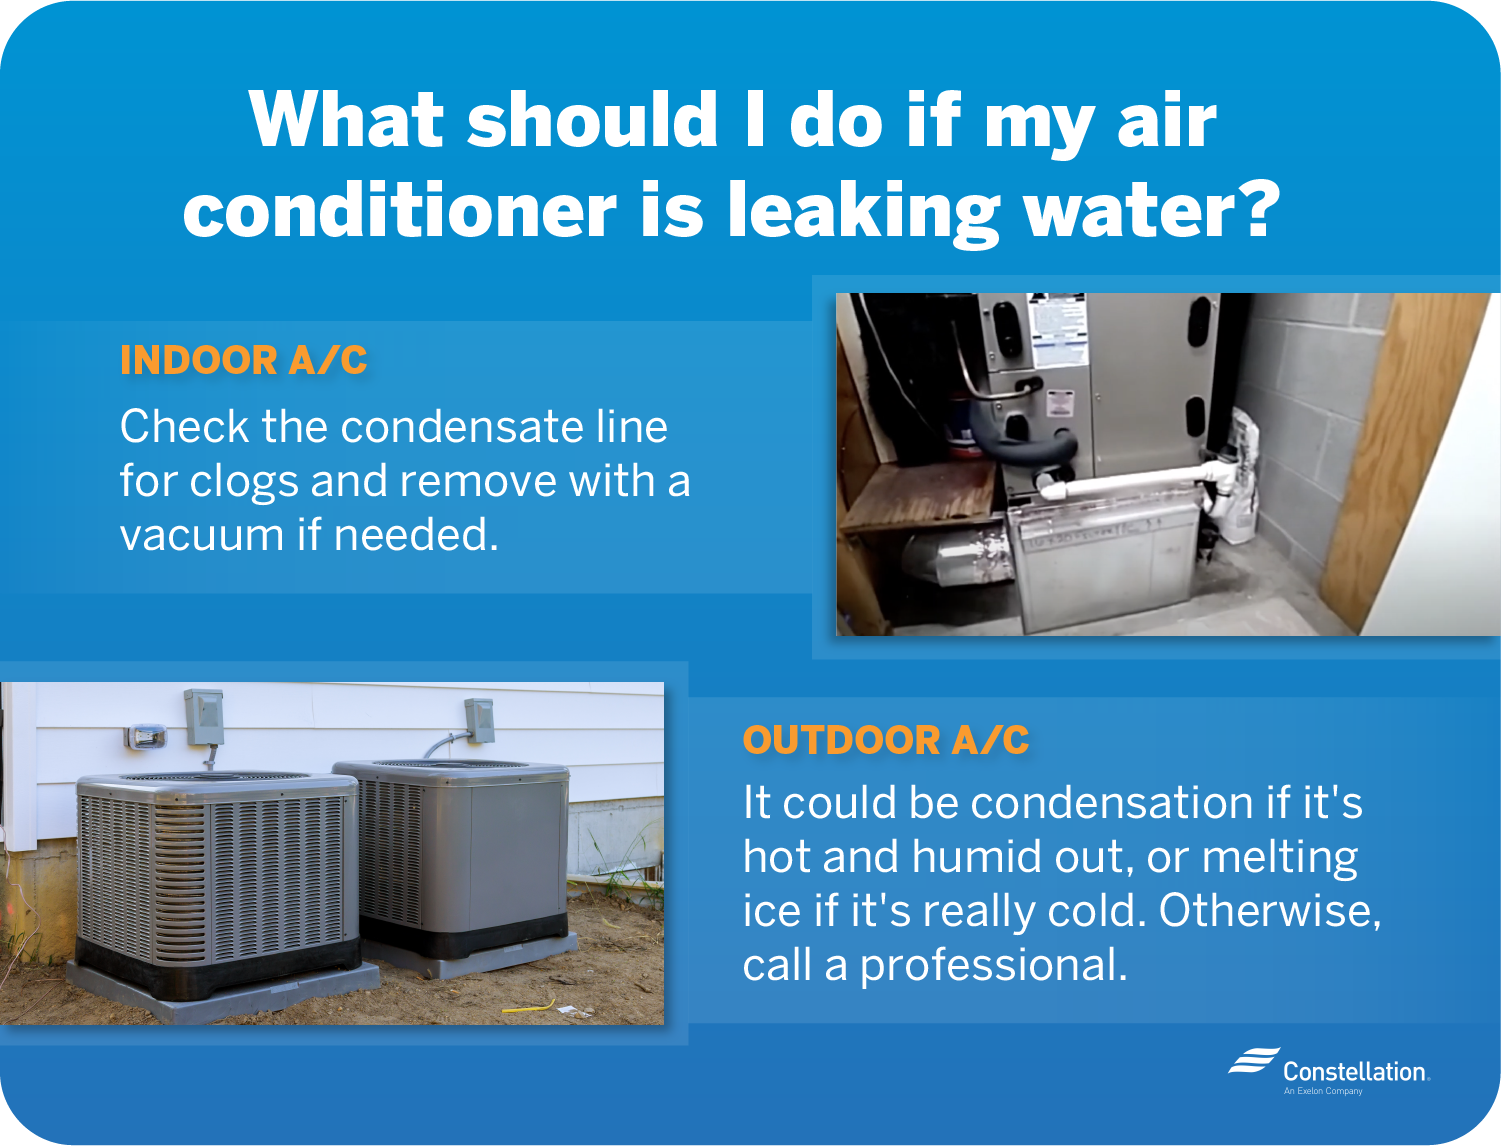
7. Check the Condensate Drain Line
The condensate drain line removes moisture from the indoor unit. If it's clogged, water can back up and shut down the AC unit or cause water damage. Some units also have a float switch that turns the AC off if the drain pan is full.
How to Check and Clear the Condensate Drain Line:
- Locate the condensate drain line, usually a PVC pipe near the indoor unit.
- Check for any visible clogs or obstructions at the drain opening.
- Use a wet/dry vacuum to suck out any clogs from the drain line. You can also use a stiff wire or pipe cleaner to dislodge debris.
- Pour a cup of distilled vinegar into the drain line to help prevent future clogs.
8. Evaluate Your Home's Insulation
Proper insulation helps keep your home cool in the summer and warm in the winter. Insufficient insulation can make your AC work harder to maintain a comfortable temperature.
Areas to Check for Insulation:
- Attic
- Walls
- Crawl spaces
- Ductwork
9. Consider Professional Maintenance
Regular professional maintenance can help prevent AC problems and extend the lifespan of your unit. A technician can perform a comprehensive inspection, clean the coils, check refrigerant levels, and identify any potential issues before they become major problems.
When to Call a Professional HVAC Technician
While many AC problems can be resolved with simple DIY solutions, certain issues require professional expertise. Here are some situations where it's best to call a qualified HVAC technician:
- Refrigerant Leaks: Handling refrigerants requires specialized equipment and training.
- Compressor Problems: The compressor is the heart of the AC system, and repairs are complex and often expensive.
- Electrical Issues: Working with electrical components can be dangerous.
- Major Ductwork Repairs: Extensive ductwork repairs or replacements require specialized tools and knowledge.
- If you've tried the above steps and your AC is still not cooling properly.
Estimated Repair Costs
Please note that these are just estimates, and actual costs may vary depending on your location, the complexity of the repair, and the HVAC technician's rates.
- Air Filter Replacement: $10 - $30 (DIY)
- Condenser Cleaning: $75 - $200 (Professional)
- Duct Sealing: $200 - $800 (Professional)
- Refrigerant Recharge: $150 - $500 (Professional)
- Compressor Replacement: $800 - $2,500 (Professional)
- Condensate Pump Replacement: $150 - $400 (Professional)
Tools and Parts You Might Need
- Screwdriver set
- Wrench set
- Air filter (correct size)
- Duct tape (foil or mastic)
- Fin comb
- Wet/dry vacuum
- Garden hose with spray nozzle
- Multimeter (for checking electrical components - use with extreme caution!)
Troubleshooting Checklist Summary
- Thermostat: Verify settings and calibration.
- Air Filter: Check and replace if dirty.
- Condenser Unit: Clean and clear debris.
- Vents and Registers: Ensure they are open and unobstructed.
- Ductwork: Inspect for leaks.
- Refrigerant Lines: Check for ice buildup (call a professional for leaks).
- Condensate Drain Line: Clear any clogs.
- Insulation: Evaluate your home's insulation.
By following these steps, you can often diagnose and resolve common AC problems yourself. However, remember to prioritize safety and don't hesitate to call a professional when needed. Regular maintenance and timely repairs will keep your AC running efficiently and comfortably for years to come.